

Picking the right Cursed Technique in Roblox Cursed Gear can define your entire playstyle. With over 75 unique techniques available at release, each with its own moveset, resource demands, and situational strengths, the choice is far from obvious. This guide breaks down every ranked technique from S tier to C tier, explains what makes the top picks so strong, and walks you through how to unlock, reroll, and upgrade your technique of choice.
What Are Cursed Techniques in Cursed Gear?
Cursed Techniques (CT) are the core of every sorcerer's offensive toolkit in Cursed Gear. Mechanically, they are the manifestation of your character's cursed energy, and they primarily consume the Technique Bar, which is the same resource referred to in-game as Cursed Energy. These two terms describe the same system from different angles: one is lore language, the other is UI language.
Technique damage scales with the Output attribute, while Efficiency increases your stamina reserves and slightly boosts technique damage. Landing a Black Flash (pressing E as your attack connects) doubles the stun on M1, M2, and most skills, enabling longer follow-up combos. Mastering this timing is one of the biggest skill gaps between average and top-tier players.
Here are the default controls for every technique:
Cursed Gear Techniques Tier List
The rankings below reflect the release meta, drawing from tested movesets, rarity weights, and practical PvP and PvE performance. Rarity is noted in parentheses for each technique.
S Tier
These three techniques sit above everything else at launch. Each brings a distinct playstyle, but all three offer tools that are difficult for opponents to counter cleanly.
The Hunter (Royal, 1% rarity) is the top PvP pick. Its Silencer passive removes your movement sound entirely, making tracking you far harder. Ghost (E+R) makes you fully invisible and intangible at the cost of steady Technique Bar drain, ending early if you attack or press R again. Ghost Blitz (R) sends a clone using Curse Blitz while briefly turning you invisible, adding confusion and disorientation. The combination of engagement control, disengagement, repositioning, and information denial in one kit is nearly unmatched.
Vampirism (Rare, 25% rarity) is the top PvE and sustain pick. It unlocks limb restoration, regeneration of recently taken damage, and permanent passive HP regeneration through Perfect RCT. The Vampire passive comes with a significant trade-off: you take 2x damage in sunlight and lose access to your R and Y abilities there. Stay in shade and you gain Blood Beam (R) and Shadow Dash (Y), the latter offering both a quick evasive tap and a longer travel hold version.
Damocles (Unique, 10% rarity) is a prediction-based punish machine. Tag (R) marks an opponent, and whichever action they performed right before being tagged becomes the punishable action. Punishable actions include M1, Hold M1, M2, Parry, and Block. Dashing, Curse Flash, and Double Jumping cannot be punished. Against habit-driven players, this technique is exceptionally powerful.
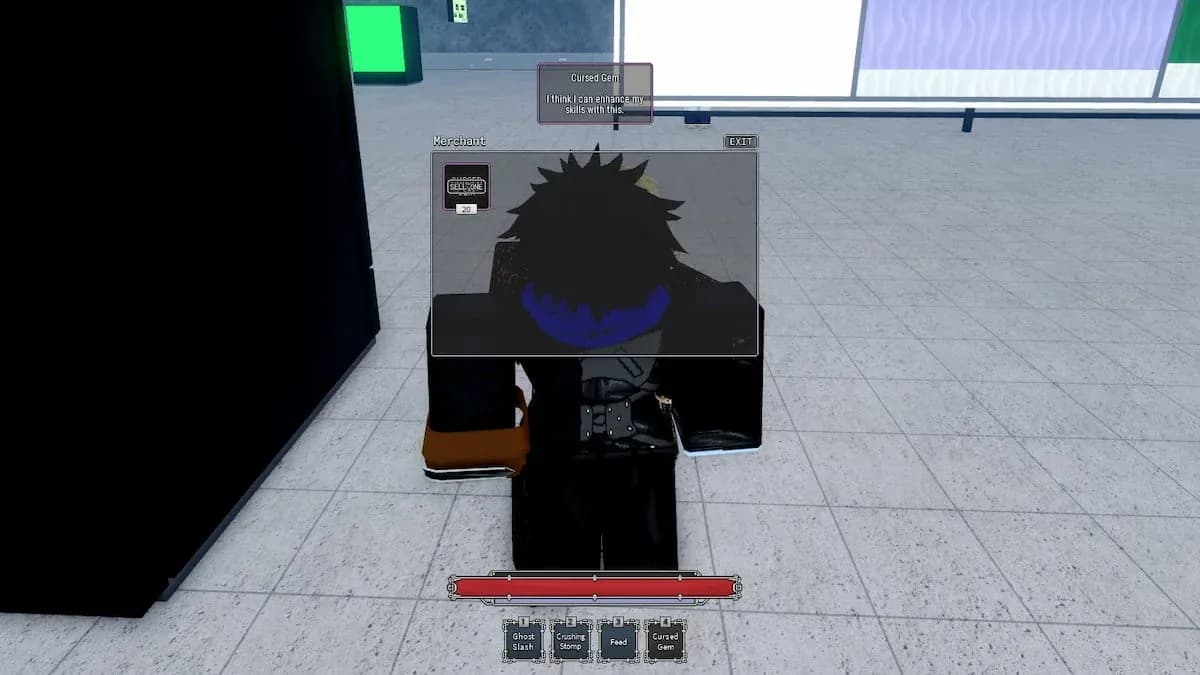
The Hunter Ghost invisibility active
A Tier
A-tier techniques are genuinely strong and viable for most content. Their limitations are real but manageable with good play.
- Gilded Shadow (Common, 63%): Two separate health bars between you and your dummy, with passive regeneration on the inactive body. The Flash Passive applies a flash on your first hit off PvP cooldown while in dummy form. The inactive body can still be hit from behind, so positioning discipline is required.
- Shadow Realm (Common, 63%): Shadow Portal (R) pulls a targeted enemy into an isolated dimension after a short delay. Your Cursed Energy drains continuously while they are trapped. Press R again to release them early.
- The Dealer (Common, 63%): A card-based duel system that punishes opponents for breaking the active rule. Card Game (R) starts the game, and rules include Patience (no attacking), Cadence (matching your opponent's card), and Joker (combining both). Breaking a rule adds a coin, and End Game (Y) closes it out, blasting the player with more coins and healing the winner slightly.
- Path To The Grave (Common, 63%): The Butterflies passive applies a status on hit, and Skull (R) doubles damage on marked targets. Knocked marked enemies convert into stone statues that yield health packs, creating a strong snowball loop.
B Tier
B-tier techniques are not weak. Each one has a defined strength, but that strength is either conditional, indirect, or limited by a meaningful drawback.
C Tier
C-tier techniques are not unplayable, but each carries a significant downside, a very narrow use case, or limited combat contribution relative to higher-tier options.
- Madness Factor: Berserk state buffs are real, but losing character control when the Madness Bar hits zero is a serious liability in competitive play.
- Wheres Your Head At: Removing your limbs makes everything unreactable while active, but the state ends the moment your Cursed Energy runs out.
- The Meg: Shark Bite (R) and ESP (Y) are useful for tracking low-HP targets, but the technique lacks broad combat tools.
- Hot Potato: The 10-second transferable bomb creates chaos in group fights, but canceling it burns a large chunk of Cursed Energy.
- Bounce: Unpredictable movement and bouncing projectiles are genuinely disruptive, but the forced jump mechanic is awkward to control.
- Yang: The two-stage flying sword combo is clean and easy to use, but beyond that the kit offers no passive utility or resource layer.
- The Shipyard: Barrel explosions deal solid burst damage with two detonation options, but the multi-step setup is hard to execute under real pressure.
- Fresh Cut (Rare, 25%): The forced haircut mechanic during expeditions is entirely unique, with a combat-logging penalty of 4 days of forced baldness versus the standard 2. The actual Scissor Slash (R) is a plain attack with no special properties, making this the weakest combat option at Rare rarity.
How Do You Unlock New Cursed Techniques?
Unlocking a Cursed Technique uses a Cursed Technique Crystal, which functions like a gacha pull. You cannot choose which technique you receive from a crystal. Here is the full process:
- Farm Technique Shards from mission rewards, chest loot, enemy drops, and loot taken from defeated players.
- Collect 3 matching Shards of the same type.
- Combine them to craft a Cursed Technique Crystal.
- Consume the crystal to unlock that technique.
How Do You Upgrade Cursed Techniques?
Technique Orbs are the upgrade currency for all Cursed Techniques. Using them adds Technique EXP, which lets you strengthen existing abilities and, at certain thresholds, evolve the technique to unlock entirely new skills. The Tremor technique's Crack Screen passive, for example, is listed as an EVO 1 unlock.
Technique Orbs drop from the same sources as Technique Shards: mission caches during Expeditions, defeated NPCs, and looted players. Prioritize Expedition farming to build both resources at the same time.
Which Technique Should You Pick?
Your choice comes down to how you want to play:
- PvP focused: The Hunter is the strongest dueling technique at launch, with complete engagement control through invisibility, silence, and clone pressure.
- PvE and Expedition farming: Vampirism wins on sustain, offering passive HP regeneration, limb restoration, and strong mobility in shaded areas.
- Mind-game and punish style: Damocles rewards players who read habits and punish predictable opponents.
- Team play: Starlink becomes one of the best crowd control tools available at Common rarity when coordinated with an ally.
For more guides on builds, classes, and meta picks across Roblox Cursed Gear, browse more guides on GAMES.GG to stay ahead of the curve.