
Escape Tsunami for Brainrots on Roblox builds its entire progression around zones. Each one sits farther from spawn, contains rarer Brainrots, and demands more Speed to survive. Get ahead of the curve by knowing exactly what each zone requires before you push into it, because dying in a late zone with nothing to show for it is the fastest way to stall your progress.
How do zones work in Escape Tsunami for Brainrots?
Zones are laid out progressively across the map. The closer a zone is to spawn, the lower its rarity tier and the more forgiving the tsunamis. Move farther out and the Brainrots generate more income, but tsunamis arrive faster, recovery windows shrink, and a single mistimed run can cost you everything.
Speed is the stat that determines how far you can safely travel, how quickly you can return to safety, and whether you actually survive when a wave catches you off-guard. The Speed ranges listed below reflect what most players find comfortable for consistent farming, not the absolute minimum needed to set foot in a zone.
Zone layout from spawn outward
All zones ranked by difficulty and Speed requirement
Here's a full breakdown of every zone tier, including recommended Speed ranges and example Brainrots you'll encounter.
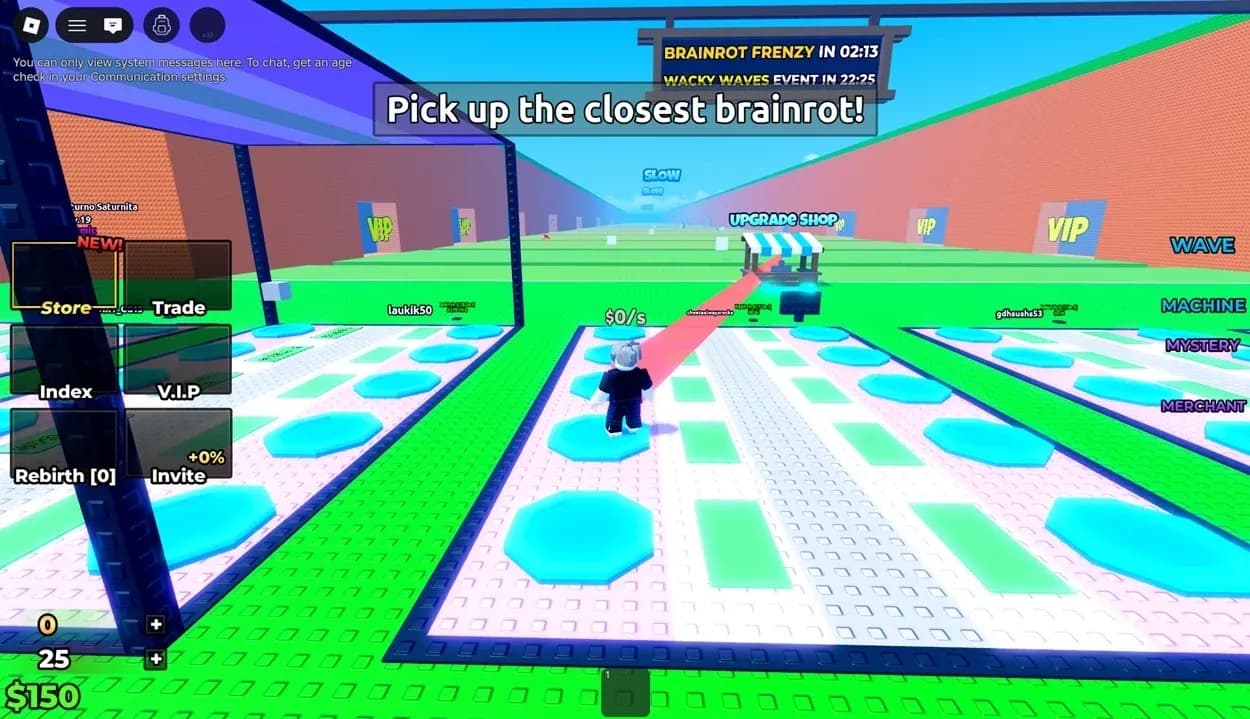
Common Zone (Speed: 0–20)
This is where everyone starts. Noobini Cakenini, Tim Cheese, and Pipi Kiwi populate this area, and the tsunamis are slow enough that you can learn movement and timing without much punishment. Treat this zone as a tutorial, not a farming destination.
Uncommon Zone (Speed: 20–40)
The step up from Common is modest. Travel distances increase slightly and Brainrots like Trippi Troppi, 67, and Pipi Avocado offer better income. This is the zone where most new players settle while saving up for Speed upgrades.
Rare Zone (Speed: 40–65)
Here's where the game starts pushing back. Cappuccino Assassino, Trulimero Trulicina, and Brr Brr Patapim are worth farming, but late escapes will get you killed. Start using trenches consistently at this stage.
Rare zone Brainrot farming
Epic Zone (Speed: 65–85)
The Epic Zone is where planning starts to matter more than aggression. Sigma Boy, Glorbo Fruttodrillo, and Cocosini Mama generate solid income, but tsunamis punish hesitation hard. Many players consider this the first real skill check in the game.
Legendary Zone (Speed: 85–110)
You need solid route knowledge here. Avocadorilla, Frigo Camelo, and Bombardilo Crocodilo are high earners, but failed runs are genuinely costly. Don't push this zone until your Speed is close to 85 at minimum.
Mythical Zone (Speed: 110–130)
Small mistakes end runs instantly. Orcalero Orcala, Tralalero Tralala, and Piccione Macchina are the rewards, but most players only attempt this zone once their economy can absorb the occasional loss without derailing progression.
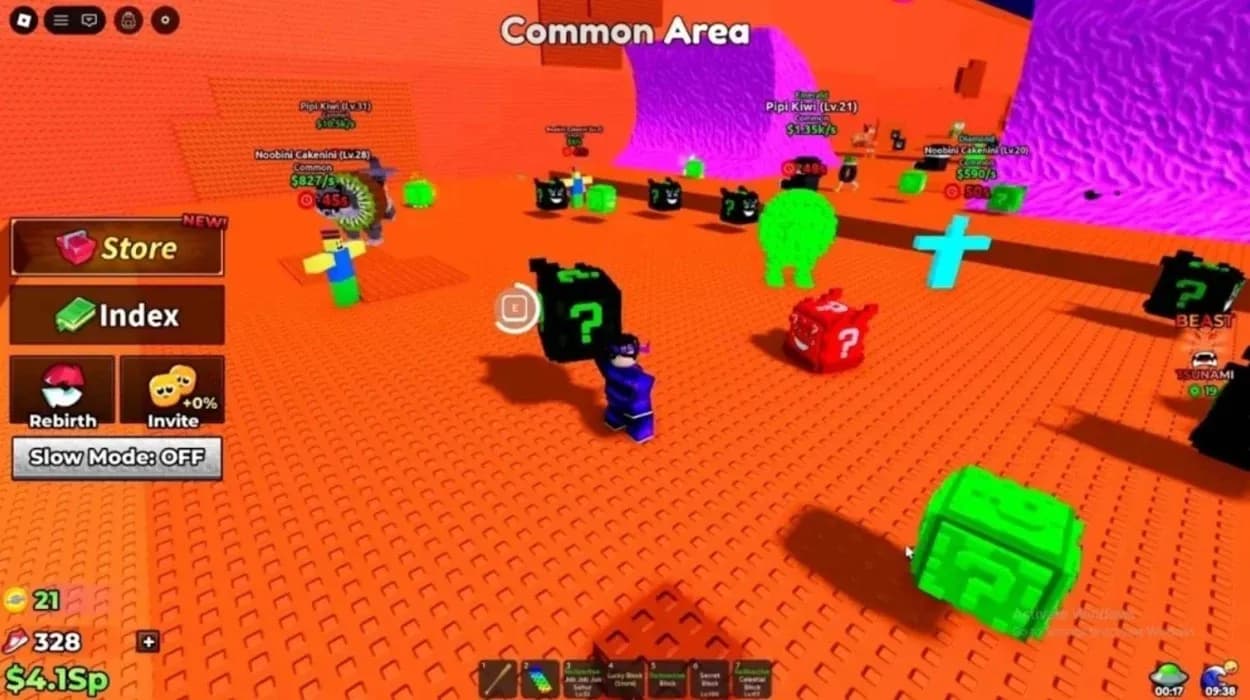
Cosmic Zone (Speed: 130–150)
This is late-game territory. Los Tralaleritos, Garama and Madundung, and Chimpanzini Spiderini are the Brainrots on offer, and reaching them consistently requires near-perfect timing. Experimentation here is expensive.
Celestial zone Brainrot spawns
Secret Zone (Speed: 150+)
Some of the rarest Brainrots in the entire game live here: Espresso Signora, Matteo, and Rainbow 67. Most players wait until Cosmic runs feel comfortable before attempting the Secret Zone seriously.
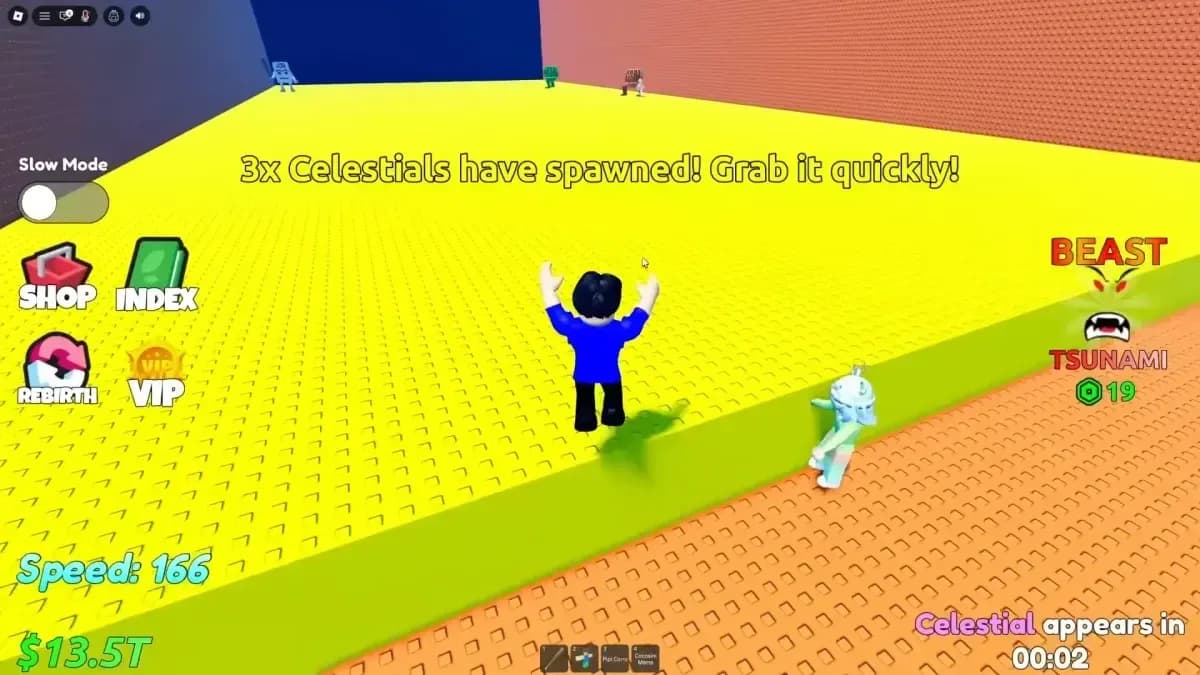
Celestial Zone (Speed: 150+)
Near-endgame content. Dug Dug Dug, Alessio, and Job Job Sahur are the prizes, but the distance is long, tsunamis are relentless, and recovery windows are almost nonexistent. Divines also sometimes spawn here, making it the prime target for players chasing the rarest Brainrots in the game.
Why does Rebirth matter for zone progression?
Raw Speed gets you into zones, but Rebirth is what makes scaling Speed feel manageable. Each Rebirth increases your permanent money multiplier, which means your Brainrots generate cash faster and you can reinvest into Speed upgrades more consistently. Zones that felt out of reach at lower multipliers become much more approachable as the multiplier compounds over multiple rebirths.
This is especially true in the late game, where Speed requirements jump sharply between Cosmic, Secret, and Celestial. Without a solid multiplier backing your income, grinding those final Speed upgrades takes far longer than it should.
For a deeper look at how to handle the full progression loop, the Escape Tsunami for Brainrots beginner's guide covers core mechanics and early strategies in detail.

Rebirth multiplier upgrade UI
What's the best zone to farm for income?
The answer depends entirely on your current Speed. The best farming zone is always the highest one you can survive consistently, not the highest one you can technically reach. A zone you die in half the time will earn you less than a zone one tier lower where every run succeeds.
For players still building their Speed in the 40–85 range, the Rare and Epic zones offer the best balance of reward and survivability. Once you cross 110, Mythical starts making sense if your economy is stable.
How does the Cracked Wall connect to zones?
The Cracked Wall is a separate area reserved for event-specific rooms like the Candy Event and the Arcade Event. It's not part of the standard zone progression, but visiting it during active events is worth doing for the exclusive rewards those rooms contain.
If you enjoy the survival format here, there are plenty of other Roblox games built around similar mechanics. Check out our full Roblox strategy guides for breakdowns of other popular titles, including the Steal a Brainrot beginner's guide if you want to see how a different Brainrot game handles its progression systems.