Search games, articles, guides...CtrlK
Sign InGet Started
Every Animal Hospital enemy explained: spawn locations, Sanity damage values, weaknesses, and how to counter each threat before it ends your run.

Written by Larc
Content Writer
See more GAMES.GG guides on Google
Add us as a preferred source and our guides show up first in your results.
Anime Zero Max Damage Build Guide: Best Weapons & Traits
Stack the right traits, weapons, and accessories in Anime Zero to hit peak DPS. Full build breakdown plus a cheaper crit alternative.
Anime Zero Tier List: Best Weapons, Traits & Accessories
Every Anime Zero weapon, trait, and accessory ranked for Update 1, plus the best build and evolution requirements to clear dungeons fast.

Slayers 2 Ultimate Roguelike Dungeons Guide
Master Slayers 2 Roguelike Dungeons with card-building tips, floor strategies, and every Token reward up to the 100th floor.
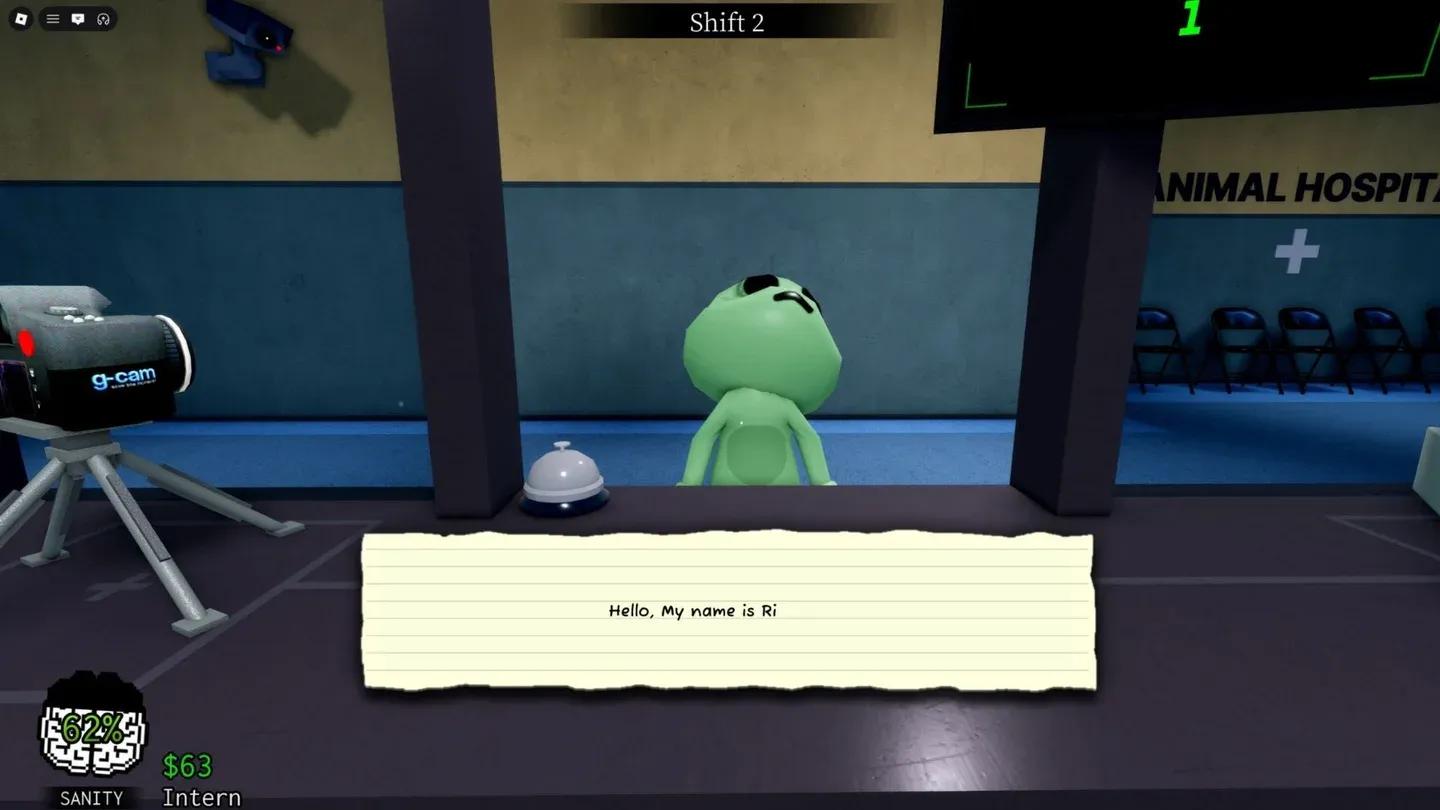
Animal Hospital throws nine distinct enemies at you across its hospital floors, and none of them play fair. Unlike the anomalies you can reject at the front desk, these creatures show up uninvited and will not leave until you deal with them correctly. Some drain your Sanity in seconds, others kill patients outright, and a couple will steal items right out of your hands. Knowing what you are up against before a shift starts is the difference between a clean run and a complete disaster.
Animal Hospital has 9 enemies in total, each with a fixed spawn condition, a specific location, and a defined attack pattern. They are not random in how they behave, which means learning their tells and weaknesses is entirely possible with enough experience. The table below covers every enemy at a glance.
| Enemy | Location | Sanity/Damage Effect |
|---|---|---|
| Stalker | Hallway corners | -10 Sanity on direct eye contact |
| Hiders | All patient rooms and both hospital wings | -10 Sanity if unarmed; steals held item and stuns |
| Ghost | Entire hospital | -2 Sanity per second (Ghostly Presence) |
| Head Banger | Check-in window | -20 Sanity if told to leave without coffee |
| Bed Monster | Rooms 1-5 and 7 | -10 Sanity on grab; -5 Sanity every 2 seconds; kills patients in 30 seconds |
| Mass of Eyes | Facilities 1-8 and Reception | -2 to -5 Sanity every half second |
| Tendril | Room 8 | Kills patient if surgery timer expires |
| Shapeshifter | Rooms 1-8 and Reception | -6 Sanity roughly every half second |
| Camera Figure | Any broken CCTV camera | -20 Sanity on jumpscare |
Full enemy reference table
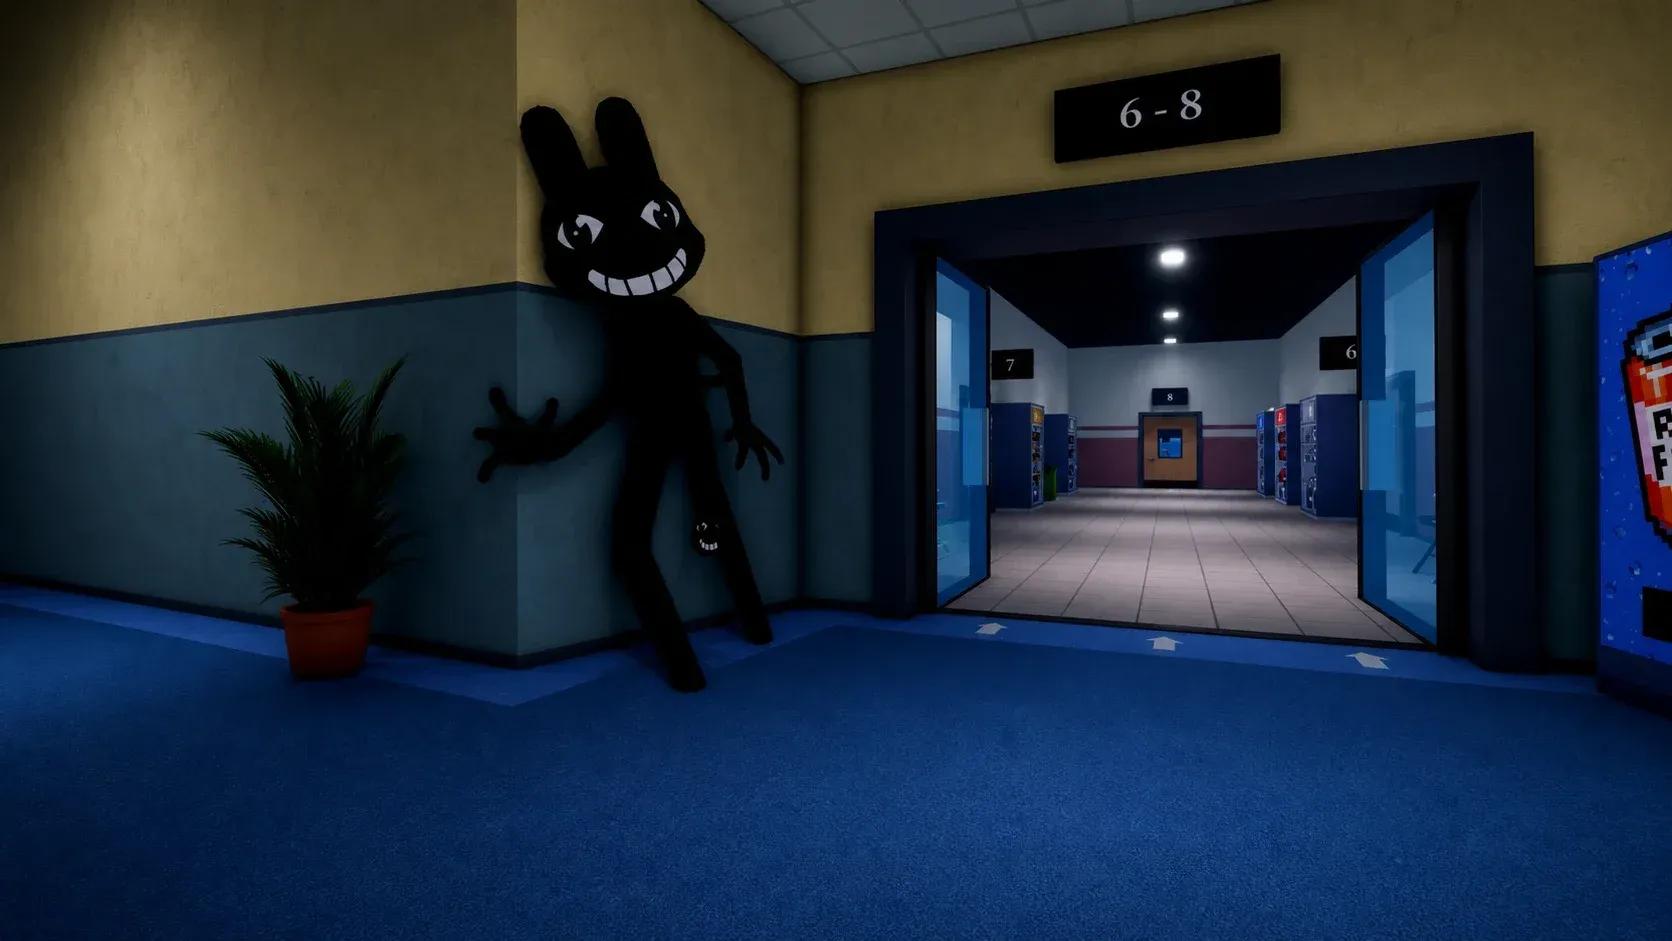
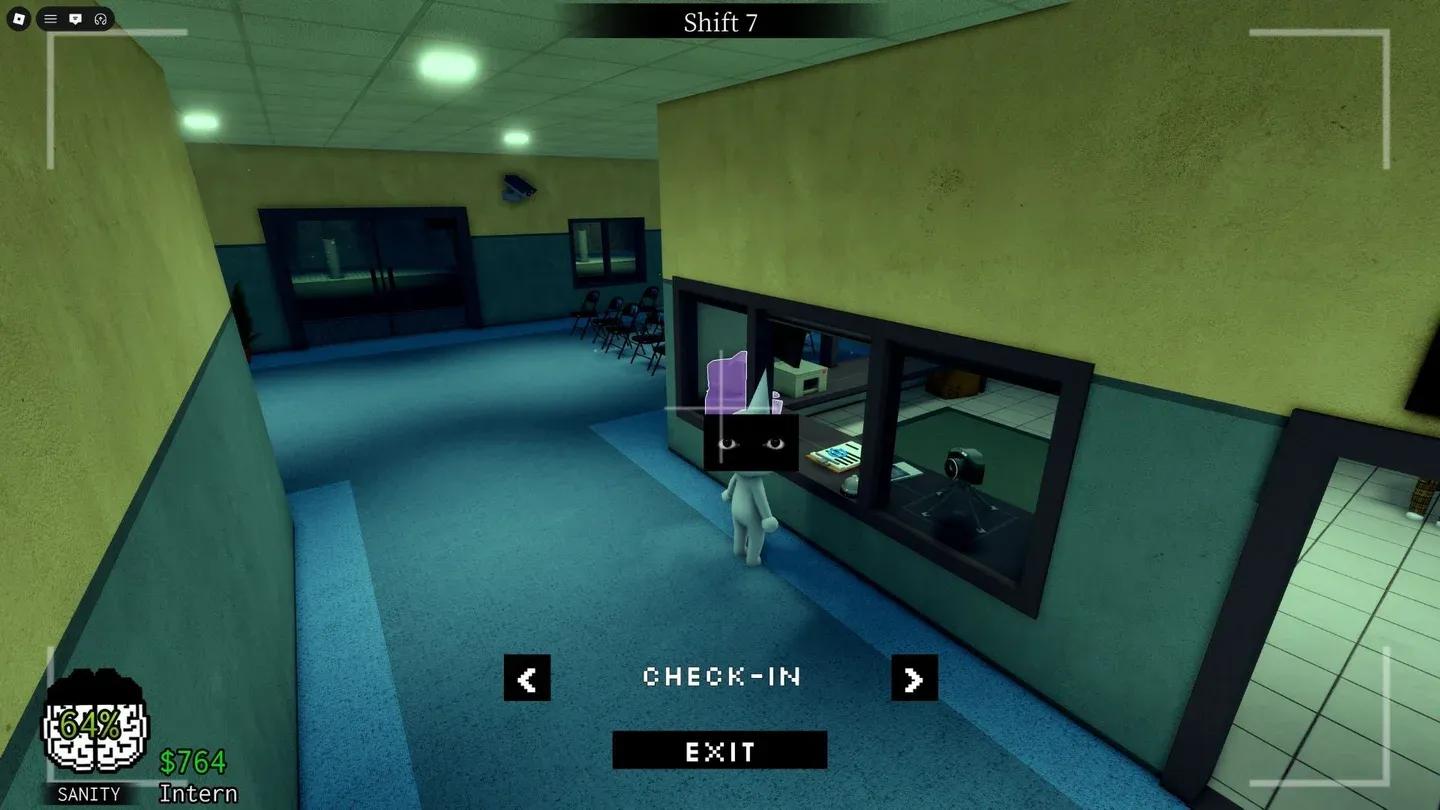
The Stalker hides around hallway corners and waits for you to look directly at it. The moment you make eye contact, it deals 10 Sanity damage before retreating. Two reliable tells precede its appearance: a brief light flicker near the corner and a distinct audio cue. Angling your camera slightly downward as you round blind corners is the most consistent way to avoid triggering it.
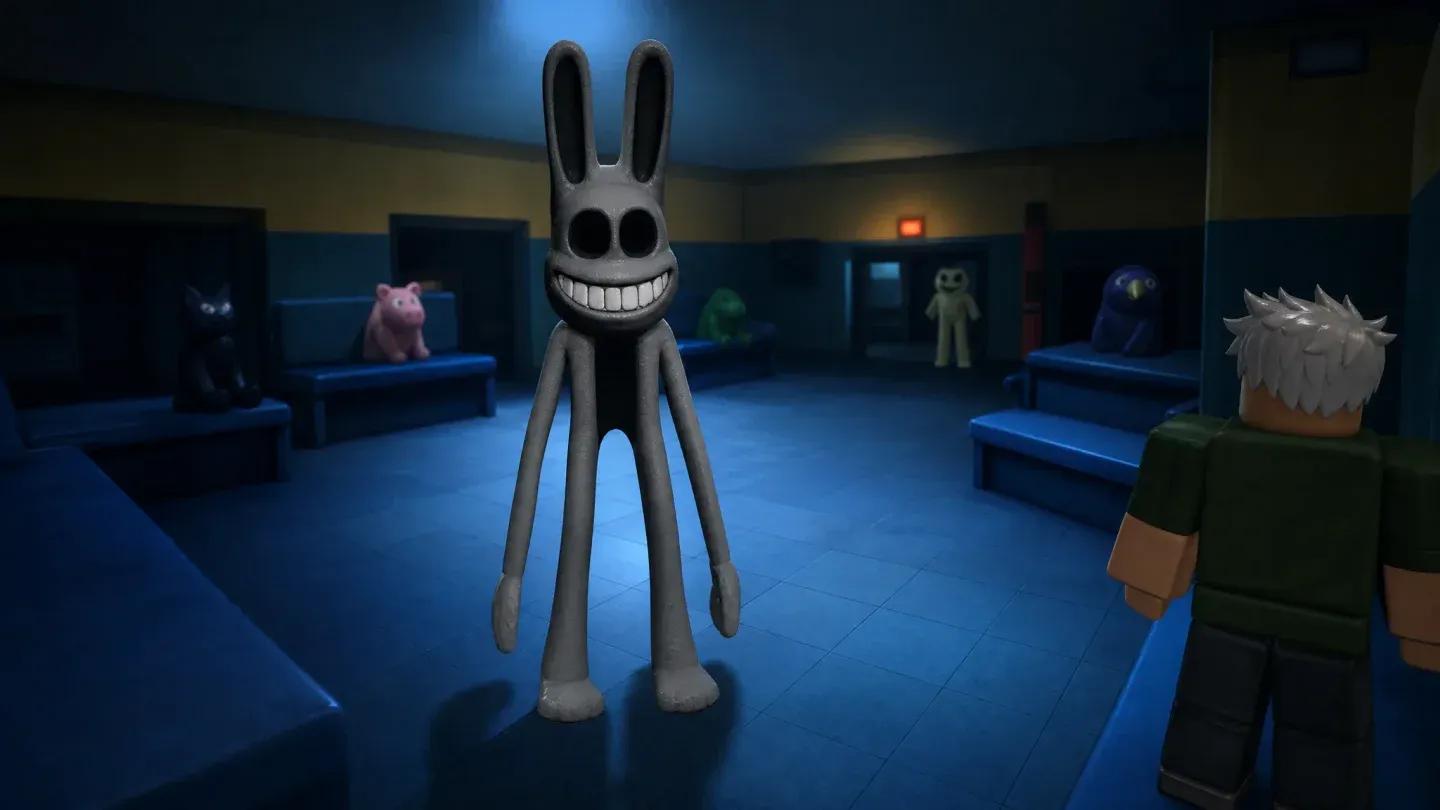
Appearance: a tall black creature with long ears, oversized eyes, a wide grin, long limbs, and a disproportionately small torso.
Weakness: Simply avoid direct eye contact. Move slowly around corners and keep your camera low.
Stalker in hospital corridor
Hiders are arguably the most annoying enemies in the game because they spawn in groups and target your inventory. They camouflage against walls, blending in by mimicking nearby colors, then leap off and chase you once you get close. If you are holding an item when one catches you, it steals it and stuns you. If your hands are empty, it deals 10 Sanity damage instead.
Heavy breathing and a faint outline on the wall are your early warning signs. Getting a good look at walls before entering a room can save you from losing a key item mid-shift.
Weaknesses: Fire extinguisher, taser, gun, fire, outrunning it, or luring it toward the Bed Monster, which will pull it under.
The Ghost only spawns after a patient dies, so preventing patient deaths also prevents Ghost appearances. It roams the entire hospital, can open and close doors, and turns invisible at will. While it is near you, it drains 2 Sanity every second through its Ghostly Presence effect, which adds up fast during a busy shift.
Look for floating white particles and unexplained door movements to track it before it gets close. A taser or gun eliminates it cleanly; a fire extinguisher can reveal it if it has gone invisible.
Weaknesses: Taser, gun, fire, or revealing it with a fire extinguisher first.
The Head Banger appears between Shifts 2 and 5 and occupies the check-in window, blocking your ability to use the shutters. This indirectly makes it harder to reject incoming anomalies, so it creates a compounding problem. Telling it to leave without offering coffee triggers a 20 Sanity jump scare, which is one of the highest single-hit Sanity costs in the game.
Appearance: a white cat-like creature with hollow black eyes and a sad expression. Its exact look can vary slightly depending on active anomaly features.
Weaknesses: Give it coffee to send it away safely, wait for it to leave on its own, or shoot it.
The Bed Monster sits beneath beds in Rooms 1-5 and Room 7, waiting for anything to step into its red zone. Players, patients, and even Hiders are all valid targets. When it grabs a player, it removes 10 Sanity immediately and then drains an additional 5 Sanity every 2 seconds while you struggle free. Any patient it catches dies within 30 seconds.
The Bed Monster is one of the few enemies that can eliminate another threat: Hiders lured into its range get pulled under and removed from the run, which is a legitimate strategy worth knowing.
Weaknesses: Feed it Maple Syrup, a Transplant, or an Organ to make it disappear.
Bed Monster under patient bed
The Mass of Eyes clings to the ceiling and deals between 2 and 5 Sanity damage every half second if you look directly at it. That drain rate is among the fastest in the game, and it can collapse your Sanity bar in a matter of seconds if you are not paying attention. A warning message reading "Don't look up" and unusual lighting changes signal its presence.
It can appear in patient rooms and the reception area starting from Shift 2. The fix is simple in theory and harder in practice: keep your eyes off the ceiling.
Weakness: Eyedrops calm it down. Avoiding upward glances prevents the drain entirely.
The Tendril only shows up in Room 8, emerging from a patient who is recovering from surgery and suddenly reports feeling strange. It does not attack players directly at all. Instead, it starts an emergency timer, and if you fail to complete the correct removal surgery before that timer expires, the patient dies. Using weapons or other items on it makes things worse.
Appearance: a large purple fleshy mass with long tentacles growing from the patient on the operating table.
Weakness: Complete the Tendril removal surgery using the correct treatment sequence within the time limit.
The Shapeshifter is the most deceptive enemy in Animal Hospital because it looks exactly like a normal patient until it decides to reveal itself. Once it transforms, it targets the nearest player or patient and drains 6 Sanity roughly every half second. If it attacks a patient before you react, it can trigger an emergency that compounds your problems.
Appearance: transforms into a white creature with a massive tooth-filled mouth, sharp fangs, and green slime.
Weaknesses: Taser, gun, or multiple players fighting it in melee simultaneously.
The Camera Figure is unique because it only exists through the security camera feed. It appears on broken cameras and slowly zooms toward the screen the longer you watch. If it fills the screen, you get a 20 Sanity jump scare. The fix is straightforward: repair broken cameras promptly and switch away from any feed that looks suspicious.
Appearance: a shadowy cat-like figure with glowing red eyes, crooked teeth, and black particles surrounding its body.
Weaknesses: Repair broken cameras or switch camera feeds before it closes in.
The most dangerous scenarios in Animal Hospital involve overlapping threats. A Ghost draining your Sanity while a Bed Monster waits in the room you need to enter, or a Shapeshifter transforming mid-shift while you are already handling a Tendril in Room 8, are the situations that end runs.
Prioritizing threats by their Sanity drain speed helps. The Mass of Eyes and Shapeshifter hit the fastest, so those require immediate responses. The Ghost is slower but persistent, so tracking it while handling other tasks is viable. The Tendril and Head Banger are time-gated problems that punish you for ignoring them too long rather than for engaging them directly.
Choosing the right class before a shift starts also matters significantly. Certain classes give access to weapons like the taser and gun that counter multiple enemy types, while others provide items like Eyedrops that handle specific threats. Pairing your class selection with knowledge of which enemies are active in a given shift is the most reliable path to a clean run.
Roblox has a wide variety of horror and survival games that follow similar enemy-awareness patterns, and Animal Hospital sits near the top of that category for mechanical depth. If you enjoy games that reward knowledge over reflexes, the enemy roster here is genuinely well-designed.
For more hidden content and secrets across other Roblox titles, the Roblox Catch a Monster rubber duck locations guide covers a completely different kind of challenge that rewards exploration. If pets and collection mechanics are more your speed, the Catch and Tame breeding recipes guide breaks down every recipe from Rare to Mythical with success rates.
For the full collection of Roblox survival, horror, and adventure game guides, the Roblox guides hub has everything organized by game.