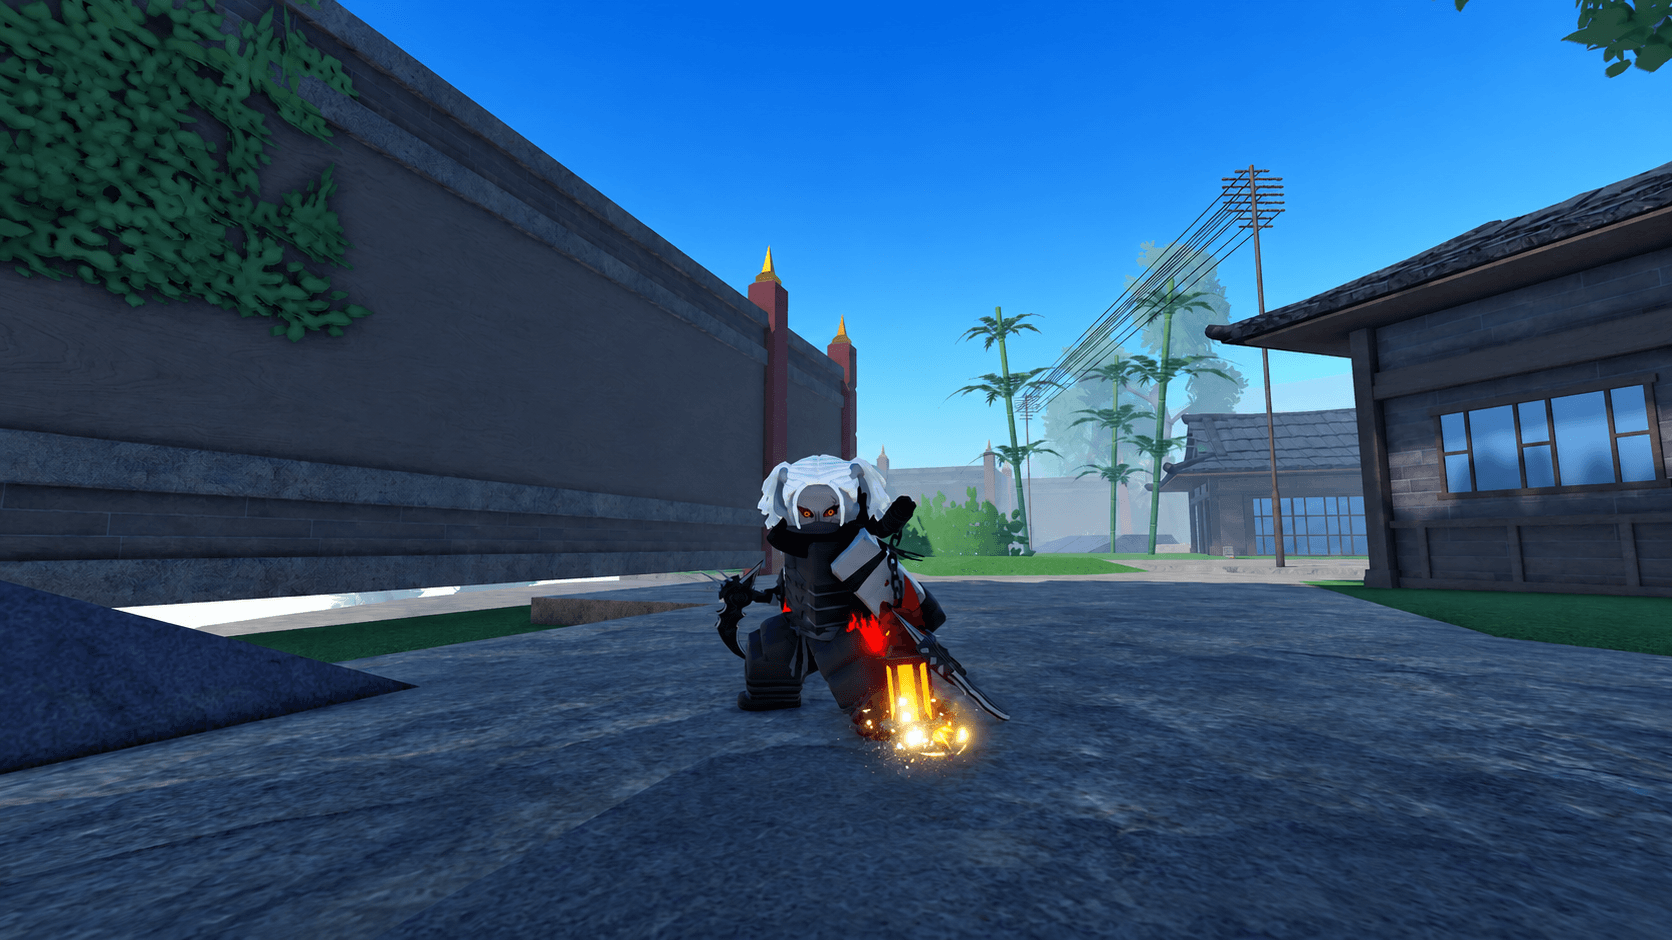


Picking a Blood Demon Art in Slayers 2 is one of the most consequential decisions you make as a Demon. The wrong choice doesn't just slow your progress, it actively makes every fight harder than it needs to be. This tier list ranks all nine launch Arts across PvP, PvE, and clan bossing, with honest tradeoffs for each.
Slayers 2 Blood Demon Art tier list
S-tier Blood Demon Arts
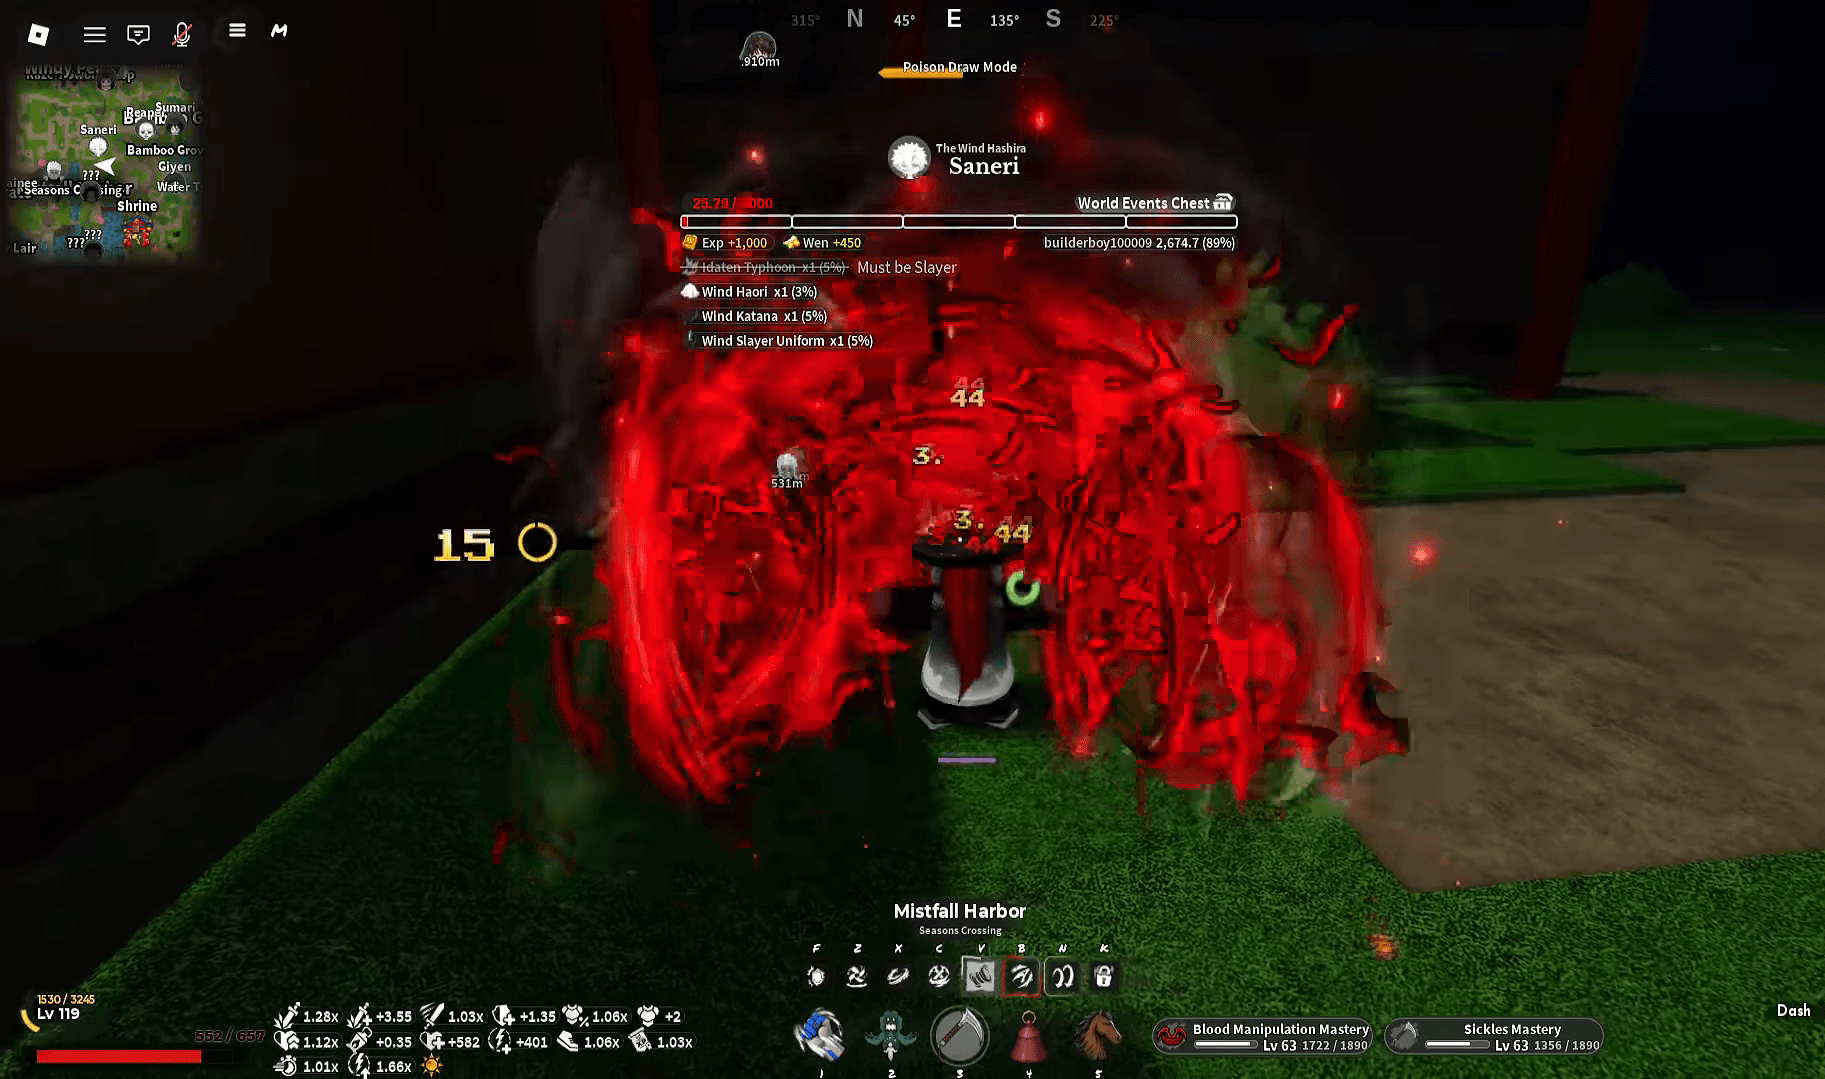
Slayers 2 Ultimate Blood Demon Art Tier List
Ice Manipulation (also called Cryokinesis)
Ice Manipulation earns S tier through flexibility rather than one overpowered attack. Its kit includes Wintery Icicles, Cold White Princesses, Barren Hanging Garden, Freezing Cloud, and Bodhisattva, each covering a different range or threat type.
The key habit to build is staying active after casting Wintery Icicles. The second input erupts spikes beneath the target, and the smart play is threatening a weapon follow-up during that pressure rather than standing back waiting for the animation to finish. Cold White Princesses functions as the primary control tool, offering both a restraint and a counter option that punishes opponents who push in recklessly.
Hanging Garden and Freezing Cloud both have distance-dependent variants, so the range you're standing at determines which version fires. Getting that wrong wastes an opening, and Bodhisattva still needs a sensible damage window to matter. Strong AoE doesn't make every cast free.
For clans, Douma provides a valuable escape layer through Speed & Reflex clone returns and the Extrasensory Perception dodge, while Shabana supports coordinated group damage. Neither of those is an Ice-exclusive bonus, but both pair naturally with how the Art wants to be played.
Blood Manipulation (also called Blood Sickle)
Blood Manipulation sits in S tier specifically for coordinated content. Its repeated-hit barrages keep a damage window open long enough for party members to add their own basic attacks, which compounds the total output significantly against bosses.
The coordination requirement is real, though. An ally's knockback can move the target out of everyone's damage zone if nobody agrees on who holds the opening and who closes it. Treating Blood Manipulation as a solo carry Art misses the point.
This Art requires a Sickle to function. Standard Sickles drop from Hoyuzo, while Blood Sickles come from Gyutai and Gyutaro. Plan the weapon acquisition before committing resources to the build, since a fresh Demon without a Sickle can't access the kit at all. Shabana pairs well here through its team buff zone and the Siblings Bond passive that rewards staying near allies.
A-tier Blood Demon Arts
Shockwave
Shockwave is the closest A-tier Art to the top two. Its kit covers Air Type, Compass Needle, Explosive Fury, Flashing Willow, and Annihilation Type, plus a Chaotic Afterglow variant.
Air Type converts a landed ranged hit into a teleport follow-up, which solves the common problem of tagging a target and then losing them before the next attack. The hit has to connect first, so this isn't free pursuit. Compass Needle is the reactive option: it counters an incoming attack and launches with Crown Splitter, giving Shockwave a punish tool alongside its offensive pressure.
The variant system is what keeps Shockwave from being a pure duel specialist. Explosive Fury provides a barrage, Flashing Willow shifts with height, and Annihilation Type responds to distance. Learning which version applies before extending a string is the skill requirement that separates good Shockwave players from great ones.
Soyama is the recommended clan here. Combat Intuition banks damage dealt into a later bonus, and Bell Splitter adds a second counter opportunity. Running two counters isn't an invulnerability loop, though. A patient opponent can wait out a stance, and a failed Bell Splitter leaves you unable to attack for two seconds.
Dream Manipulation
Dream Manipulation is a control specialist that rewards anticipating where an opponent will move rather than chasing them. Its kit includes Melodic Whisper, Ordained Flesh (also called Flesh Placement), Piercing Flesh, Flesh Barrage, and Flesh Monster.
Melodic Whisper has two distinct functions depending on spacing: the ranged version applies a slow, while the close-range version applies sleep. Following the distance cue rather than repeating the same input blindly is the first thing to practice. Sleep duration and guaranteed follow-ups are still being assessed, so a sleeping target isn't permission to queue every skill in the rotation.
Ordained Flesh establishes a remote firing source, and Piercing Flesh rewards accurate cursor placement with a grab. The weakness is that moving fights can leave the entire setup behind. A missed cursor grab wastes the positioning you spent time building, and boss sleep and grab resistance haven't been fully assessed yet.
Douma helps preserve the game plan through clone-return positioning, while Shabana suits groups that can coordinate around a shared buff zone.
Reaper
Reaper earns A tier for players who want to stay in an opponent's face. Its kit includes Reap of Despair, Diving Punch, Shindo, Phantom Step, and the launch ultimate Sonido Surge.
Reap of Despair has a grounded version that advances into an assault and knockdown, and an airborne version that uses rotating slashes. Diving Punch adds a descending attack, so height determines which approach makes sense. The trap most players fall into is spending every movement skill chasing one target and arriving at the exchange with nothing left for a follow-up or retreat.
Phantom Step sends the opponent away, which changes the next approach angle. Keep one movement option in reserve. Reaper's group PvE case is stronger than early impressions suggested since its barrages can open room for allied basic attacks, though solo farming offers fewer opportunities to exploit that overlap.
Soyama rewards the sustained contact Reaper naturally generates through Combat Intuition. Kamado is an alternative route through close-range guard disruption and a short in-combat regeneration window.
B-tier Blood Demon Arts
Explosive Blood (also called Blood Burst)
Explosive Blood sits in B tier because its burst damage is real but its escape problem is also real. Some sequences allow an opponent to block or dash away before the damaging part lands. The tornado has worthwhile potential, but only if the target stays in it.
The practical approach is using Explosive Blood after allied control or to punish a committed attack rather than throwing it at a player already backing away. Kamado's Headbutt knocks the target down and disrupts guard for three seconds, which creates a more reliable setup window.
Keep this Art separate from Blood Manipulation in your thinking. Explosive Blood is a different kit with Blood Rupture as its launch ultimate. Don't build around assumed lifesteal or self-damage mechanics that haven't been confirmed.
Arrow (also called Arrow Manipulation)
Arrow's main practical advantage is that it doesn't require a weapon prerequisite, making it more accessible early than Blood Manipulation. Its kit includes Arrow Flight (with two distinct functions) and Arrow Eruption, with additional move names still being assessed.
Arrow Flight provides elevated movement that changes your approach angle and positioning. It doesn't mean permanent safety from melee or unlimited flight. Arrow Eruption and the ranged target-lift tools can create openings, but displacement needs coordination: moving a target away from an ally's attack is counterproductive if nobody communicated the plan.
Yahaba supports longer exchanges through Arrow Regen, which grants stamina regeneration speed after an Arrow skill lands. Disruption Pulse adds a nearby knockback and debuffs. This is regeneration support, not the instant stamina refund that Susumaru provides for Tamari.
Obi Manipulation
Obi Manipulation is an early duel specialist in B tier. Its mix-up potential makes a stronger case in PvP than in routine farming, but the complete move names, recovery frames, and sustained PvE rotations are still being assessed, which makes it hard to place higher with confidence.
A mix-up only works if both options threaten something the defender has to respect. Using a different animation doesn't force a different choice unless there are real consequences attached to each path. Individual guard breaks, grab behavior, and safe starters need more assessment before any guaranteed Obi route can be claimed.
Shabana supports coordinated play through Siblings Bond and Core Detachment's temporary buff zone. Douma is a defensive alternative for recovering position after a bad exchange.
C-tier Blood Demon Arts
Tamari (also spelled Temari)
Tamari is usable for ranged PvE, but it makes a weaker general recommendation than the alternatives at launch. Its full kit includes Spinning Throw, Tamari Dunk, Piercing Kick, Tamari Meteor, and Spiraling Shot.
Spinning Throw's tap input applies a slow on hit, which helps pressure movement before the next aimed attack. Holding it produces a larger volley, but spending extra time preparing it requires a suitable opening that isn't always there. Tamari Dunk offers a stun-and-explosion sequence, Piercing Kick enables another input after contact, and Spiraling Shot carries its target away, so plan around where the sequence ends rather than assuming a melee hit fits afterward.
The Susumaru clan changes the resource picture. Landing a Tamari skill restores 5% Max Stamina and grants a short damage bonus, which means accuracy directly supports sustained offense. The problem is that a missed shot costs the follow-up and the stamina refund simultaneously. Mobile opponents make cursor placement harder, and Spiraling Shot moves the target away from the next melee hit.
What is the best Blood Demon Art in Slayers 2?
Ice Manipulation is the strongest overall pick right now. It covers more situations than any other Art on the launch roster: area pressure, close-range catches, ranged variants, and a counter option that punishes approaches. The ceiling is high and it rewards learning distance management, but that technical demand is exactly what makes it durable across both PvP and PvE.
Blood Manipulation is the go-to for coordinated boss farming. Its sustained barrages create shared damage windows that let your entire party contribute basic attacks during the same sequence, which is a genuine advantage in group content that most other Arts can't replicate.
If neither of those fits your playstyle, Shockwave is the next best hybrid pick for players who prefer counter-based aggression over area control.
How to unlock Blood Demon Arts in Slayers 2
Becoming a Demon through Muzan's questline is the first step. After that, use the Biwa Bell to return to his lair and request power. Evil Art Orbs can also come from eligible chests. Consuming an orb for your chosen Art triggers a training quest, and completing it unlocks the Art. Attacks then require Skill Tree investment and mastery to access, with some ultimate skills requiring boss drops rather than mastery alone.
Blood Manipulation has an additional requirement: you need a Sickle equipped. Plan that weapon acquisition alongside the Art rather than treating it as an afterthought. Exact current roll costs and individual training requirements are still being confirmed.
Slayers 2 Ultimate Blood Demon Art Tier List
Best Demon Art by playstyle
- Flexible control and AoE: Ice Manipulation. Learn the close and ranged variants before attempting longer strings.
- Group bossing and sustained damage: Blood Manipulation. Coordinate damage windows with your party rather than playing as separate solo fighters.
- Counter-based aggression: Shockwave. Capitalize on ranged contact and well-timed counters.
- Setup-focused PvP: Dream Manipulation. Cursor placement and anticipating movement matter more than rapid casting.
- Mobile melee pursuit: Reaper. Track where each entry and finisher leaves you before committing.
- Early ranged PvE: Arrow is worth keeping while you build out the character. Tamari with Susumaru remains a niche option for players who can land its projectiles consistently.
For more Roblox guides covering games with similar tier list decisions, check out the Anime Vanguards best units tier list for Update 11.5 meta picks, or the A Universal Time tier list if you want to see how Stand rankings work in a different combat system.