
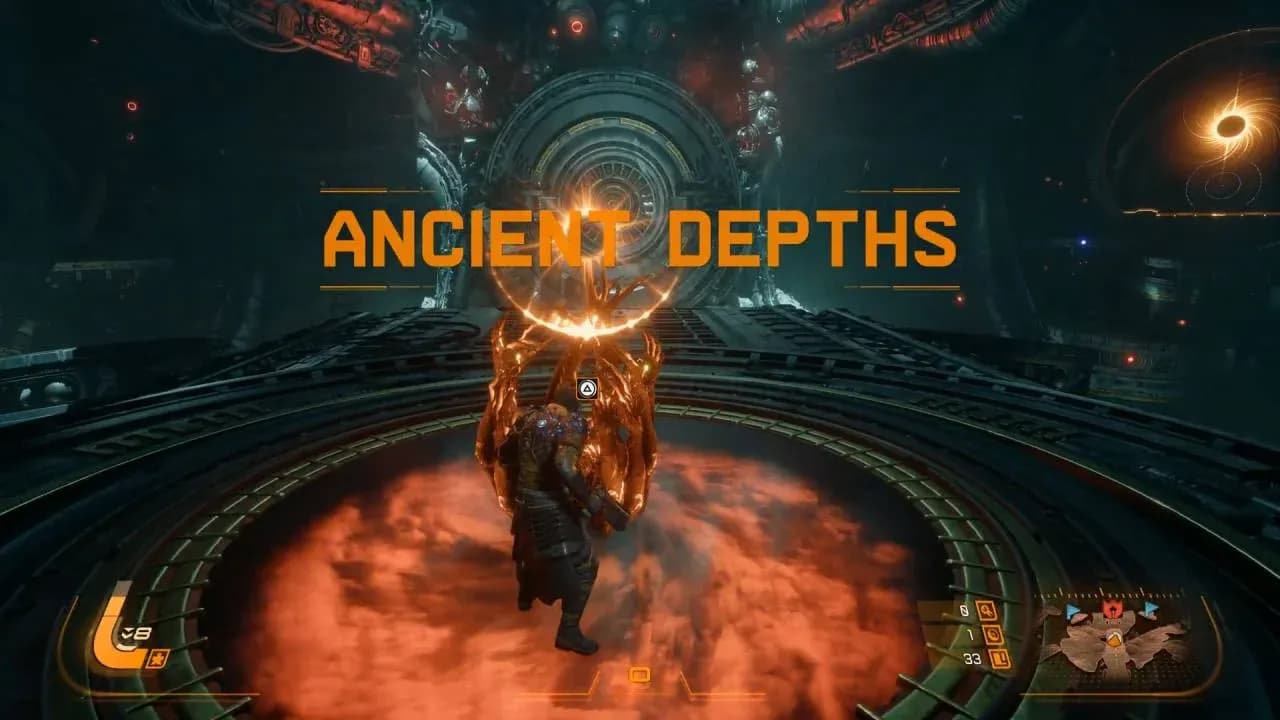
Saros Ancient Depths: everything you need to know
Ancient Depths is the second biome in Saros, and it hits noticeably harder than Shattered Rise. The zone is a subterranean industrial complex built around Lucenite extraction, full of mechanical enemies you haven't seen before and a boss fight that drops you in with zero warning. This guide covers the full walkthrough, every secret room worth knowing, and a phase-by-phase breakdown of the Bastion boss fight so you know exactly what to expect.
Ancient Depths central chamber
How to get through the Ancient Depths walkthrough
As soon as you arrive, you'll land in a large central chamber dominated by the Eclipse pedestal in the middle. Two tunnel pathways branch off from this room, and you need to activate a button at the end of each one to open the Depths Vault door directly opposite the pedestal.
The catch is that one of those paths is sealed behind a yellow eclipse shield. You can take the open path first, fight through the rooms, defeat the enemies in the Solar Cage (which spawns a Devastator as the alpha enemy), and then use the teleporter to reach the chamber with the first Vault Device. Melee through the red shield blocking the pedestal, interact with it, and this will both deactivate the blue shield on the sealed path and activate the Eclipse pedestal in the central chamber.
Drop back down, head to the center, and interact with the Eclipse pedestal to summon the Eclipse. This brings the environmental machinery to life: pillars shift up and down, platforms rotate, and lasers fire across your path. More importantly, it drops the yellow shield blocking the second tunnel.
Fight through the second path (another Solar Cage with a Devastator waits), activate the second Vault Device, and return to the central chamber. The circular gateway will now be open.
On repeat runs, you can activate the Eclipse immediately upon arrival to maximize Lucenite collection throughout the entire biome and access both paths from the start, as noted in IGN's guide.
What is the Soltari Shotgun and where do you find it?
Shortly after entering Ancient Depths for the first time, you'll pass a sealed gate with a Soltari Shotgun sitting on the ground inside. Picking it up opens the gate and spawns two Custodians to test it on. This is your first weapon pickup in the biome, and it's worth grabbing before you tackle anything else.
What are the points of interest in Ancient Depths?
The central chamber has three side rooms worth checking before you commit to the main objectives.
- Hidden vent room: Directly beneath the central platform near the Eclipse pedestal, there's a non-active circular vent. Drop through it and you'll always find two rectangular containers with loot.
- Smoke Hologram Room: A side chamber off the main hub where a large volume of smoke fills the center and takes various forms, depicting transformation caused by the Eclipse. Two rectangular containers are also here.
- Grapple Room: A room with a large drop and a platform on the far side loaded with resources. You can see a floating device in the air between you and it, but you can't cross until you unlock the Grapple ability later in the game. Come back.

Hidden vent loot room
Ancient Depths enemies: who are you fighting?
Six new enemy types appear in this biome. Knowing what each one does before you run into a room full of them saves a lot of health.
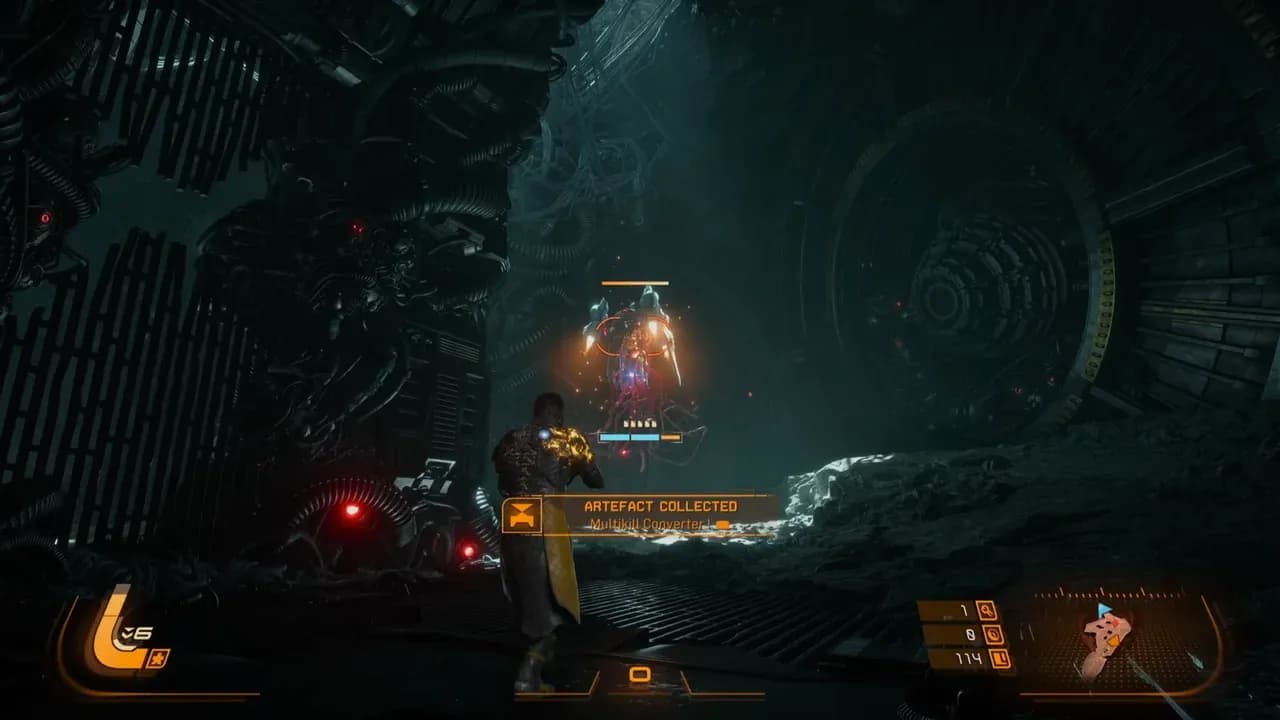
The Devastator is the one that causes the most trouble. It appears as the alpha enemy in Solar Cage rooms, and its attacks come from multiple points on its body. Paying attention to which section just fired tells you where the next attack originates.
The red laser traps on the left and right sides of the Bastion arena are live during the entire boss fight. Stay away from the arena edges.
Devastator Solar Cage fight
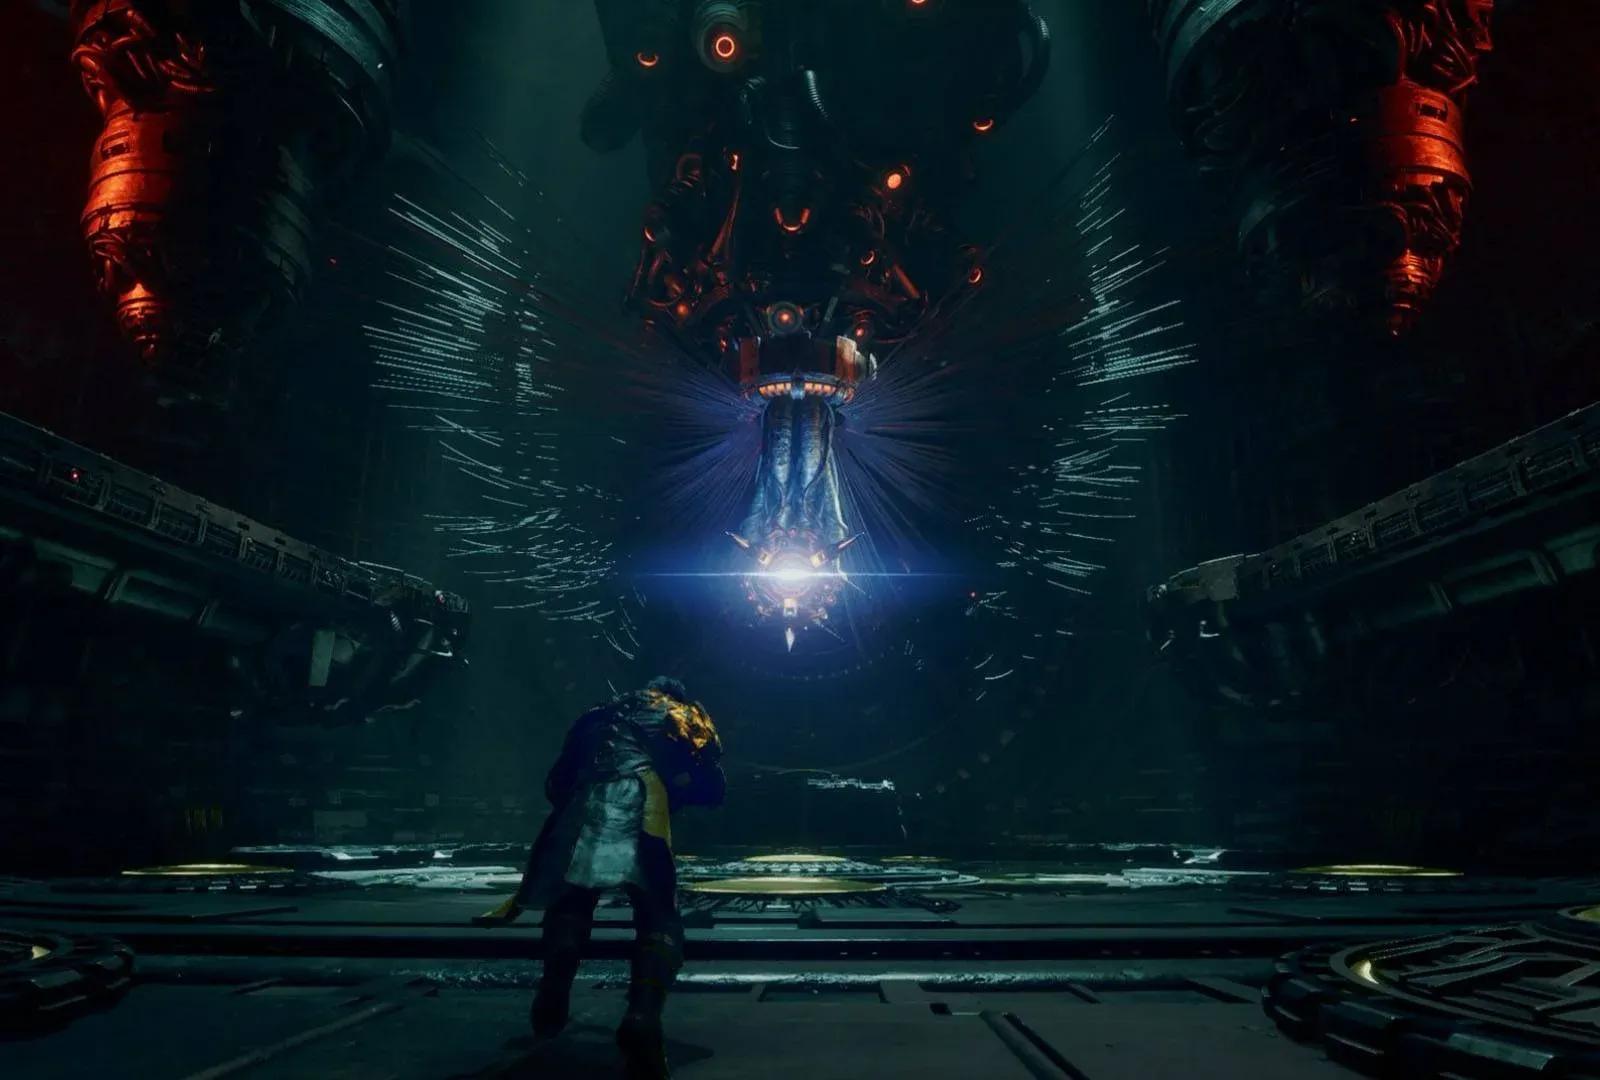
How to beat Bastion in Saros
Bastion is the second boss in Saros, and unlike Prophet, there's no cutscene before the fight. The moment you drop into the arena, the Bastion turret descends from the ceiling wiring and starts attacking. Be ready before you jump down.
The arena has jump pads scattered across the floor and suspended upper platforms you can reach with them. Red laser panels line the upper platforms, so don't linger there. The jump pads are your best tool for surviving Bastion's ground-level shockwave attacks.
Bastion phase 1
Bastion cycles through several attacks during the first phase:
- Projectile walls: Bastion fires two projectiles downward that generate walls of blue or yellow energy traveling across the arena. These come in multiples, so don't relax after dodging the first one.
- Laser beam shockwaves: A laser fires straight down into the ground and pulses out circular yellow shockwaves that grow taller with each wave. Use the jump pads to clear the high ones.
- Star cluster: A large star-shaped cluster of yellow projectiles fires toward you, but they aren't homing. Rush to one side to avoid the whole thing.
- Spiral attack: A large spiral of blue and yellow projectiles. In phase 1, the center is blue and the outer strands are yellow. Summon your Shield and stand in the path of the center to safely absorb it.
- Tracking laser beam: Bastion locks a faint laser on you, then fires a solid damaging beam that tracks your movement. A vortex of blue projectiles surrounds it for the duration.
A reliable method for the tracking laser is to wait in the center of the arena until the beam solidifies, dash to one side, then get to either far edge and use the jump pad to bounce up to the upper platforms. Drop back toward the center and the beam will dissipate behind you.
Firing your Power Weapon at Bastion mid-attack can actually interrupt the next attack in its sequence, giving you a brief window to reposition.
Bastion phase 2
After depleting the first health bar, Bastion retreats into the ceiling. Two yellow lasers appear on each side of the arena and stay there for the rest of the fight, shrinking your movement space. Before Bastion comes back down, you need to destroy several Guardian turrets that spawn around the arena, including on the upper platforms.
Once Bastion returns, the attacks from phase 1 return with changes:
- Projectile walls can now include red projectiles in addition to blue and yellow. Use jump pads to clear the red ones.
- The spiral attack inverts: the center is now yellow and the outer strands are blue. Bastion alternates between this version and the original phase 1 version, so pay attention each time it winds up.
- Frozen projectile field: Bastion fires hundreds of small blue projectiles that spread out and freeze in place throughout the arena, then fires a ground laser to create shockwaves that force you to jump into the hanging projectiles. The counter: hang back away from Bastion and the frozen projectiles dissipate before the first shockwave reaches you.
- Homing yellow clusters: Bastion aims left, then right, firing small clusters of yellow homing projectiles in each direction. Keep moving and dash left or right as they close in.
Bastion phase 3
After the second health bar drops, another wave of Guardian turrets spawns. Some are now shielded with a red bubble. You have to get close and melee them to break the shield.
When Bastion drops back down, every attack from phases 1 and 2 returns, faster. The spiral's center can now be red Nova projectiles, and the laser beam shockwaves reach high waves much more frequently. The upper platforms become increasingly necessary to survive, just watch the burning panels.
After Bastion goes down, expect to collect between 850 and 1,000 Lucenite from the arena floor.
What happens after you beat Bastion?
After the fight, head up the slope behind Bastion's position and use the jump pad to reach the passage above. Dropping through triggers a cutscene where a disembodied woman's voice distracts Arjun, and he gets shot in the back by an alien creature. This sends him not to The Passage, but to a shelter inside Ancient Depths where he meets Lina, a member of Echelon III who was presumed dead.
After speaking with Lina, follow the path back through the now-empty Bastion arena and grab the resources in the passage behind it. You'll drop into a room full of destroyed machines and find an Audio Log from Jerome. Use the jump pads to climb out and you'll emerge into the next biome: Shattered Descent.
Before entering the Depths Vault to fight Bastion, check underneath the starting platform. There's a secret room with additional resources and chests that's easy to miss.
For more Saros walkthroughs, secrets, and boss guides, browse more guides on GAMES.GG.