
Saros from Housemarque launched on April 30, 2026, and it does not hold your hand for long. The tutorial covers the basics, but several systems stay hidden until you stumble into them the hard way. After testing runs across multiple biomes and losing progress to mechanics that were never clearly explained, the patterns become obvious. This guide pulls together everything the game quietly expects you to figure out on your own.
What do the projectile colors actually mean?
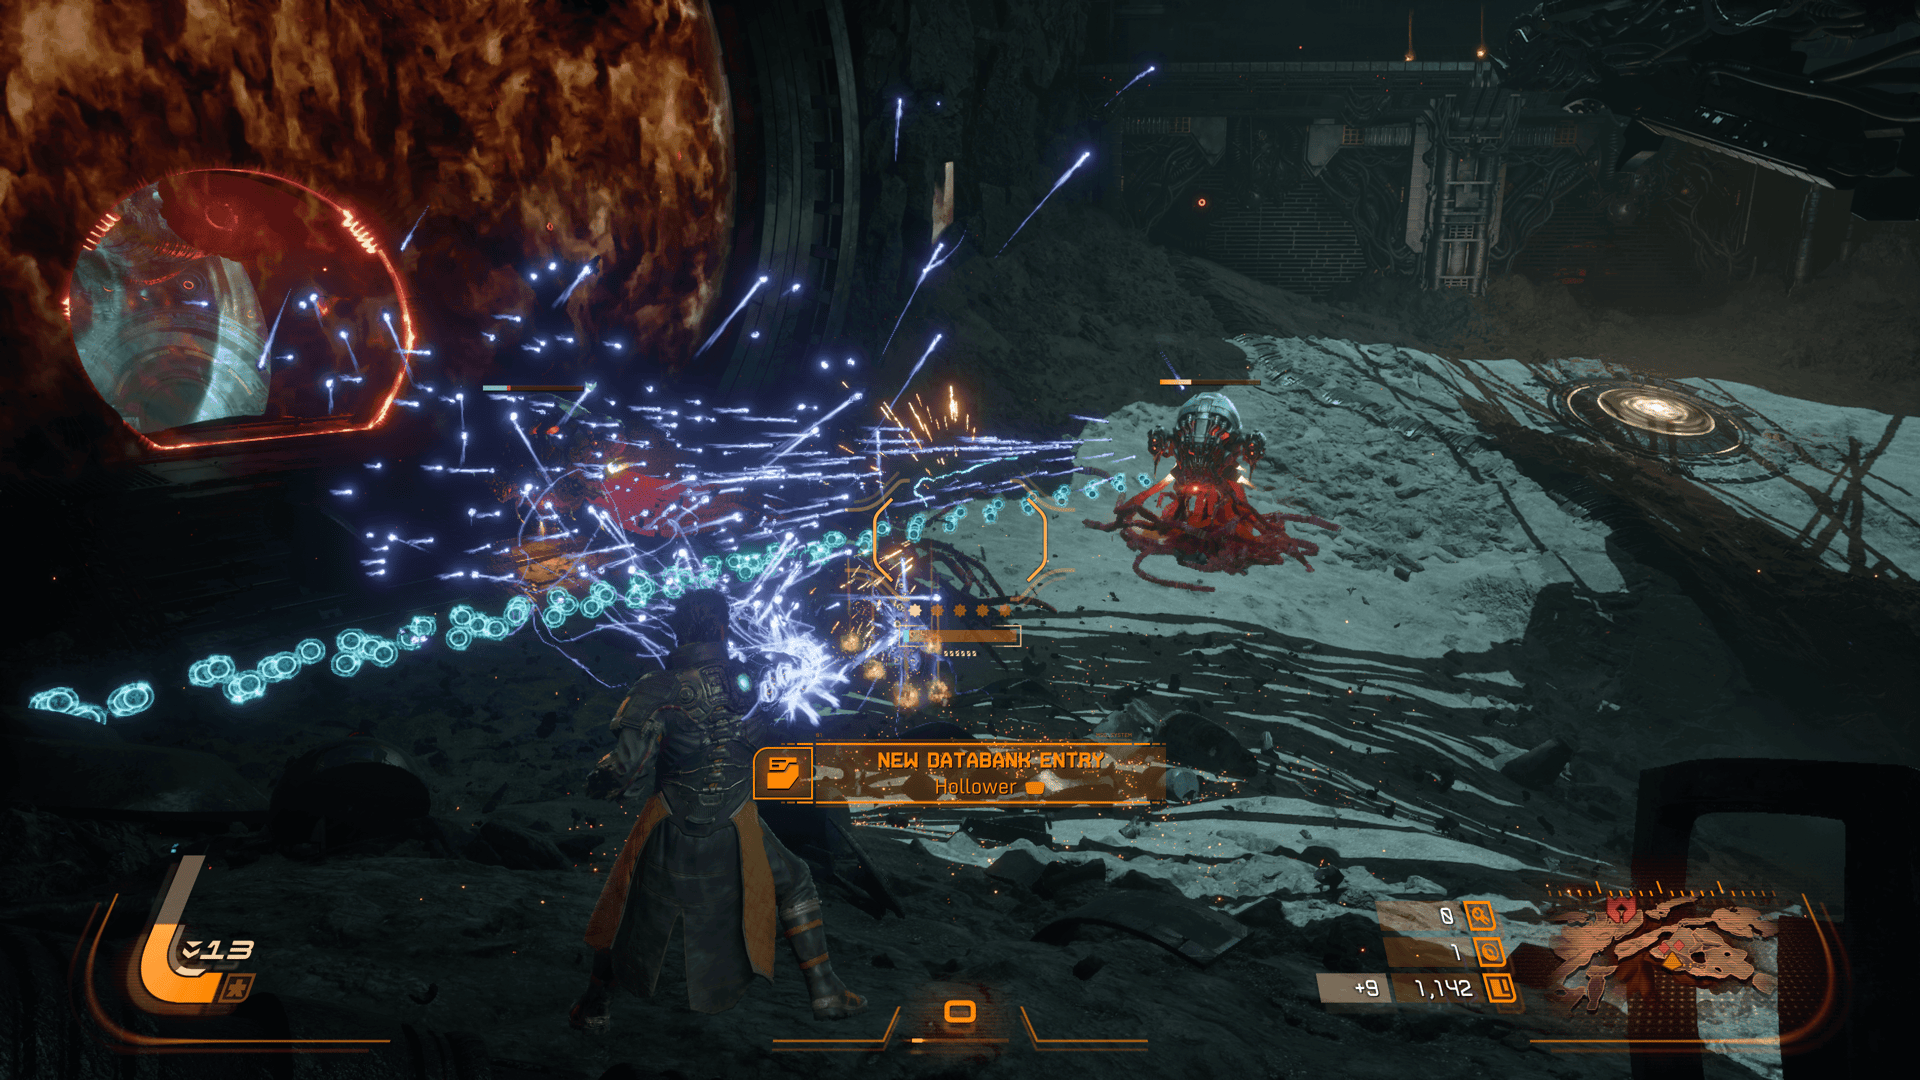
This is the single most important thing to learn before anything else. Every color of projectile in Saros behaves differently, and treating them the same will get you killed fast.
Blue projectiles are the safest. You can dash straight through them, and absorbing them with your Shield charges your Power Weapon. Actively seek these out rather than dodging away.
Yellow projectiles can be dashed through or absorbed, but doing so applies Corruption, a status effect that permanently reduces your maximum health for that run. The tradeoff is rarely worth it early on.
Red projectiles cannot be dashed through at all. You have to dodge around them. Red beams specifically need to be dodged or jumped over. Later in the game, you can parry red projectiles, but that option is not available from the start.
Saros Ultimate Beginner's Guide
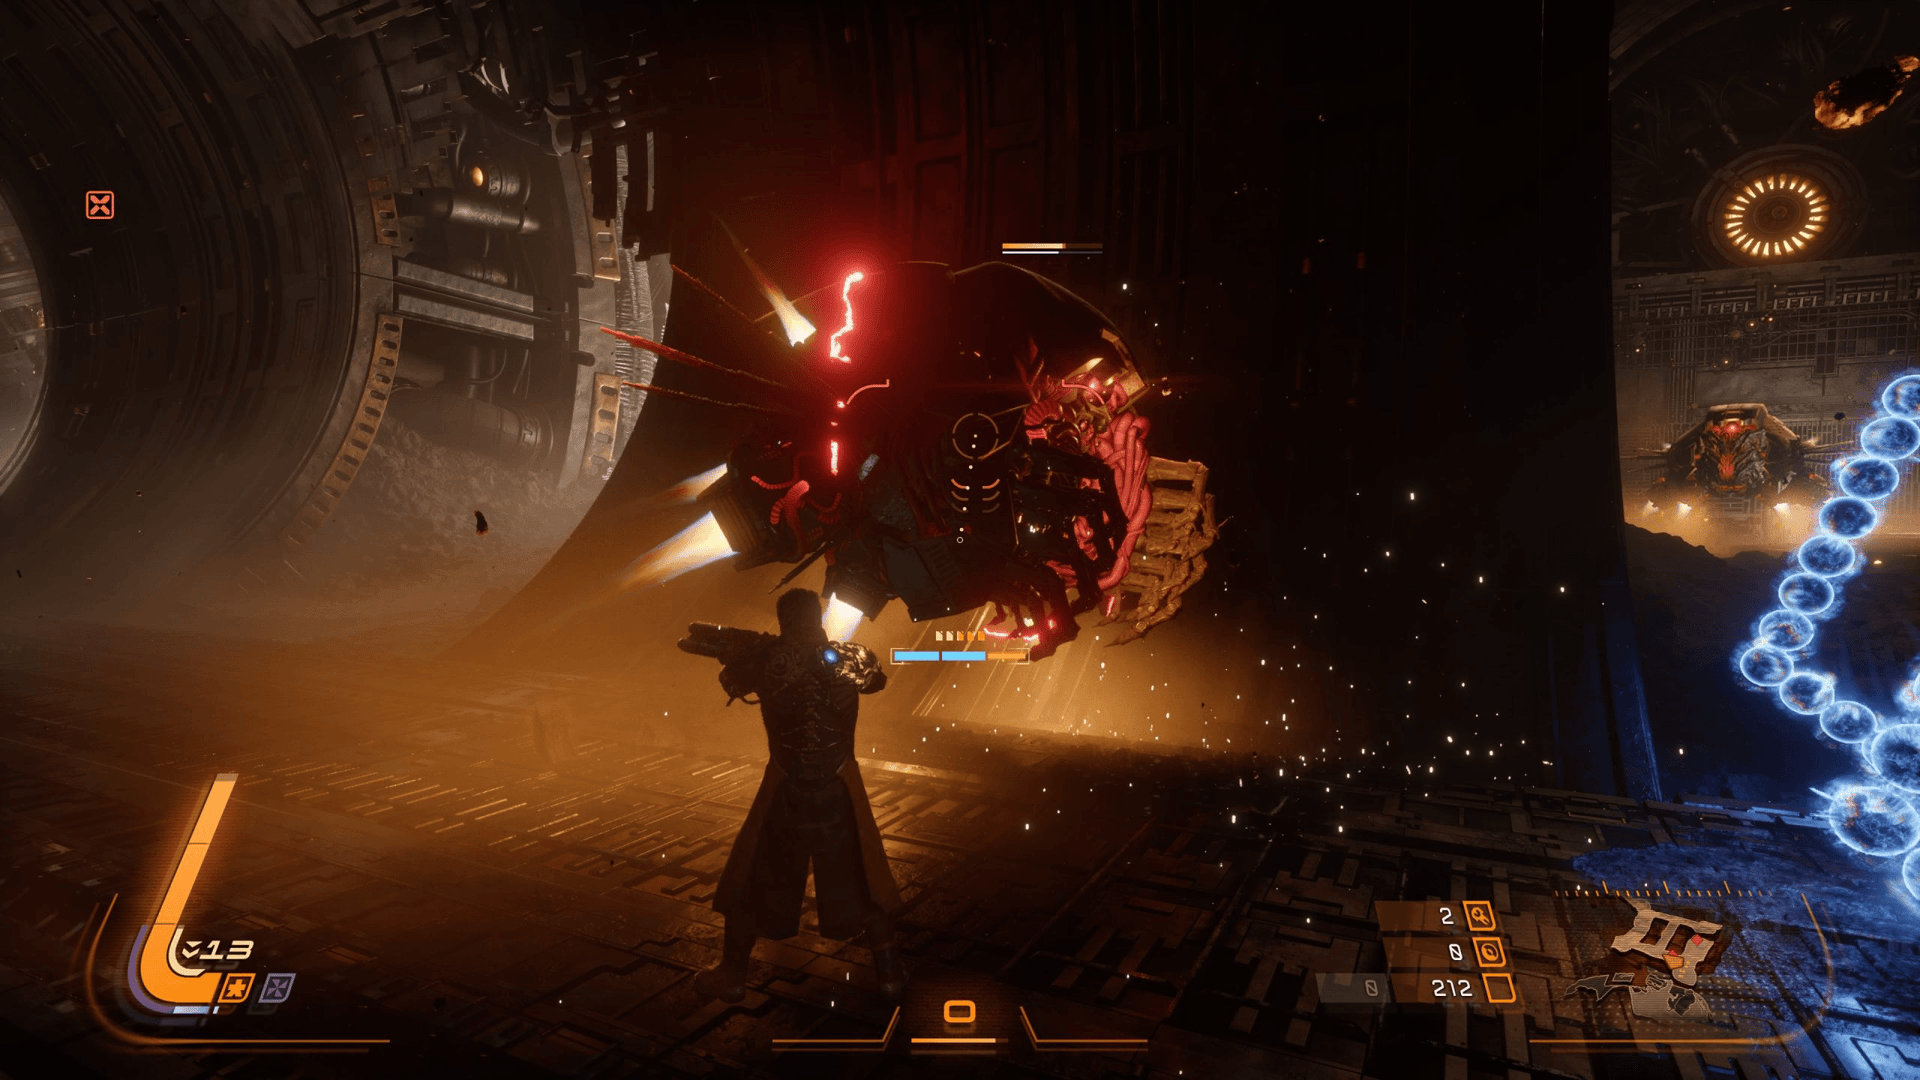
The first boss in Saros is essentially a test of whether you have absorbed these rules. If you are struggling with it, go back and practice reading the projectile colors in standard encounters first.
How does the Adrenaline meter work?
The Adrenaline meter runs from level 1 to 5 and fills the longer you avoid taking damage. Each level unlocks a passive perk during that run. You get a melee boost at level 3 and a power boost at level 5. Take a single hit and the meter resets to zero.
This creates a real tension in how you play. Building Adrenaline encourages defensive movement, but your Power Weapon charges from absorbing blue projectiles, which means you need to stay in the thick of things to charge it. Playing it too safe slows your Power Weapon buildup. Playing aggressively risks the meter reset.
Understanding the Armor Matrix and what to upgrade first
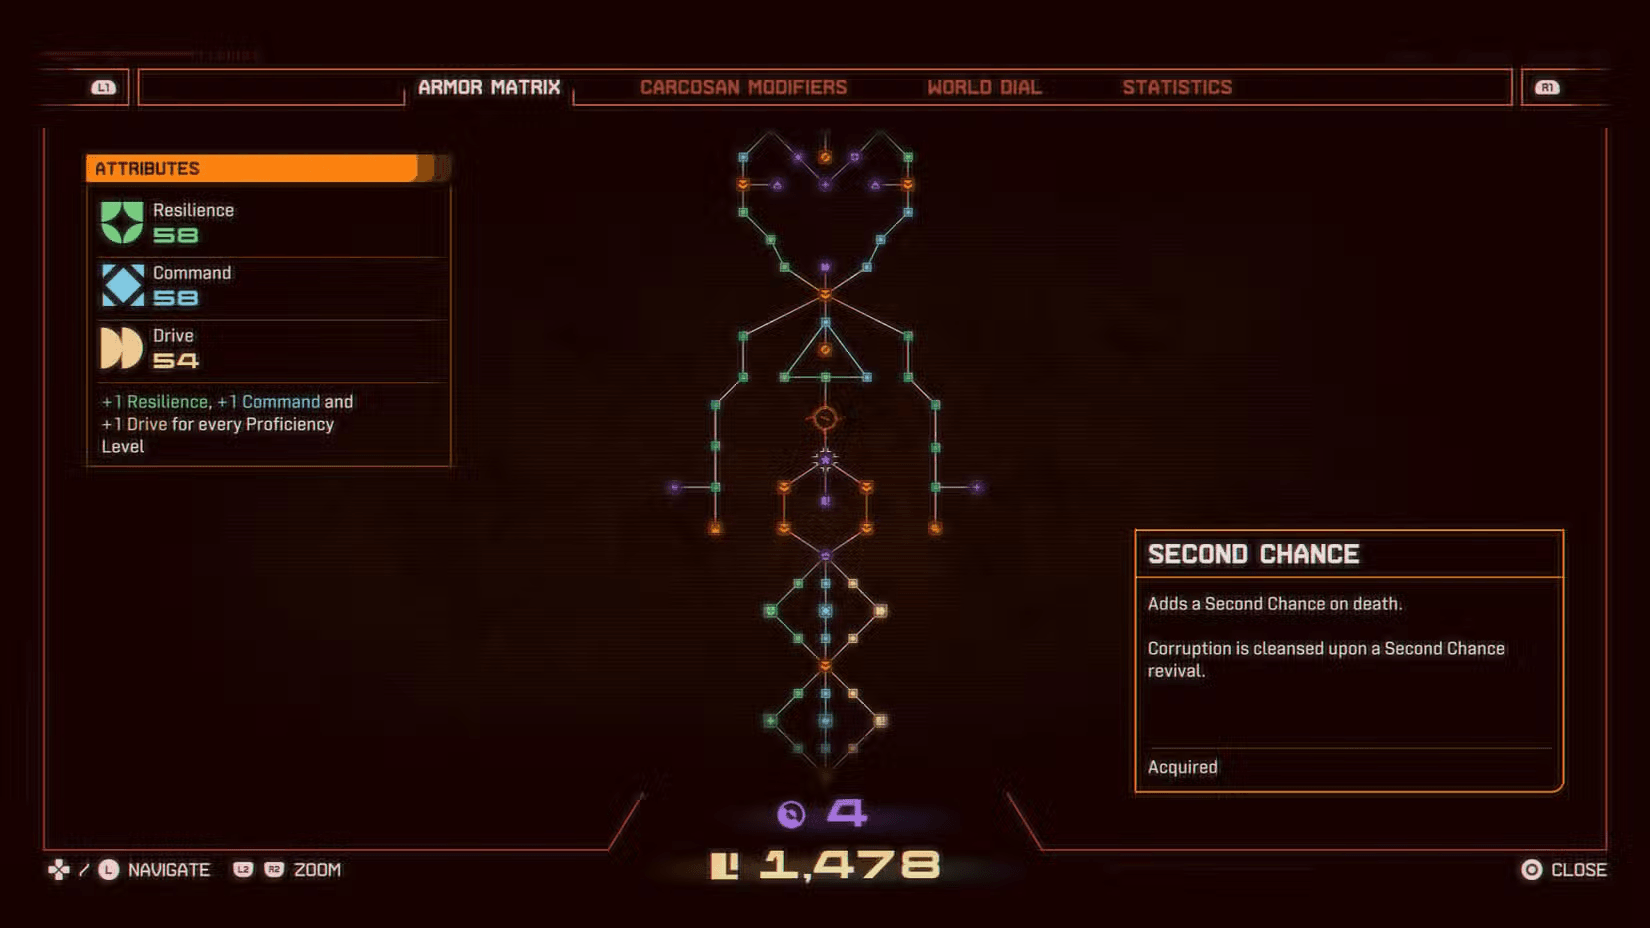
The Armor Matrix is your permanent progression system. You spend Lucinite and Halcyon at Primary to purchase upgrades. These two currencies behave very differently.
Lucinite drops from enemies and disappears quickly, so pick it up immediately after each fight. Halcyon is rarer and tends to be hidden in secret locations throughout each biome.
The skill tree revolves around three core Attributes that shape how your character develops:
For early runs, upgrading all three roughly equally is a solid approach. The most important permanent unlock to target is Second Chance, a node on the Attribute tree that grants a full-health revival once per run. Getting this early changes how survivable each attempt feels.
Once you have Second Chance, the priority shifts depending on your goal for the run. If you are farming resources for the Armor Matrix, focus on Drive to maximize Lucinite drops. If you are pushing toward a boss kill, prioritize Resilience and Command for raw survivability and damage output.
Saros Ultimate Beginner's Guide
How does weapon scaling work in Saros?
Early in the game, picking up any weapon with a higher Proficiency level than your current one feels like an obvious upgrade. That logic breaks down once your Attribute investments become more specialized.
Every weapon has scaling that aligns with specific Attributes. Before swapping, check the icons on a weapon to see which stats it benefits from and whether those match where you have been investing. A weapon that scales with Command is much more valuable if you have been building Power capacity than one that scales with Resilience.
Also check for the Auto Hit Disabled icon before picking up a weapon. This means every shot requires manual aim, which becomes a serious problem when you are simultaneously dodging multiple enemy attack patterns. Only pick these up if precise aiming under pressure is something you are confident in.
What are Protection Modifiers and should you use them?
The settings menu contains a Protection Modifiers toggle that, when enabled, lets you run as many modifiers as you want. These are accessibility and difficulty options that make runs significantly more forgiving.
Some key modifiers worth knowing about:
- Nova Dash lets you dash through red projectiles, which are otherwise undashable
- Overlord Restoration heals you to full health immediately before a boss encounter
- Weapon Symmetry increases the chance of finding weapons similar to one you already have
- Integrity-focused modifiers reduce the damage you take from enemies
There is no shame in using these, especially on early runs while you are learning the systems. Getting further into the game and seeing more of its mechanics is worth more for long-term improvement than grinding the early biomes repeatedly at full difficulty.
Saros Ultimate Beginner's Guide
Should you clear the whole map before fighting a boss?
Yes, almost always. Even when you already have the key to a boss room, clearing the rest of the map first means more opened containers, more Artifacts found, and a higher Proficiency Level going into the fight. Skipping sections of the map to reach a boss faster is one of the most common mistakes in early runs.
The one exception is if you are specifically running a resource-focused attempt with the goal of banking Lucinite and Halcyon for Armor Matrix upgrades. In that case, prioritizing Drive upgrades and hitting every enemy encounter matters more than boss progression.
How do new tools change earlier biomes?
As you progress, you will unlock tools like the Grappling Hook and an upgraded Melee attack. These are not just useful going forward. They open up areas in earlier biomes that were previously inaccessible.
Returning to the first levels with new tools is one of the most efficient ways to find hidden containers, extra Artifacts, and Halcyon caches that were impossible to reach on your first pass. Make a point of revisiting old areas whenever you add a new traversal tool to your kit.
For more tips across all kinds of games, browse more guides on GAMES.GG to keep building your knowledge between runs.