
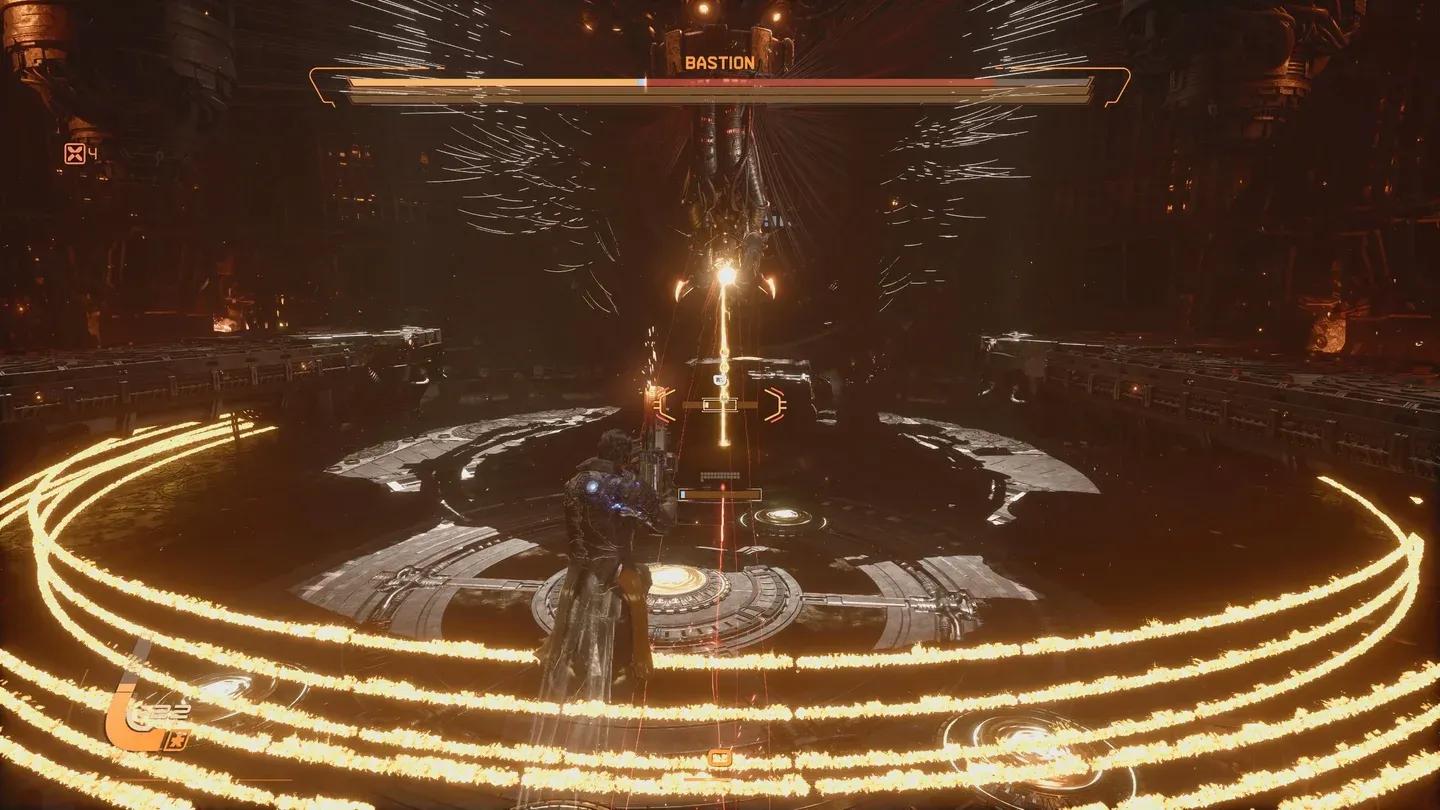
Bastion drops from the industrial ceiling of the Ancient Depths biome and immediately floods the floor with colored projectile walls, spinning spirals, and tracking lasers. This is the second boss in Saros, and it hits harder than Prophet in terms of sheer pattern density. The fight runs across three phases, each one adding a new wrinkle to a core set of attacks you need to read fast. Get the fundamentals right in phase one and phases two and three become much more manageable.
How to prepare before fighting Bastion
Bastion sits at the end of the Ancient Depths biome. According to Polygon's guide, a proficiency level of 25 or higher is recommended, though the fight is doable below that threshold. Clear every side path and collect as much lucenite as possible before you reach the arena.
For weapons, bring whatever you're most comfortable with. There are moments where getting close pays off, which makes a shotgun particularly effective, but any gun works. Prioritize attribute enhancement nodes and proficiency enhancement nodes when upgrading.
Before the fight starts, take a few seconds to learn the arena. It's a circular space with two floating platforms, multiple jump pads on the floor, and circular panels along the edges and platforms that erupt with red flames when stepped on. Stay toward the middle. The single most important thing to know before the first projectile wall hits: there is a staircase behind Bastion that completely neutralizes two of its most common attacks.
Bastion's arena layout
Firing your Power Weapon at Bastion mid-attack can disrupt the following attack in its pattern, according to IGN's wiki. Use this when you need a moment to reposition.
Phase 1: Learning the attack patterns
What are Bastion's phase 1 attacks?
Bastion cycles through five attacks in the first phase. Each one has a readable tell, and the color-coding system is the key to surviving all of them.
The projectile walls get fired several times in a row, so don't relax after dodging the first one. For the tracking laser, IGN's guide documents a reliable method: wait in the arena center, dash sideways the moment the beam solidifies, sprint to a far jump pad, bounce up to the upper platform, then dash back toward the center as you land. The beam dissipates behind you.
To deal damage, target Bastion's glowing weak spot in its mouth. According to Deltia's Gaming, you can get a free chunk of damage right at the start of the fight before Bastion launches its first attack. Keep baiting the projectile wall by staying in front of Bastion, then sprint to the staircase for free hits on its back while the wall fires forward.
Phase 2: New attacks and Guardian turrets
How do you start phase 2?
Once the first health bar is gone, Bastion retreats into the ceiling. Two permanent Yellow lasers seal off the sides of the arena for the rest of the fight. To pull Bastion back down, you need to destroy the Guardian turrets that spawn around the arena, on the floor and on the suspended platforms above.
Once Bastion descends again, the phase 1 attacks return with two changes: attacks repeat more frequently, and Red projectile walls now appear alongside the Blue and Yellow ones. Red walls cannot be walked through on the ground, so use the jump pads to clear them.
The projectile spiral also changes. The colors invert so the center is now Yellow and the outer ring is Blue. Bastion will actually alternate between this version and the original phase 1 version, so watch the center color before you commit to where you stand.
Two new attacks arrive in phase 2:
- Homing Yellow orbs: A Yellow ring appears around Bastion, then two batches of homing Yellow projectiles fire outward. Dash forward toward the boss as they arc in to avoid them.
- Blue orb field into shockwaves: Bastion scatters hundreds of small Blue orbs that freeze in place across the arena, then fires the laser into the ground to force you to jump into them. The counter, documented by IGN, is to hang back far from Bastion. The Blue orbs dissipate before the first shockwave reaches you, leaving you free to jump without hitting anything.
Don't stand on the glowing panels on the upper platforms. They deal burn damage and can punish you hard during the shockwave section when you're trying to dodge vertically.
Phase 3: The final push
What changes in phase 3?
After the second health bar drops, Bastion retreats a second time. Another wave of Guardian turrets spawns, but this time some of them have shields. Shooting them does nothing. You need to close the distance and use a melee attack to break through.
Once Bastion returns for the final phase, the attack set is identical to phase 2 with one addition: the projectile spiral can now have Red (Nova) projectiles in the center. The ground shockwaves come significantly faster and reach dangerous heights almost immediately, so constant movement is non-negotiable.
The upper platforms are usable as refuge, but the burn panels make them risky. Prioritize the jump pads and the staircase positioning over platform camping.
According to IGN's guide, defeating Bastion rewards roughly 850 to 1,000 Lucenite. After the fight, head up the small slope behind Bastion, use the jump pad there to reach the passage ahead, and you'll trigger a cutscene.
The fight accelerates significantly in phase 3. If you've been playing cautiously, this is the phase where hesitation gets punished. Commit to your dashes and keep moving even when you're not sure where the next attack is coming from.
Key positioning rules to keep in mind
- Stay in front of Bastion during normal combat to bait the projectile wall, then sprint to the staircase for the free damage window.
- Stay far back when the Blue orb field appears so the orbs vanish before the shockwaves reach you.
- Dash toward Bastion when homing Yellow orbs fire outward. Moving into the boss is counterintuitive but it's the correct read.
- Use the jump pads for Red projectile walls and tall shockwave stacks. Don't try to run around them at ground level.
- Melee shielded Guardian turrets in phases 2 and 3. No amount of shooting breaks their shields.
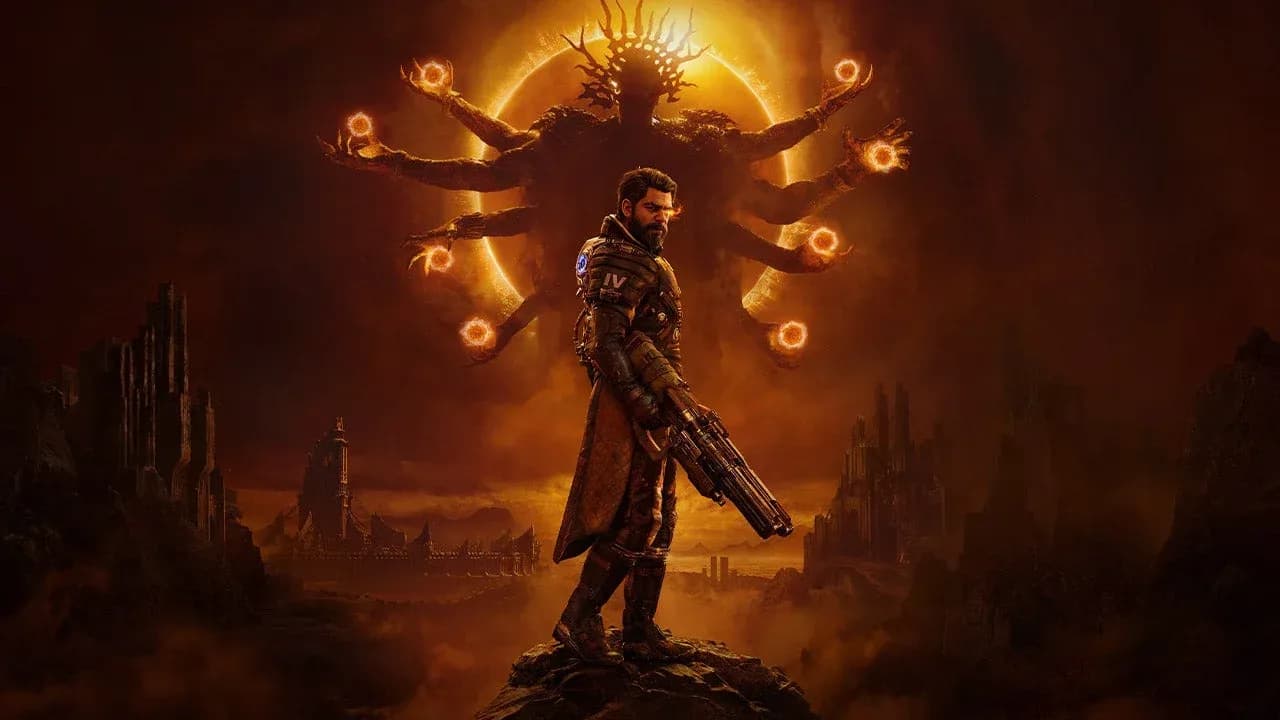
Bastion is the second of eight bosses in Saros, sitting between Prophet and Rhabdom. The proficiency and weapon upgrades you collect in Ancient Depths carry forward, so spending time on side paths before this fight pays off in later biomes.
For more Saros content and guides covering other PS5 exclusives, browse more guides at GAMES.GG.