
Shepherd is the sixth boss in Saros and arguably the most demanding fight the Acolyte's Haven biome throws at you. This Lovecraftian creature, which Housemarque describes as an entity akin to Cthulhu, fights across three distinct health bars and repositions itself between each phase, completely reorienting the arena. Every phase adds new attack layers on top of what came before, so knowing what to expect before you step onto that ship is the difference between a clean kill and a dozen failed runs.
How to prepare before entering the fight
Reaching at least proficiency level 35 before engaging Shepherd, though level 40 is the safer target. On your first attempt, you'll need to clear a side path that teleports you back to the ship. On repeat attempts you can skip straight to the ship, but clearing enemies along the way still helps build your proficiency level higher.
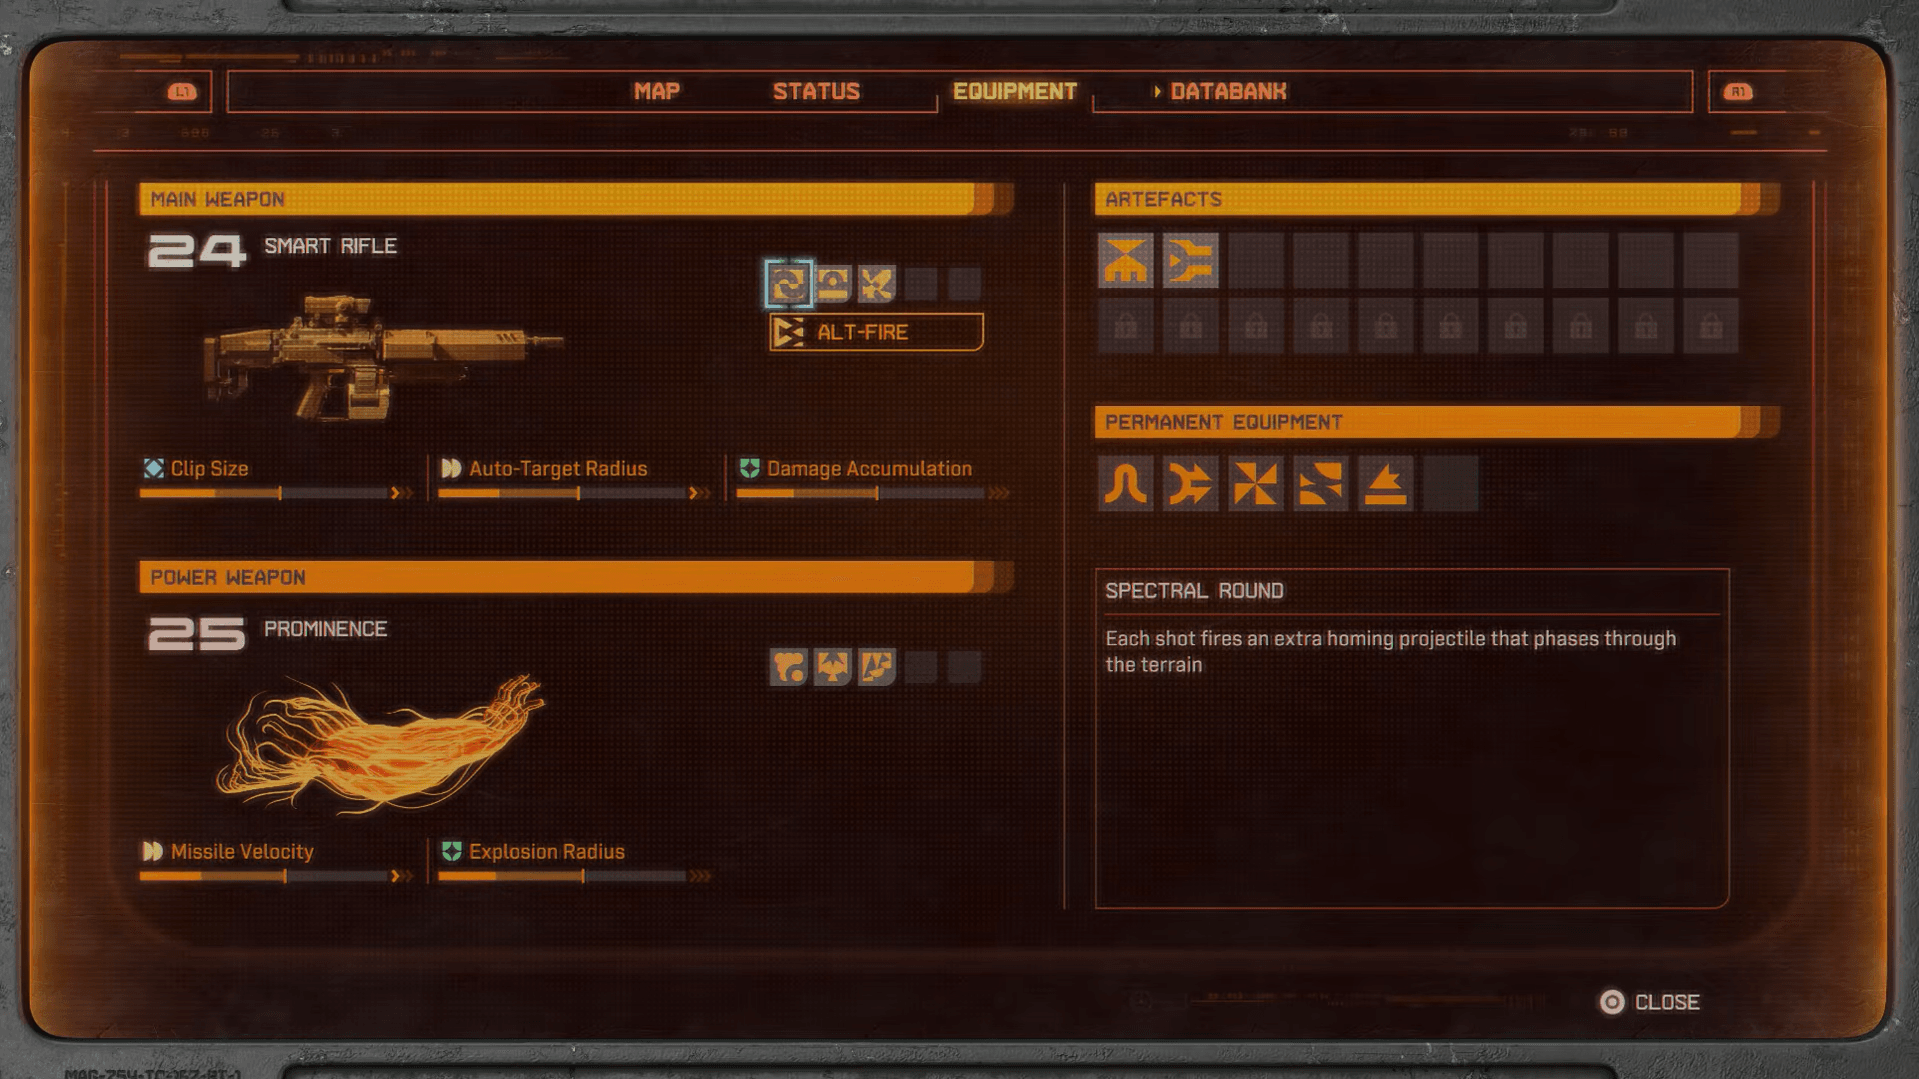
For weapon selection, the smart rifle stands out as the top pick because it doesn't require precise aiming, freeing your attention for dodging. The ripsaw chakram is a strong alternative since thrown discs stay lodged in tentacles and deal damage over time, eventually destroying them without constant targeting. For your Power Weapon slot, the prominence or nova lance both work well here given that Shepherd barely moves, making it straightforward to land a clean hit.
Saros Boss Guide: How to Beat Shepherd
Before entering the biome entirely, unlock the overdrive charger nodes to speed up Overdrive generation, and apply at least the Damage Enhancement II protection and Artifact Destruction trial Carcosan modifiers.
The golden rule: stay at the back of the ship
Keep Arjun as far from Shepherd as possible throughout the entire fight. Nearly all of Shepherd's attacks originate near its body and travel the full length of the platform toward you. Distance buys reaction time. Staying at the back of the ship applies regardless of which phase you're in or how the arena rotates.
Also worth knowing: falling off the platform does not kill you, and can actually be a viable way to dodge certain attacks.
Phase 1: Destroy the tentacles, then face the boss
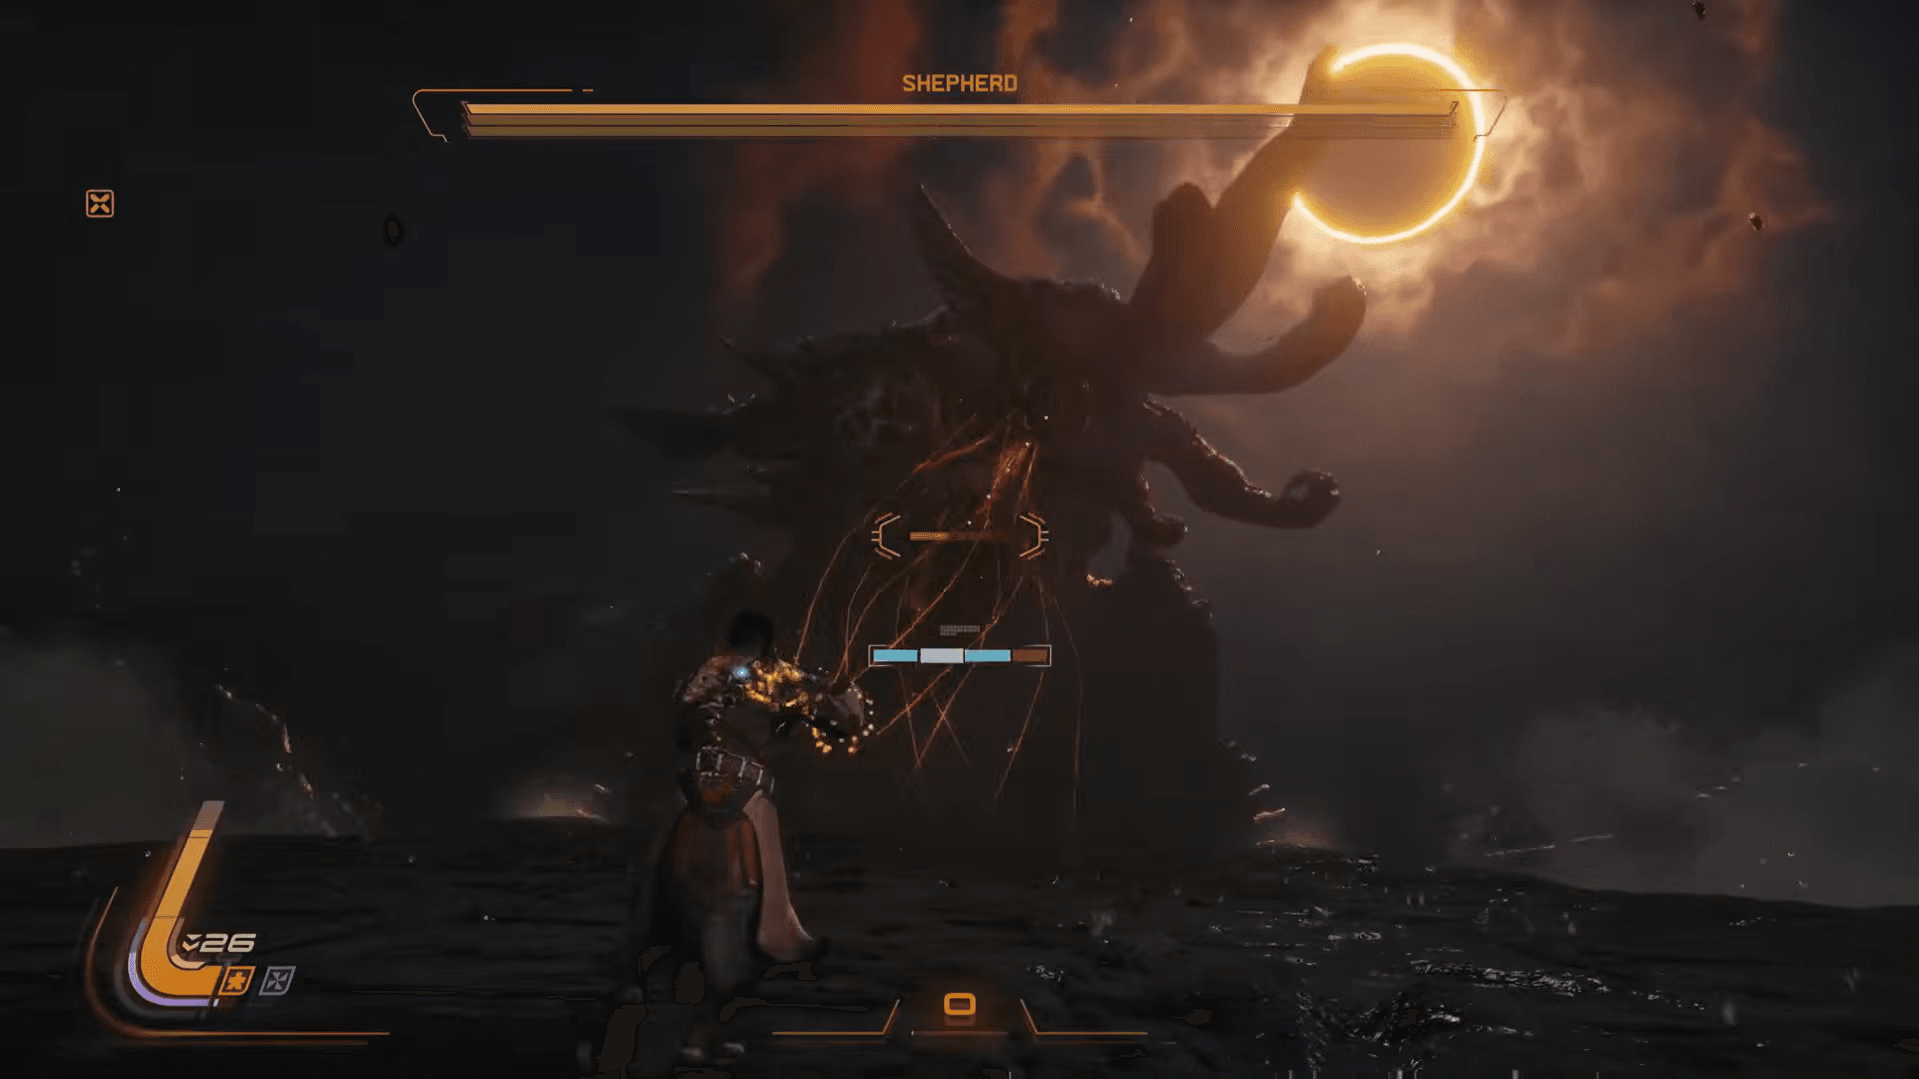
The fight opens with Shepherd completely submerged. You cannot damage its health bar yet. Your goal is to destroy 4 out of 6 tentacles to force it out of the water. Each tentacle you destroy removes one attack from the pool, so prioritize the ones causing you the most trouble.
Saros Boss Guide: How to Beat Shepherd
What attacks do the tentacles use?
- Ground slam with yellow shockwave: A tentacle slams down and sends out a circular wall of yellow (corrupted) orbs. Jump over the shockwave and position yourself between the curved walls as they arc outward.
- Corridor rush: Two front tentacles charge toward you from either side, forming a narrow tunnel. A wave of blue orbs then travels through it. Stay centered to avoid the tentacles themselves, then raise your shield to absorb the blue projectiles.
- Horizontal sweep: A single tentacle rises high and sweeps across the full width of the arena. Jump over it, and dash if needed. A wave of blue orbs follows immediately, so get your shield up the moment you land.
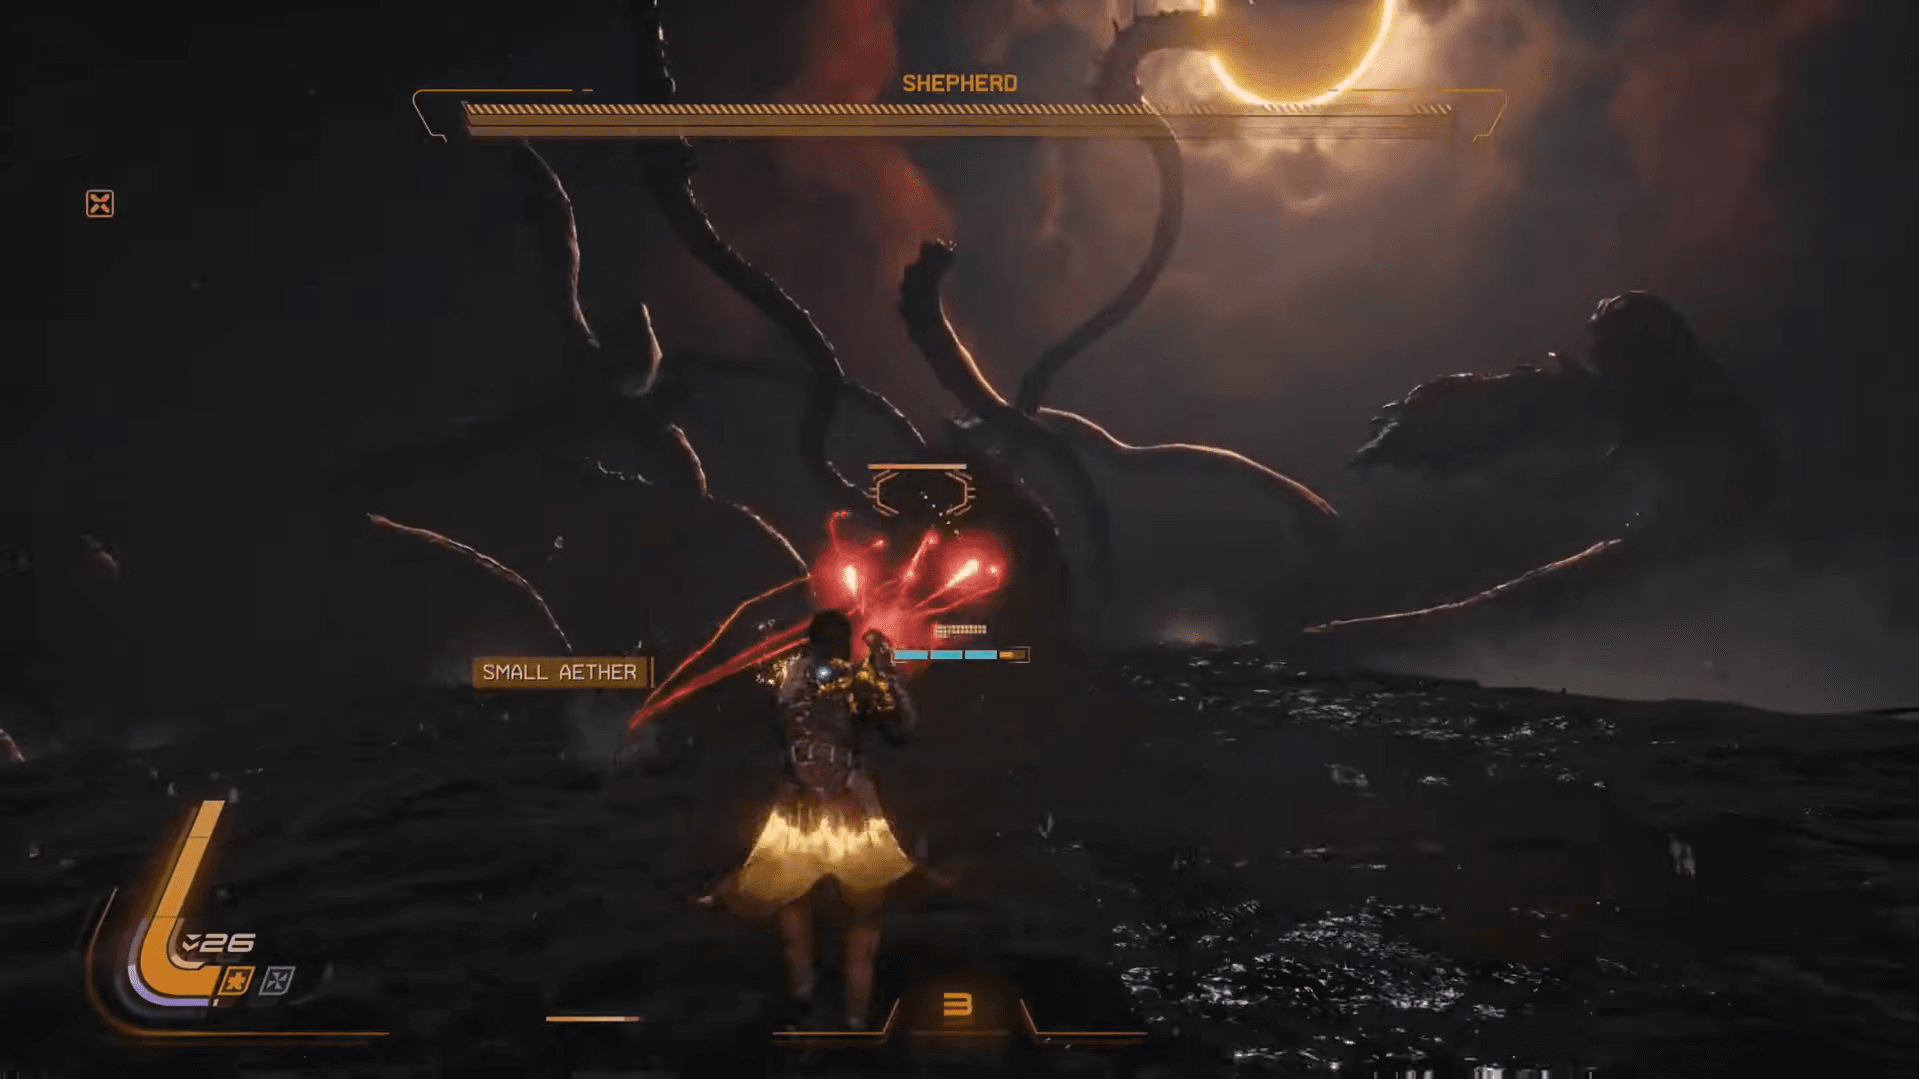
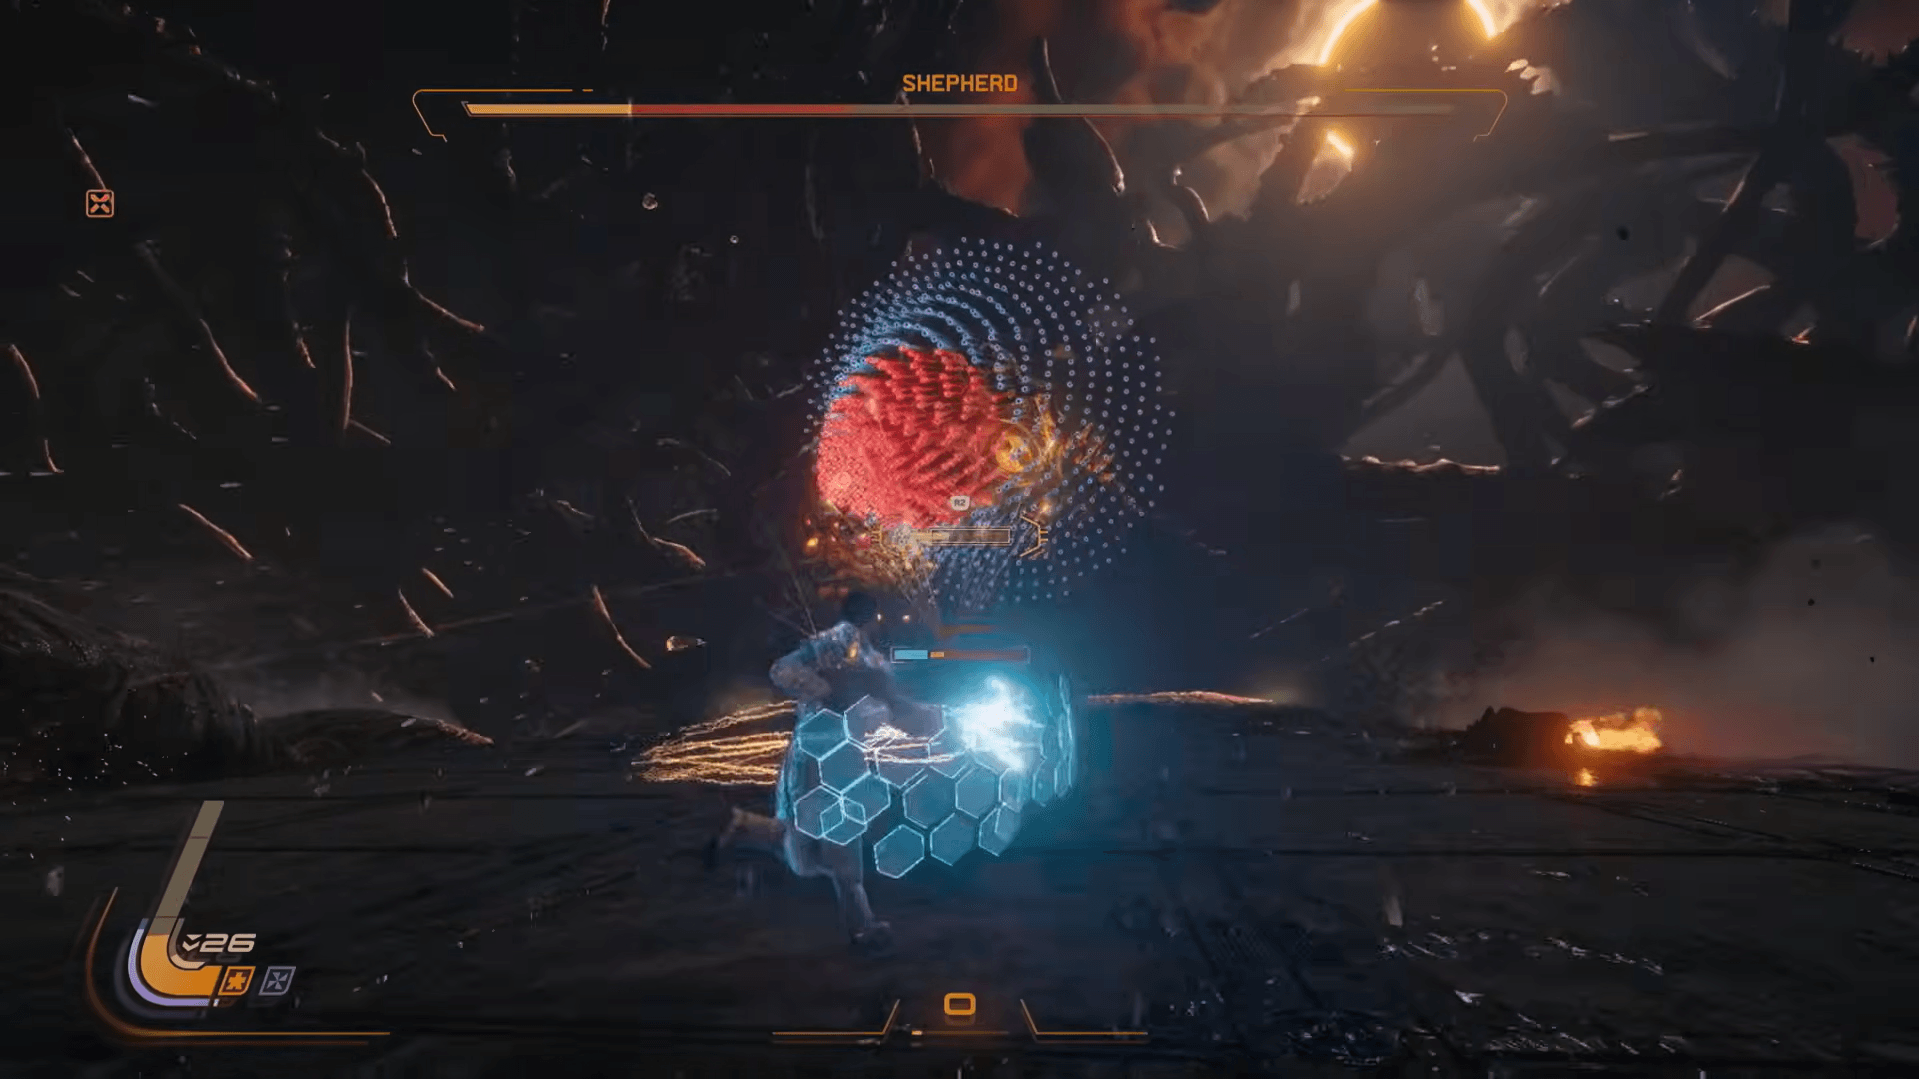
Once you've destroyed enough tentacles, Shepherd surfaces. The moment it emerges, it fires a large deluge of blue projectiles that bounce down the ship in segmented waves. Keep your shield raised the entire time and absorb as many as possible to fully charge your Power Weapon before the real fight begins.
New attacks after Shepherd surfaces
- Vertical nova lines followed by a blue wall: Slot yourself between the red nova lines, then absorb the trailing blue projectiles with your shield.
- 5-orb homing cluster: Shepherd tilts its head skyward and launches 5 large red orbs in quick succession. Each orb splits into dozens of homing nova projectiles as it approaches. Bait the cluster to one side of the ship, then sprint to the opposite side while dashing to break the homing lock.
Phase 2: The arena rotates and the attacks compound
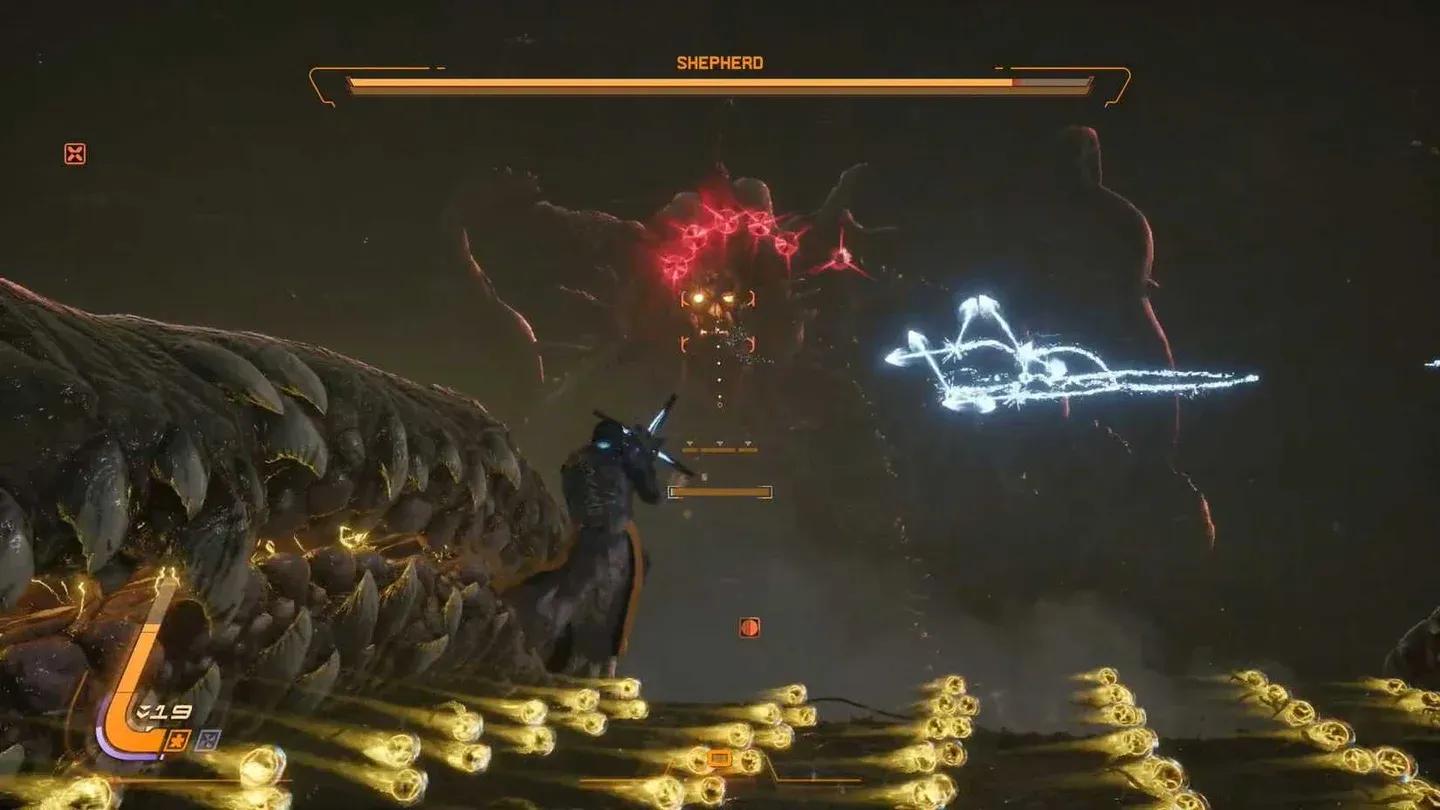
Once Shepherd's first health bar is gone, it sinks and resurfaces on the right side of the ship, rotating the entire arena. A glowing yellow skull becomes visible on the underside of its head. Two toothed tentacles now flank the arena, making the playable space narrower.
Tentacle slam shockwave pattern
Phase 2 attack breakdown
When Shepherd's second health bar drops to 50%, it repositions to the opposite side of the platform and adds three more attacks:
- Y-shaped blue projectile clusters: Multiple blue clusters fired in a Y-pattern. Easy to absorb with your shield or simply sidestep.
- Chest cavity yellow vortex: A constant spinning beam of yellow projectiles tracks your position. Move to one side, jump-dash over the beam, run to the other side, then dash back under it as it trails behind you.
- Quick nova volley: A burst of nova projectiles fired from either side of Shepherd's head. These move fast with no homing, so dodge sideways as they close in.
Phase 3: Everything returns, faster and angrier
Shepherd transitions into Phase 3 by firing massive waves of blue and nova orbs simultaneously. It then resurfaces in its Phase 1 position and brings back most of its previous attacks alongside new ones.
What's new in Phase 3?
- Left claw shockwaves: Shepherd's left claw grabs the side of the arena and fires multiple nova shockwaves in a row from that position. Watch the right-hand side of the platform.
- Narrowing nova rings: Rings of nova projectiles that tighten as they approach. You can technically jump-dash through the center, but moving to either side entirely is safer and more consistent.
- Cross-shaped blue projectile patterns: Giant cross formations of blue orbs fired consecutively. Use your shield on the blue sections.
- Diagonal yellow lines: Several consecutive diagonal yellow projectile streams. Keep your distance and navigate between them.
- Disc of projectiles from the left hand: Shepherd raises its left hand and fires a giant disc that covers the full arena. The center is blue, the outer ring is nova. Rush to position yourself in the blue section and shield-absorb, or dash through it.
- Chest vortex returns: Identical to Phase 2. Same dodge pattern applies.
- 7-orb homing cluster: The red orb attack now launches 7 clusters instead of Phase 2's 6, and they move faster.
For more Saros boss strategies and Housemarque game coverage, browse more guides at GAMES.GG.