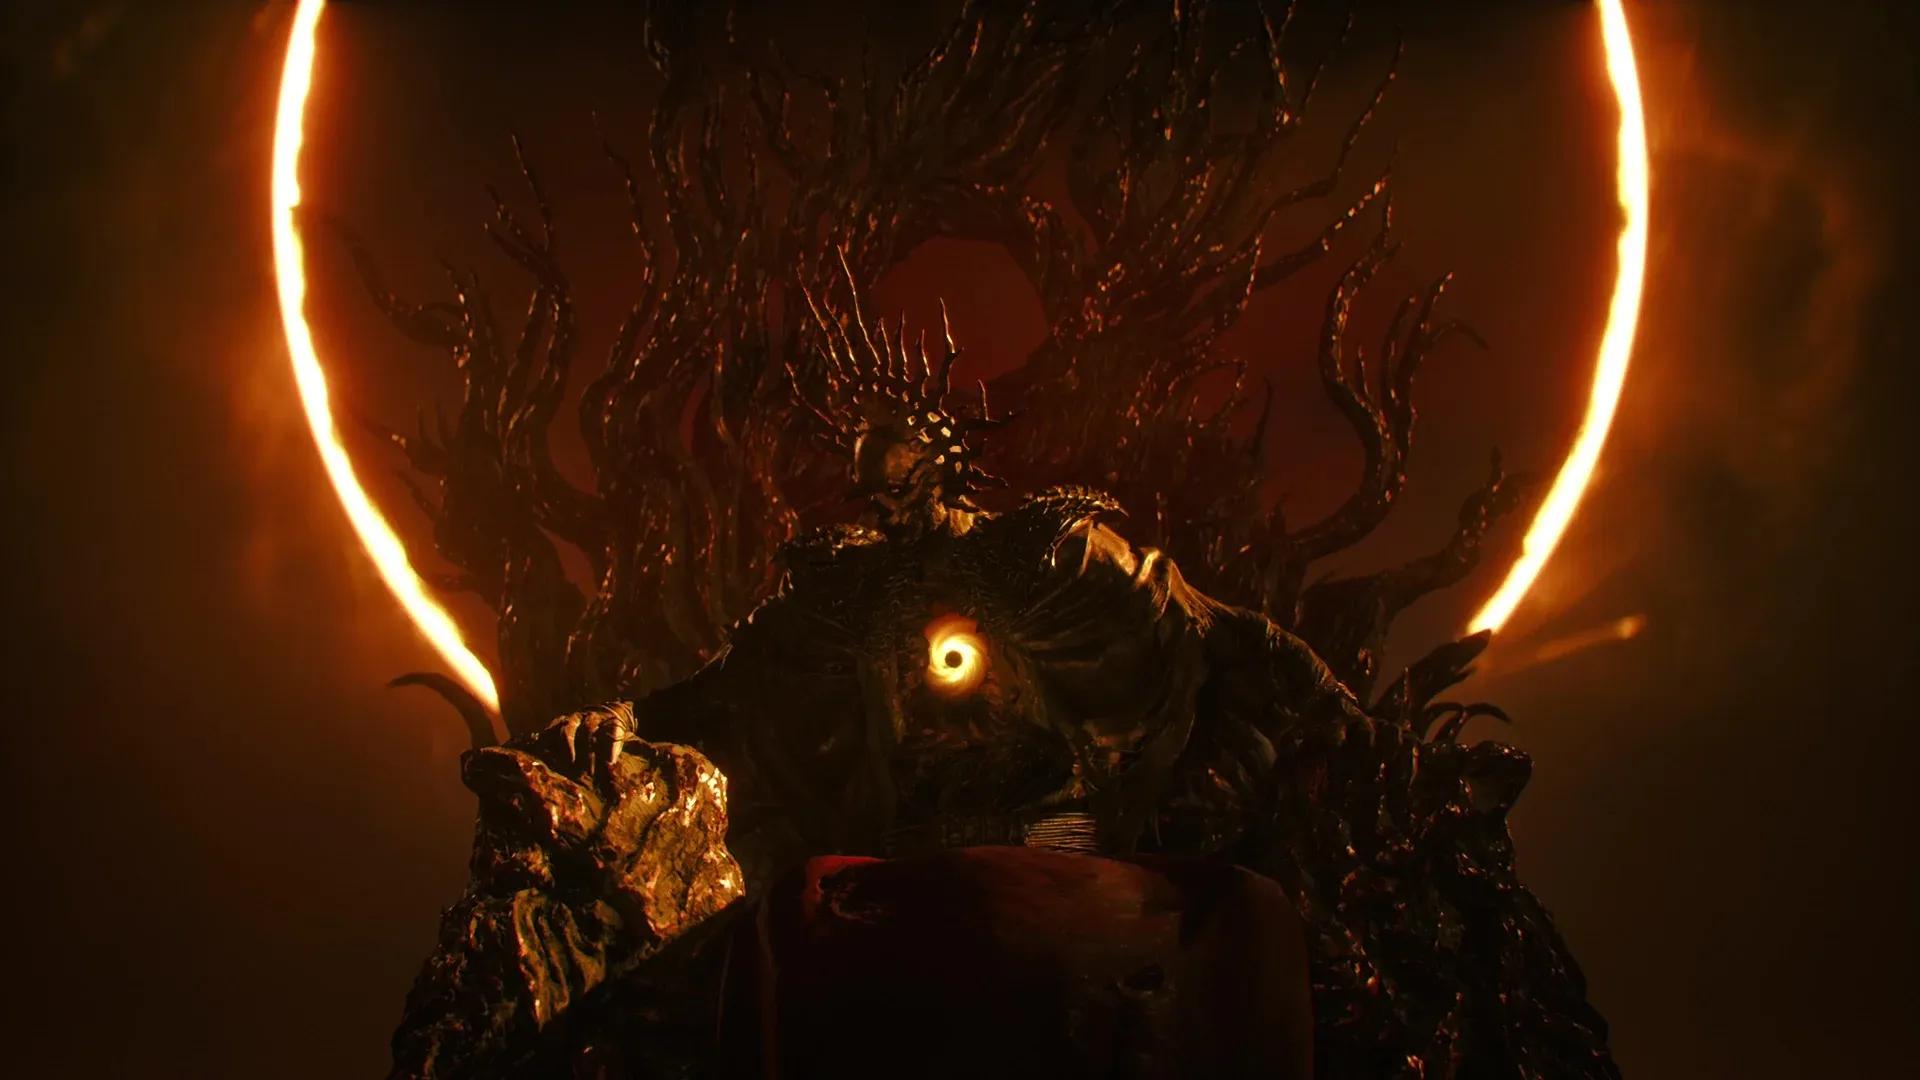

The King is Saros eighth and final boss, waiting at the end of the Yellow Shore biome. This fight tests everything you've learned: shielding, parrying, dodging, and knowing when to switch between all three on the fly. Three phases, color-coded attacks, and a boss that never stops throwing projectiles at you. Here's exactly how to get through it.
How should you prepare before fighting the King?
Before stepping into the Yellow Shore, your Carcosan modifiers make a real difference. The following setup gives you the best shot at surviving all three phases:
The protection column boosts your damage output and survivability, with Nova Dash being particularly valuable in phase 2 since it lets you dodge through red attacks instead of parrying them. The trial modifiers are relatively low-impact for this final stretch since second chance is already disabled and you won't be relying on halcyon or lucenite to defeat the King.
For your weapon, the smart rifle is the reliable default pick. That said, if you find an annihilator shotgun with the Recuperate enhancement, grab it immediately. Recuperate causes damage dealt to enemies to heal your health for a short window after you take a hit. Combined with the shotgun's close-range output, this lets you stand directly on top of the King during phases 1 and 2 and spam shots without worrying about dying. More on that below.
Aim for at least proficiency level 40 before entering. Level 50 is better, but clearing the extra side paths to reach it comes with real risk on a single life.
What is the annihilator shotgun cheese method?
If you have the annihilator shotgun with Recuperate, phases 1 and 2 become dramatically simpler. Since the King only uses blue attacks in phase 1 and red attacks in phase 2, you won't be dealing with corruption during those phases at all. Plant yourself on top of the boss and keep shooting. The Recuperate healing offsets the damage you take, keeping you at or near full health as long as you hit your shots.
The one thing to watch for: hit the fast reload when it comes up, because missing it switches the shotgun to burst fire and reduces your damage output. In phase 3, the same strategy works, but you'll need to fire your power weapon periodically to manage the corruption buildup.
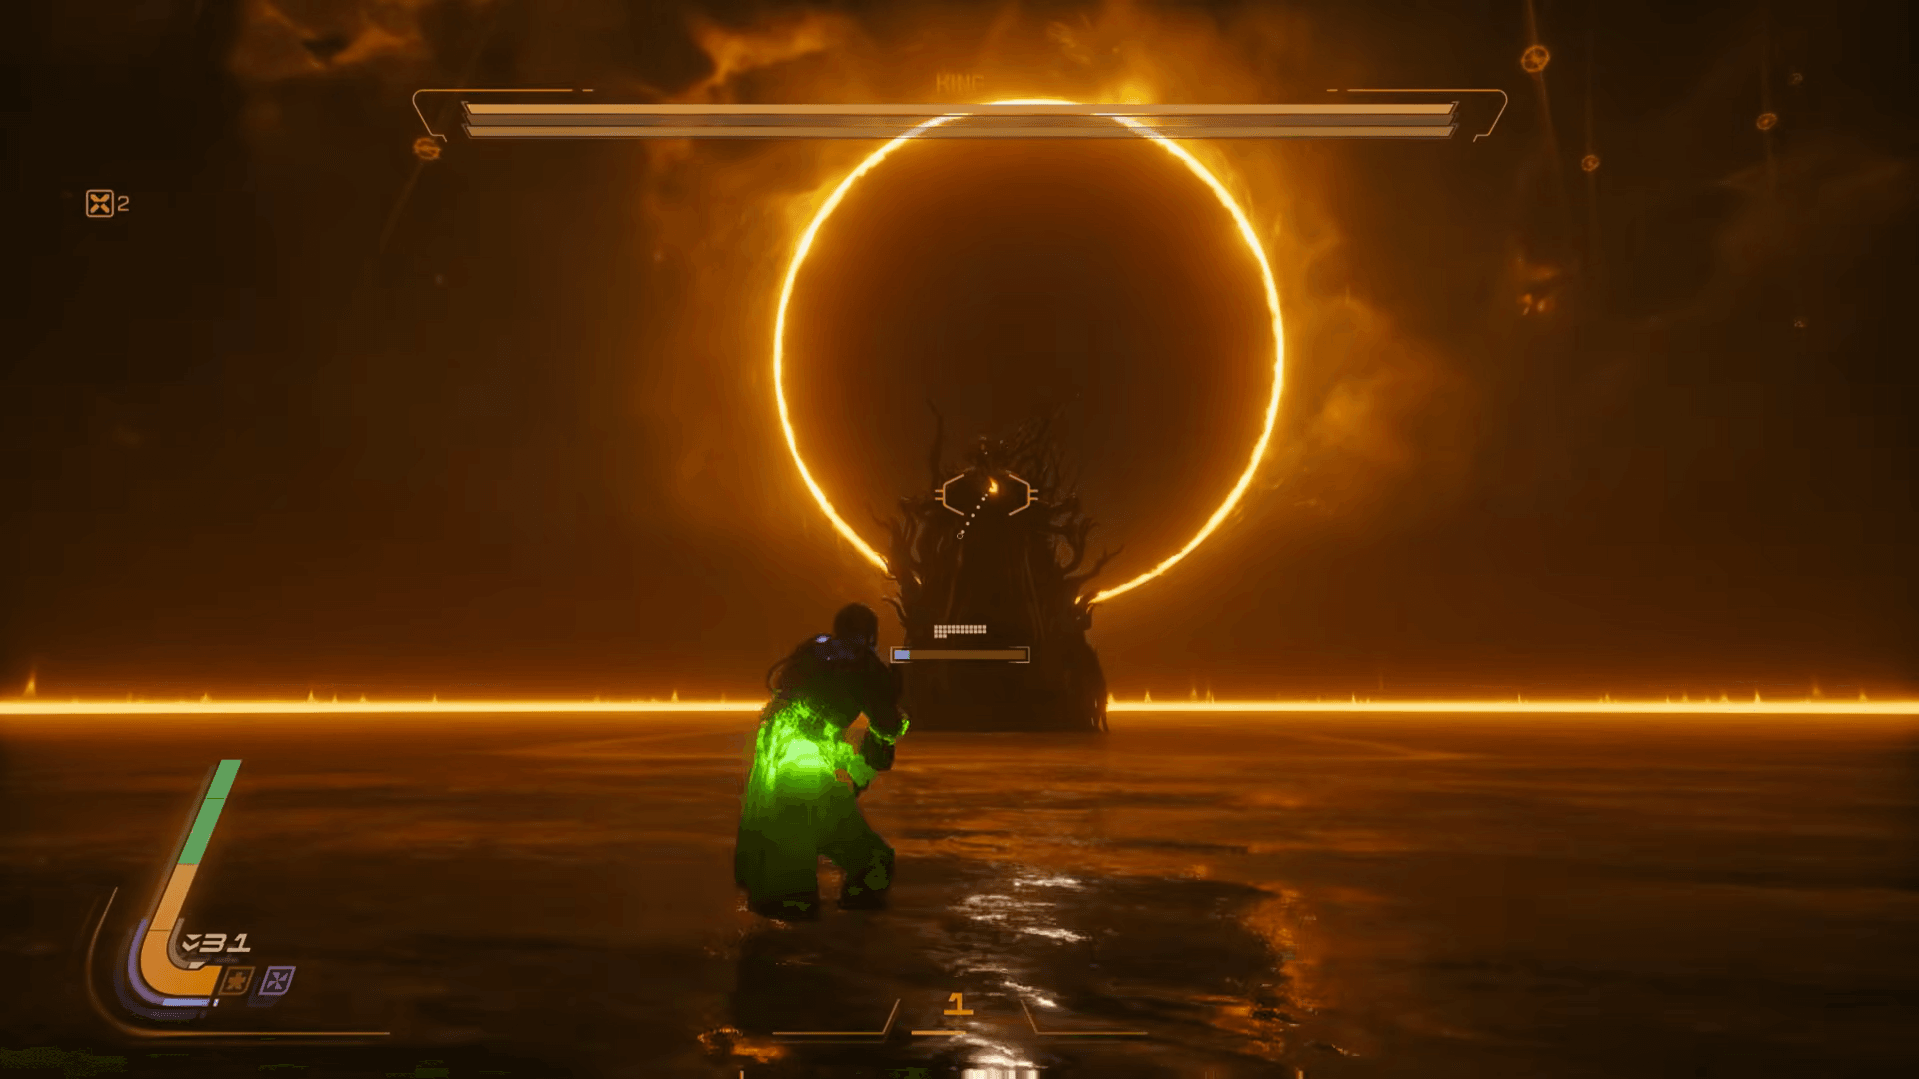
Phase 1: Blue attacks and shield management
The King opens with a heavy reliance on blue projectiles, which your shield absorbs cleanly. For the majority of this phase, keep your shield ready and focus on maintaining your shooting rhythm.
The King's weak point is its head, so if you have Autohit disabled, aim there for maximum damage.
Saros Boss Guide: How to Beat the King
Here's every attack you'll face in phase 1 and how to handle each one:
- Homing blue projectiles: Three waves of tracking orbs. Shield up to absorb all of them.
- Forcefield: The King surrounds itself in a yellow forcefield. Run in and use your Blazing Strike melee to break it. This shield mechanic repeats across all three phases.
- Falling blue projectiles: Two walls of blue orbs appear, followed by projectiles raining from above. Shield absorbs the damage.
- Red rings into blue orbs: Three red rings shoot out at increasing heights. Jump and dash over them, then immediately raise your shield for the blue orbs that follow.
- Blue rings and body sphere: Multiple waves of blue rings expand outward, plus a cluster of orbs around the King's body. Keep your distance to avoid the body orbs, shield the rest.
- Blue orb beam: A sustained stream of blue projectiles. Shield it. This is also a prime window to dump your power weapon.
- Exploding turquoise orbs (grounded): Six orbs stop in front of you and detonate into red beam rings plus blue projectiles. If you're close, shielding reduces the explosion count. If you're far, stay back and jump or dodge the shockwaves.
- Turquoise orbs (airborne variant): These look identical to the grounded version but fly low without trailing through the water. They freeze around you and explode outward at different angles. Dash away from the initial blasts to give yourself room to react.
- Vertical homing lines: A vertical column of light blue projectiles homes toward you. Shield or sidestep with a last-second dash.
- Ground punch: The King punches the ground if you get too close.
Spam your power weapon throughout this phase. Blue projectile attacks recharge your power gauge quickly, so you'll have it available far more often than usual. Use Overdrive after breaking the King's shield to maximize damage during the vulnerability window.
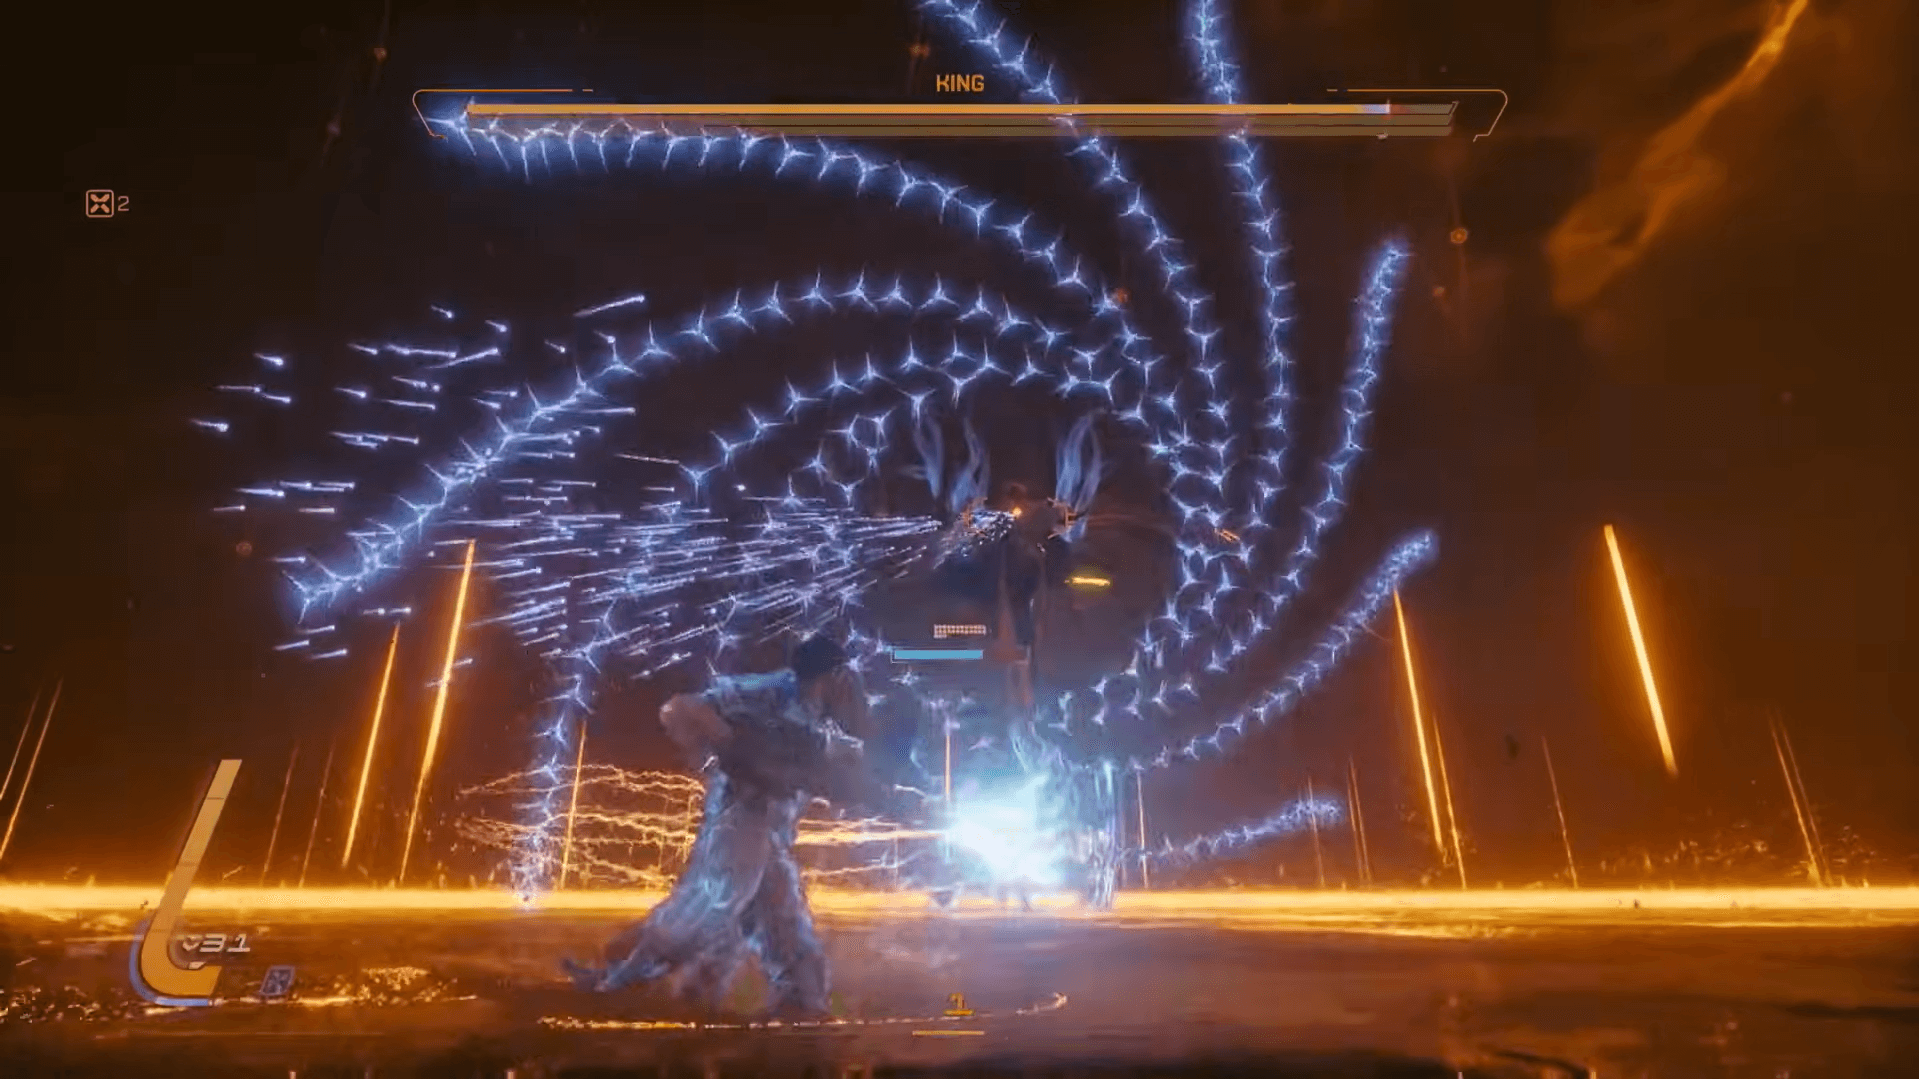
Phase 2: Drop the shield, start dodging
The moment phase 2 begins, the King fires multiple blue rings and surrounds itself in blue orbs. Shield those, then put the shield away entirely.
Phase 2 attacks are predominantly red (nova projectiles), which your shield cannot handle. From this point forward, dodging and parrying are your survival tools. If you picked up Nova Dash, this is where it pays off since you can dash straight through nova attacks instead of timing parries.
Saros Boss Guide: How to Beat the King
New and returning attacks in phase 2:
- Homing red projectiles: Same pattern as the blue version from phase 1. Keep moving sideways and dodge as needed.
- Melee lunge: The King pulls its fist back and darts across the arena to punch you. The tell is a bright yellow-orange flash on its fist just before the lunge. Dodge immediately after that flash.
- Nova dome eruptions: Large dome-shaped explosions burst from the King's body. These are nova projectiles, so dash out of range.
- Red orb rings: Multiple rings of red orbs expand outward from the King. The direction you need to move changes each time: sometimes inward, sometimes outward, sometimes a jump. Read it as it happens.
- Midair dash slam: The King jumps and dashes toward you. Dodge the landing, then look behind you immediately as red orbs erupt from the impact. A red ring and homing projectiles follow.
- Red laser rings: Three red laser rings at increasing heights, immediately followed by a wall of red orbs. Jump and dash over the lasers fast to have enough time to clear the orb wall.
- Red circle descending from sky: A large circle of red orbs slowly falls from above. These are mostly a distraction. Watch the ground instead: red orbs spiral outward and the King throws a vertical line of red orbs at you. Run sideways and jump over ground orbs as needed.
- Three red walls: The King moves to the arena center, places three red walls, and fires red laser rings. Depending on your position, you'll need to jump over rings or dodge incoming projectiles.
- Orb wall plus cone: A wall of red orbs followed by a cone of red projectiles. Jump the wall, sidestep the cone, then immediately jump over the laser ring that follows the King's ground slam.
- Forcefield with red orbs: Same shield mechanic, but now red orbs surround it. Find the gap, run through, and punch the shield.
- Yellow laser: Yellow lights beam from the King's hands, then converge into a powerful yellow beam with yellow rings. When the lights disappear, dodge sideways and keep moving.
The game plan here is straightforward: keep moving, whittle down the health bar, and save Overdrive for right after you break the King's shield.
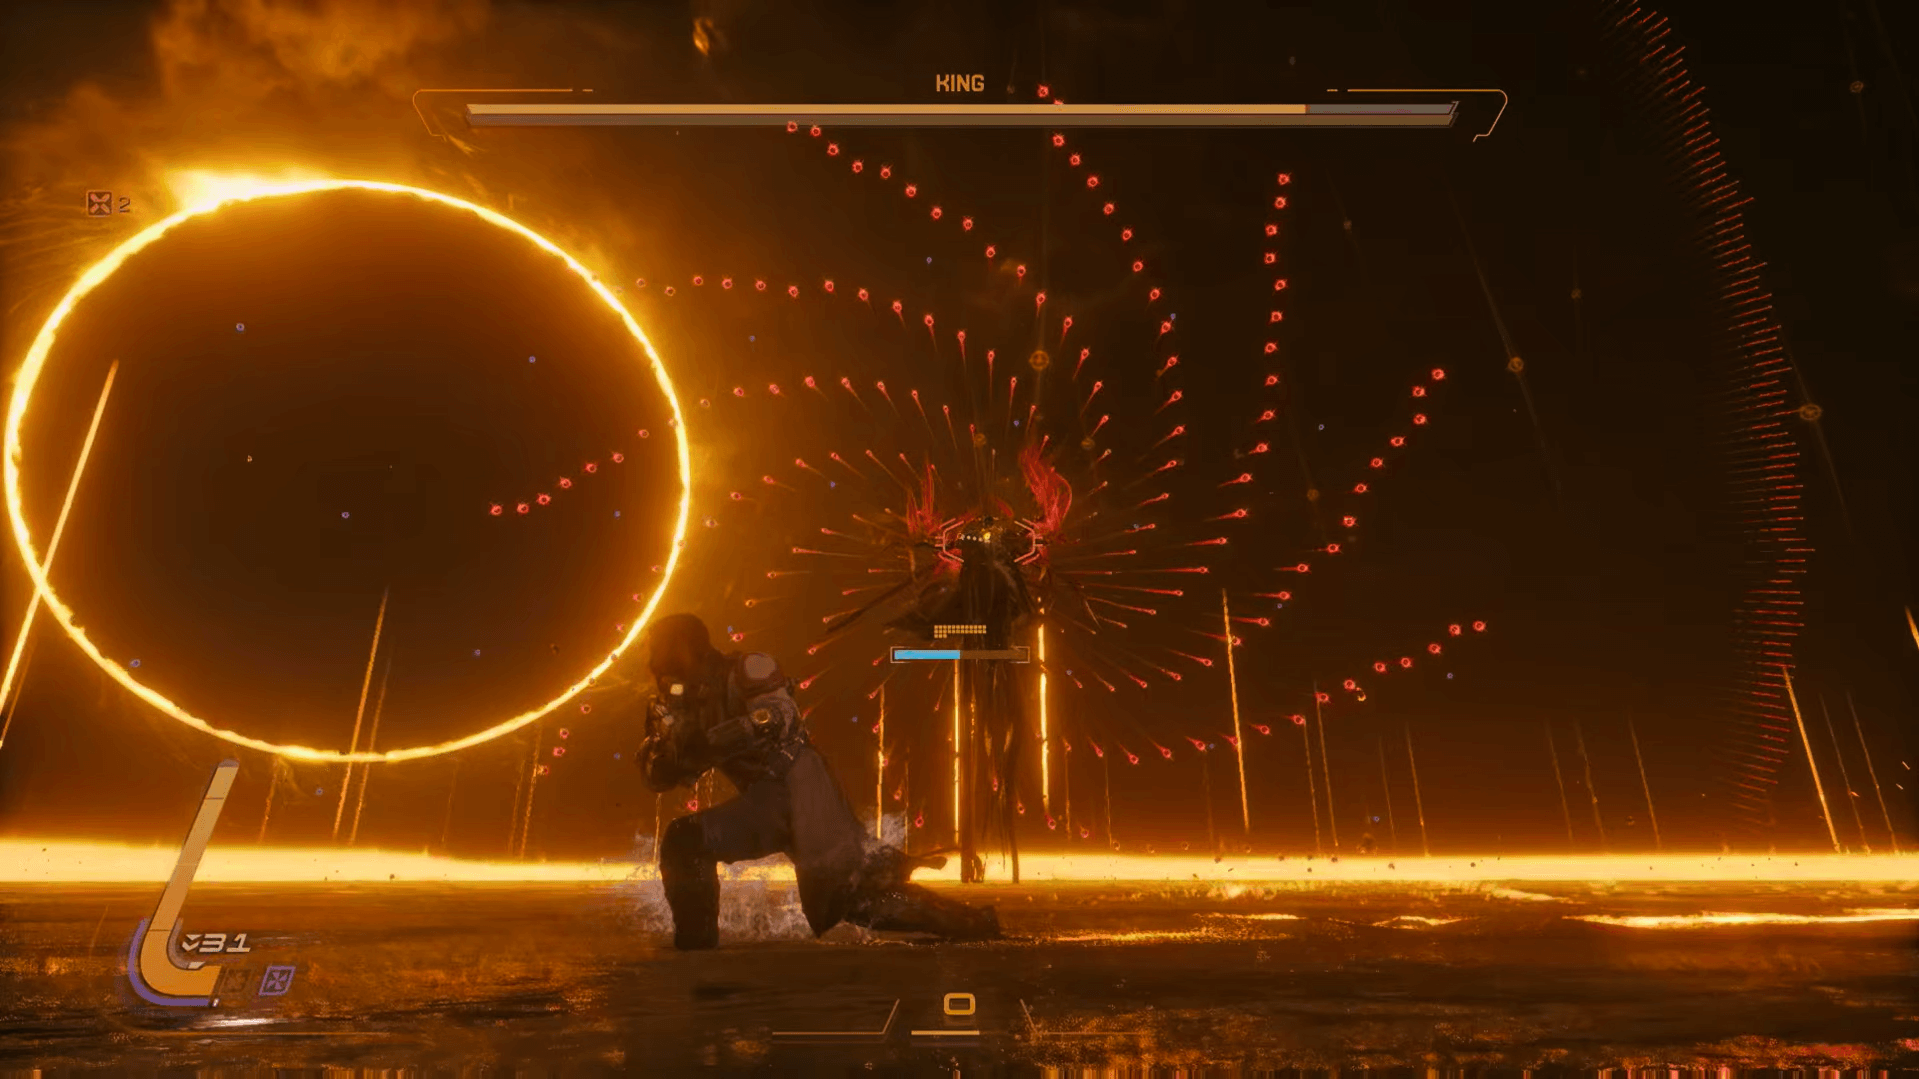
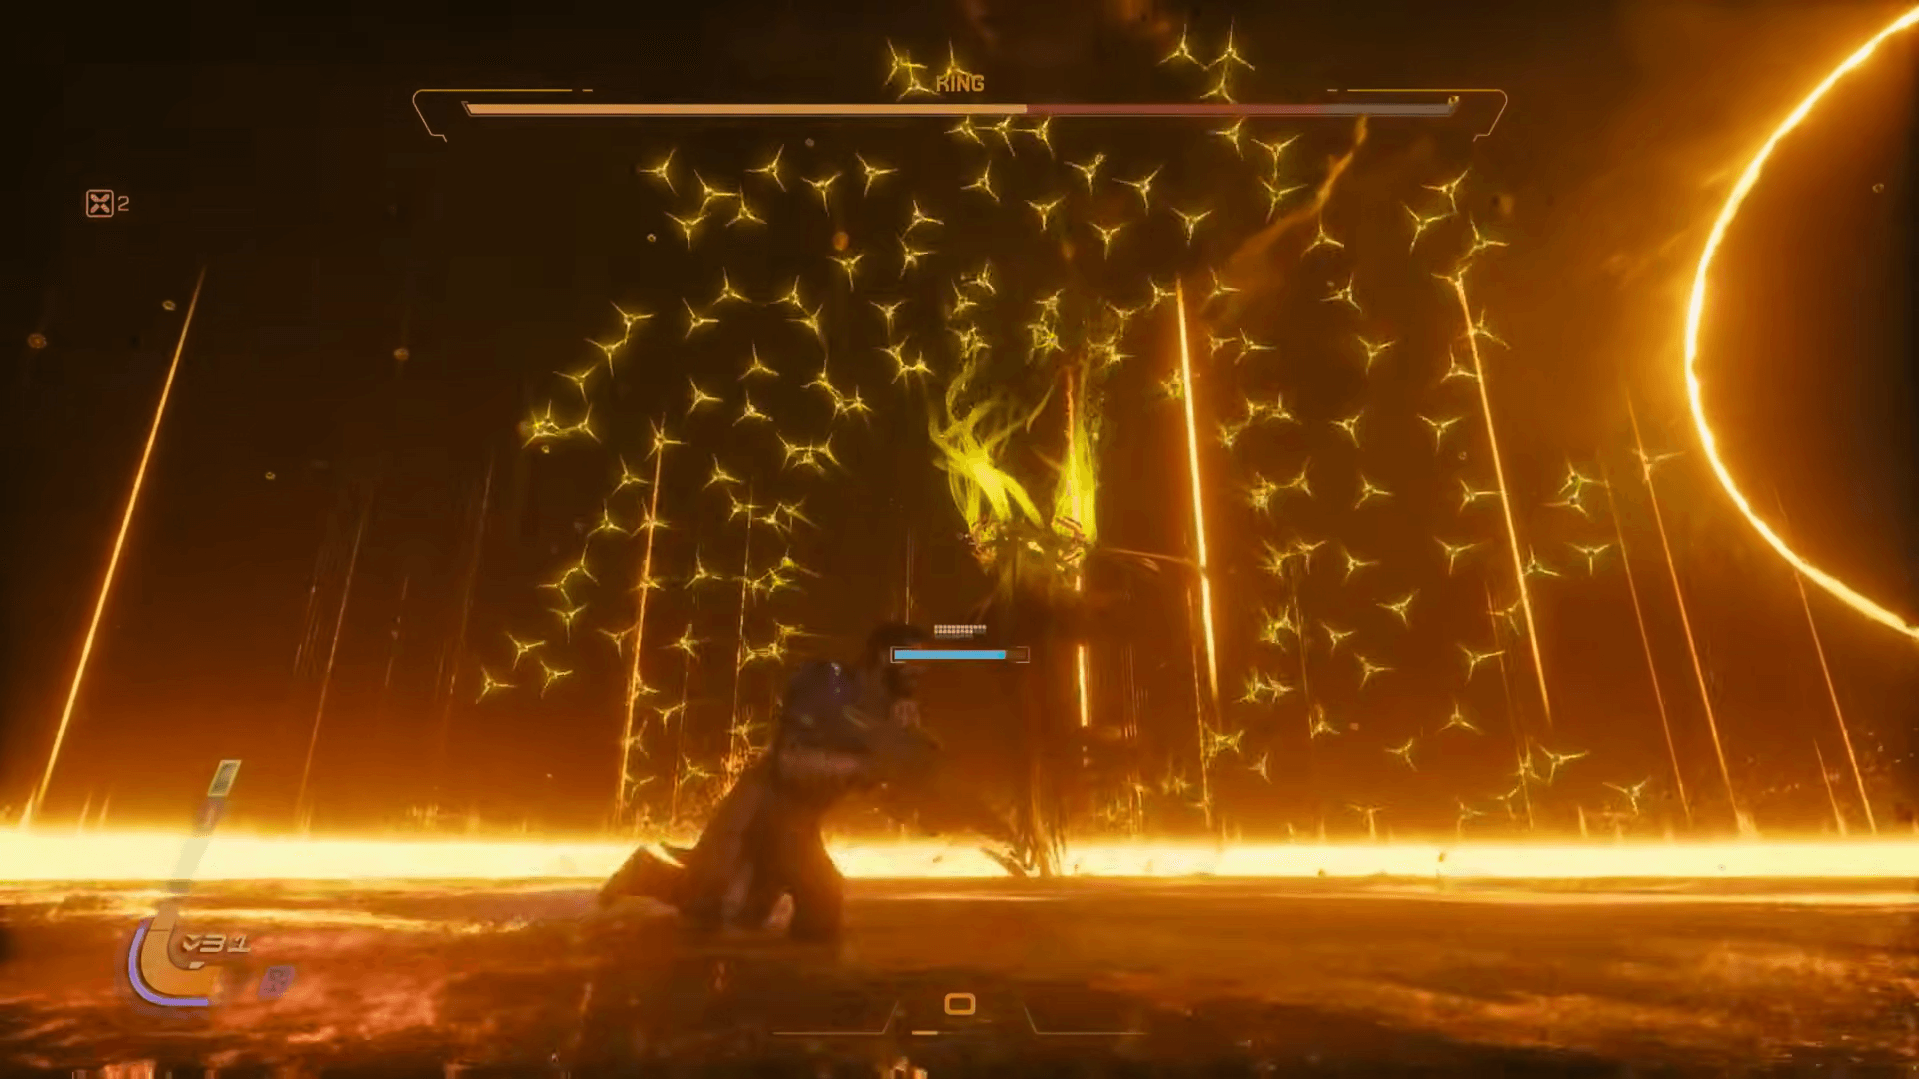
Phase 3: Yellow corruption and two new threats
Phase 3 opens the same way phase 2 did, with a multi-tiered projectile wave, but these are now yellow (corrupted) nova projectiles. Almost every attack from the previous phases returns here, just in yellow.
Saros Boss Guide: How to Beat the King
Key changes to existing attacks:
- Forcefield: Now surrounded by yellow orbs with no gaps. You must dash through the orbs to reach and punch the shield.
- Exploding orbs: Shielding still reduces explosions, but you'll gain corruption since the orbs are yellow. Keep your distance and dodge instead.
- Red rings: The follow-up orbs are now yellow.
- Orb rings: After the rings finish, two walls of orbs shoot out. Jump or dash through them.
Two attacks are new to phase 3:
- Teleport: The King vanishes and reappears somewhere in the arena, then fires three red beams. Spin your camera fast to locate it, and use the audio cue to identify which direction the attack is coming from.
- Vertical red lasers: The King summons vertical red laser columns that track toward you. Dash sideways to clear them.
Keep using your power weapon regularly to manage corruption buildup. When the King's third health bar is nearly empty, it summons its forcefield one final time with a yellow orb wall and no gaps. Dash through, punch the shield, and trigger the ending cutscene.
After the fight, Arjun defeats the King and proclaims himself the new ruler of Carcosan civilization. A glowing path appears at the arena's edge, leading into the final cutscene sequence.
For more boss guides and Saros strategies, browse the latest guides on GAMES.GG.