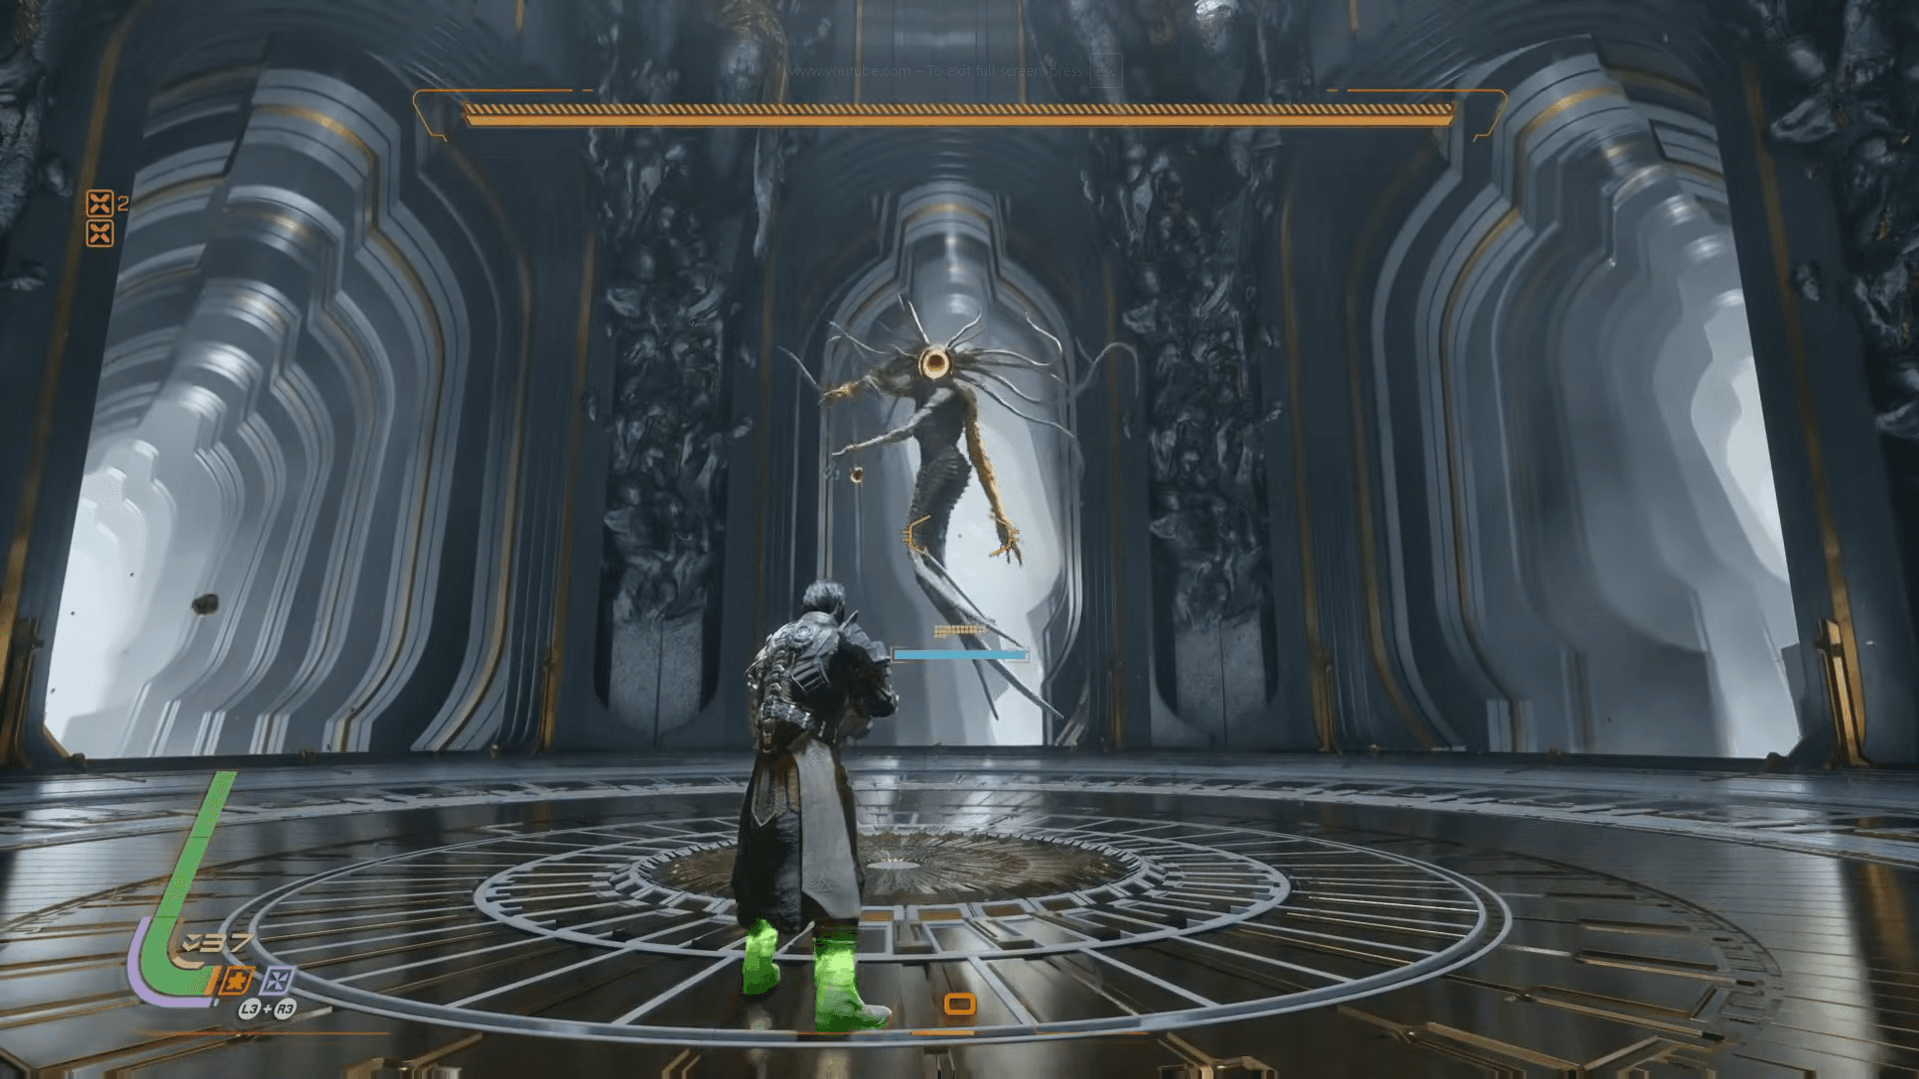

The Priestess is Saros' seventh boss, waiting at the end of the Cathedral biome as a giant four-armed ethereal creature that splits into clones, reshapes the arena after every health bar, and buries you in projectiles from all directions. This is the most attack-heavy boss in the game according to Polygon's coverage, and the fight demands you learn a specific mechanical trick to deal any damage at all. Here's everything you need to survive all three phases.
How should you prepare before fighting the Priestess?
Before leaving for the Cathedral, your loadout decisions matter more here than in most previous fights. Grabbing as many Overdrive Charger nodes as possible in the Armor Matrix is the top priority, since you want Overdrive available at least once per phase. For modifiers, Damage Enhancement III and Armor Enhancement II are the recommended protection picks, balanced out by Halcyon Removal and Artifact Destruction trial modifiers.
For proficiency level, anything above 50 is ideal, but the high 40s will work. Weapon choice is flexible since the Priestess is mostly stationary, though Polygon specifically calls out the smart rifle as a reliable default.
Phase 1: Defeat the clones, then damage the real Priestess
The fight opens with the Priestess splitting into three copies, all of which attack simultaneously. You cannot damage the real boss yet. Your goal is to destroy two of the three clones, which forces the real Priestess to reconverge in the arena center.
The clones teleport between corridors surrounding the arena, so keep tracking their positions. Here are the attacks to watch for during the clone phase:
- Red arcs along the ground: All three fire simultaneously. Jump over the intersection point in the middle to clear all of them at once.
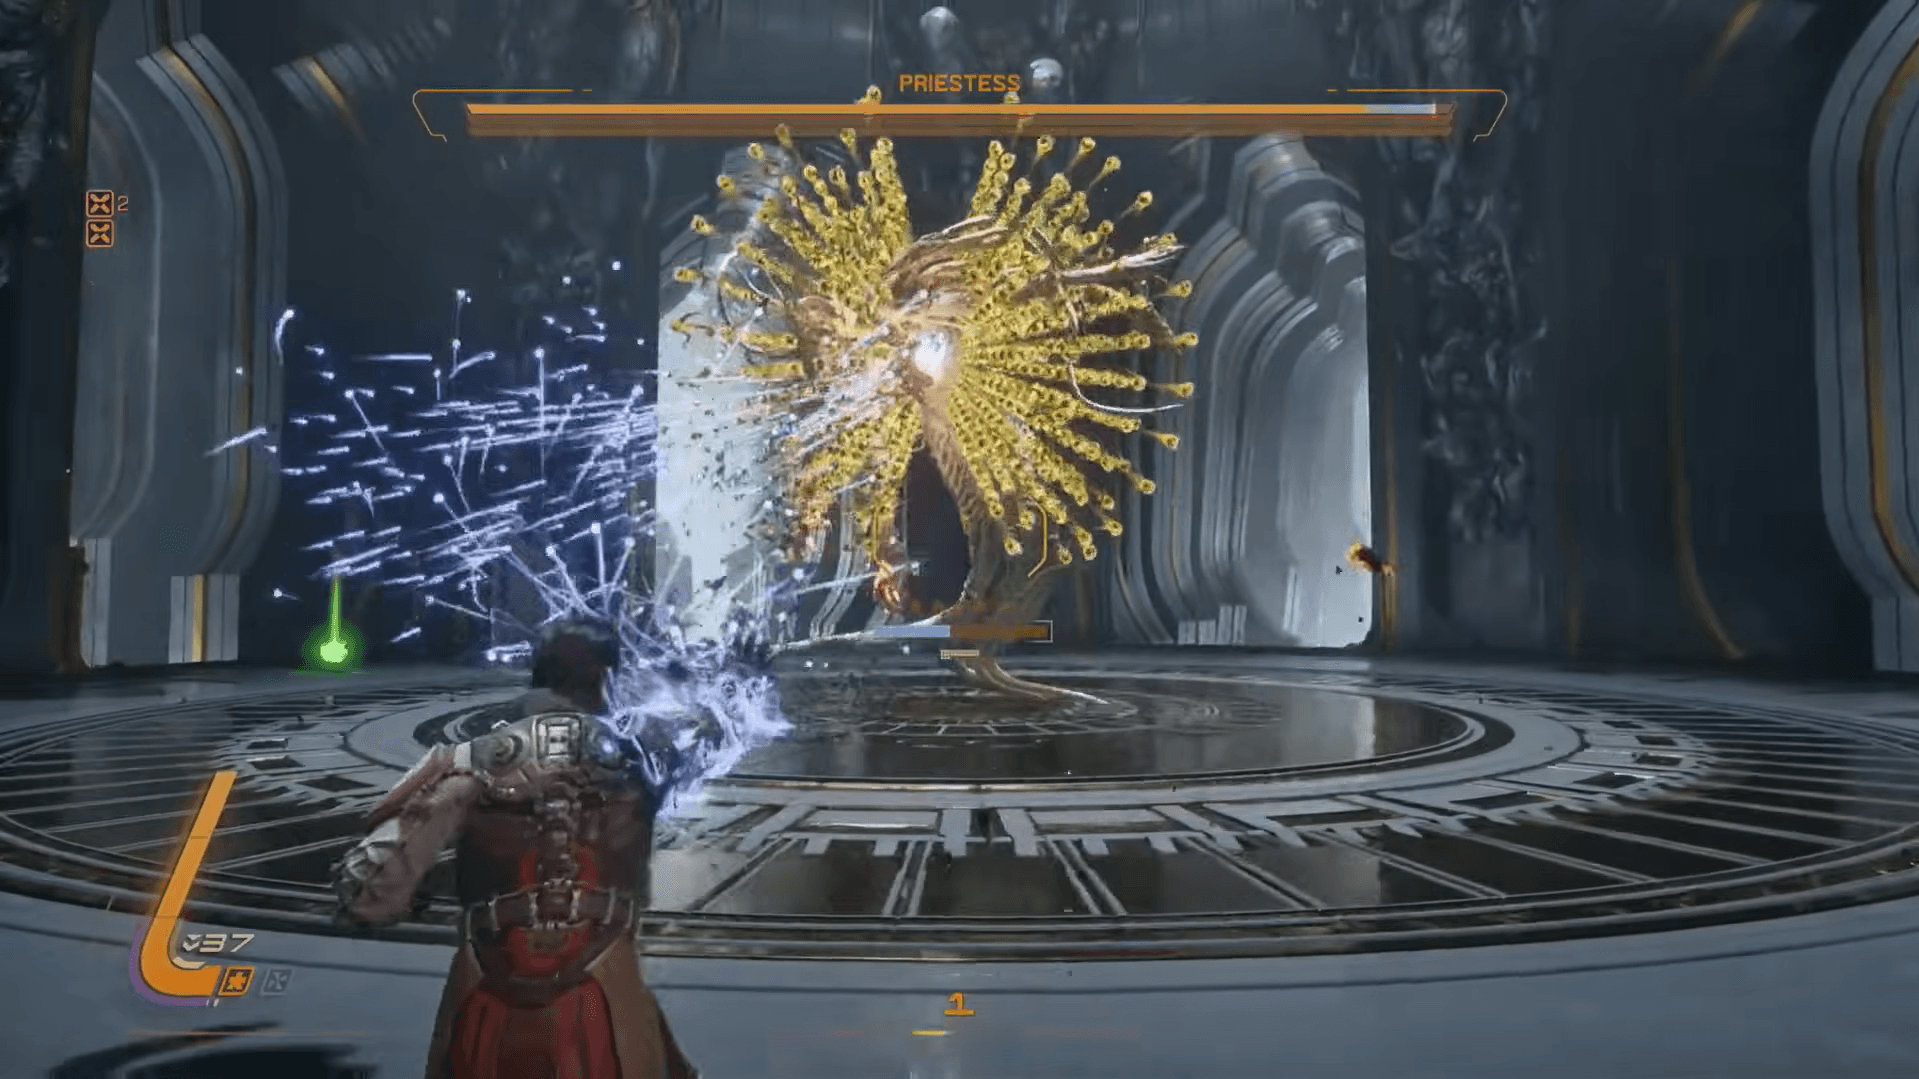
- Yellow projectile funnel: The left clone's head glows yellow first, then the sequence moves to the center and right clone. Stand on the opposite side of the center clone and hold still to pass through the exit hole. Dodge if the projectiles drift too close.
- Torrent of yellow projectiles: Fires immediately after the funnel. Dodge sideways.
- Stream of red projectiles from the wall: Position yourself in front of a wall rather than a hole to avoid these entirely.
Do not spend your Overdrive on the clones. Save it for the real Priestess once she reconverges.
Saros Boss Guide: How to Beat the Priestess
Once the real Priestess appears in the center, the attack set expands. She fires vertical walls of yellow projectiles outward while emitting red ground shockwaves simultaneously. Position between two walls and focus on jumping the shockwaves for relatively free damage windows. She also tracks you with a narrow yellow vortex and passively drops nova projectiles beneath herself, so keeping your distance stays important throughout.
When her health drops to roughly a third, she splits into clones again. The same two-clone-defeat strategy applies, but the torrent of yellow projectiles can now appear at any point rather than only after the funnel sequence. Defeat the clones, reconverge her, and repeat until the first health bar depletes.
Phase 2: Punch the tuning forks to make her vulnerable
The arena tears apart into an open ruin environment and the Priestess splits into three giant copies again. This time, defeating clones is not the solution. An orb appears in the center of the stage firing a rotating wall of red projectiles constantly. You cannot destroy it, so keep jumping over it throughout this phase.
Shortly after, three platforms spawn around the arena perimeter, each carrying an oversized red tuning fork structure. Your job is to sprint to all three and melee them as fast as possible. According to both IGN and Polygon, meleeing all three forks clears nearby projectiles, briefly stuns the Priestesses, and forces them to reconverge into one body.
The clones will use the following attacks while you're hunting forks:
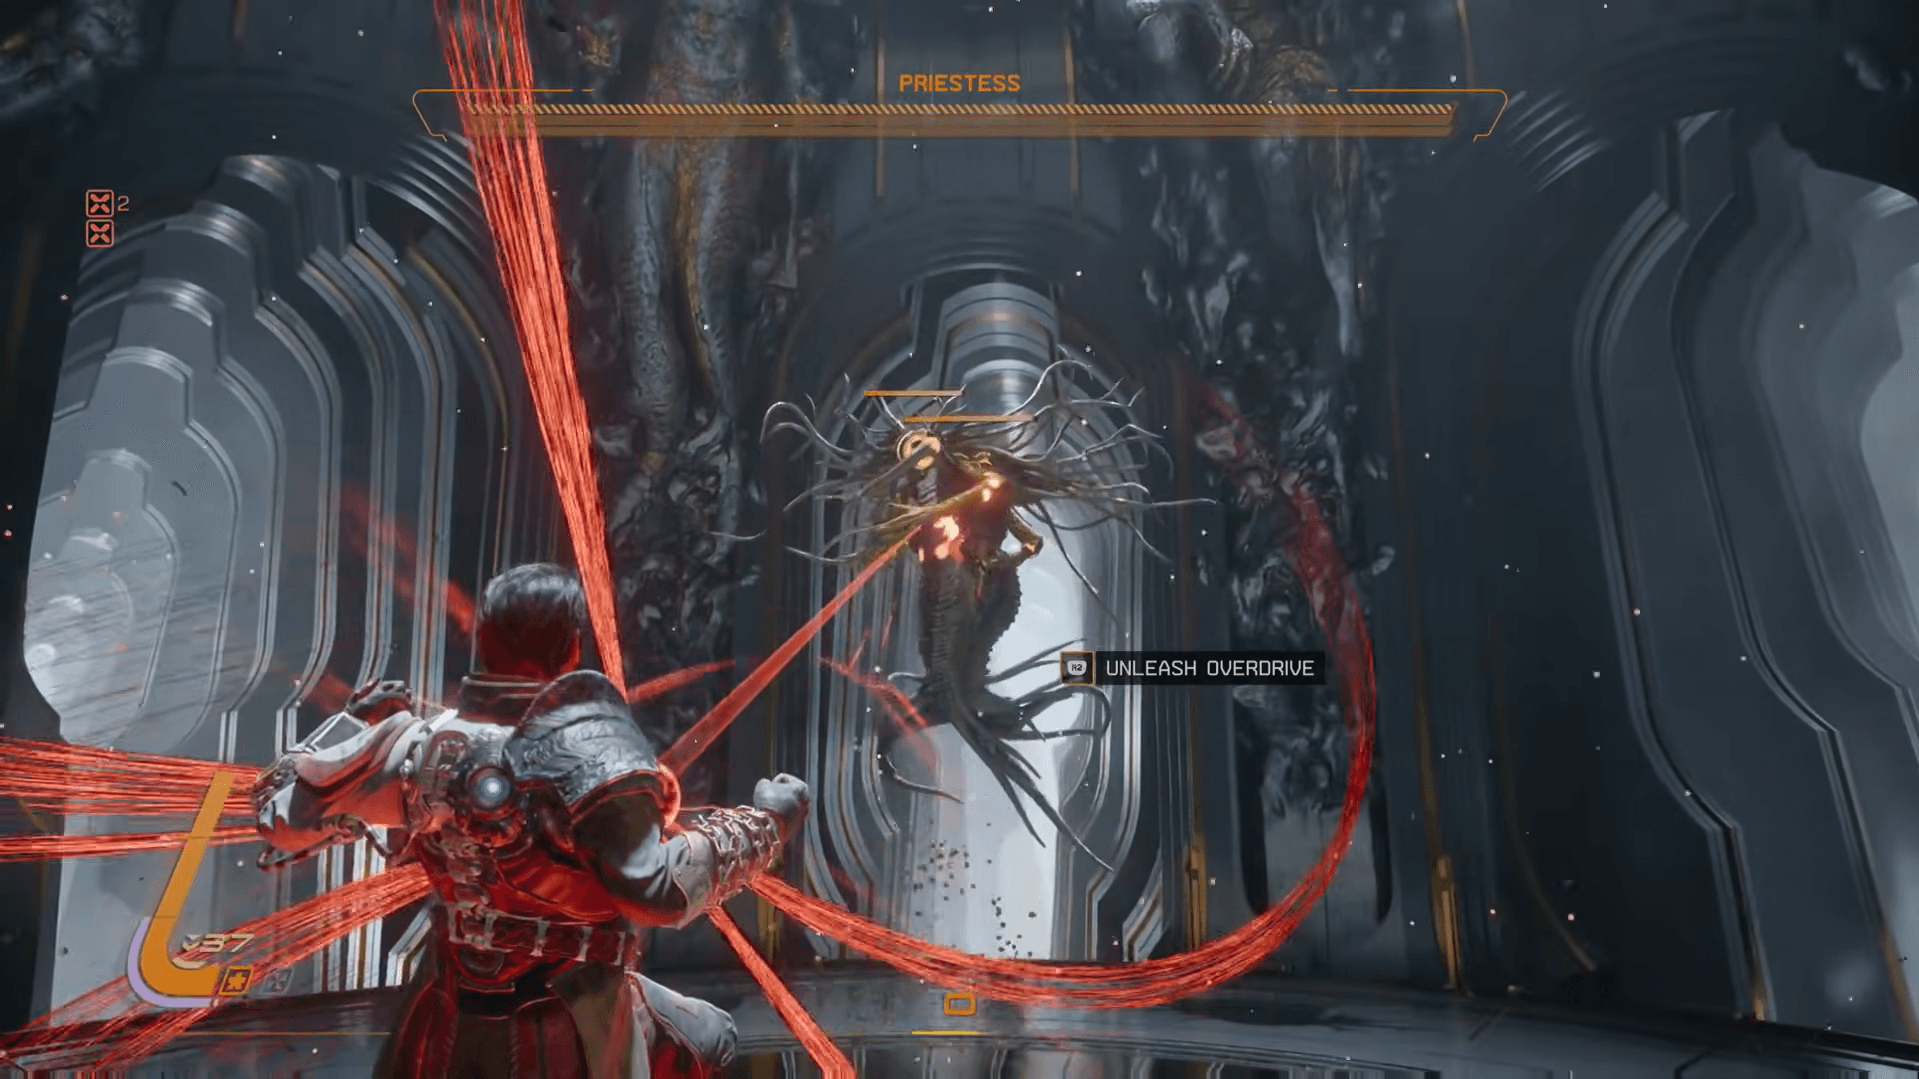
Once you ring all three forks, the central orb disappears and the Priestess reforms. A large weak point appears on the center of her chest; direct your heaviest firepower there. Now is the time to use your Power Weapon and Overdrive.
In her reformed state she gains several new attacks, including a circular wall of projectiles that closes in around you. Blue walls are an opportunity to refill Power Weapon charge by shielding. Nova walls are shorter and jumpable. She also throws pairs of diamond-shaped projectile clusters at diagonal angles and ejects slow arcing yellow projectiles that don't home.
At 50% of her second health bar, she splits again. Repeat the tuning fork rush to reform her, then finish the bar.
The weak point on her chest is only visible and targetable after you've rung all three tuning forks and she has reconverged. Don't waste Power Weapon charge while she's split.
Phase 3: Multiple platforms, two forks, and a collapsing floor
The floor dissolves and you fall onto a lower platform. An even larger Priestess appears. She throws glowing orbs onto the multiple surrounding platforms, each converting into a nova-firing spinning entity, mirroring Phase 2's central orb but now spread across the whole arena.
Two platforms with a tuning fork each spawn directly in front of the Priestess. Melee both to make her vulnerable again. The Phase 3 attack set is an upgraded version of Phase 2:
- Cone of yellow projectiles: Now preceded by two smaller red cones. Walk sideways to clear the red cones, then dodge into the yellow cone or jump to another platform.
- Star-shaped projectiles: More legs than before, requiring more precise positioning. Jumping to another platform works as an escape.
- Diamond-shaped projectiles: Same as Phase 2, scaled up.
- Four groups of homing blue projectiles: A new attack. All four of her hands fire homing blue projectiles simultaneously. These can all be shielded and are easy to absorb.
- Homing nova cluster: She raises one upper hand and summons rapid homing nova projectiles. This one is sneaky because it's often outside your field of view. According to IGN, it typically follows a different projectile attack, so check upward as soon as any attack ends.
Swarms of blue homing projectiles from all four hands: Easily absorbable and will fully refill your Power Weapon charge when shielded.
Saros Boss Guide: How to Beat the Priestess
The floor itself becomes a hazard. If the platform you're standing on starts shaking, jump to an adjacent one immediately. Even if you fall through, a new platform automatically spawns beneath you and lifts you back up, so there's no death from falling.
At just under half health, she becomes invulnerable again and you need to melee two more tuning forks. After that, there are no new mechanics. Repeat everything until she goes down.
Blue homing projectiles in Phase 3 are worth shielding deliberately. Absorbing a full swarm from all four hands completely refills your Power Weapon charge, which you can then immediately dump back into the weak point.
The Priestess is a long fight with a lot of moving parts, but the core loop never really changes: identify the vulnerability mechanic for each phase, execute it fast, then unload everything you have into the weak point before she splits again. For more Saros boss breakdowns and PS5 game guides, browse more guides on GAMES.GG.