

The Prophet is Saros's first real Overlord, and it hits hard enough to send unprepared players back to square one. Three health bars, escalating bullet patterns, and a shrinking arena in the final stretch make this fight a genuine test of everything Housemarque's combat system is trying to teach you. Get through it cleanly and the rest of the Shattered Rise opens up. Get caught flat-footed and you'll be staring at the respawn screen wondering what just happened.
Here's a complete breakdown of how to prepare, what each phase throws at you, and how to stay alive long enough to finish the job.
How to prepare before entering the vault
You reach the Prophet after using the vault key at the end of Shattered Rise. If you've already attempted the fight and want another go, you can skip the final stretch of the biome and head straight to the vault entrance.
Before you step through, bring your proficiency and weapon level to at least 15. Picking up Lucenite before it disappears and exploring the region around the vault are the fastest ways to hit that threshold if you're still short.
On the weapon side, the smart rifle is the safest pick at this stage of the game. It uses Auto-Hit, meaning you hold the fire button and let the weapon track targets while you concentrate entirely on staying alive. As the xboxplay.games breakdown notes, holding R2 on PlayStation or RT on Xbox keeps shots landing without demanding precise aim.
For upgrades, unlock as many Armor Matrix nodes as possible before entering. The single most important pickup is Second Chance, a Halcyon-tier upgrade that revives you on the spot after a fatal hit. In a three-phase fight with no checkpoints between phases, that safety net is worth more than almost any offensive upgrade.
If the Prophet is hitting harder than expected, reconfigure your Armor Matrix nodes at the hub to invest more into Integrity (Health) before retrying.
Armor Matrix upgrade screen
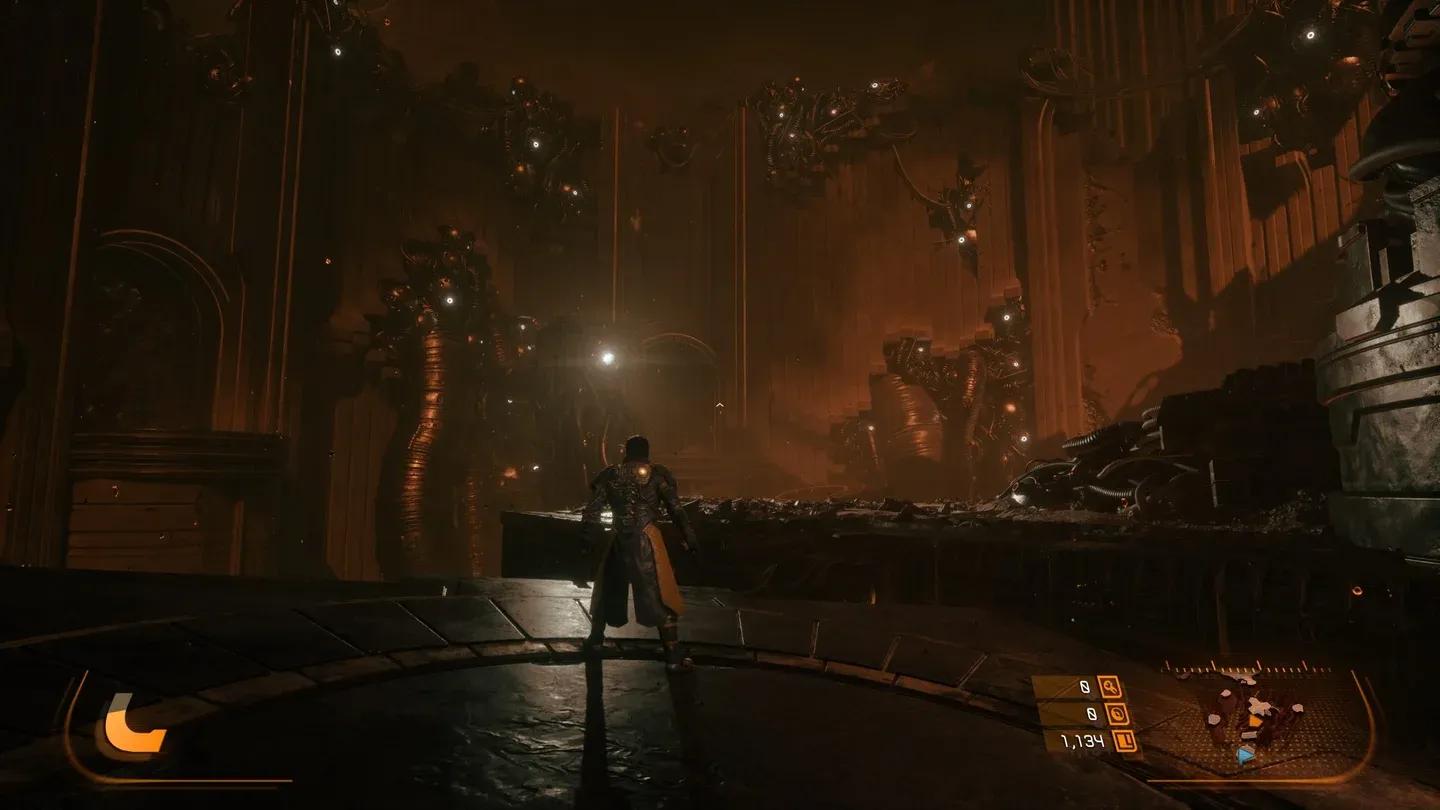
What does the Prophet fight arena look like?
The fight takes place in an open circular area with red grass lining the perimeter. That grass slows your movement speed, which is a serious liability when projectiles are flying from multiple directions. You can step into it briefly to dodge an attack, but get back to the open center as fast as possible.
Your Soltari Shield absorbs blue projectiles and refills your power gauge when it does. If you've already unlocked the Shield Amplifier upgrade, yellow projectiles become absorbable too. Keep that mechanic in mind throughout every phase.
The color of a projectile tells you how to respond. Yellow generally means dodge, jump, or dash through gaps. Blue generally means shield or move away. Categorizing attacks this way makes the later phases much easier to read.
Phase 1: Breaking the Prophet's invulnerability
The fight opens with the Prophet going immediately invulnerable. You cannot damage it directly until you destroy the yellow orbs on the wall behind it. Focus those down as fast as possible.
While you're clearing the wall targets, the Prophet runs two ground attacks and one projectile attack simultaneously:
- Vertical waves of blue projectiles: Slow-moving, walk to the side to avoid them.
- Yellow projectiles with gaps: Walk through the gaps, dash, or jump over them.
- Solid yellow line: Same options apply.
Once the wall enemies are gone, the Prophet becomes vulnerable and immediately fires a large burst of homing blue projectiles. Shield up and absorb them to fill your power gauge, then use your Power Move right away for a big damage window.
After that opening burst, the Prophet settles into a two-attack rotation:
- Three waves of yellow projectiles
- Five homing blue projectiles
Stay moving side to side for most of this. The one exception is the third yellow wave, which travels horizontally rather than diagonally like the first two. For that specific wave, either dodge directly into it or raise your shield.
At half health, the Prophet goes invulnerable again and the wall-clearing sequence repeats.
Phase 2: Add management and upgraded attacks
Phase 2 opens the same way as Phase 1, but the Prophet now spawns enemies on the floor that shoot yellow projectiles alongside the wall enemies. Clearing these floor adds immediately is the priority. Let them pile up and the arena fills with overlapping projectile patterns that become nearly impossible to navigate.
Defeating the floor enemies drops Aether, which heals you and recharges abilities. If your health is low heading into the final phase, the xboxplay.games guide suggests farming these adds deliberately before finishing off the boss's second health bar.
The Prophet's existing attacks are also upgraded in this phase:
The rings of yellow projectiles are the new mechanic to learn here. Look for gaps in the ring and dash through them. The clustered wave pairs also require you to start dodging more aggressively, as the second and third waves arrive close enough together that side-stepping alone won't always cut it.
Half-health triggers another invulnerability phase. Clear the wall, manage the floor adds, and push through.
Do not ignore the floor enemies in Phase 2. Their yellow projectiles stack with the Prophet's own attacks and will quickly run you out of safe space to move.
Phase 3: Surviving the kill box
The final phase removes the invulnerability mechanic entirely, but the Prophet compensates by raising vine walls on both sides of the arena, significantly cutting your movement space. From here it cycles through every attack it has at a faster rate, with no breaks between them.
With the arena compressed, jumping becomes riskier since you can clip walls or land directly into a projectile. There's enough time between each attack to dodge cleanly if you stay focused, but the margin for error is tighter than in the earlier phases.
This is where Second Chance earns its place. If you've taken damage across the previous phases and arrive at Phase 3 in rough shape, that automatic revive can be the difference between finishing the fight and starting over from Phase 1.
Keep shooting throughout. The smart rifle's Auto-Hit means you never have to choose between dealing damage and watching the attack patterns.
If you're running low on health entering Phase 3, consider staying at mid-range. Too close and you won't see the patterns forming in time. Too far and the slanted yellow lines become harder to predict.
What does the Prophet drop when defeated?
Beating the Prophet rewards a large amount of Lucenite and unlocks the path to the next biome. You'll also earn the "Prophet" trophy or achievement. The fight serves as the gate to higher-tier gear drops, so the reward scales with what comes after rather than what it hands you directly.
For more boss guides and strategies across Saros and other games, browse more guides on GAMES.GG.