

Lucenite is the yellow primary resource that fuels your entire progression in Saros. Every node you unlock in the Armor Matrix costs it, and the stat upgrades that make later biomes survivable depend on having a steady supply. You pick it up by exploring biomes, defeating enemies, and cracking open containers, then bring it back to the Passage to spend with Primary. The catch is that dying mid-run costs you a portion of what you have collected, so how you play matters as much as where you grind.
How does Lucenite work in Saros?
Every enemy you kill drops some Lucenite, and it also appears as world pickups scattered across main and side paths. As you gather it during a run, it raises your Proficiency Level, which determines the tier of weapons you can pick up mid-run. A higher Proficiency Level means better gear drops, which in turn makes clearing the rest of the run easier.
When you finish a run or use a Jump Network Pad to return to the Passage early, you keep everything you collected. If you die, you only bring back a percentage. Either way, the Lucenite you return with goes into a permanent pool you can spend at the Armor Matrix. The Drive stat applies a bonus multiplier to the total amount you bring back at the end of any run, whether you completed it or died.
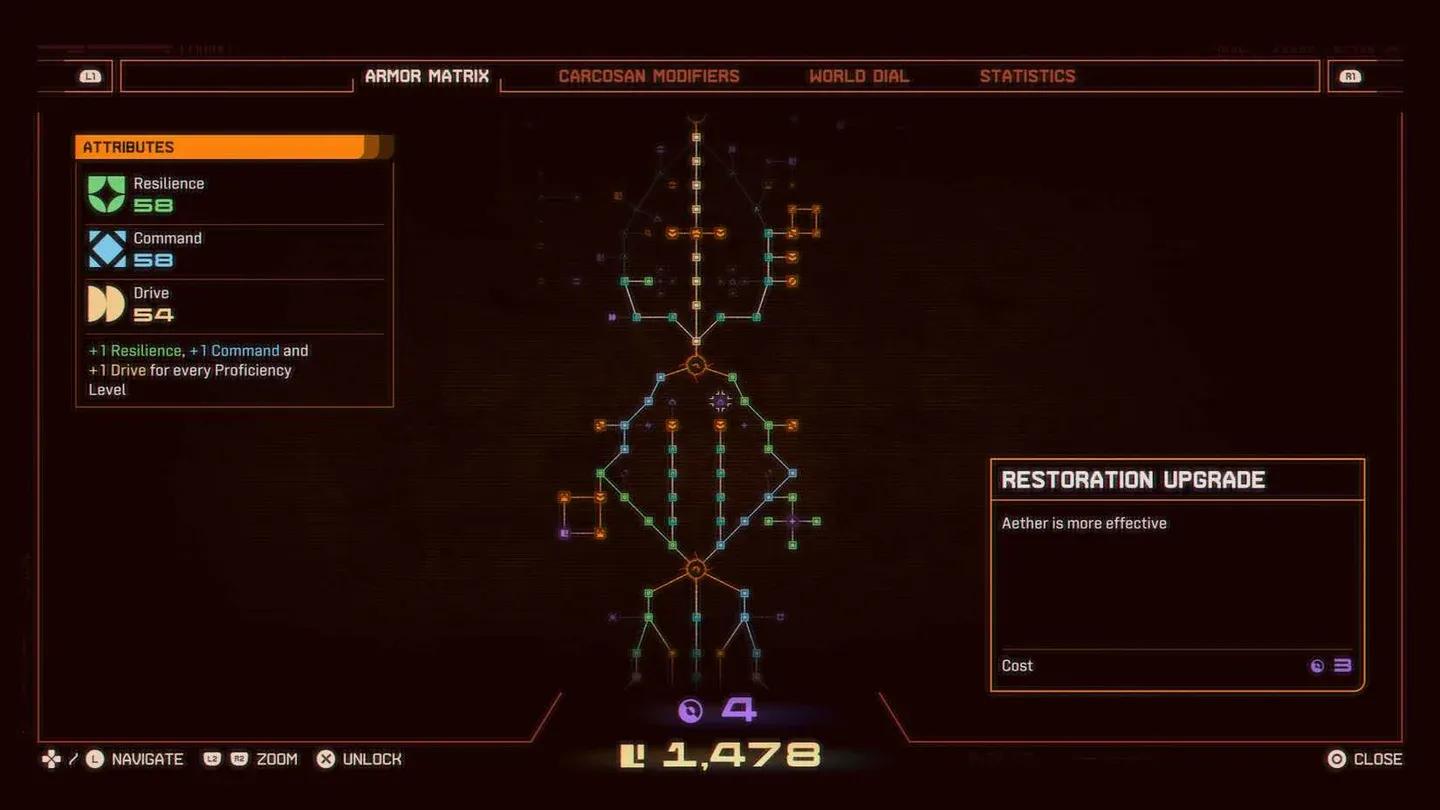
Armor Matrix upgrade screen
Best Ways to Farm Lucenite Fast
Activate the Eclipse as soon as possible
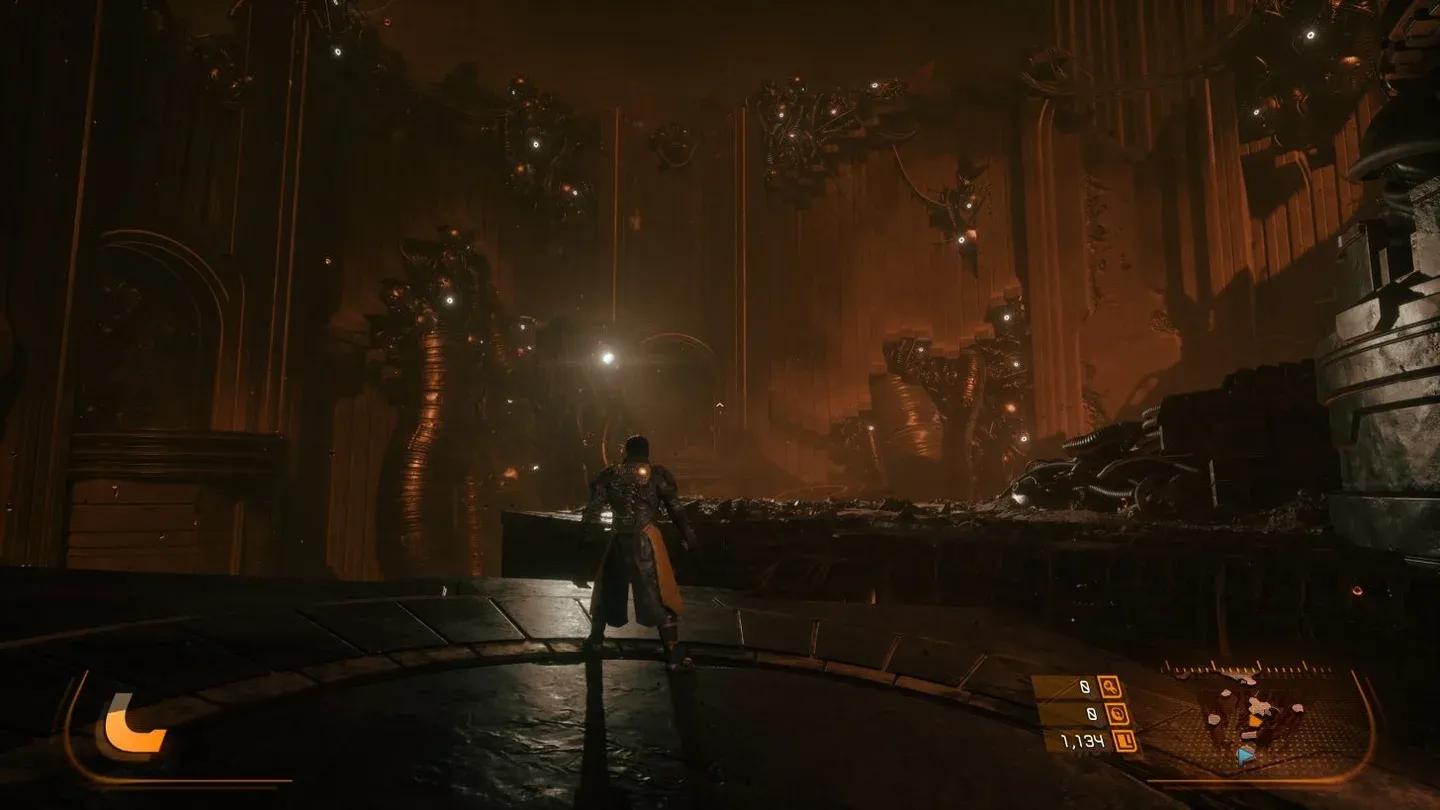
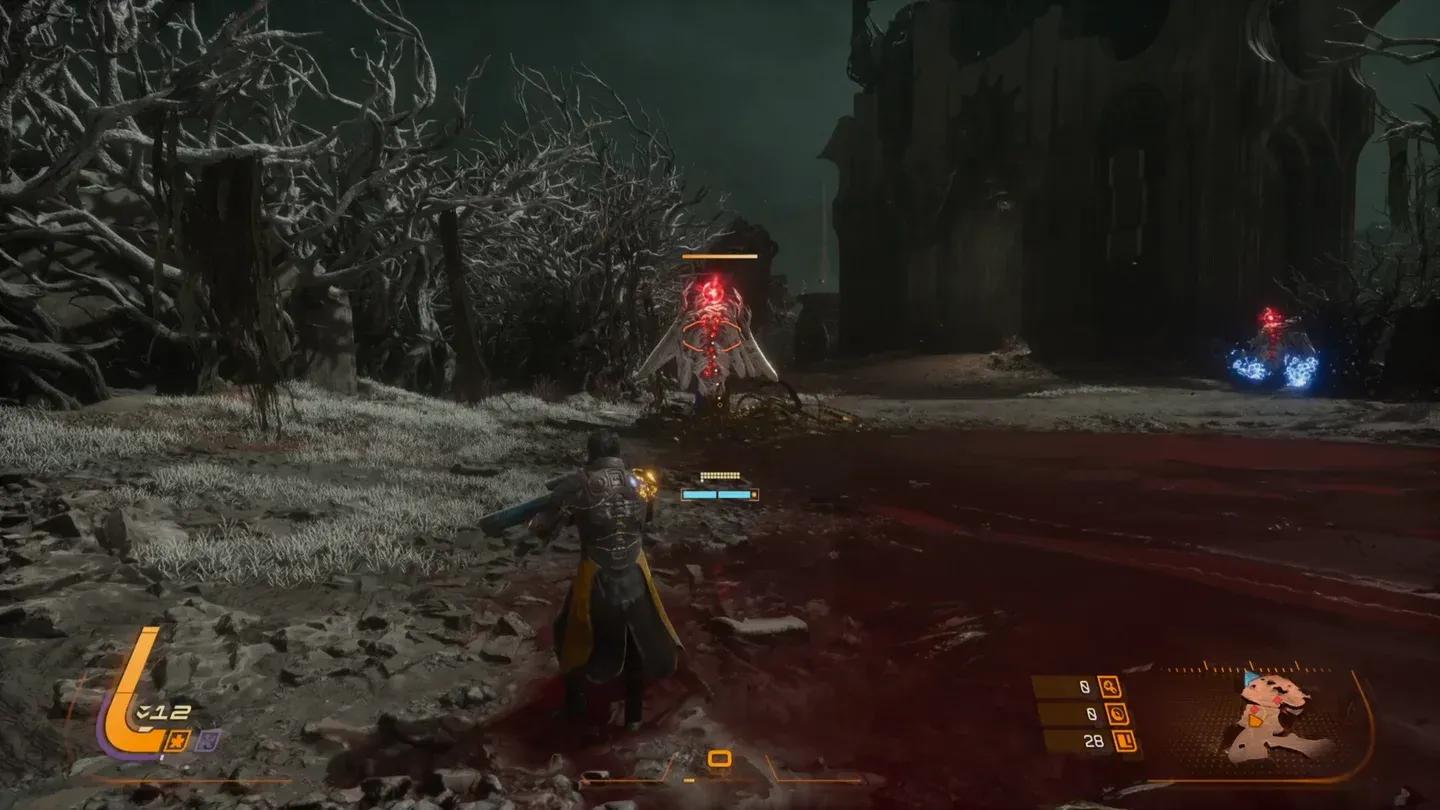
The single highest-yield approach is running biomes with the Eclipse active. As documented by IGN, the Eclipse is the best generator for Lucenite on any given run. The tradeoff is real: enemies hit harder, use different attack patterns, apply Corruption to reduce your shield effectiveness, and become noticeably more aggressive. The Blighted Swamp is a strong early farming target because its Eclipse pedestal sits right at the entrance, meaning you can activate it immediately and run the entire biome under Eclipse conditions from the start.
The reward bump is significant enough that if your build can handle the added pressure, this should be your default mode whenever you are grinding resources.
Eclipse activation at biome entrance
Replay earlier biomes with better gear
Going back to cleared biomes is not glamorous, but it works. You already know the enemy patterns, the Overlord guarding that region is gone, and your permanent upgrades make the whole thing faster than your first visit. Replaying the same level repeatedly until you have maxed out currently available upgrades is the most reliable baseline method.
The real bonus here is exploration. With more Permanent Equipment unlocked, you can reach areas that were blocked on your first pass, and those areas often contain additional Lucenite or items that boost how much you earn per run.
Dropped Lucenite from enemies despawns quickly. GamingBolt notes this is especially punishing mid-fight. Position yourself to collect drops immediately after kills, and prioritize the Armor Matrix upgrades that extend drop lifetime before grinding heavily.
Invest in Drive stat upgrades early
The Drive attribute increases the bonus Lucenite you receive at the end of a run. This bonus applies to your entire haul, so the more you collect and the higher your Drive, the larger the final payout. Per IGN's guide, this bonus scales noticeably as you progress deeper into the game, which makes early investment in Drive upgrades one of the best returns on Lucenite you will find.
You can raise Drive both permanently through the Armor Matrix and temporarily through Cycle Artefacts found during runs. Both stack, so grabbing a Drive-boosting Artefact during an Eclipse run compounds the yield significantly.
Use Corrupted Artifacts that boost Lucenite
Artefacts are a reward option when opening containers during a Cycle. GamingBolt recommends prioritizing Halcyon first when choosing between rewards, but any Artefact that boosts Lucenite gain is a close second. Some raise Drive directly, while others add a chance for enemies to drop bonus Lucenite on death. Running one of the bounty-style Artefacts that triggers extra drops on specific enemy kills during an Eclipse run stacks both bonuses at once, and the numbers add up fast.
These Artefacts only last for the current Cycle, so treat them as a temporary multiplier rather than a permanent solution.
Convert Aether at full health
This one is easy to miss. Aether normally restores your Armor Integrity, but if you are already at full health when you approach an Aether pickup or container, it automatically converts to Lucenite instead. As IGN documents, you will see a prompt indicating the conversion. It is not a large amount per instance, but staying healthy and playing aggressively enough to avoid damage means you are passively converting healing resources into progression currency throughout the run.
Buy Armor Matrix upgrades that improve Lucenite collection
Spending Lucenite to earn more Lucenite is the right call early. GamingBolt specifically highlights several Armor Matrix nodes worth prioritizing:
- Upgrades that increase the size of enemy drops
- Upgrades that extend drop lifetime before despawn
- Lucenite Saver, which reduces the percentage you lose on death
- Key Storage upgrades that let you start runs with Carcosan keys, enabling you to open golden containers more reliably
The Lucenite Saver node is particularly valuable if you are still learning the game and dying regularly. Starting with a 50% loss penalty and reducing it through upgrades makes every failed run less punishing.
Lucenite Saver node location
What most players miss about efficient farming
The biggest mistake is treating Lucenite farming as a separate activity. The most efficient approach combines multiple methods in a single run: activate the Eclipse, grab a Drive or drop-chance Artefact from the first container you open, stay at full health to convert Aether, and sweep every side path for world pickups. When the run ends, the Drive bonus multiplies the entire collected amount.
If you are deep enough to have unlocked the Jump Network Pad, there is also a mid-run loop worth knowing. You can gather as much Lucenite as possible, use a Jump Network Pad to return to the Passage safely, spend at the Armor Matrix, then use the World Dial in Primary to teleport back to the same Jump Network Pad and continue. Rinse and repeat. It removes the all-or-nothing pressure of a full run and lets you bank progress in smaller increments.
The World Dial also lets you jump to any previously discovered biome, which means you can target specific areas for farming without having to clear everything between them.
For more Saros tips and strategies across all playstyles, browse more guides on GAMES.GG.