
Shattered Descent is the third biome in Saros, and it hits differently from what came before. The area is shorter than most, but it packs in tougher enemy variants, a mandatory Eclipse activation, and a boss fight against Rhabdom that will punish anyone who played the previous two encounters expecting a similar pace. This guide covers every objective, the new enemies you'll meet, the secrets worth hunting, and exactly how to take Rhabdom down.
What happens at the start of Shattered Descent?
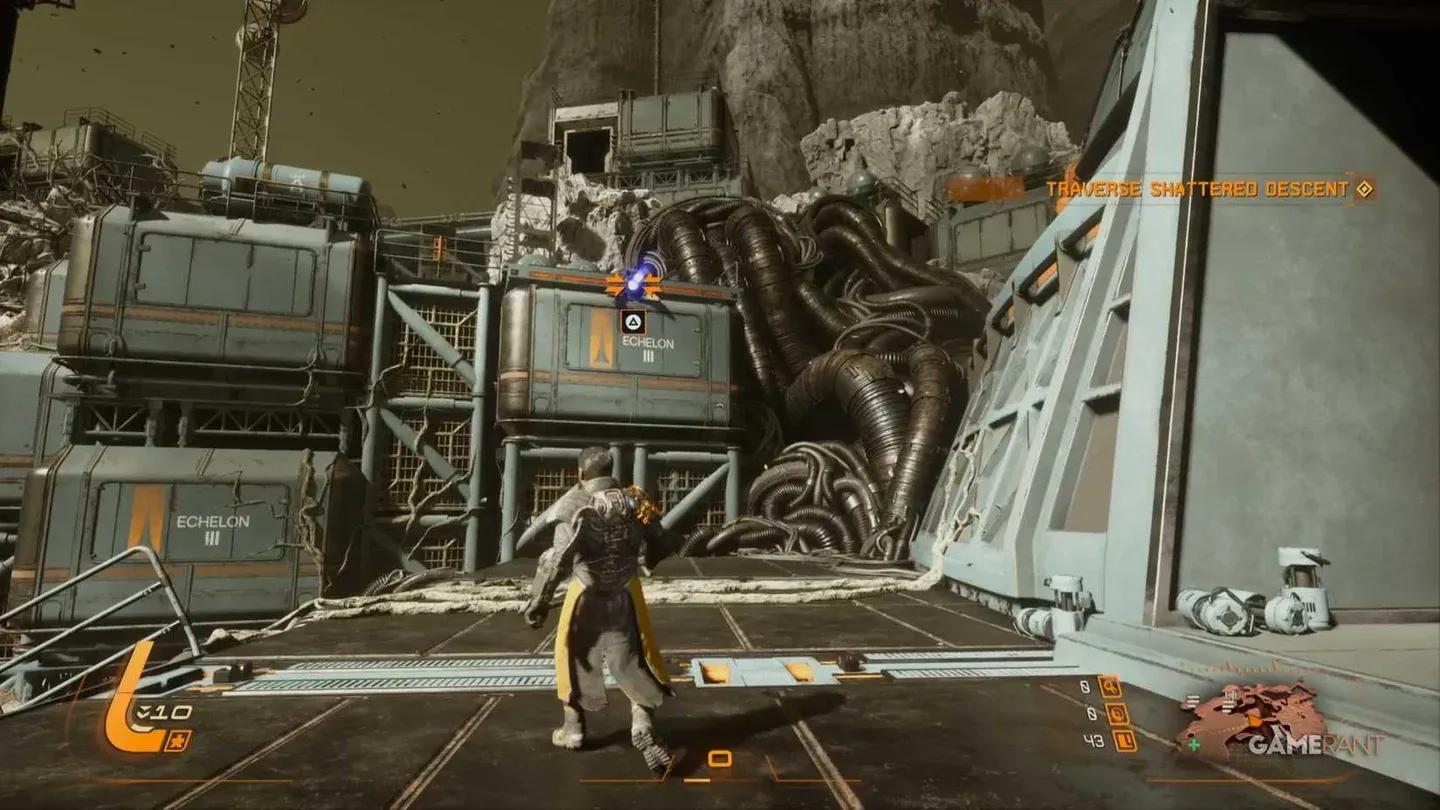
After defeating Bastion and meeting Lina, you surface near the Echelon III camp. The opening section of Shattered Descent is a story beat that fills in details about what happened on Carcosa and where the rest of your crew ended up. Pay attention here; it sets up the biome's objectives.
The camp also hands you the Grapple ability. You unlock it by interacting with the raised terminal in the camp clearing after scanning for Echelon III data. This traversal tool is non-negotiable for progressing through the rest of the area, so if you somehow skipped it, go back. Once you have it, grapple across the chasm and ride the elevator down.
Unlocking the Grapple ability
Shattered Descent objectives breakdown
Because Saros randomizes everything after the tutorial, the exact layout of rooms you encounter will shift between runs. What stays consistent are the main objectives. Here's the sequence:
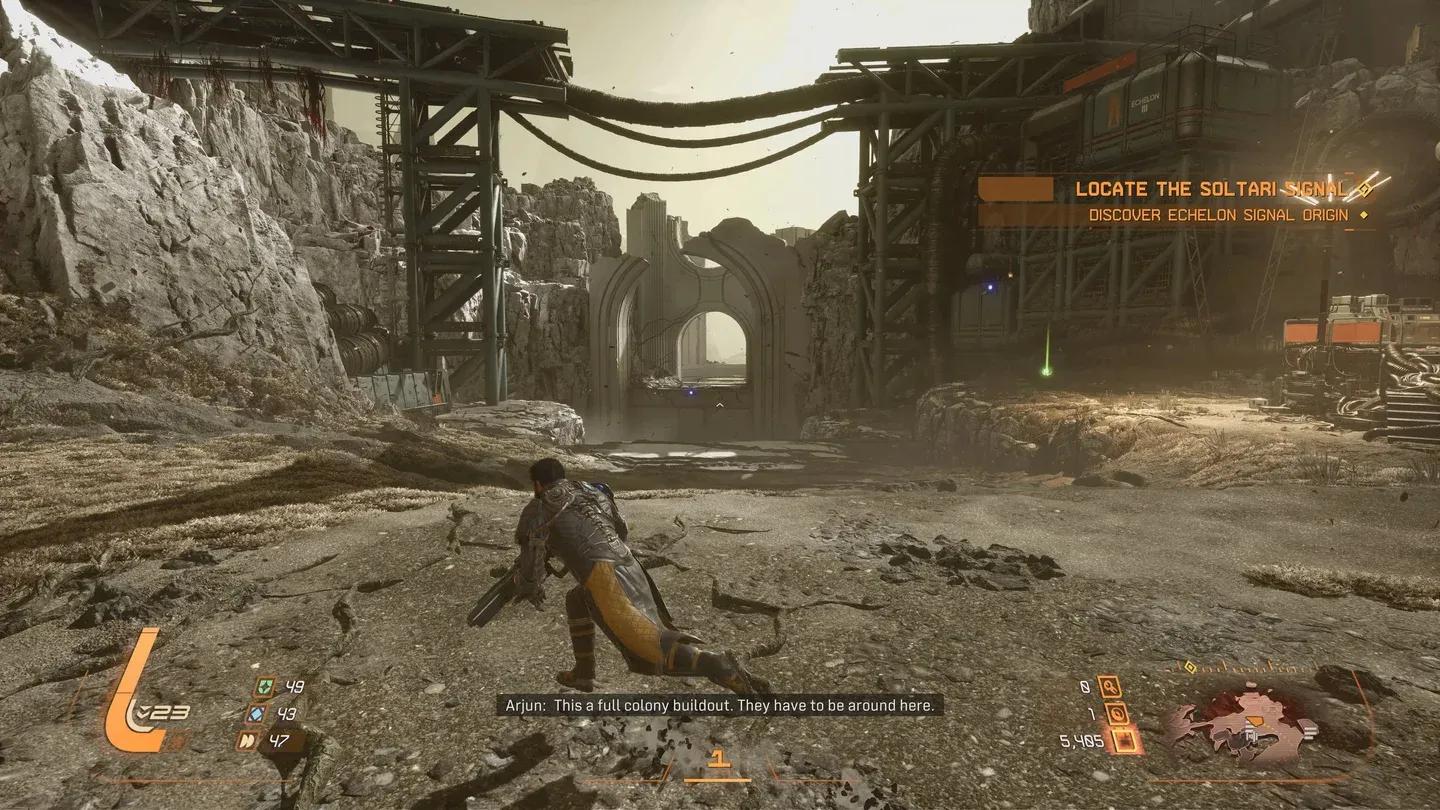
After grabbing the data core, dash across the gap to hit the teleporter and trigger a cutscene back in The Passage. Kayla figures out the last logged Echelon activity was centuries ago. Arjun does not take this well. Once you've spoken with Sheridan and Kayla, optionally check out the Banyan Tree in Sebastian's area for story context, then use the World Dial to return to Shattered Descent.
When you're back in the biome, you must trigger the Eclipse immediately to open the gate ahead. There's no way around it.
What new enemies appear in Shattered Descent?
Three new enemy types debut here. Each one has a specific weak point or behavior pattern worth knowing before you run into them blind.
Rupture
Ruptures are fast quadrupeds that move around the arena at high speed. They fire small clusters of blue projectiles or deploy static Nova projectiles defensively, usually to cover a retreat. The key tell: when a Rupture splits its head open, that's your window to deal serious damage, as its internals become exposed.
Primal Flexion
Think of Primal Flexions as upgraded versions of the standard Flexions from earlier. They fire a horizontal helix of yellow projectiles that break formation and home in on you, plus individual clusters of blue shots. They reposition aggressively, so staying mobile is non-negotiable. Target the head, same as the basic version.
Harbinger
Harbingers are large humanoid creatures that can appear headless or with multiple heads. They throw dual clusters of yellow projectiles that converge and home in, generate a Nova shield that they then fire forward, and can teleport around the arena while releasing a cone of blue projectiles on exit. The teleport is the most dangerous move since it resets their positioning unpredictably.
Rupture weak point exposed
Points of interest worth exploring
Shattered Descent has several recurring room types that appear across runs. Knowing what each one offers saves time.
Chasm Crossings require the Grapple to clear large gaps. Some of these have giant tentacles coating the walls that whip out as you zip across. Look for additional grapple points higher up in offshoot rooms for extra resources.
Drop Room POIs start with a circular hole in the floor. Once you drop down, a floating platform begins moving and you have to make a fast call: jump left or right to reach a raised reward section. There are three variants of this room, with the third having two reward options but a floor that descends, forcing a quick decision.
The Smoke Hologram Room features a central area that fills with smoke forming shapes your suit describes as worship imagery. Two rectangular containers are also present.
The Locked Gates Room has two closed metal gates with glowing circles. Shoot a button visible in the distance to open one. The second stays locked until you have later traversal upgrades.
Green cube towers appear throughout the descent, projecting wispy beams that continuously heal nearby enemies. These are always the highest priority target in any room where they appear. Run up and melee them to destroy them fast.
Destroy healing towers first
Should you attempt the Nightmare Strand?
Partway through the biome you'll find a gnarled structure with a glowing orange portal: the Nightmare Strand. This is an optional sub-area that cranks up the difficulty and applies a debilitating Carcosan Modifier for its duration.
Clearing it restores your Second Chance ability if you've lost it, and rewards a significant amount of Lucenite, health, and higher proficiency weapons. If your current loadout feels strong, it's worth the detour. If your build is shaky, skip it and save the resources for the boss.
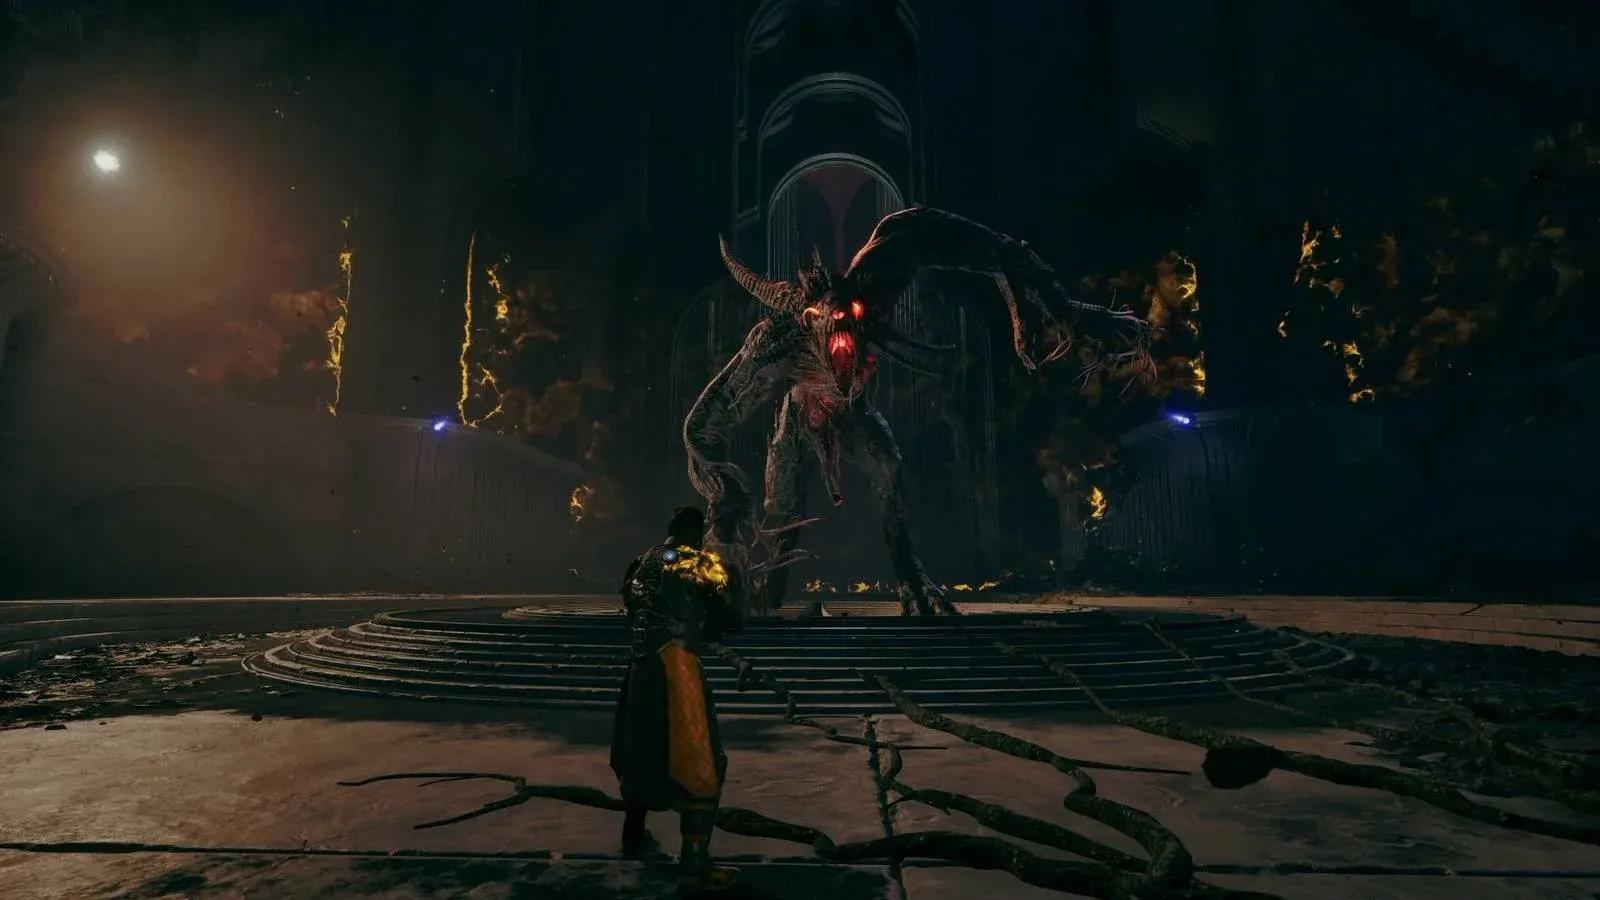
How to beat Rhabdom
Rhabdom is the third boss of Saros and a significant step up from Prophet and Bastion. Unlike those two, Rhabdom is highly mobile and has a single large health bar rather than multiple phases with separate bars. The arena has grapple points on both sides (four total, with two on each side) and a lower floor plus upper ledges.
Rhabdom's attack patterns
Here are the attacks you need to read and respond to:
- Lunge and Nova burst: Rhabdom leaps around the arena, often 3 times in a row. Each landing fires a shower of red Nova projectiles outward. The third landing produces a noticeably larger spread than the first two.
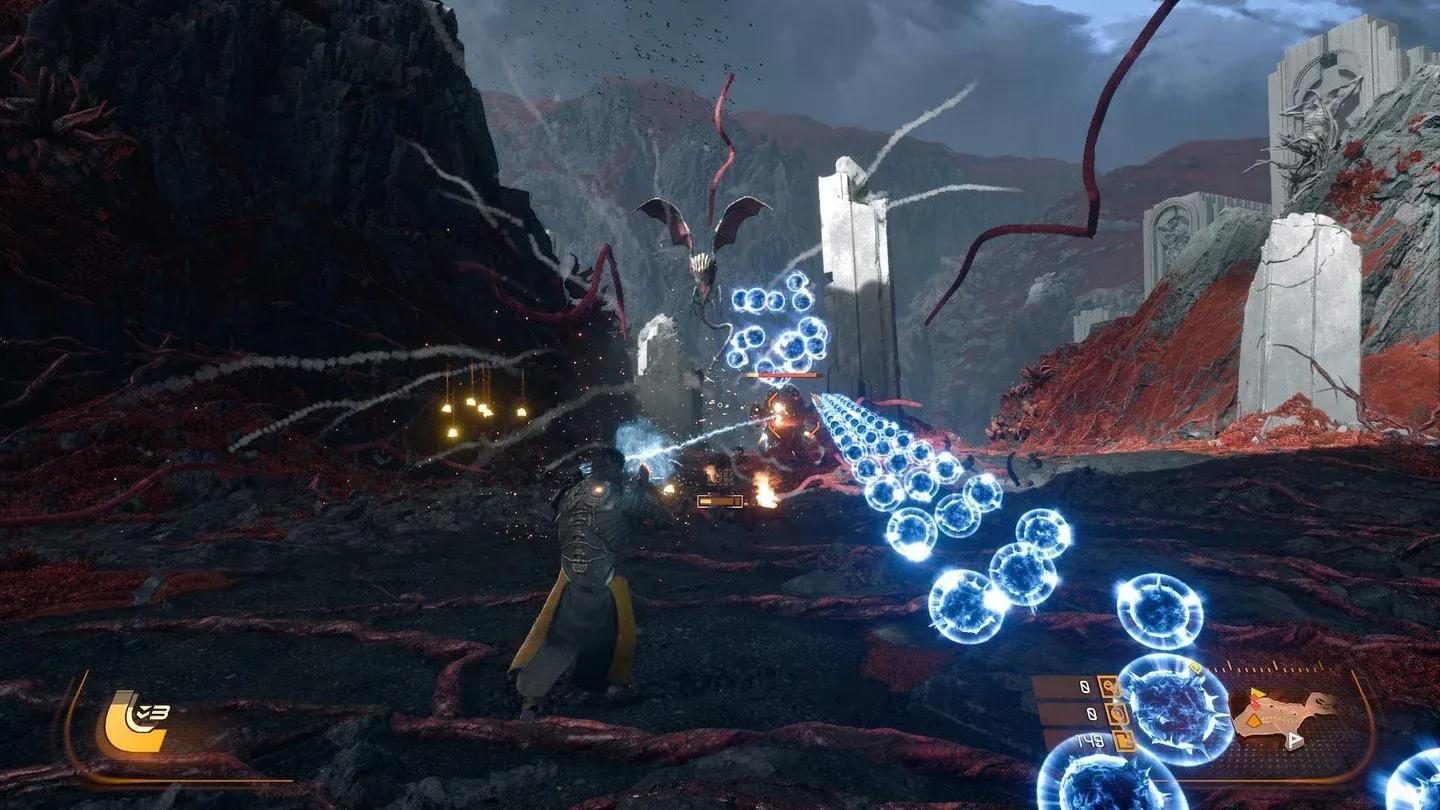
- Projectile blob: Rhabdom spits a blue or yellow blob upward that fragments into dozens of homing projectiles. Absorb or dodge these.
- Stomp shockwaves: Consecutive stomps in place fire circular shockwaves of increasing height. Early waves are jumpable; later ones require dashing through or grappling to the upper floor. Some shockwaves leave yellow projectiles that linger on the ground before slowly rising.
- Claw slashes: Horizontal and diagonal waves fired in rapid succession. Stay mobile and you can jump and dodge most of them. Your shield works as a fallback.
- Vomit charge: Rhabdom runs at you while firing a large stream of yellow projectiles. It moves fast during this, so zigzag between upper platforms and run circuits around the arena until it stops.
What's the best strategy for beating Rhabdom?
Stay on the lower floor with Traversal Boost active, then grapple up to the upper ledges just before Rhabdom's third jump landing to avoid the larger burst. For the stomp shockwaves, the upper floor geometry provides clean cover.
For weapons, after testing options against Rhabdom's movement, the repeater crossbow stands out. Its stacking damage effects mean you're dealing consistent output while Rhabdom is moving, and it frees up more of your attention for reading and evading the lunge attacks.
Get close when Rhabdom is still spawning into the arena. You can deal free damage during this window before it starts attacking.
If you land your Power Weapon or Overdrive mid-attack, you can interrupt Rhabdom's next move in its pattern. This gives you a brief window to reposition Arjun if you're getting overwhelmed.
Grapple to upper ledges mid-fight
After defeating Rhabdom, you'll collect around 950 Lucenite (without modifiers active).
What happens after Rhabdom dies?
Drop off the far side of the arena to find a new teleport destination and a deactivated bridge interface that needs a circuit to power up. Your suit detects the circuit somewhere in the nearby marsh, which opens the path to Blighted Marsh.
A gate to the right of the device rises, leading down a narrow cliffside path to another teleporter. At any point after this, returning to The Passage triggers a cutscene of Stack continuing his mural while arguing with Arjun and Sheridan, his sanity visibly deteriorating.
Once you've completed Blighted Marsh and had Primary repair the circuit (Kayla refuses), teleport to Shattered Descent - Bridge Controls. Speak with Lina, slot the circuit in, and the bridge rises. A couple of grapple points get you across to the city, and shooting buttons on either side of the far gate opens the path to the Desecrated Fortress.
For more Saros walkthroughs and tips on every biome, browse more guides on GAMES.GG.