

Shattered Rise is where Saros stops holding your hand and starts testing whether you were paying attention. Housemarque's PS5 roguelite drops you into this bleached, mountainous region of the planet Carcosa as Arjun of Echelon IV, and the game's first proper biome wastes no time introducing enemies, a world-altering Eclipse mechanic, and the first major boss: Prophet. The map layout randomizes on every run, but the objectives, enemies, and boss strategy stay consistent, which means knowing what to expect makes every cycle faster and smarter.
What you need to know before entering Shattered Rise
Everything after the tutorial is completely randomized. Each death or reset reshuffles the entire world, so specific room-by-room directions are not possible. What matters is understanding the systems, the enemies, and the objective flow. The core loop here is: fight through arenas, collect resources, trigger the Eclipse, find the Vault Key, and reach Prophet.
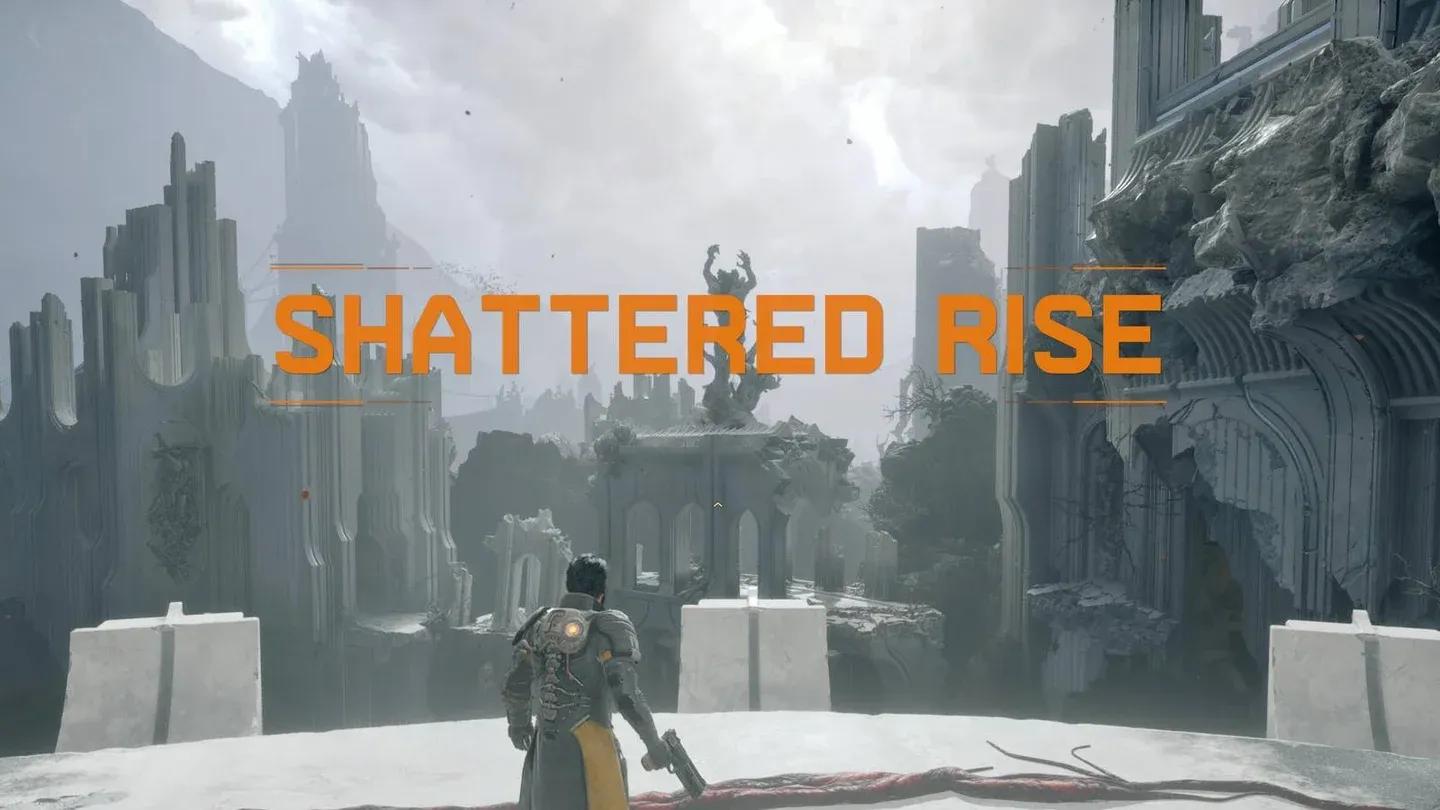
Shattered Rise biome entrance
Before pushing forward, open every red and black container you find. Per VGC's walkthrough, red containers give you a choice between two items (weapons, artefacts, Halcyon, Aether, Power Weapons, or Enhancers), while blue containers can hold Carcosan Keys and artefacts. Yellow containers require a Carcosan Key to open and always contain Power Weapons. Grab Lucinite (the gold rocks) wherever you see it. This is the currency you spend at Primary to permanently upgrade Arjun between runs.
Shattered Rise enemies: who they are and how to fight them
Seven enemy types debut in Shattered Rise, each with distinct behavior. After testing every encounter across multiple runs, the single most important rule is: keep your distance and stay mobile. The lock-on system is generous enough that you can focus almost entirely on dodging while still landing shots.
The Sunflayer deserves extra attention. It can lunge with red claw swipes, fire diagonal yellow energy waves, perform a jumping stab that sends a shockwave along the floor when it rips its claw back out, and launch a wide spread of blue projectiles. Melee damage from this enemy is far more punishing than its ranged attacks, so distance is non-negotiable. When it sends that blue projectile sweep your way, hold R1 to absorb with your Shield and then immediately retaliate with your Power Weapon.
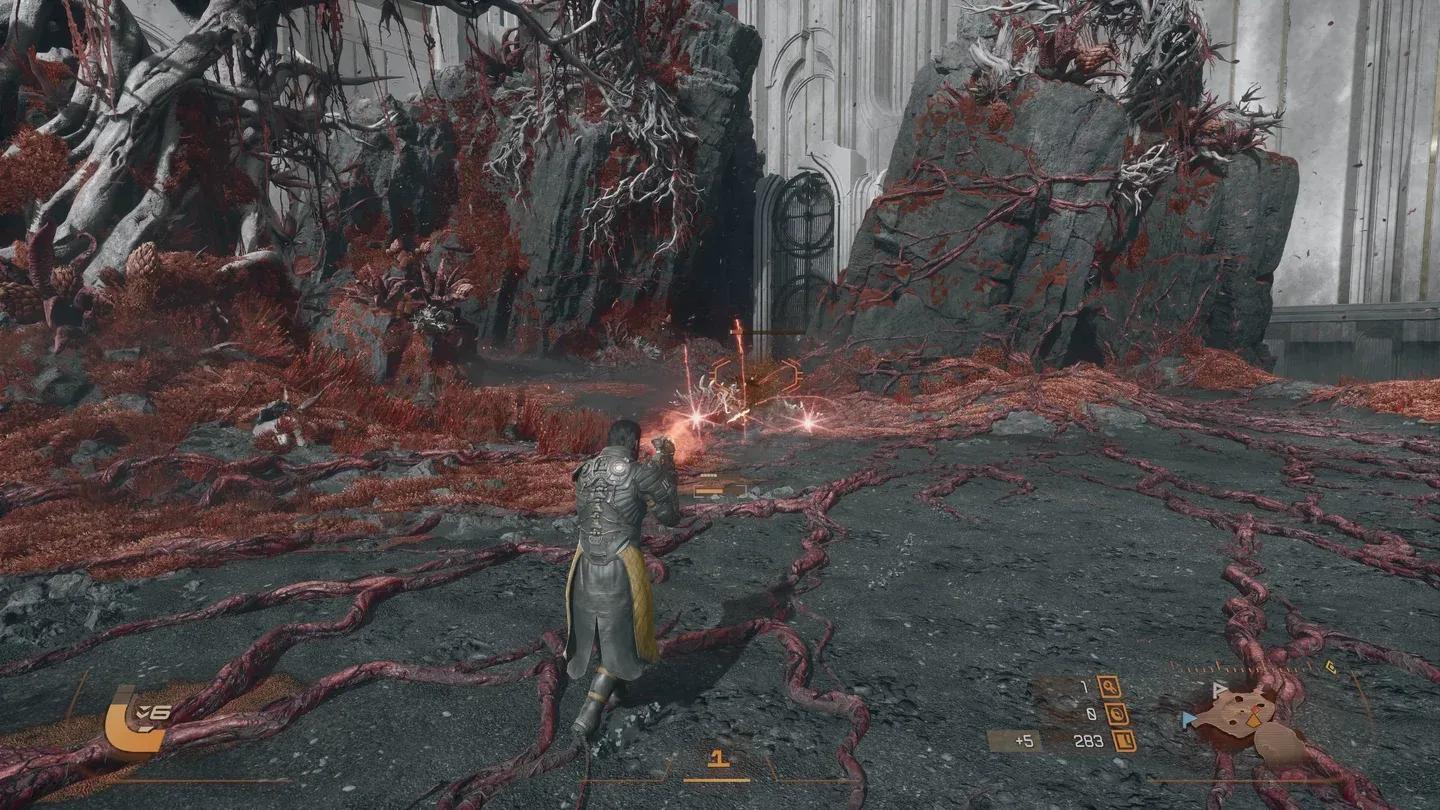
Sunflayer mini-boss fight
How to reach the Eclipse device and open the gate
Your first objective is to find the Echelon Colony signal. Early on you will acquire the Prominence Power Weapon from a golden circle device. Hold L2 fully (not halfway, which activates Alt Fire) to charge it, then fire with R2. Use it to destroy orange-glowing walls, which occasionally hide alcoves with resources and Carcosan Keys.
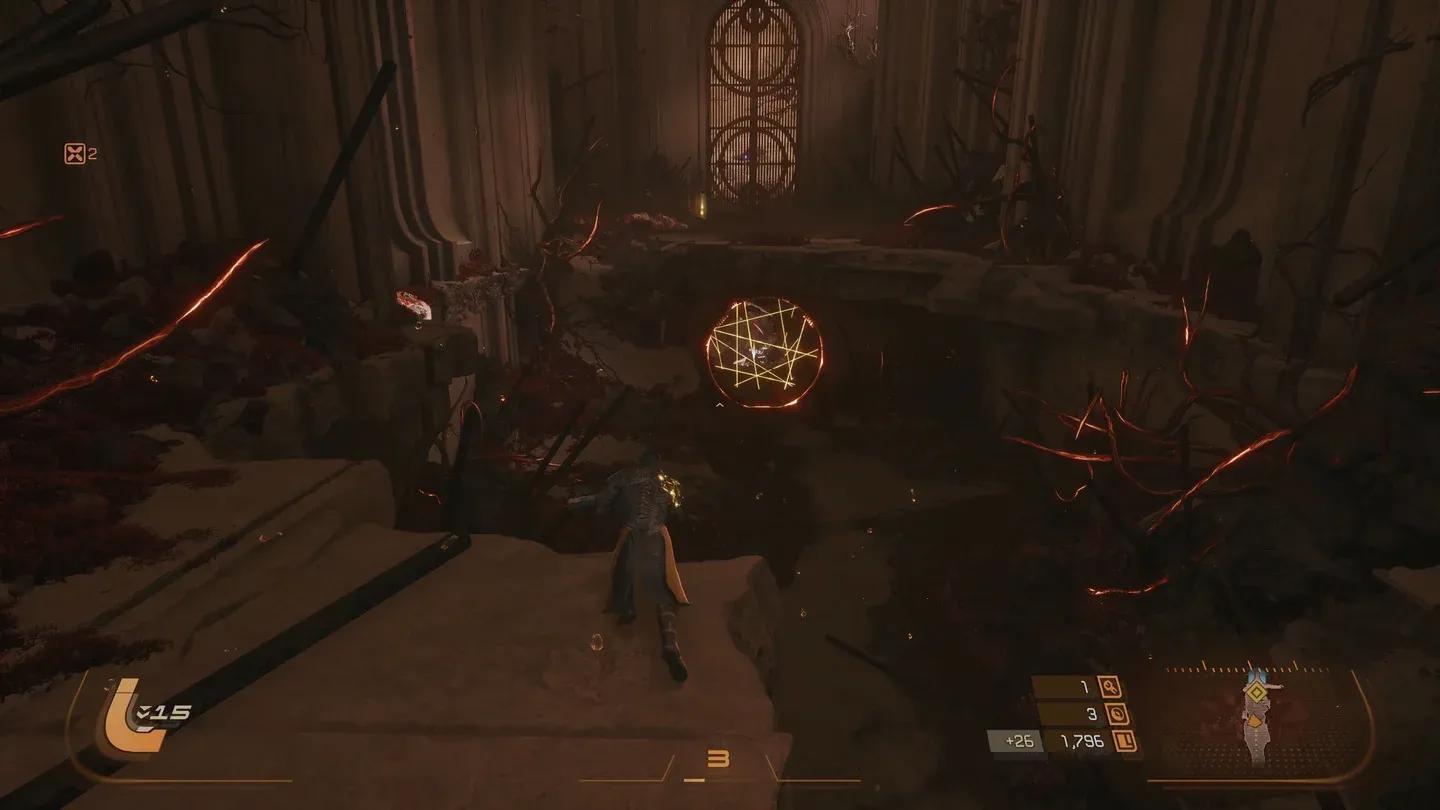
Progress through the arenas until you reach a large hall. At the center, a cluster of clawed hands protrudes from an orange pool. Interacting with this triggers The Eclipse.
Once the Eclipse activates, enemies become significantly more aggressive. They gain access to corrupted (yellow) projectiles that reduce Arjun's maximum integrity. If you get hit by corrupted projectiles, fire your Power Weapon to clear the corruption.
Post-Eclipse, a large sealed gate blocks your path. To open it, head left from the gate into a new section with tougher enemies. Fight through to find a corridor of light beams, then interact with the large button at the end to restore power. A teleporter nearby sends you back to the gate area. You can also find the Vault Key by dropping to the lowest level of a large chamber with a collapsed floor, meleeing through a red shield covering a circular opening, and avoiding yellow lasers to reach the plinth.
With the Vault Key in hand, use the teleporter to return to the gate, insert the key in the mechanical slot to the right, and proceed through.
Points of interest worth knowing
The randomized layout means you will not find these in the same spot each run, but IGN's guide documents several recurring POIs worth recognizing:
- Tarn's Camp: A side room requiring a melee to break a red shield for entry. Expect Audio Logs, Text Logs, or containers with supplies and artefacts.
- Mural Room: A large chamber with a floating golden orb and two interactive pedestals that activate murals on the walls. The Eclipse trigger room is just beyond this area.
- Drop Rooms: Circular holes in the floor leading to a long drop onto a moving platform. You have to choose left or right quickly to grab one of two rewards. Three variants exist, all requiring fast decisions.
- Power Weapon Walls: Orange-glowing wall sections (usually in corners) that Prominence destroys to reveal hidden alcoves with resources, often including Carcosan Keys.
Shattered Rise also contains 8 Halcyon collectibles, 17 Audio Logs, 1 Holo Log, and 3 Text Logs across its runs, per IGN's wiki. Halcyon is a permanent finite resource used for special Armour Alterations via Primary, so pick up every piece you find.
Vault Key location room
What items should you take in Shattered Rise?
Your weapon choices in Shattered Rise are limited to four guns: Ricochet Handcannon, Eruptor Handcannon, Tactical Rifle, and Smart Rifle. All four work, so if one option is a few prestige levels higher than your current weapon, take it even if it is not your preferred type. As you invest in the Armor Matrix skill tree, higher-level variants become available.
For artefacts, you start with a 10-slot inventory and will rarely fill it in the first biome. Take almost every artefact you find, with two exceptions: avoid anything that lowers your maximum integrity if you are trying to reach Prophet, and think carefully before accepting increased dash cooldown. Corrupted Artefacts (available after the Eclipse) have stronger positive effects but come with a downside, so weigh the trade-off before committing.
How does the Eclipse affect your strategy?
The Eclipse is mandatory until you unlock the boss room shortcut. After that, it becomes a calculated risk. Playing through Eclipse rooms gives you more Lucinite and access to Corrupted Artefacts with stronger buffs, but the increased enemy aggression and corrupted projectiles raise the chance of arriving at Prophet with reduced maximum integrity.
Screen Rant's guide recommends this approach: early on, always run through Eclipse rooms to maximize Lucinite and unlock every Armor Matrix node. Once your upgrades are solid and your only goal is killing Prophet, you can shortcut past most of the Eclipse section and fight the boss with cleaner health, or push through for a potential gear upgrade at the cost of some risk.
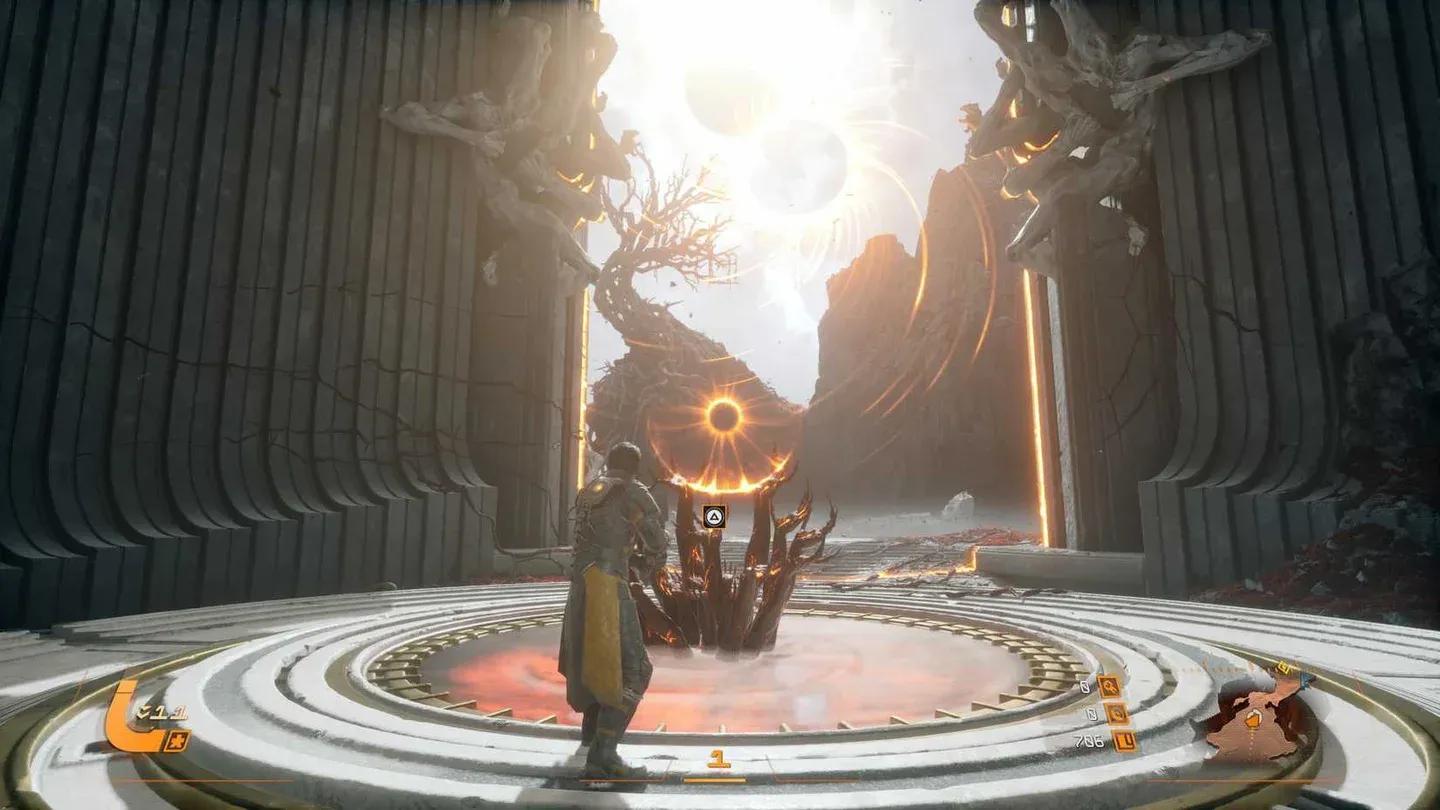
Eclipse activation device
How to beat Prophet: all three phases
Prophet is rooted to the back wall of its circular arena and cannot move. The outer ring of the arena is covered in red grass that slows Arjun's movement, so stay in the central area at all times. Prophet's health bar shows dashes across it when it is invulnerable; when the dashes disappear, you can deal damage.
Per IGN's guide, firing your Power Weapon at Prophet mid-attack can disrupt its next attack in the sequence. Use this when you need a brief window to reposition.
Phase 1: opening the eye
Prophet starts fully formed and invulnerable. Shoot the small tentacled creatures on the walls on either side of Prophet to destroy them. Once all are gone, Prophet splits open down the middle and its central eye becomes exposed and vulnerable.
The primary attack to watch for is a volley of yellow projectiles fired in diagonal and horizontal waves, three per set in Phase 1. A small cloud of yellow dust appears just before each shot, indicating the exact orientation of the incoming wave. The third wave is always horizontal, and jumping over it is the most consistent dodge. Yellow shockwaves also pulse from Prophet's right-hand claw, usually 1 to 3 times in rapid succession. Dodge through or jump over these. Blue projectile clusters can be absorbed with your Shield to charge Prominence.
Phase 2: arena hazards added
After depleting the first health bar, Prophet reforms. It now fires blobs that arc down and land across the arena, each generating a small zone of red grass and a 360-degree burst of yellow projectiles on impact. Destroy these blobs as fast as possible. New tentacled wall creatures also appear, requiring you to shoot them before Prophet opens again.
A new attack introduces several concentric circles fired simultaneously toward Arjun; position yourself in the gaps as they approach. The floor-level projectile wave now covers the entire arena width with no gaps, so you must dodge or jump over it. The diagonal and horizontal wave attack gains one or two additional waves per iteration compared to Phase 1.
Phase 3: boxed in
After the second health bar drops, large tendril walls emerge on both sides of the arena, boxing Arjun into a narrow corridor directly in front of Prophet. No new attacks appear, but everything comes faster and in quicker succession.
The strategy here is to "pinball" back and forth between the two walls to avoid diagonal blasts, jump over floor waves and horizontal blasts, and keep firing constantly. Use your Shield to absorb blue projectiles and feed Prominence shots into Prophet as often as possible. Staying alive matters more than maximizing damage output; the fight ends faster if you are not stopping to recover.
Defeating Prophet rewards approximately 400 to 450 Lucinite (more with modifiers active, per IGN's guide), plus healing items. A passage opens behind Prophet's position leading to a teleporter that returns you to The Passage and unlocks access to the second biome, Ancient Depths.
Prophet boss arena layout
Upgrade priority between runs
Every time you die and return to The Passage, spend your Lucinite and Halcyon at Primary. The upgrade tree starts relatively linear. Per IGN's guide, Drive nodes are almost always worth taking because they increase Lucinite gains, which accelerates every subsequent upgrade. Even if you keep dying, Drive nodes mean each failed run makes you measurably stronger faster.
Second Chance (the mid-run revive) and Drive nodes are the two highest-priority investments in early Shattered Rise runs. Everything else is secondary until those are locked in.
For more Saros content and guides covering every biome beyond Shattered Rise, browse more guides at GAMES.GG.