
If you’ve just started pushing into Act 2 in Slay the Spire 2, you already know the Hive hits different. Those Act 1 bosses were warm-ups. Now you’re staring down three absolute nightmares that punish slow decks and one wrong move means instant death or a debuff stack that ruins everything. But here’s the deal: once you learn their tricks and a couple hidden cheeses, they go from rage fuel to “yeah I got this.” So scroll down because we’re fixing exactly that problem.
Slay the Spire 2 Act 2 Bosses Guide
Don’t Get Backstabbed by the Kaiser Crab
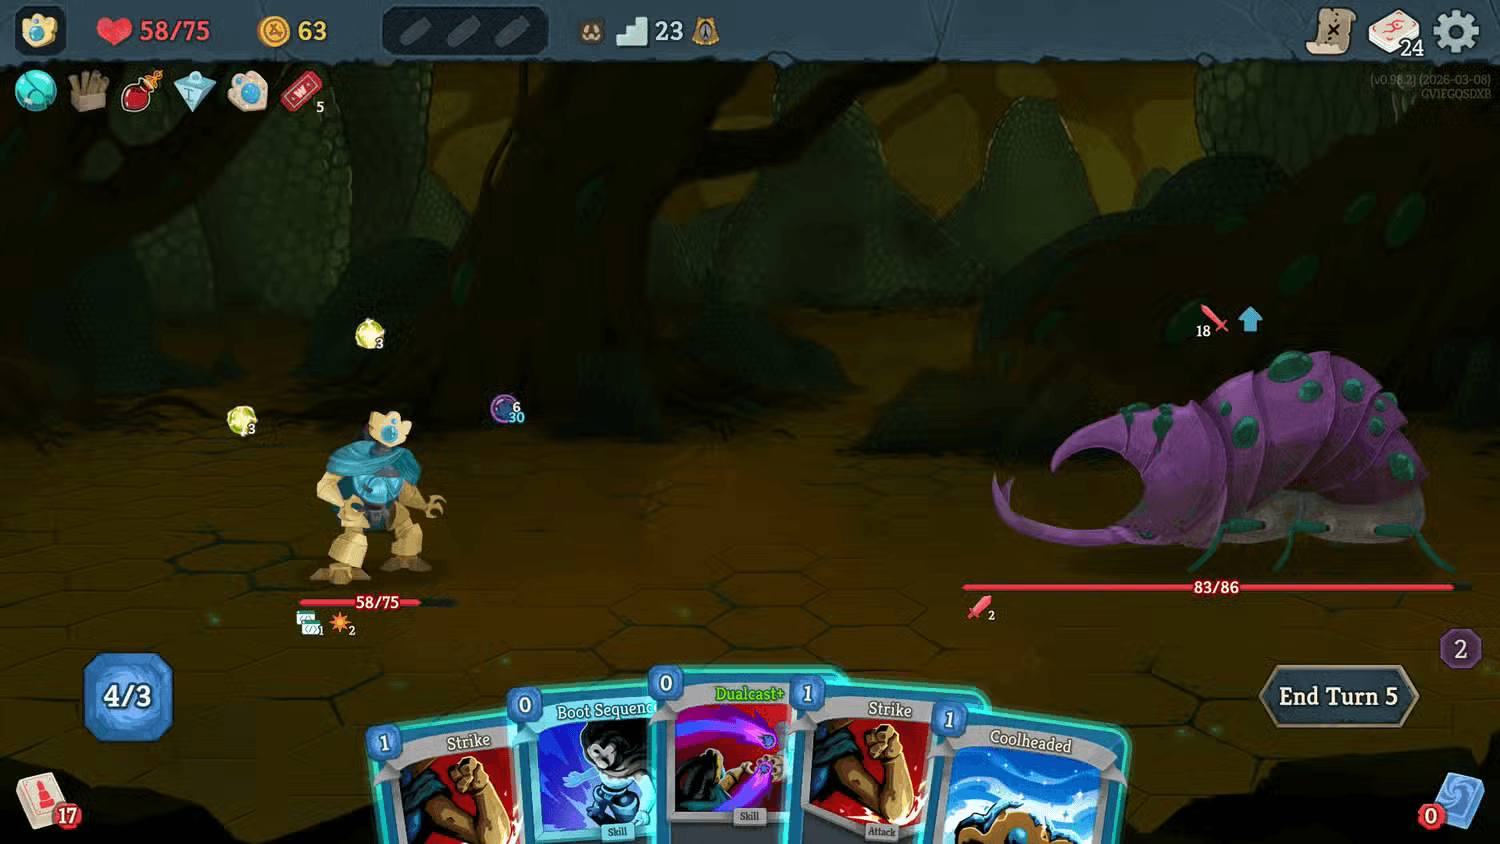
This big purple crab is the one that makes most people quit Act 2 the first few times. You don’t hit the body – you fight two separate claws. The left one is Crusher (tankier, 199 HP) and the right one is Rocket (189 HP, way meaner attacks). One wrong move and it backstabs you for bonus damage because you weren’t facing the right way.
The key is simple: always face the bigger threat that turn. Rocket usually hits harder so prioritize killing it first. Once one claw dies the other gains block and strength, so burst the dangerous one fast. Block spikes every few turns but drops every 3-4 turns – that’s your window to unload.
Hidden cheese: Silent poison builds melt this thing passively while you manage positioning. Ironclad strength ramp or Defect orb spam also laughs at the block layers. Thin your deck early so you always draw your multi-hit or AoE cards when the shell opens up.
Building on those basics we just covered, here’s why the next boss feels brutal if you didn’t prep your draw engine.
Picking the Lesser Evil Against the Knowledge Demon
This floating tentacle demon is all about mind games. Every few turns it hits you with “Choose a Card” and forces escalating debuffs. First choice is usually Disintegration (DoT damage at end of turn) vs Mind Rot (draw one less card). Later it throws Sloth (max 3 cards per turn) or Waste Away (lose 1 energy).
The cheese is killing it before the third choice ever shows up. If you have strong block generation, take Disintegration every time and just tank the DoT. Heavy burst decks? Sloth isn’t as bad because your big hits still land. Deck with tons of draw? Mind Rot hurts less than energy loss.
One bad choice and the stacks snowball – that’s exactly why the last tip about thinning your deck matters. Same poison that worked on the crab keeps ticking here while you ignore most of the debuffs.
Here’s a quick scan of the choices so you don’t panic mid-fight:
Racing the Sandpit with The Insatiable
The giant sand worm is the most straightforward but still deadly if you mess up the timer. On turn 1 it adds six Frantic Escape status cards to your deck and slaps Sandpit on itself (starts at 4 stacks). Every turn the stack drops by 1. When it hits zero you get eaten – game over.
Play Frantic Escape only when the counter is low (usually 1 or 2). Treat the fight like a straight damage race. It buffs its own strength and throws big attacks so you need either massive block or enough damage to end it in 6-8 turns.
Hidden cheese: Keep your deck super small (under 20 cards if possible) so you reliably draw those escapes when you need them. Ironclad strength ramp or any poison build chips away passively. Some players even use Primal Force relics to turn everything into big rocks for the final burst.
This is exactly why the last tip matters – the same thin deck that saved you from the Demon’s choices now guarantees you see your escapes in time.
Cross-Boss Cheese & Deck Tips That Carry Every Run
Poison is the universal cheese here – Silent or any character that can stack it just wins against the tanky crab and worm while you handle positioning and timers. Strength ramp decks (Ironclad especially) burst the Demon before choices get ugly. Always grab energy or draw relics in Act 2 shops. Save potions for the boss – one reposition potion on the crab or a block potion on the worm turns a wipe into a win.
So yeah, these bosses feel difficult at first, but they become manageable once you stop treating them like hallway fights and start respecting their one big gimmick each.
Wrapping It Up
There you go – you now know exactly how to position against the crab, pick the right evil against the demon, and race the sandpit without getting eaten. Grab a poison build or thin your deck hard, and Act 2 stops being a wall. Go crush that Hive run and I’ll see you in Act 3. You got this.