
Slay the Spire 2 will punish you hard and fast if you approach it like a casual card collector. Mega Crit rebuilt this roguelike from scratch, and even the base difficulty feels brutally unforgiving to newcomers. New enemies, fresh mechanics, and redesigned systems mean your instincts from the original game will actively work against you. This guide cuts through the noise and gives you the exact framework you need to stop dying on the first floor and actually make it to the boss.
Why Are You Dying So Early in Act 1?
The most common reason players crash out before Act 2 is not bad luck. It is a pattern of small, compounding decisions that quietly destroy a run before the elite fights even begin. Two habits cause the majority of early deaths: taking every card reward offered and ignoring the map until it is too late.
Slay the Spire 2 rewards restraint. The players who thrive are the ones who treat each decision as a long-term investment rather than an immediate grab.
How to Build a Deck That Actually Works
The Rule of Deck Discipline
Every card you add to your deck reduces the probability of drawing the cards you actually need at a critical moment. A tight deck of around 22 cards gives you reliable access to your best options. A bloated 40-card pile dilutes your draw pool and turns your most powerful cards into rare sightings.
Before accepting any card reward, ask one question: does this card fix a specific weakness in your current deck right now? If your block generation is already solid, skip the extra shield card. If the new card does not slot directly into your active strategy, press skip and move on. This single habit separates players who see Act 3 from players who rage-quit in Act 1.
Why Should You Spend Gold on Card Removal?
The Merchant is not just a shop for shiny relics. The card removal service is arguably the most important thing you can buy in the entire game. Every run starts with basic Strikes and Defends filling your deck. These starter cards are useful early but become dead weight once your build takes shape.
A basic Strike costs one energy and deals a small amount of damage. Once you have powerful attack cards in your rotation, drawing a Strike instead is a direct loss of tempo. Pay the Merchant to remove these basics as soon as possible. Prioritize removal over buying a random relic if you still have three or more basic cards clogging your draw pile.
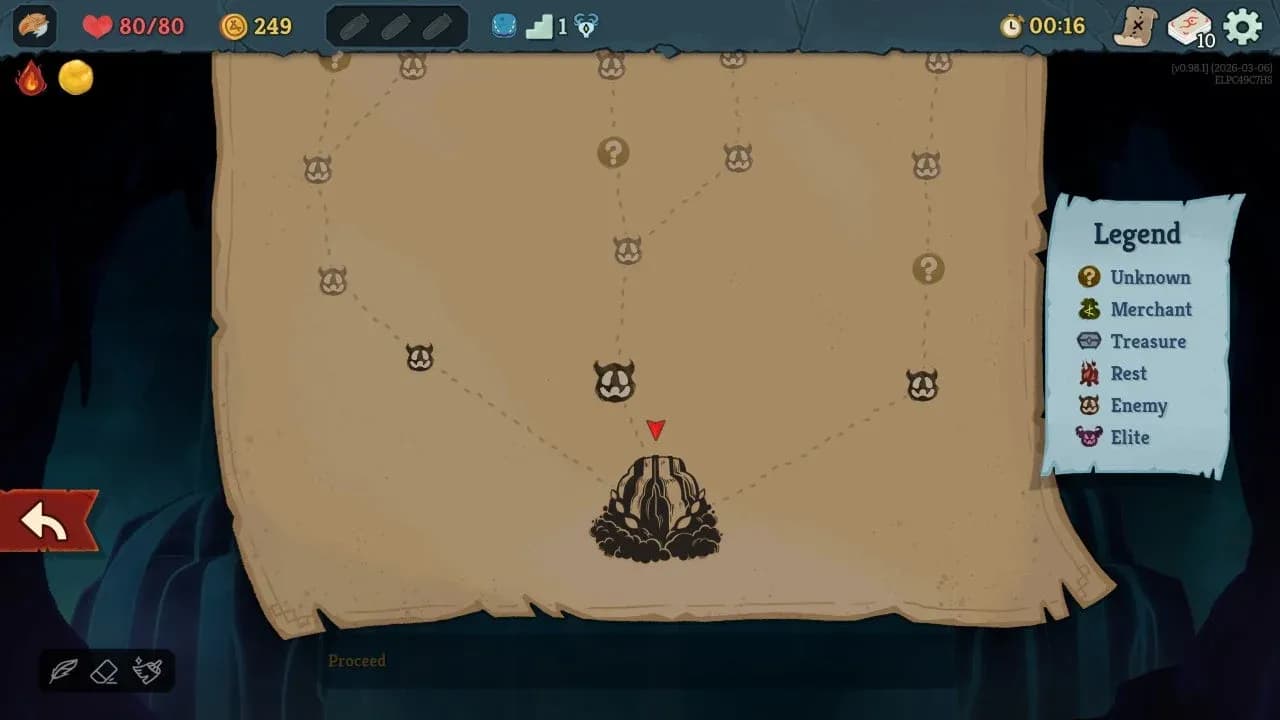
How to Read the Map Like a Strategist
Check the Boss Before You Move
The first thing you should do when entering a new Act is scroll directly to the top and identify the boss. Every path decision you make on the climb should be shaped by what that specific boss demands. A boss that punishes heavy attack-spam tells you to draft defensive tools and passive damage sources. A boss with a specific timing window tells you to prioritize energy generation.
Choosing your path without knowing the boss is like packing for a trip without knowing the destination.
Should You Fight Elites in Act 1?
Yes, and you should fight at least two of them per Act. Elite enemies are harder than standard fights, but they drop relics on defeat. Relics are the permanent passive bonuses that provide the scaling power needed to survive the later acts. Players who dodge every Elite to preserve health arrive at Act 2 with a mediocre deck and no relic support. That approach fails consistently.
The key is preparation. Plot your route to place a Campfire node directly before an Elite encounter whenever possible. This gives you the option to upgrade a critical card right before the hard fight.
Campfires: Upgrade or Rest?
The default instinct is to rest at every Campfire and recover HP. Resist this. Offense ends fights faster, and ending fights faster means taking less total damage across a run. Use Campfires to upgrade your most impactful damage or scaling cards in the majority of cases.
Only choose to rest if you are genuinely at risk of dying in the next fight. If your HP is comfortable and the next node is a standard enemy room, upgrade and push forward.
Upgrade cards at campfires
What New Mechanics Will Kill You in Act 1?
Pierce and Corrosion
Two new enemy mechanics require an immediate change in how you respond to threats.
Pierce is a buff that causes enemy attacks to bypass your Block entirely and hit your HP directly. Stacking armor against a Pierce enemy is completely useless. When you see an enemy winding up a Pierce attack, the correct response is applying the Weak debuff to reduce their damage output at the source, since Weak reduces an enemy's attack damage by 25%.
Corrosion is a status effect that reduces your maximum HP at the end of every turn it is active. You cannot stall or out-sustain enemies that apply Corrosion. You need frontloaded burst damage to eliminate them before the HP reduction becomes permanent.
Enchantments and Quest Cards
Enchantments offer massive power boosts to a single card, but always come with a cost. Many Enchantments drain maximum HP or add extra energy costs each time the card is played. Before accepting one, calculate how often you play that card per combat. An Enchantment that drains 2 HP per activation on a card you play four times per fight costs you 8 HP per encounter. That adds up fast.
Quest Cards are unplayable cards added to your deck that fulfill a specific condition before they transform into something powerful. Taking a Quest Card means carrying dead weight in your draw pile until that condition is met. Only accept Quest Cards when your deck is strong enough to function reliably despite drawing a useless card occasionally.
Durability Limits
Durability is a new restriction that caps how many times a relic or card can activate within a single combat. Unlike the original game where certain relics could fire indefinitely during a long boss fight, Durability-limited items shut down once they hit their activation cap. Factor this into your strategy during boss encounters and do not plan around an item triggering more times than its Durability allows.
Track relic durability in combat
Which Character Should Beginners Pick?
The Ironclad
If Act 1 is consistently ending your runs, start with the Ironclad. His starting relic heals a small amount of HP after every combat, giving you a meaningful safety net while you learn enemy patterns and new mechanics. His gameplan is direct: build Strength to amplify every attack card and use Exhaust mechanics to thin your deck mid-combat.
The Regent
Once you understand the rhythm of the game, the Regent opens up a more strategic experience. He generates a secondary resource called Stars that persist between turns. His gameplan revolves around patient setup, accumulating Stars across multiple turns, and then unleashing a devastating Sovereign Blade strike when the moment is right. He rewards players who think two or three turns ahead.
The Necrobinder
The Necrobinder is the most punishing character to learn. She spends her own HP to fuel Blood Magic abilities and relies on her skeletal companion Osty to absorb incoming hits. Managing HP as both a resource and a survival meter simultaneously is genuinely stressful. Her signature Doom debuff kills enemies instantly when their Doom stack meets or exceeds their current HP at the end of a turn, creating a satisfying but difficult execution-based playstyle.
How Does Co-op Work in Slay the Spire 2?
Slay the Spire 2 introduces proper cooperative multiplayer for up to four players. There is no matchmaking system. Sessions require direct invites through your Steam friends list, and the host must stay online for the entire run. The host creates the session from a specific save file, so coordinate with your group before starting.
Because the game is balanced around multiplayer, solo progression unlocks content at a noticeably slower pace. If you want to level up your roster and unlock town upgrades quickly, farming Act 1 is the most efficient method.
Build a deck focused entirely on frontloaded burst damage using cards like Whirlwind or Thunderclap, clear Act 1, defeat the first boss, and then let the first Act 2 enemy kill you naturally. This loop takes roughly 15 minutes and generates strong XP returns. One critical note: you must allow the enemy to kill you. Quitting through the Give Up option in the pause menu forfeits the XP for that run entirely.