
The Healer's Armor is one of the most distinct sets in Smalland: Survive the Wilds because it trades raw protection for something almost no other armor offers: passive health regeneration. If you've been running through encounters burning through bandages and elixirs, this set changes that dynamic entirely. Here's everything the official wiki documents about it, plus how it fits into the broader armor progression.
What makes the Healer's Armor different?
Most armor sets in Smalland focus on stacking Protection values and situational resistances like blunt, edged, or piercing. The Healer's Armor, unlocked through the NPC Tuhala, takes a different approach. Every single piece in the set grants +0.16667 health regeneration per second, which stacks across all four slots.
Wear the full set and you're looking at roughly 0.667 HP/s of passive regen just from your gear. That's meaningful over extended fights or while navigating hazardous environments where you'd otherwise burn consumables.
The set also provides -3% Incoming Poison per piece, making it a solid choice against enemies with poison attacks. Given that poison is one of the more punishing status effects in the game, that resistance stacks up when you're wearing all four pieces.
Full Healer's Armor stats
Here are the complete stats for each piece:
The chestplate leads with +24 Protection while the other three pieces sit at +20. Cold Protection is a consistent +6 across the board, and durability holds at 700 per piece.
How does Healer's Armor compare to other sets at the same tier?
The Healer's Armor sits in a mid-to-upper tier bracket. With +20 to +24 Protection and 700 durability, it's directly comparable to the Silkweave Armor and Regal Armor, both of which share the same Protection and durability numbers. Here's how they stack up:
All three sets are unlocked from different NPCs and share the same raw protection tier. Your choice between them comes down entirely to playstyle. Silkweave rewards aggressive, mobile play. Regal gives you gliding capability via the Simple Gliding Wings chest piece. Healer's is the sustain pick, best for solo players or anyone who wants to reduce their reliance on consumables.
Mid-tier armor set comparison
Where do you unlock Healer's Armor?
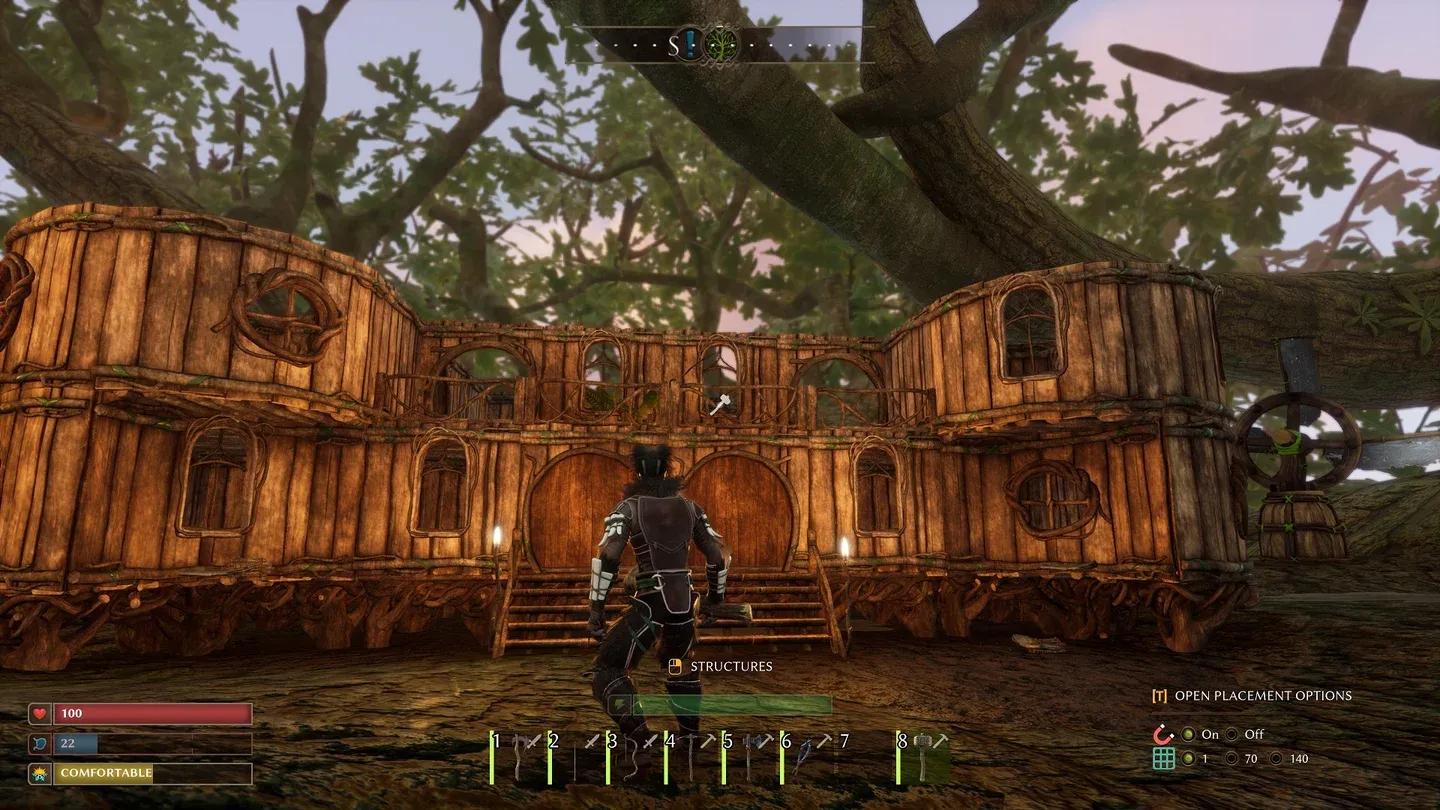
The Healer's Armor is unlocked through Tuhala, one of the game's craftable NPCs. You'll need to reach Tuhala and unlock the recipes before the pieces become available to craft. The wiki categorizes this set under the Workbench crafting station, consistent with other mid-tier armor sets like Silkweave and Regal.
The set description on the wiki reads: "Ritual healing armor which grants the wearer health regeneration." That framing gives you a clear signal about its intended role.

Crafting Healer's Armor at Workbench
How does Healer's Armor fit into the full progression?
Looking at the full armor tier list from the wiki, the Healer's set lands solidly in the middle of the progression curve. Here's a rough sense of where it sits:
- Early game: Traveler's Armor, Padded Armor, Light Armor, Stone Armor (Protection +8 to +12)
- Mid game: Primal, Chitin, Silkweave, Regal, Healer's Armor (Protection +20 to +24)
- Late game: Formic, Bone, Ironwing, Pyrite, Icarus, Scorpiolaminate (Protection +24 to +44)
- Endgame/Special: Wyrdweaver, Crystallized variants, Tyrant Armor
The Healer's set is a strong choice during the mid-game stretch where boss encounters get longer and attrition becomes a real factor. By the time you're pushing into Formic Armor territory (+24 to +28 Protection, 800 durability), you'll want to reassess whether the regen bonus still outweighs the raw protection gap.
For players who prefer action games with active resource management, the Healer's Armor offers a passive alternative that keeps your inventory lighter.
Is the Healer's Armor worth using in co-op?
In a multiplayer group, the Healer's Armor becomes even more interesting. One player running this set can act as a sustained frontliner who rarely needs to step back for healing, freeing up consumables for the rest of the group. The poison resistance bonus also matters in areas with heavy poison-dealing enemies, where a dedicated poison-resistant player can draw aggro more safely.
That said, the lack of gliding wings (compared to Regal) and lower Protection than late-game sets means you'll want to upgrade eventually. The set doesn't fall off immediately, but there's a clear ceiling.
What comes after Healer's Armor?
Once you're ready to move past the Healer's set, the most natural upgrades are the Formic Armor (unlocked via Mirmek, +24 to +28 Protection, 800 durability) or the Bone Armor (+28 to +32 Protection, 1000 durability). Neither of those sets offers health regen, so you'll be trading sustain for raw survivability.
If you want to keep some of the utility-focused bonuses, the Crystallized Ironwing Armor (crafted at the Wyrdweaver Table) is described as granting healing per piece, making it the closest late-game equivalent to the Healer's Armor's sustain philosophy.
For a full breakdown of every armor set and their unlock requirements, the Smalland: Survive the Wilds strategy guides cover the complete progression path in detail.