
Act 1 of Solasta II wastes no time throwing you into faction politics, dungeon crawls, and open-world travel before you've even figured out where the shops are. From the palace ducts under Caer Mar to a tense ambush on the road east, these early quests set the tone for everything that follows. Here's exactly what to do, what to pick, and what to skip.
Caer Mar palace entrance
Leaving the palace and navigating Caer Mar
After the events inside the palace, exit the room where Rickard is waiting, head north, and take the exit directly opposite the hallway leading to Anabasia. There's a pair of books in the room just before the exit worth grabbing.
Once outside, head down the stairs and check the bulletin board to pick up the Document - Poggle's Perfect Wig. Read it from your inventory. Then go west to find Aesoril Silverstar, the same guard who arrested you earlier, waiting as your next objective marker.
How do you get through the ducts?
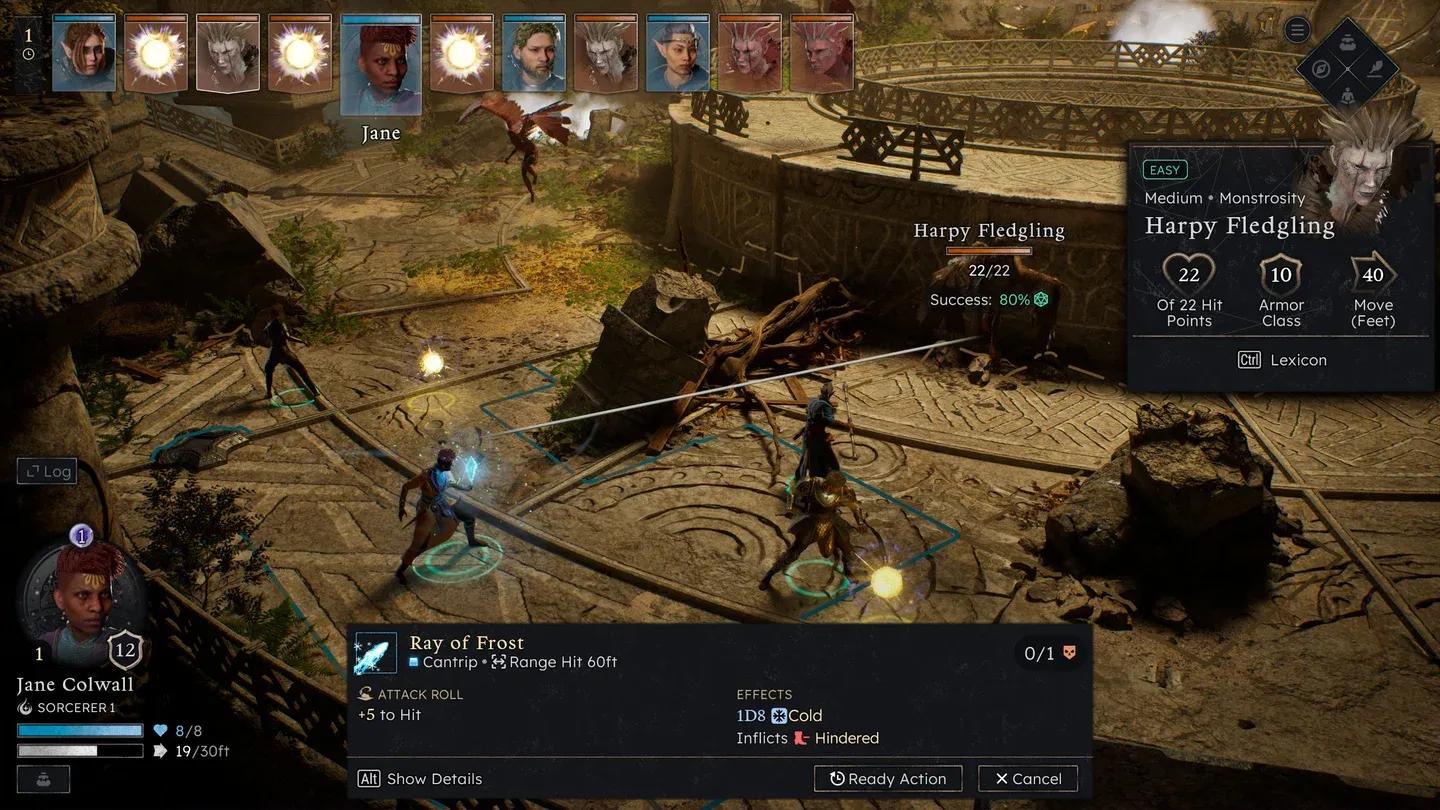
Save before dropping in. The ladder near the blue square group takes you down into the ducts. Your first job is clearing 5 crabs split across three types:
This fight is easier than the Wood Fairy and Garden Dryad encounter from earlier. Focus on thinning numbers fast to reduce incoming damage. Loot the corpse pile and the box in the northwestern corner before leaving through the northwestern exit.
Clearing the ducts nets you +5 relationship with The Beacon faction. After the scene with Aesoril plays out, you'll regain control outside.
Exploring the city district
Head south from the duct exit and you'll encounter Kito Blacktooth. Ask him about the Siklas, then follow up by asking about their Enemies. This single conversation unlocks the Hearth faction and gives your relationship with them an immediate boost.
From Kito, go east to loot the pier (books and miscellaneous items), then west to find a box under the large wheel containing a Mana Dust Vial. The large white building to the northwest is the tavern.
Vivka Sandlion runs the tavern. She won't give you news regardless of what you buy, but you can stay the night for a free long rest. Tavern rests work identically to long rests in the field except you don't burn your own food supplies, so use them whenever available.
Head to the bulletin board at the west end of the street and read the flagged note Mushrooms Wanted to start the Strange Mushrooms side quest. Between the board and the tavern you'll find Liera Tempest, who sells plants and has dialogue about Deorcas (though it won't update your active Deorcas quest). The market area to the northeast has vendors selling equipment worth browsing before you move on.
Faction standings in Act 1
Just an Old Book and a Bauble: the full sequence
Heading northeast from the market triggers a cutscene automatically, kicking off the Just an Old Book and a Bauble quest. A red-headed woman bolts after spotting a corpse. Follow her.
What's the best reward choice from the mysterious woman?
Open your map as soon as you regain control and she's immediately visible. Save before talking to her. The conversation gives you two paths:
Option A: "We don't have time" She stays put until you return and agree to escort her. When you come back and actually escort her, you earn +10 relationship with Ka'Umm.
Option B: "We could escort you" No faction relationship boost, but you can ask "What's in it for us?" If you pass the Persuasion (Charisma) check, you pick one of four rewards immediately:
- Potion of Greater Healing
- Pearl
- Scroll of Scorching Ray
- Magic Gloves
The Magic Gloves are the correct pick here. The Pearl is a single-use consumable you can find more of later, and the healing potion, while useful, doesn't match the long-term value of a magic item this early. Even if the gloves don't fit your current build, they're worth having.
Regardless of which option you choose, talking to her adds the Ka'Umm faction to your journal.
Persuasion reward selection
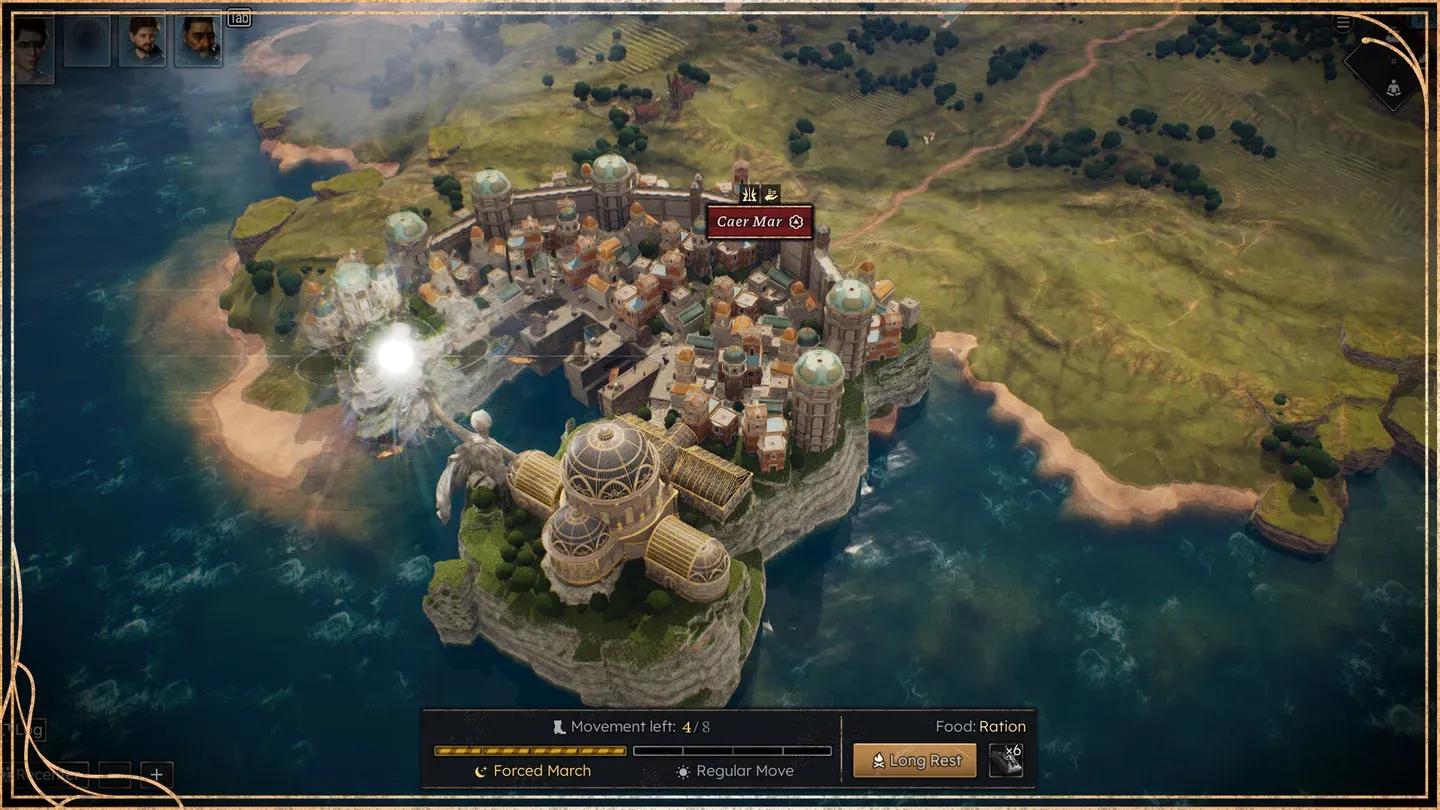
Reaching the Tamesh Camp: world map travel explained
Once you're back on the world map, the game introduces the Neokos travel system. Movement works on a hex grid using Movement Points (MP). Each hex costs different amounts of MP depending on terrain type.
Travel has two phases:
- Regular Move: daytime travel, standard risk
- Forced March: nighttime travel, higher encounter chance, party members accumulate exhaustion that lowers d20 rolls
Avoid Forced Marches unless necessary. The exhaustion penalty compounds across multiple nights and can turn manageable encounters into disasters.
Head east from the city. You'll spot the Old Siklas Building to your right almost immediately. This location is tied to the Jeera's Secret quest, not the current objective, so skip it for now. Your target is the Tamesh Camp further east.
Known bug: Some hexes become impassable even with sufficient MP. If this happens, quick save and reload. If you hit a wall going east specifically and can't proceed, enter the Old Siklas Building and leave without doing anything inside. That clears the block.
What happens at the Sentinel Fort?
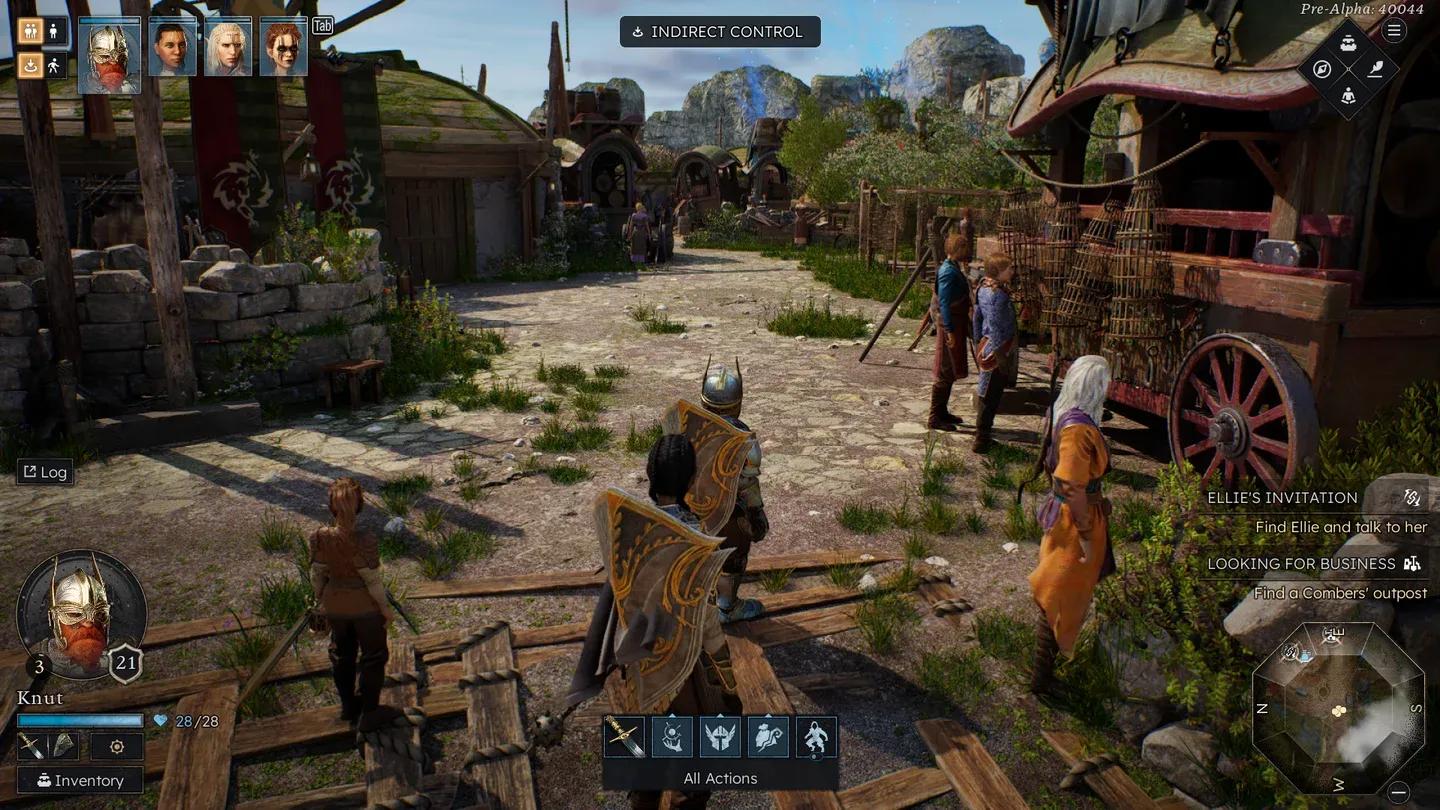
One hex east of the Old Siklas Building sits The Sentinel Fort. Enter and head east to trigger a scene with Herrold Strongarm, a Comber (essentially a loot scavenger who revisits cleared areas). Talking to him adds the Combers faction to your journal, the last faction you were missing at this stage. Buy anything useful from his stock and use the campfire behind him to rest if needed.
Continue east and you'll meet Ellie Sharpreef, who mentions living in Tor Wen, a fishing village built on the ruins of a watchtower. Nothing actionable here, just lore.
The ambush fight: how to win it
A cutscene plays as you approach the next hex east, revealing your party is being followed. As soon as you regain control, open your map. The pursuers are coming from the east.
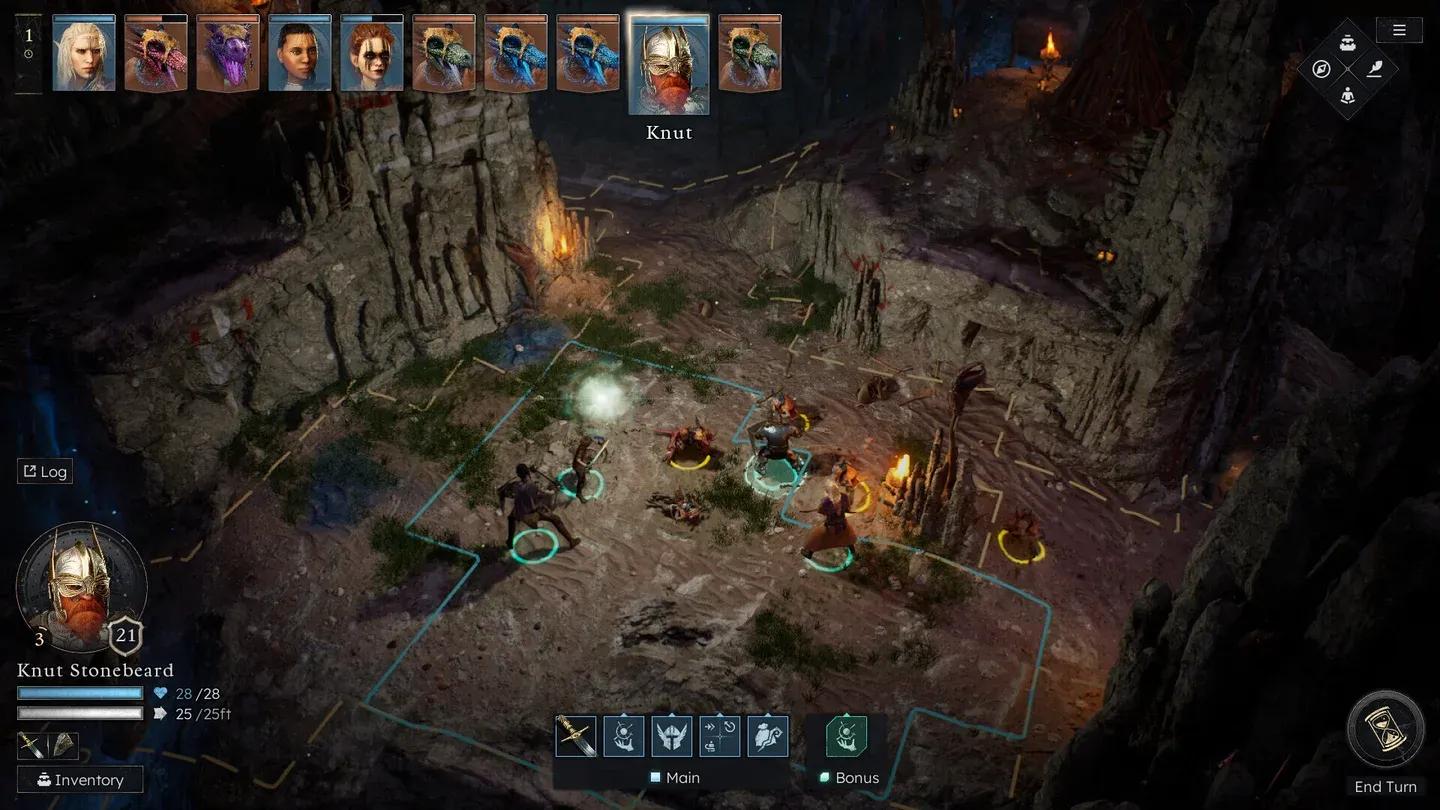
Look northeast for a small ruined building. Climb on top and crouch. This positions your whole party on high ground with only one approach angle (where the vines are), letting you concentrate your defensive characters at the chokepoint.
The fight consists of a Young Sand Lion and 5 human enemies. Most are melee. The two exceptions are the Beast Handler and the Scout, both of whom attack from range.
Prioritize the Beast Handler and Scout first since they're the only ones who can threaten you from a distance. Put your two tankiest characters at the vine chokepoint and let ranged attackers clean up from behind them.
After the fight, a cutscene reveals an amber map, a bracelet, and a note on the bodies. This automatically starts the Her Song Has Ended Hearth quest. Before leaving, check the southern chest for a Pearl, Throwing Dagger, and Potion of Healing.
Ambush rooftop positioning
Arriving at the Tamesh Camp
From the ambush site, go west to exit the area and return to the world map. Head one hex east to enter The Sentinel Fort if you haven't already, then continue east to the Tamesh Camp. Enter the camp, head down into the valley, and follow it southwest. A cutscene plays and the quest concludes, flowing directly into the next Ka'Umm story quest, The Wind People.
For deeper lore on the factions, locations, and NPCs you've encountered, the Solasta 2 Wiki on Fextralife has growing coverage of enemies, quests, and characters. For a full story breakdown of every act, the Solasta II walkthrough on Neoseeker tracks the complete campaign chapter by chapter. You can also find more RPG guides and coverage across all genres at games.gg/guides/.
Tamesh Camp arrival cutscene