

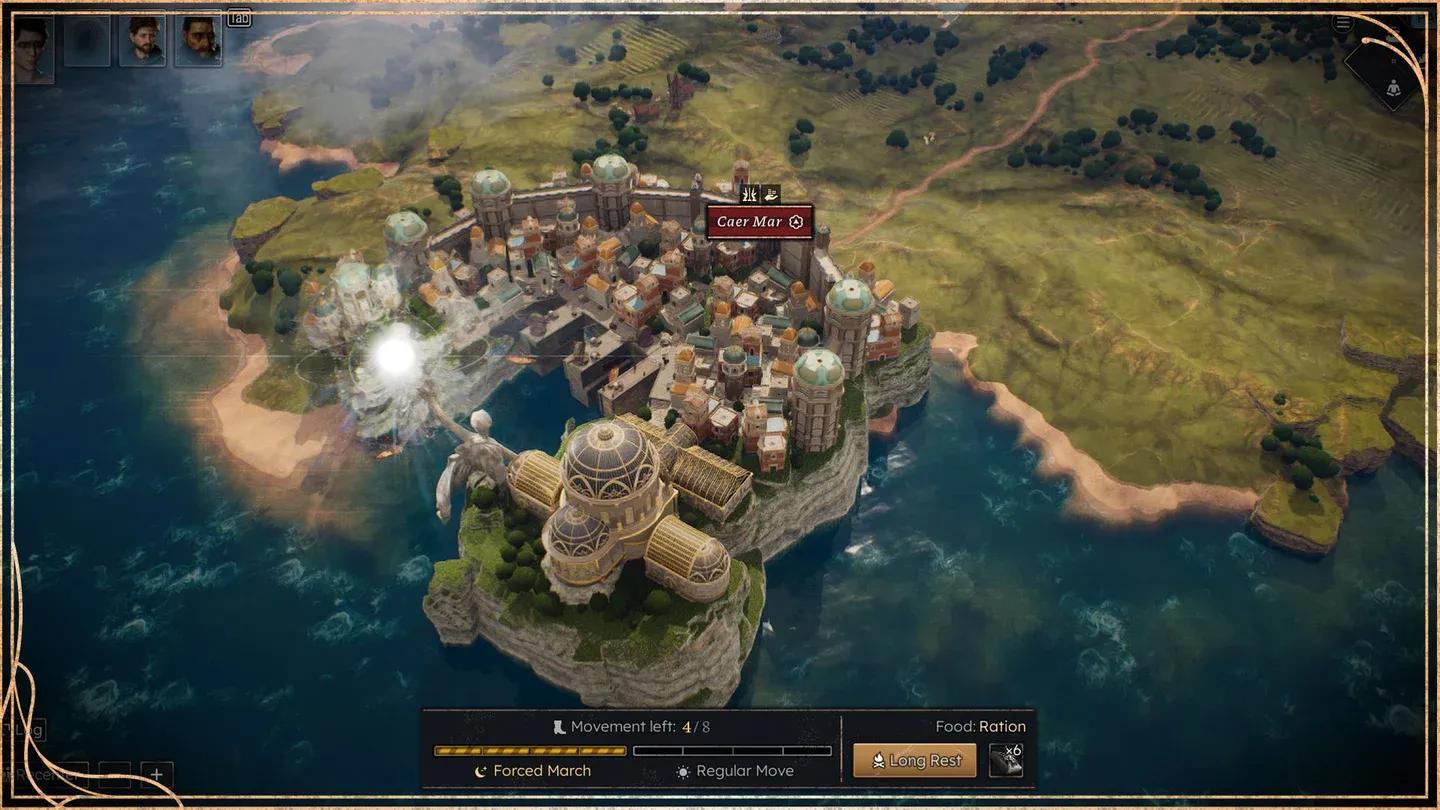
The world map in Solasta II is a significant step up from the original game. Tactical Adventures rebuilt it in full 3D with hex-shaped tiles you move across freely, and hidden locations scattered throughout that you can miss entirely if you're not paying attention. Pair that with scripted combat encounters that trigger mid-travel, often without a long rest beforehand, and you've got a system that rewards preparation and punishes complacency.
Solasta II 3D hex world map
How does the Solasta II world map work?
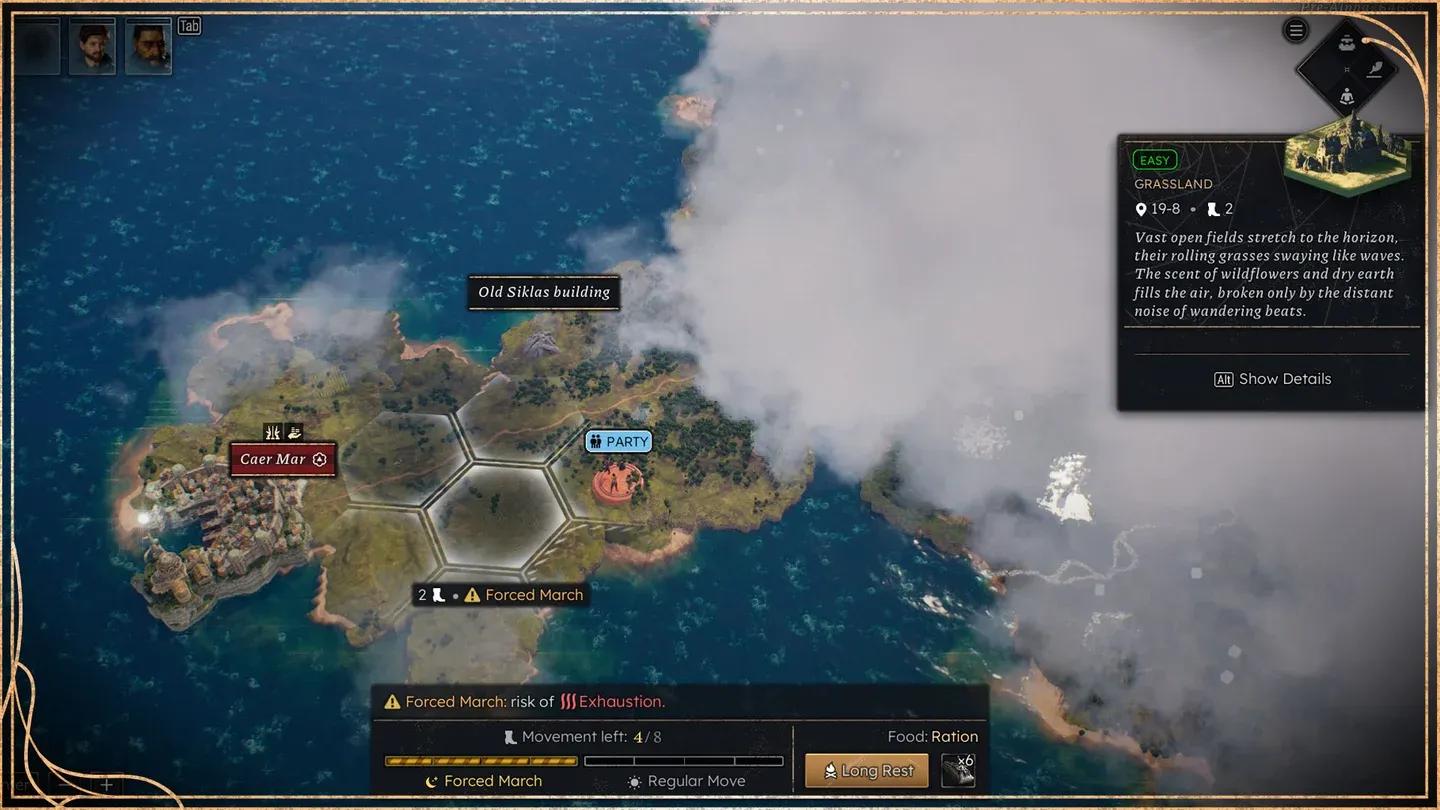
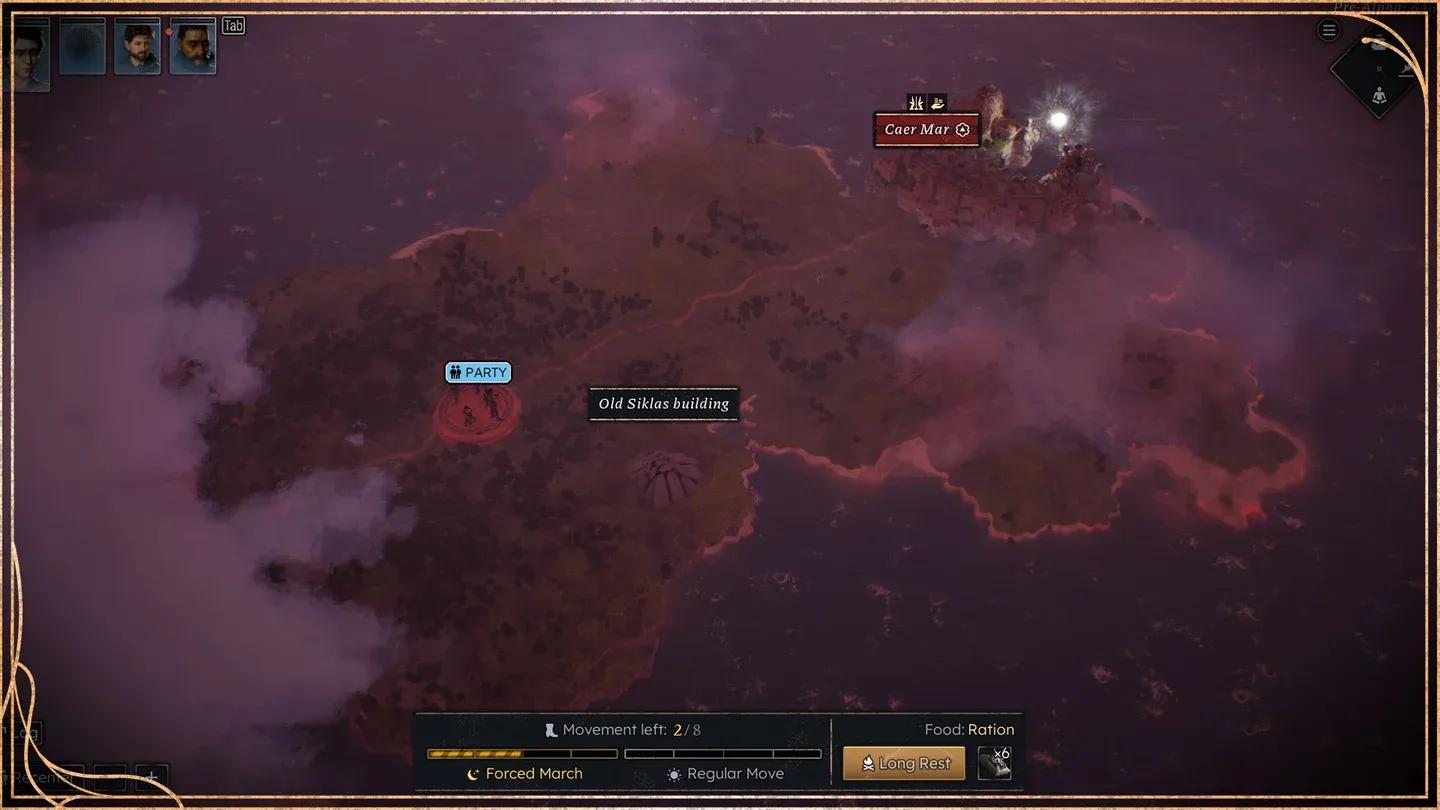
The world map shifted from a flat, point-to-point travel system to a fully three-dimensional space built on hex tiles. Each tile represents a region you can enter, traverse, or investigate. The Dev Update #18 post explains that the map was designed to let players travel freely across its hex grid rather than following fixed paths.
This freedom matters because hidden locations exist off the beaten path. You won't stumble across them by following quest markers alone. Exploring adjacent hexes, especially ones that look unremarkable, is how you find optional content, extra loot, and encounters that don't appear on any fast-travel route.
What are hex tiles and how do you move between them?
Each hex tile costs movement to enter. Terrain type affects travel speed, so moving through difficult terrain (mountains, dense forest) takes longer than open roads. Your party's current state, including spell slots, hit points, and exhaustion, carries over between tiles unless you rest.
Resting on the world map is possible but not always safe. Some areas have higher encounter rates, and choosing to camp in hostile territory risks interruption. Plan your rest stops around safer hexes when possible.
What triggers world map encounters?
Not every tile transition causes a fight. Some encounters are scripted and unavoidable, tied directly to story progression. Others are random and depend on the region's danger level.
The trickiest scripted encounters are the ones that follow major story beats. At least one encounter triggers immediately after players deal with an undead section and receive a key artifact, with tribal companions departing the party right before combat begins. That means you enter the fight at whatever strength you had after the dungeon, no top-up available.

Scripted ambush mid-travel
How do you survive the bird ambush encounter?
This specific encounter has caught a lot of players off guard. The fight starts against a manageable group: large birds, a Beast Master, a Hunter, and supporting enemies. The trap is what happens when you kill the last bird in the initial wave. Four additional birds join the battle immediately.
Here's what actually works:
- Don't kill the last bird right away. Leave one bird alive while you eliminate the humanoid enemies (Beast Master, Hunter) first. They deal consistent damage and have abilities that make the birds harder to handle.
- Focus the Beast Master early. Beast Masters in D&D 5e-adjacent systems can command their animals, so removing that control source limits the birds' effectiveness.
- Use area control spells like Web, Entangle, or Grease to slow the reinforcement wave when it arrives. You know it's coming, so prepare for it.
- Save your burst damage for the reinforcement wave. Burning your strongest spells on the first group leaves you empty when the four additional birds appear.
- Position near chokepoints before the wave triggers. Funneling four large creatures through a narrow space makes them manageable instead of overwhelming.
How do you find hidden locations on the world map?
Hidden locations don't appear on the map until you're adjacent to them or trigger a discovery condition. The discovery system rewards thorough hex exploration rather than speed-running between objectives.
Practical approach: after reaching any new region, spend a travel action moving through neighboring hexes before heading to your quest destination. The time cost is low and the payoff (extra encounters, loot caches, optional story content) is worth it.
Some hidden locations are tied to specific party compositions or skill checks. A party with high Perception or Nature scores will reveal more locations passively as they travel. If your party is light on those skills, consider resting at locations that offer skill bonuses before exploring unfamiliar regions.
Hidden location discovered on map
What's the best way to manage party resources between world map encounters?
Resource management on the world map is the difference between breezing through travel encounters and getting wiped by a scripted fight you didn't see coming.
Key habits to build:
- Track your spell slots after every dungeon exit. If you're below 50% on your primary spellcasters, rest before moving to the next objective.
- Keep healing potions in reserve specifically for world map fights. You can't pre-buff before scripted encounters, but you can use items during combat.
- Short rests matter. If your class has short rest recovery (Warlocks, Fighters with Second Wind, Monks), use them between hex tiles when your hit dice allow.
- Check companion status before major transitions. Some story moments remove companions from your party temporarily, which changes your action economy significantly.
Party resource check before travel
How does terrain affect world map travel?
Different hex types have distinct travel costs and encounter profiles:
Mountain hexes are worth the extra travel time specifically because hidden locations cluster there. If you're trying to find optional content, prioritize mountain and ruin-adjacent hexes over plains routes.
Tips for early access world map navigation
Solasta II is currently in early access, which means the world map content is still expanding. Based on what's available in EA 0.2 (the version current at the time of writing), a few things are worth keeping in mind:
- The world map's 3D presentation is functional but some hex transitions can feel abrupt. This is an early access limitation, not a design choice.
- Mod support is already active. The Slim HUD mod by Caites on Nexus Mods (version 1.0, uploaded March 14, 2026) trims down the HUD in exploration, combat, and world map modes, reducing widget sizes by 10 to 20% and repositioning them closer to screen edges. It's built for keyboard and mouse on 16:9 and 16:10 aspect ratios.
- Expect the encounter roster and hidden location count to grow with future patches.
For more guides covering Solasta II and other RPGs, browse the latest guides on GAMES.GG to stay current as the early access builds update.