

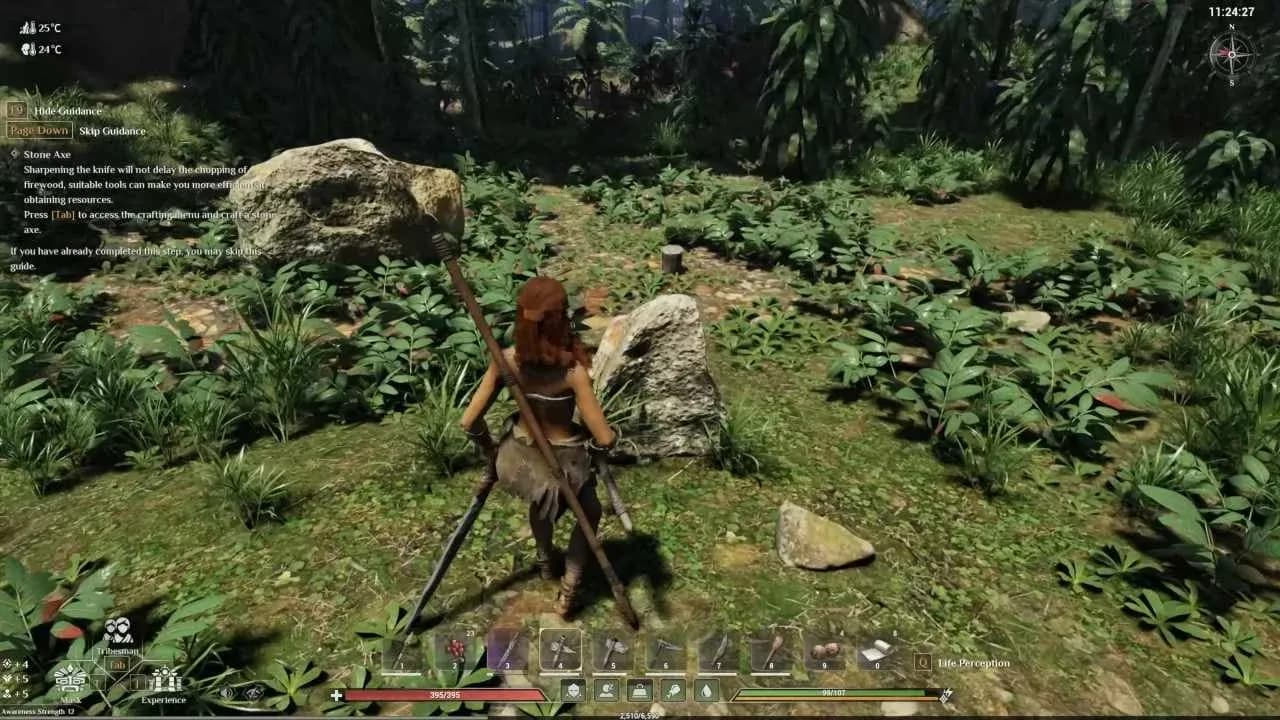
Soulmask does not ease you in. Campfire Studio's survival sandbox drops you into a dense world of masks, tribesmen, and tribal camps with minimal explanation, and the first few hours can feel like spinning your wheels. The good news: once you understand how the core systems connect, progression accelerates fast. These 10 tips cover everything from where to plant your first bonfire to how the mask upgrade tree actually works.
Pick your base spot carefully
Why your starting base location matters
The forest starting area feels logical, but it is one of the worst spots to stay long-term. Resources routes are inefficient, and you are far from the systems that actually drive progression. Moving west toward water, a portal, and a tribal camp makes everything smoother because the things you need most sit closer together.
Do not overthink the move. Build your bonfire in the better spot early, before you have invested hours into a structure you will want to abandon anyway. Proximity to a mine is also worth prioritizing since mining becomes a regular activity as crafting demands grow.
How do you recruit tribesmen in Soulmask?
This is the single biggest shift in how the game plays. Solo survival is possible, but tribesmen turn Soulmask from a grind into something closer to a colony management game, and that is where the depth lives.
The recruitment process works like this: lower a tribesman's health, deter them, then keep their food and water topped up until they accumulate 500 Recognition Points. You do not need to stand over them the whole time. Feed them before you leave, and if you are inside a village, put them in a bed to speed up point gain. Once they hit 500, recruit them and deploy them so they follow you.
What makes tribesmen genuinely powerful is their skill caps. Your main character tops out at 60 for production skills and 90 for combat skills, but recruited characters can exceed those limits. Any tribesman whose name appears in red is Legendary quality and worth prioritizing above everything else.
Feed tribesmen to 500 points
Stop crafting everything from scratch
Early crafting feels productive, but raiding camps and ruins is faster and gives you better results. Camp leaders can drop strong armor well before you have the materials to craft equivalent gear yourself. Legendary bronze armor can be found on leaders inside ancient ruins, making the exploration risk worth taking.
There is also a farming trick worth knowing: you can save and reload the game to respawn camp leaders and farm them for different masks. Just remember to redeploy your tribesmen after loading because they stop following you on reload.
How does the mask system work?
The mask system is where most of your character power comes from, and it is easy to ignore early because the starting mask feels underwhelming. That is intentional. The real value comes from deeper parts of the upgrade tree and from acquiring new masks with stronger abilities.
Crystals and sunstones are the two resources that drive this system. Sunstones fuel your mask abilities in combat. Green and blue crystals unlock upgrades and open new progression paths. Farming these early prevents the common problem of feeling weak heading into mid-game content.
Do not stress about your first mask choice. The perks at the bottom of the tree are the main differentiator between starting masks, and you will find better options before those perks become decisive.
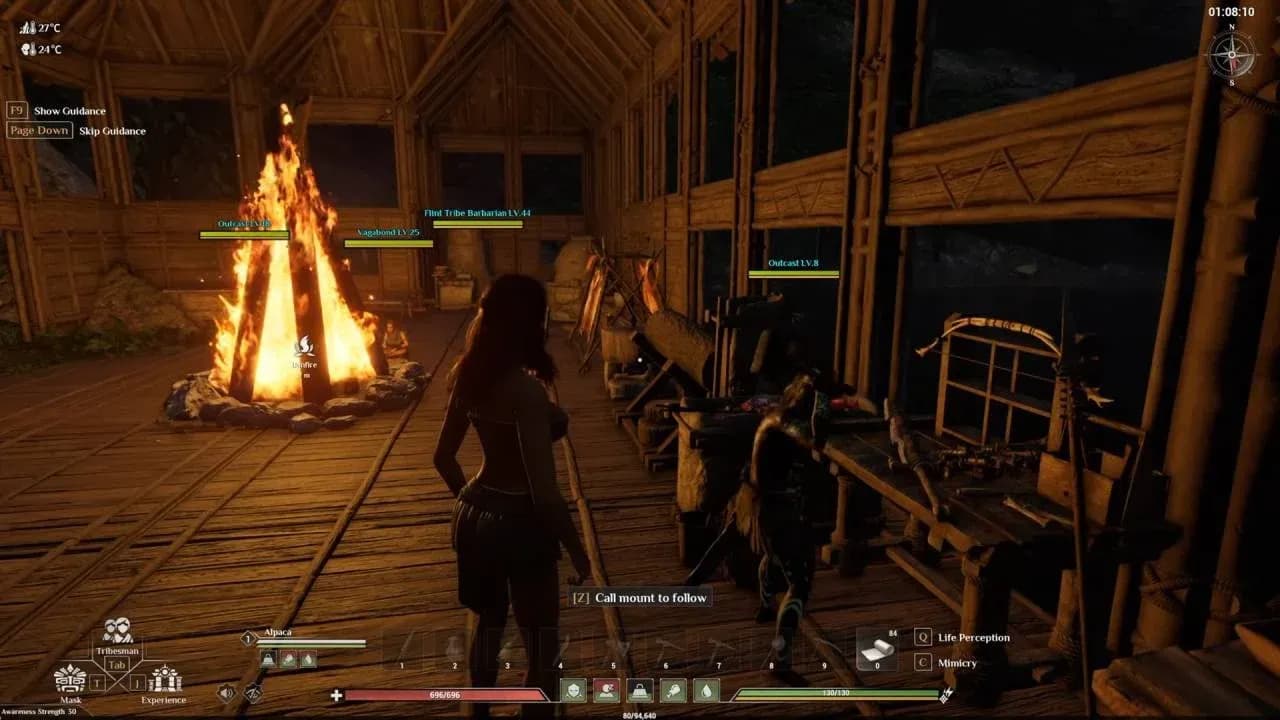
Get a mount as early as possible
The map is large enough that walking everywhere becomes a real time sink. Alpacas are the most accessible early mount and can be found in tribal camps. You pick one up and tell it to follow you home.
To actually ride an alpaca, you need a saddle crafted at the Armor Forging Table. One important detail about portal travel: dismount before going through. Tell the alpaca to follow you so it passes through the portal alongside you rather than getting left behind.
Your followers do not need their own mounts. If you move faster than they can keep up, they teleport to your position automatically. This applies to animals too.
Level up without fighting
Combat is not the only path to experience. Chopping trees, mining stone, and working at crafting tables all grant XP. You can craft items while moving and still earn experience, which means exploration runs double as leveling sessions if you bring materials.
For map coverage, find a scout camp and mark it by pressing V. Lower a scout's health until you can interrogate them with E. This reveals the surrounding area on your map without stripping out all the discovery, so you get direction without losing the exploration feel entirely.
How should you manage base automation?
Once tribesmen are recruited, the goal is setting up systems that run without your constant input. Three structures handle most of this:
- Dining Table: Fill it with food and tribesmen feed themselves automatically
- Repair Bench: Enable auto-repair and set the durability threshold you want. Tribesmen deposit broken tools in a chest, a worker fixes them, and they go back into rotation
- Map Markers: Press R on the map to place resource markers. Tribesmen with no assigned tasks will travel to those locations, gather resources, and sort them into chests at your base
Buildings can be upgraded by pressing E on them and selecting the upgrade option. Work tables specifically require the Building Workshop to upgrade, which is easy to miss.
Always bring tribesmen into combat
Fighting solo is slower and more dangerous than it needs to be. Tribesmen deal real damage, draw aggro away from you, and improve the more you use them in the same fights. Rotating the same followers through combat repeatedly builds their skills over time.
Not every camp is worth the same effort either. Picking fights that reward gear upgrades or useful materials keeps momentum going rather than grinding through low-value encounters.
Survival tips most players skip
A few smaller habits separate smooth runs from frustrating ones:
- Always carry a portable bed. Running out of energy in the wild with no bed means you are stuck until energy recovers naturally
- Save manually and often. The game has an option to make your items spawn at your respawn point on death, which eliminates the long corpse run
- Once you reach level 35, strong tribesmen who die can be revived, but only after you clear the Ancient Ruins Dungeon and defeat three bosses inside it. To find the dungeon, follow the cliffs from the portal until you spot a cave on the right side. Bring Hammers or Gauntlets since the enemies inside require those weapon types to damage effectively
How do you scout the map efficiently?
Beyond interrogating scouts for map reveals, the key habit is treating every exploration run as multi-purpose. You are gathering resources, leveling skills, scouting camp locations, and potentially finding new tribesman recruits all at once. Going out with a clear checklist of objectives turns travel time into productive time rather than dead time.
For more survival guides and tips across the games you are playing right now, browse more guides on GAMES.GG.