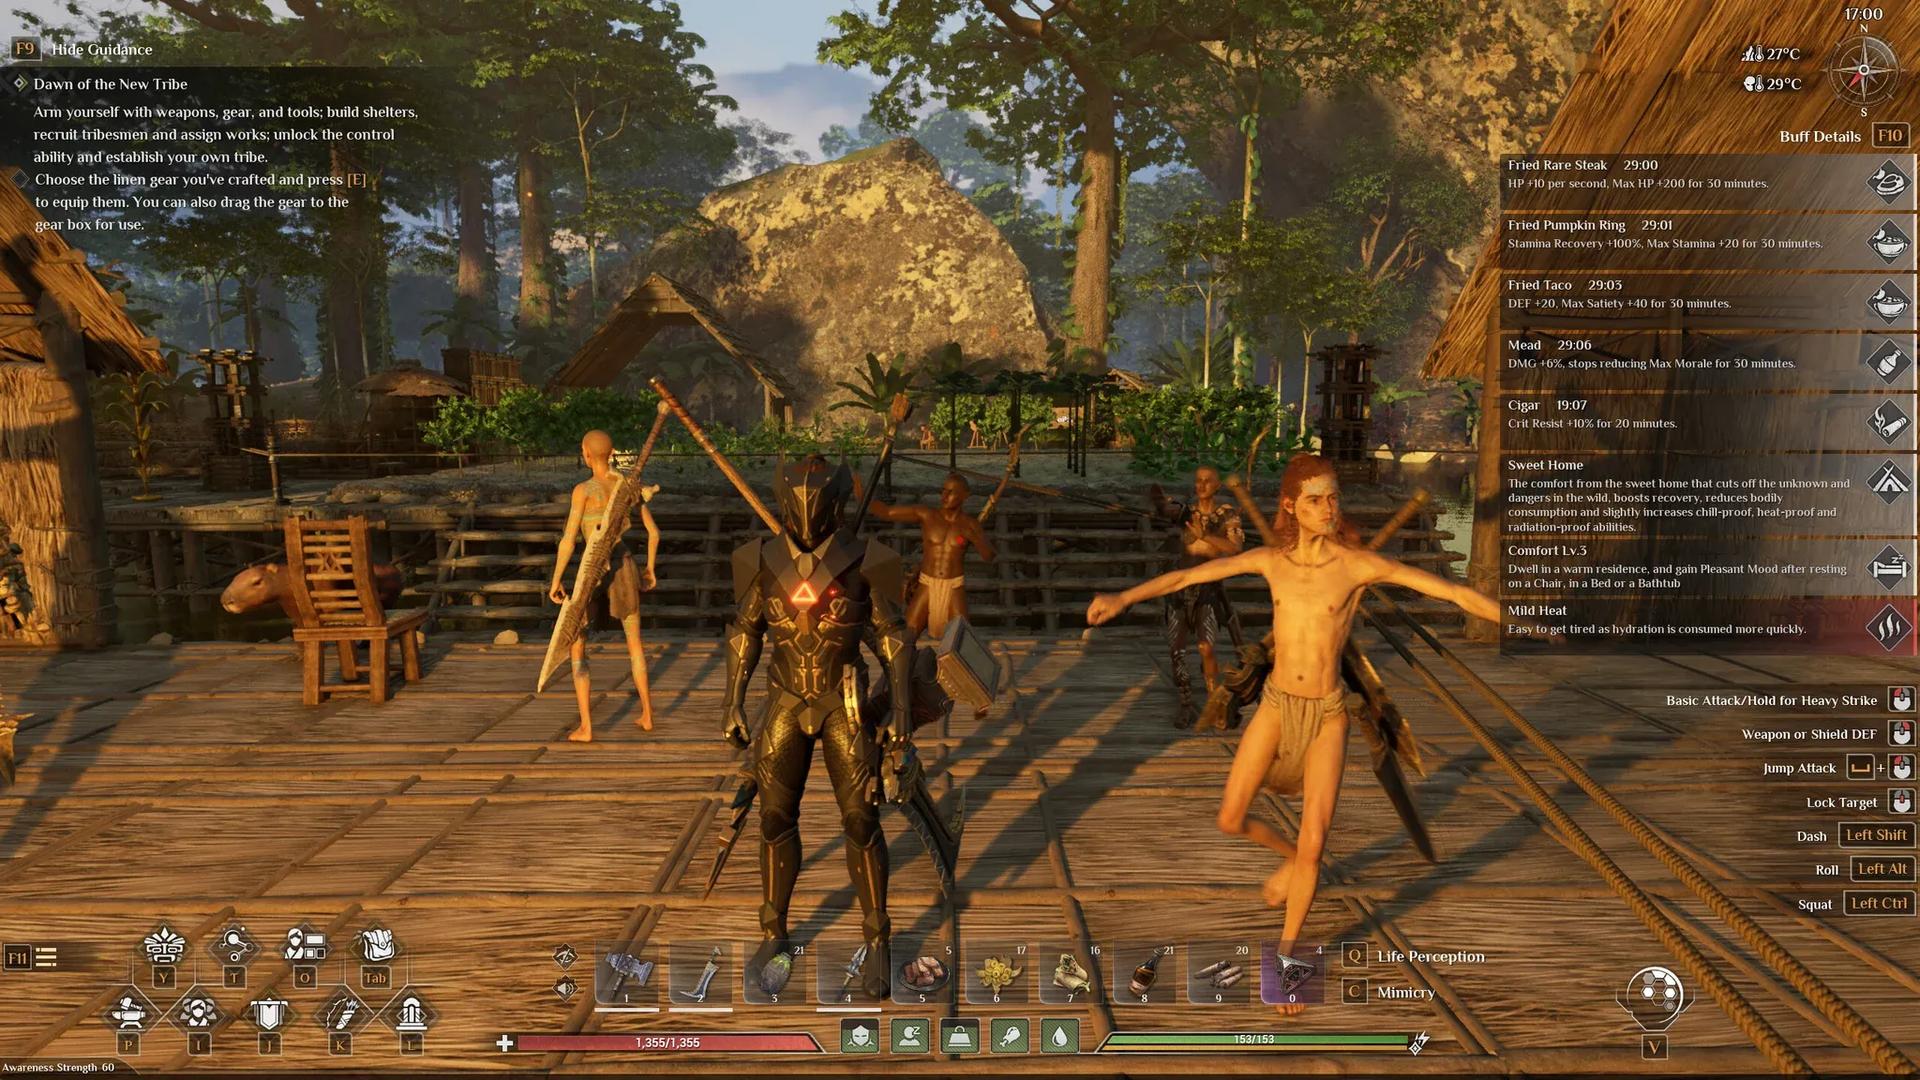

The fastest way to stop struggling in Soulmask is to stop playing solo
Every system in Soulmask, from resource gathering to late-game smelting, runs better once you have tribesmen handling the work. The problem is that the recruitment mechanic is not explained clearly, and most new players either skip it too long or use their first recruits as throwaway combat extras. This guide covers the full loop: how to recruit correctly, which jobs to assign first, how to keep workers from going idle, and how to build a war party that actually helps in boss fights.
How do you recruit tribesmen in Soulmask?
Recruitment is a two-step process, and mixing up those steps is why it feels confusing at first. The system breaks down like this:
Step 1: Deter. Find an eligible enemy (Outcasts, Barbarians, and regular enemy tribesmen all qualify) and drop their health below 20%. When the prompt appears, press E to Deter them. The target falls unconscious and begins slowly building recognition.
Step 2: Wait for Recruit. Once the unconscious tribesman reaches 500 recognition, the actual Recruit option becomes available. That threshold is the gate most players miss. Deter gets them into a recruitable state; 500 recognition is what unlocks the final step.
While they are unconscious, you can place bandages or liquid foods like broth directly into their inventory to keep them alive. They can also be picked up and carried over your shoulder or loaded onto a llama extended seat if you need to move them.
The initial Control node on your Mask allows you to hold 3 tribesmen. Fully upgrading the Connection Enhancement node raises that cap to 18.

Deter the enemy at under 20% HP
What are the best first jobs to assign?
The temptation is to assign your first recruit to combat support. Resist it. The best first jobs are the ones that remove your most painful manual bottlenecks:
- Loom / linen — cloth inputs are a constant early interruption
- Carpentry / planks — same problem, different material
- Basic gathering — wood, bark, and fiber around your bonfire base
- Farm support — once seeds and water are already in place
The rule is simple: assign the job you are most tired of doing by hand. A worker handling linen production in the background is more valuable than a flashy combat follower who does not solve any real bottleneck.
Your first recruit should also not stay as a vague backup fighter. Put them to work immediately on a single clear task, stabilize their inputs, and then move on to the next recruit.
Why do tribesmen stop working?
A tribesman standing still is almost never a broken AI problem. Idle workers trace back to four setup issues in the vast majority of cases:
The cleanest example is a Loom worker. The job is assigned, the worker exists, but fiber is missing from storage. The worker sits idle. Add fiber, and they start producing linen immediately. That is a supply problem, not an AI problem.
For farm workers specifically, check seeds, water source, water tanks, Grainery access, and whether the farmland is actually inside the assigned work area before assuming anything is broken.
How does farming actually work?
A farm loop only functions when the entire chain exists. Having a field and a worker is not enough. A reliable early farm setup requires:
- Farmland with seeds assigned to the correct plots
- A Grainery to keep the storage loop tight
- A water source the worker can reach
- Water tanks so the worker can refill and water independently
- Later, fertilizer support for a cleaner full cycle
One dedicated farm worker covering the full cycle (plant, water, fertilize, harvest, return output) beats giving several workers a vague farming role and hoping they coordinate. The farm only becomes self-sufficient once water tanks are added and the worker can complete the watering step without you stepping in.
Breeding and animal automation
Once your first production bottleneck is handled, a chicken breeding loop is one of the cleanest repeatable resource setups in the game. A properly managed coop produces meat, bones, and feathers on a steady cycle without constant attention.
The setup:
- Capture and place the animals
- Ensure food and water are available
- Assign one worker to breed and slaughter management
- Give that worker butcher's knives
- Set a population floor so the worker only slaughters surplus animals above that threshold
One tested configuration kept the coop at 2 male and 2 female, only culling above that number.
Profession bonuses and talent system
Each tribesman's profession directly affects their proficiency level cap. A Warrior, for example, can only reach the level 120 proficiency cap for Sword, Dual-Blade, Hammer, Greatsword, and Gauntlets. The three main profession categories are:
- Combat classes (Warrior, Hunter, Guard): weapon proficiencies
- Production classes (Laborer, Porter, Craftsman): crafting, gathering, and processing proficiencies
The initial proficiency level of a new recruit is influenced by their level, profession, and status. A tribesman at level 40 or above with high status in the smith profession can start at 55-65 crafting proficiency.
Beyond base proficiency, tribesmen accumulate talents across several categories: Innate advantages and defects, Title bonuses, Tribe-specific talents, and leveling-based advantage talents. Every 10 levels, a tribesman gains a new advantage talent. Every 5 levels, there is a chance to lose a defect.
Profession bonuses compound over time. One plank worker reached wood and stone proficiency 68, claimed two bonuses, and ended up at +24% output, effectively generating bonus planks passively. Claim bonuses on workers who already have a stable, long-term role rather than on experimental recruits you might replace.
Profession bonuses compound over time
Position-based production and furnace work
Kiln and furnace jobs are where a base stops feeling like manual labor and starts feeling automated. The key shift is ownership: a worker is no longer occasionally helping, they are permanently responsible for that station.
The cleanest way to scale smelting is to split by material:
- One worker on tin ingots
- One worker on copper ingots
- One worker on bronze
- Support workers feeding the input chain
If those stations are still relying on you to babysit them, later production stalls out fast. Assigning dedicated tribesmen to furnace roles is what makes the base feel genuinely automated rather than semi-manual.
How to build a war party
You can deploy up to 3 tribesmen to fight alongside you at any time. To deploy a tribesman, approach them and hold E, then select Deploy from the work menu.
Once deployed, you can command them to follow, attack a specific target, or hold position. The most important habit is manually commanding them onto the boss target at the start of a fight rather than letting them freelance. Boss fights go noticeably smoother once followers are focused from the opening seconds.
A practical war party checklist:
- Equip each follower with the best spare gear you can afford
- Load them with food and bandages before heading out
- Command them onto the boss target when the fight starts
- Recheck deployment status after any reload, as a reload can silently remove tribesmen from deployment
If a downed tribesman is fighting alongside you and you get knocked down, you can press F7 to ask deployed allies to help revive you.
Deploy up to 3 followers per fight
The full practical order
If you want the cleanest path through the tribesman system without building three broken loops at once, follow this sequence:
- Unlock recruitment as early as possible
- Recruit your first worker
- Assign one simple job (linen or planks)
- Fix missing inputs and tools
- Set up a defined gathering loop
- Set up farmland, Grainery, water source, and water tanks
- Assign one dedicated farm worker
- Add a breeding loop with a population floor
- Claim profession bonuses on stable workers
- Move into furnace and later production positions
- Build a 3-follower war party
Your character has skill caps that tribesmen can exceed, which makes investing in strong recruits worth the early effort. One good tribesman can outperform your main character in combat or crafting depending on their stats and profession.
For more survival game guides and tips, browse more guides at GAMES.GG.