
Star Fox on Nintendo Switch 2 drops you into the cockpit of the Arwing and expects you to figure things out fast. The first couple of missions are forgiving enough, but the game has far more depth than it lets on early. Routes branch, allies die permanently for a run, and medals gate the hardest content. Miss the fundamentals and you'll hit a wall around mission four.

Arwing cockpit view
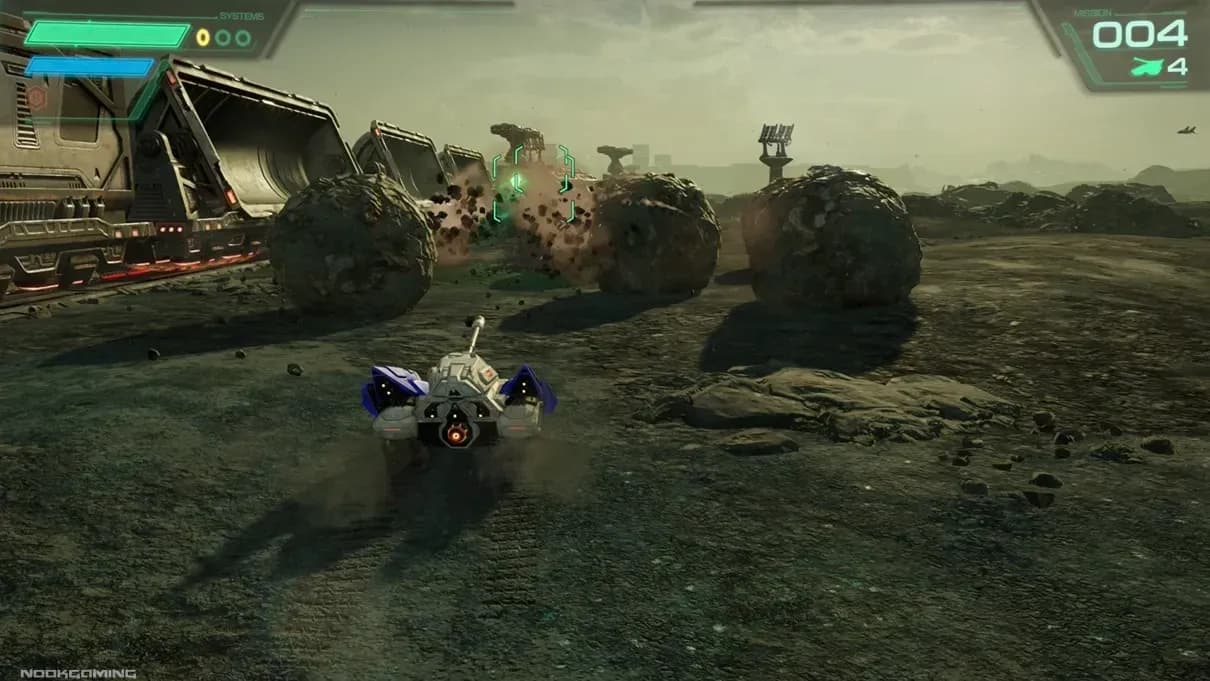
How do the three vehicles control?
You pilot three vehicles across the campaign: the Arwing, the Landmaster, and the Blue-Marine. The Arwing appears most often, and its controls carry over almost identically to the other two, so the learning curve is shorter than it looks.
The main difference is that the Somersault and U-turn maneuvers are exclusive to the Arwing. The Landmaster and Blue-Marine share the same core inputs for shooting, boosting, braking, and barrel rolling, but neither can pull off those two advanced moves.
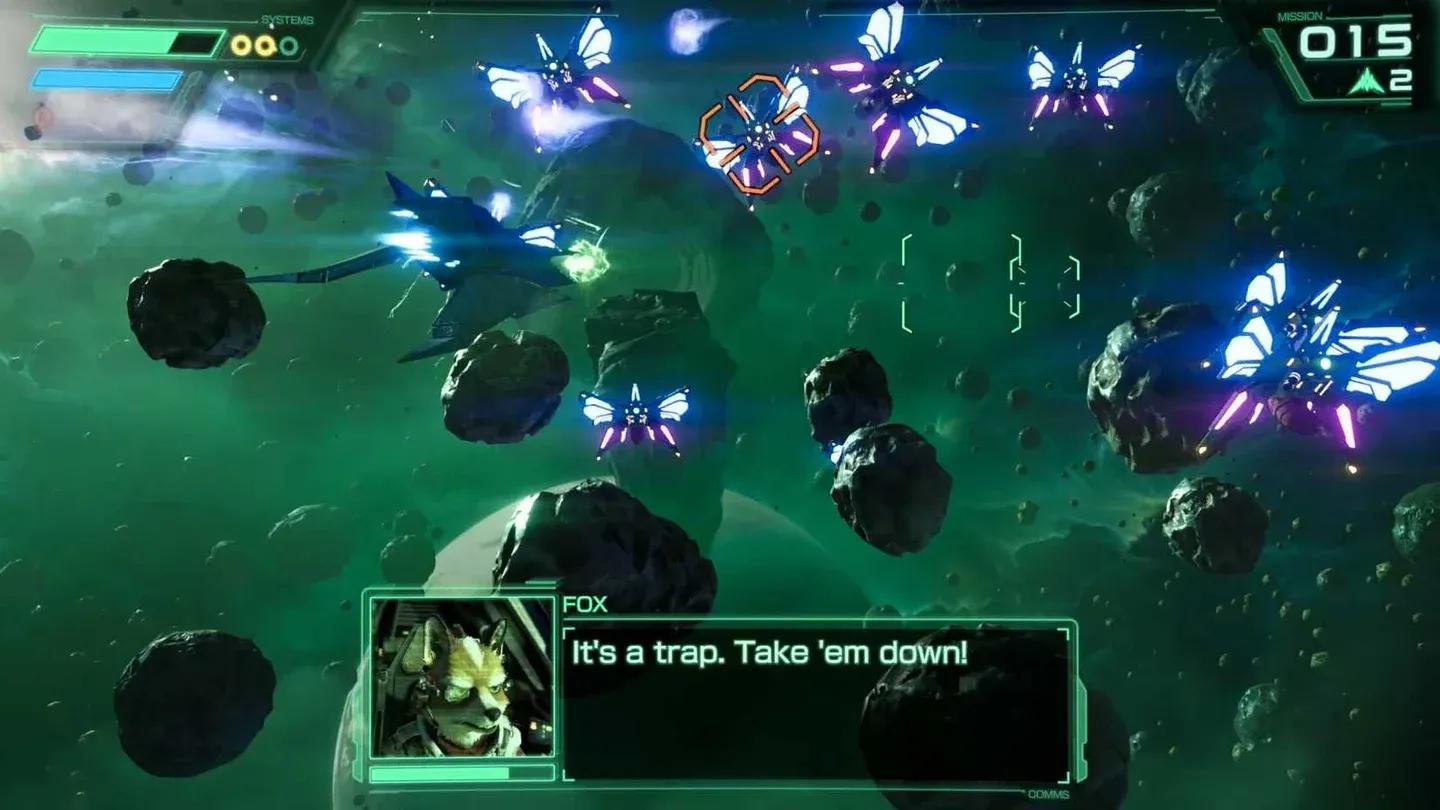
Barrel rolls deflect projectiles, not everything
Double-tapping L or R executes a Barrel Roll, which deflects incoming lasers and missiles. It's one of your most useful survival tools in dense projectile situations, especially on harder routes. The catch: it doesn't make you untouchable. Rolling into a physical object still deals damage, and heavy hazards like boulders or mechanical arms will hit you regardless. Use barrel rolls reactively against projectile spam, not as a panic button for every threat.
Detonate Smart Bombs early for better coverage
Smart Bombs explode automatically on contact or at max range, but you can press Y again after launching to detonate them early. If you fired without locking on, manual detonation lets you catch nearby enemies before the bomb flies past them. This is particularly useful in tight formations where enemies cluster together.
Barrel roll deflects lasers
What items should you prioritize collecting?
Items drop from enemies and Supply Containers sent by R.O.B. 64, and most of them carry over between missions. Here's how the key pickups compare:
The priority is Laser Upgrades. Stack them until your beams turn blue, which is the maximum level. Higher laser damage means faster enemy kills, which directly feeds your hit count for medals. Shield rings get consumed on pickup, so don't treat them as savings, but do grab them whenever your gauge gets critical.
Why does route planning matter so much?
This is where most new players undersell the game. Star Fox is not a linear campaign. There are roughly two dozen possible paths between Corneria and Venom, and the route you take determines which missions appear and how hard your playthrough gets.
Optional objectives within stages unlock alternate paths. From the map viewer, highlight any planet and press X to see what objectives remain and what criteria opens the next branch. Ignoring this screen on your first run means you're flying blind through the route structure.
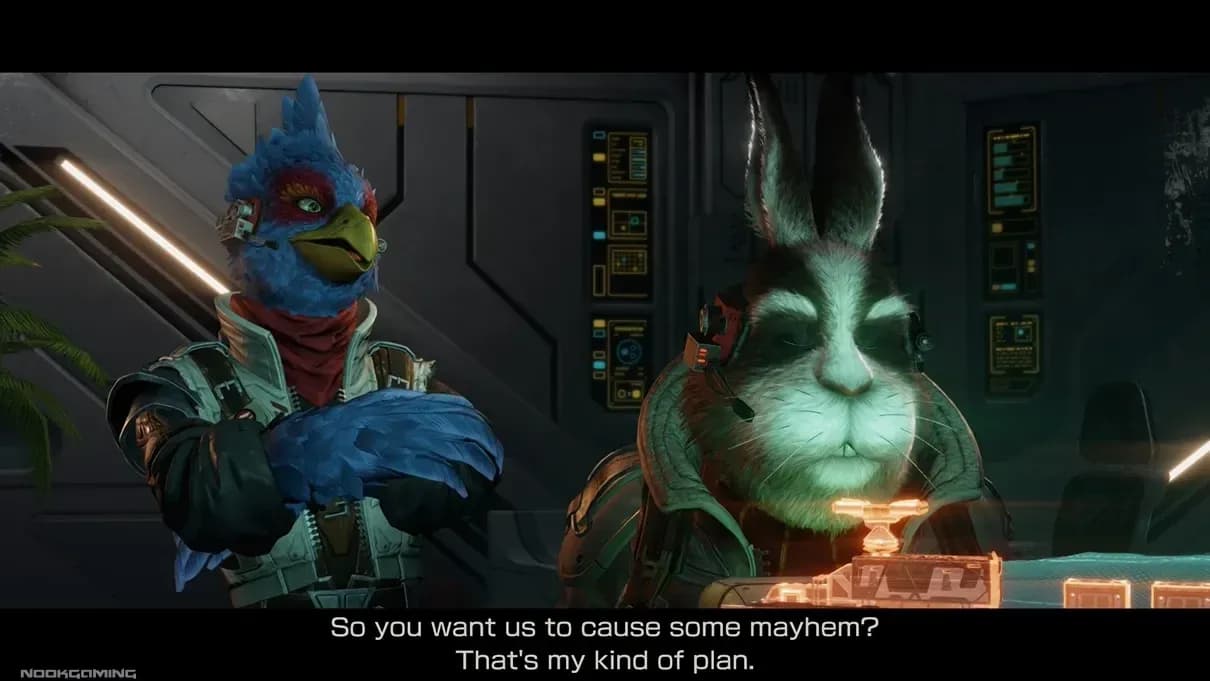
Ally survival also gates certain paths. Falco must survive Corneria to unlock the route to Sector Y, for example. Allies who fall don't appear in the next mission, and fewer allies in dogfight stages like Fichina and Venom means more enemy fire directed at you.
How do medals work and why should you care?
Each stage has a hit target you need to reach while keeping all wingmen alive at the end of the mission. Hit requirements vary considerably by stage:
Medals unlock on both Normal and Expert difficulties. Earning at least one medal opens Challenge Mode and the Expert Campaign. Expert is not a simple difficulty slider. It adds new enemies, repositions threats, and removes continues entirely. Run out of lives and you restart from the beginning.
How to boost your hit count fast
The fastest way to rack up hits is charged shots aimed at the center of enemy formations. Lock onto the middle target and the explosion catches adjacent enemies, letting a single shot eliminate an entire group. Bonus hit points stack on top of the enemy count when you pull this off. Bombs don't trigger the same bonus, so save them for emergencies rather than score farming.
Shoot turrets, destructible objects, and anything breakable. They all count toward your hit total, and skipping them is the most common reason players fall short of medal thresholds. Higher hit counts also increase how much health your allies recover at mission end.
Charged shot targeting enemy group
What about R.O.B. 64 messages?
When a message prompt appears on screen, accept it immediately. R.O.B. 64 is offering either a supply drop or covering fire to clear a group of enemies. The prompt disappears within a few seconds. Miss it and you get nothing from that interaction for the rest of the run. It's a small thing that consistently catches players off guard early on.
Should you start on Easy or Normal?
Normal is the standard experience. Easy gives you a sturdier ship and a more powerful laser, which makes it genuinely useful for learning cockpit movement or target priority rather than just being a difficulty you pick when frustrated. If you find yourself dying to basic hazards rather than complex situations, Easy is a reasonable tool, not a concession.
The campaign also supports two-player co-op with split pilot and gunner roles. The pilot handles movement and route calls; the gunner focuses on target clusters and incoming threats. Swapping roles constantly slows down both players' ability to build muscle memory, so commit to a role early.
Gold Ring shield upgrade pickup
Where to go from here
Once you've got the fundamentals down, the game opens up considerably. Challenge Mode objectives, alternate endings, and the Expert Campaign all reward players who understand the systems rather than just muscle through them. For a deeper look at fleet mechanics, routes, and combat systems in a similar space-strategy context, the Star Atlas: Holosim game page covers how those concepts translate to a different kind of space game entirely.
For players who want to go further with Star Fox specifically, the Star Atlas: Holosim beginner strategies guide offers useful framing around route planning and resource management that applies broadly across strategy games. The full Star Atlas: Holosim guide collection is worth bookmarking if you want structured progression advice beyond the basics covered here.