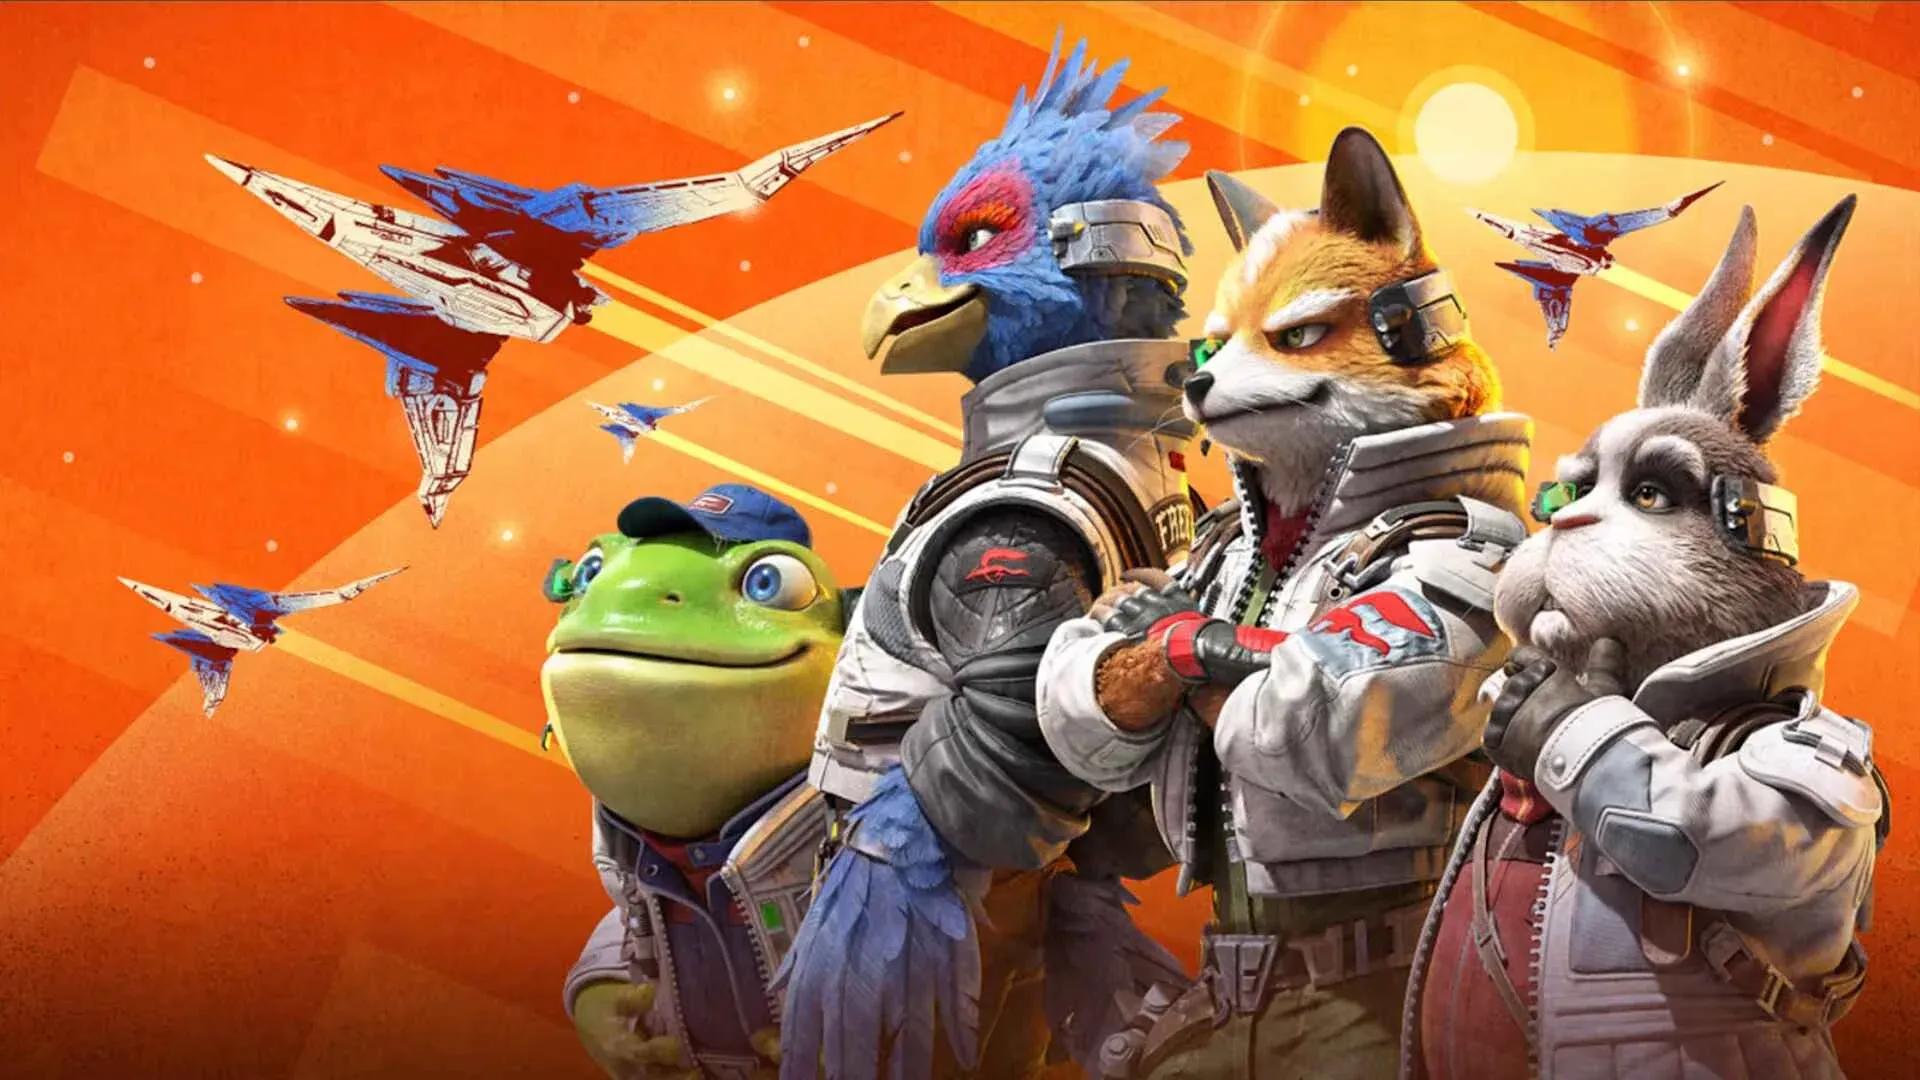

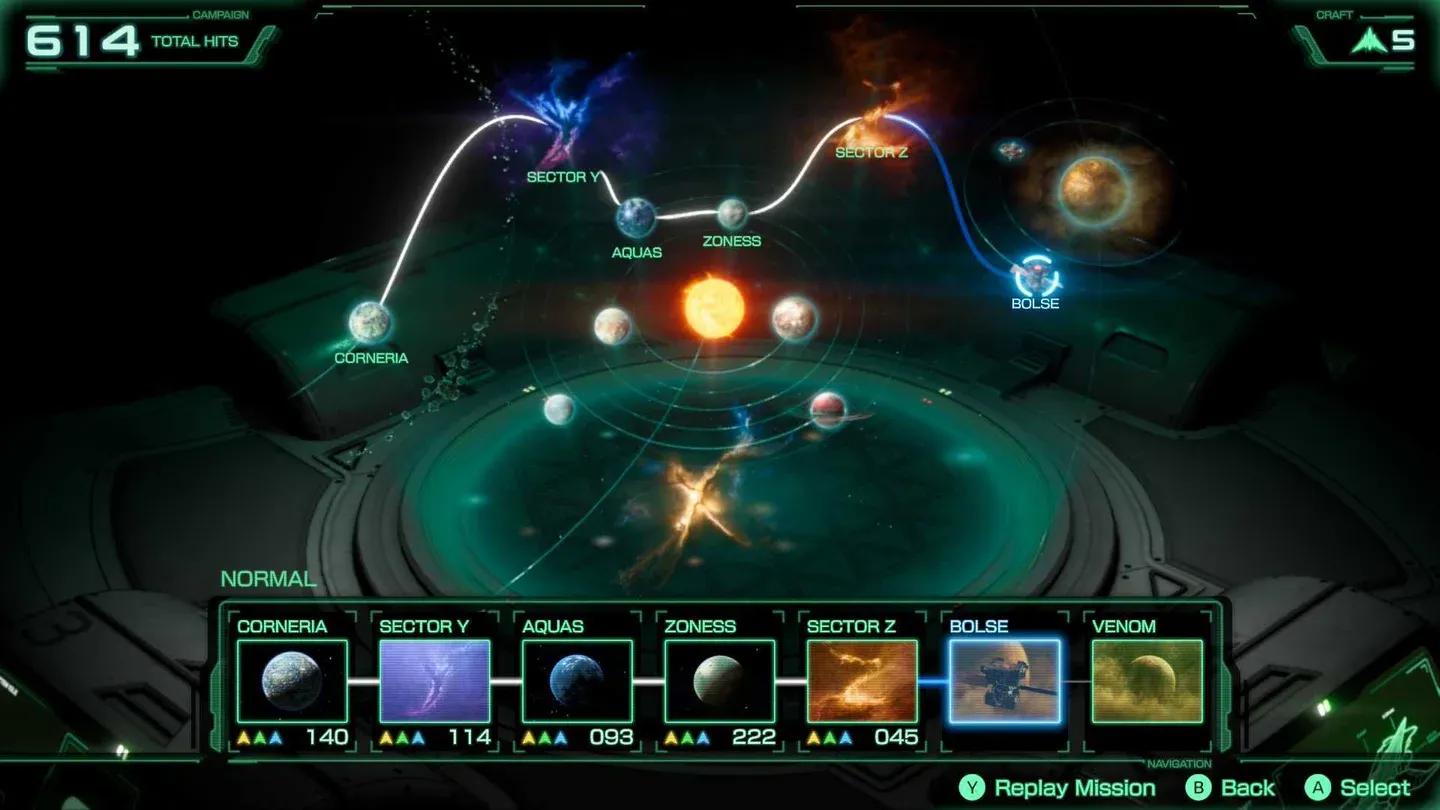
Bosses are where Star Fox on Nintendo Switch 2 tests everything you have learned about flying, braking, and knowing when to boost. Each encounter has a distinct pattern, and most players who struggle are simply hitting the wrong target at the wrong time. This guide breaks down every boss fight from Corneria to Venom 2, covering weak points, phase transitions, and the fastest ways to take each one down.
Granga boss fight, Corneria
Corneria bosses: two paths, two fights
How do you beat Granga on the Easy Route?
Granga is the first boss most players encounter, appearing at the end of Corneria's standard path. The fight takes place in All-Range mode, so the mech can chase you around the arena while Granga Fighters harass your wingmen.
The most effective approach is targeting the legs first. Boost away from the mech, then slow down as you circle back and open fire on one leg at a time. Once both legs are destroyed, Granga falls and can no longer move, though it will still fire missiles. From there, make repeated attack runs on the body, braking as you close in to land more shots before flying past. A quick U-turn keeps the target in your sights between passes.
The weak point is the yellow sections on Granga's back. If you want to skip the limb destruction entirely and finish fast for Expert Challenges, fly straight to those yellow panels and focus everything there.
To reach Granga in the first place, you need to take the Easy Route through Corneria. That means not rescuing Falco from the three fighters, not passing all seven stone archways, and not following Falco behind the waterfall. Miss any of those conditions and Granga is your boss.
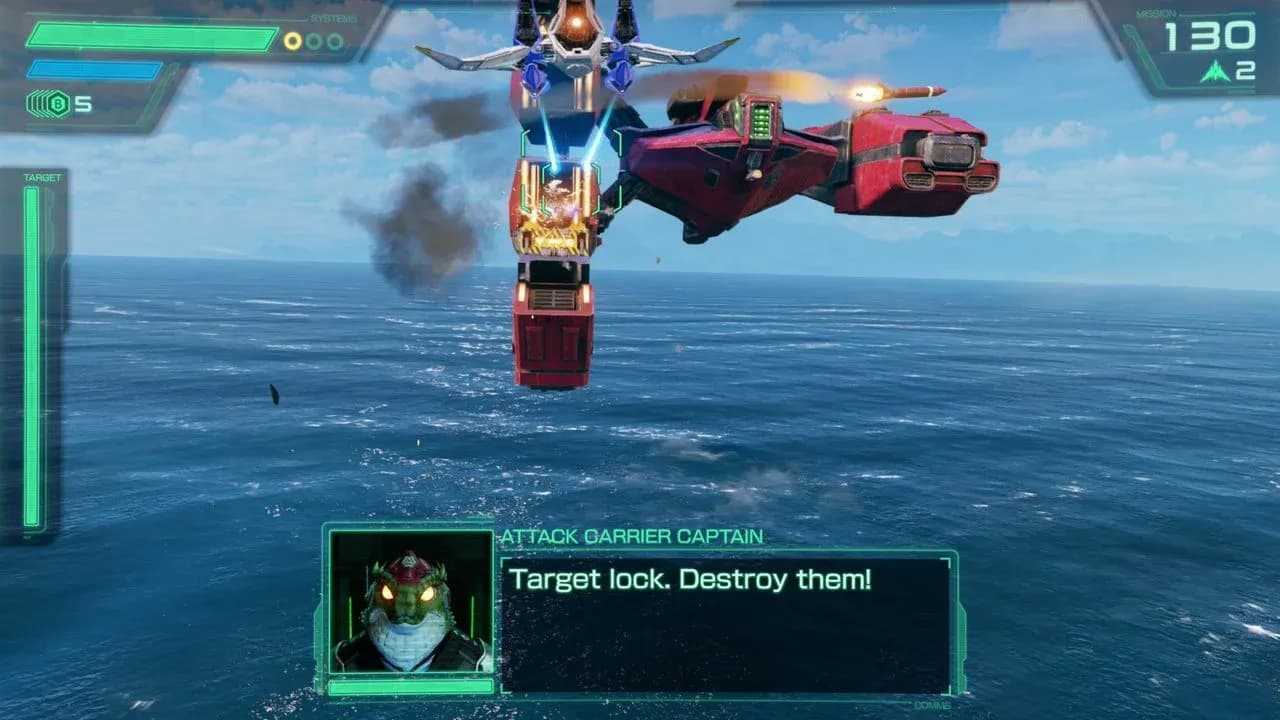
How do you beat the Attack Carrier on the Alternate Path?
The Attack Carrier appears if you take Corneria's alternate exit. As it approaches, fly low to avoid the ram. Then position yourself to rapid-fire at the lower-right missile launcher. When it opens and the interior flashes, pour shots in. A fast enough burst destroys it immediately. Repeat on the second launcher, then unload on the main body during the final attack run before it can reach you. Taking down the ship earns 11 points.
Attack Carrier weak point exposed
Mid-game bosses: Meteo to Sector X
Meteo Crusher
Ignore the golden warp rings at the end of Meteo to trigger this fight. The Meteo Crusher has a spinning drill at its center that reflects shots, so aim only at the four triangular yellow spots around it. Once all four are gone, the drill launches at you. Bank to dodge it. With the yellow diamond core now exposed, fire everything at the center while dodging lightning attacks with left and right banks. When the boss turns and fires its ring laser, fly up or bank to the side. Two more yellow weak spots finish the fight.
Bacoon
This oversized clam fires worms and pearls. When the shell opens, shoot the two vertical muscles holding it together. Stop only to deal with incoming worms. Once the muscles are gone and the top shell falls, concentrate on the eyeball. Torpedoes and lasers both work. Keep dodging and keep firing.
Star Wolf at Fichina
The four Wolfen fighters are fast and can deflect lock-on shots. Use the zoomed-out view and radar to track them, boost away, then bank-turn and rapid-fire. U-turns and loops are your best tools when they get behind you. Bombs guarantee an insta-kill when you have a clean shot. Each downed Wolfen is worth 10 points if taken out quickly, dropping to 5 if you take longer. Beat them before the bomb timer expires to take Path 1; fail and the base is destroyed, sending you to Path 2.
Sarumarine
The Sarumarine can dive underwater and becomes invulnerable while submerged. Prevent future dives by destroying the two snorkels flanking the cockpit with bombs. The cannonball launchers on each side actually drop bomb pickups when shot, so farm them to stock up. Once the snorkels are gone, bomb the launchers until they drop into the ocean. When the ship tries to retrieve them with its crane, bomb the crane. With the crane gone, the hull is open. Finish it with whatever bombs remain.
Vulcain
Vulcain is a lava crab that spits rocks you can shoot to recover shield energy. Its two claws are the weak points. Focus fire on one arm until it explodes, then repeat on the other. When Vulcain submerges and sends a lava tidal wave, roll sideways and flee to an upper corner. Once it resurfaces with no arms, aim at the mouth to finish it.
Spyborg
Do not fire at Spyborg until it beckons you with its hand. When the eyes light up yellow, that is your window. The boss will then rotate its head backward, blocking damage entirely, and fire its hands at you. Move to the sides to dodge. When the head turns forward again, attack the eyes. In the final phase, Spyborg spins its arms and fires energy blasts. Move vertically and boost to avoid them. Once the eyes are out, target the upper section of the head, which flashes red when hit correctly. Dodge the rotating arms and close it out.
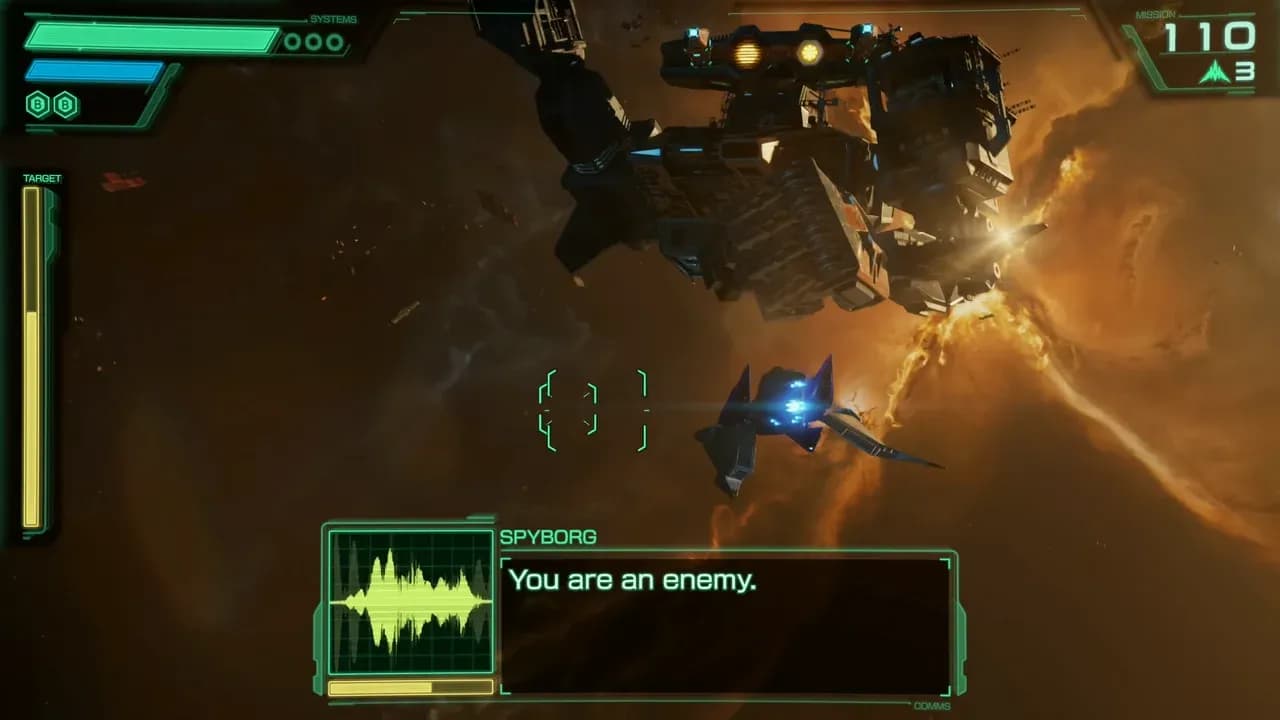
Spyborg eye weak points lit
Macbeth and Titania
Mechbeth (Path 1: ignore the switches)
Mechbeth is a floating mech tethered to the supply train with three attack types: an energy beam (dodge by moving and hovering), a tail attack (avoid with a flip-roll), and metal poles it throws at you (shoot them as they approach). Start by destroying the head. Then take out the arms. Help Peppy if fighters are on him, then return focus to Mechbeth. Eventually a control panel on the train below opens up. Lock on and blast it to bring the mech down.
Mechbeth Path 2: derail the train
Hit all eight switches along the track to flip them green. A display panel shows your progress. Once all eight are green, a large mechanical switch is revealed. Shoot it to divert the train and send the entire convoy crashing into the weapons factory. No boss fight required.
Goras at Titania
Goras has Slippy trapped in one of its claws. Fire at the other three arms first to free him. Dodge arm punches with flips. After that, attack the head and upper torso. Use hovering to avoid tail swipes and flips to dodge laser shots. Boost or hover past fire breath attacks. Once all arms are destroyed and the chest is unprotected, target the center with bombs or rapid laser fire to finish it.
Area 6 and Venom: the hardest fights
How do you beat Gorgon in Area 6?
Gorgon is the gate to the Hard Route and the True Ending, and its first phase will confuse players who expect damage to register immediately. The shell is completely impervious to laser fire until you force it open.
Here is the full sequence:
- Destroy all three mechanical tentacles to open the outer shell
- Shoot the three energy balls inside the core
- Repeat this cycle until Gorgon fires a massive screen-filling laser
- After that laser attack, the inner core finally becomes vulnerable
- Destroy the energy balls one more time, then blast the now-exposed core
While this is happening, Gorgon throws multiple attacks at you:
- Tentacle swipes: dodge to the opposite side of the screen from where they approach
- Rocket and fighter fleets: move to the outer screen edges or shoot them down (silver rings can drop to refill your shield)
- The massive laser: position at the screen edge, then move clockwise or counter-clockwise in whichever direction the laser is not sweeping
Once Gorgon is down, Venom 2 and the True Ending are within reach.
How do you beat Golemech on the Venom approach?
Golemech runs away from you through narrow corridors while launching pillars from all four walls. Follow it and fire at any unarmored section of its stone body. Each time you destroy a piece of rock armor, move on to the next. Once all armor is stripped, aim at the head to finish it.
How do you beat Andross (standard Venom)?
Andross appears as a giant floating head flanked by two equally large hands. The hands have blinking weak spots but move constantly. Shoot Andross in the eyes first to stun him and get his attention, then focus fire on the right hand (the more dangerous one with the lightning attack). Repeat for the left. Once both hands are down, the head is only vulnerable when the mouth is open, whether laughing, spitting rocks, or attempting to suck you in.
When the suck attack starts, fire one Smart Bomb into the mouth to stun Andross and open a window for shots. Out of bombs? Bank and brake hard toward a corner to resist the pull. Getting sucked in damages your wings but does not end the fight. After escaping, return to center and shoot the rocks for power-ups including more Smart Bombs.
Defeating this Andross reveals a robot decoy. Dodge the chattering machine as it tries to ram you, then return fire to destroy it. The real Andross is only accessible via the Hard Route through Area 6.
Andross hand weak points
How do you beat Andross's True Form in Venom 2?
Before the fight, navigate the branching corridors carefully. The recommended path for maximum pickups: turn left at the start for a Laser upgrade, then right, left, left, right, right for two Gold Rings, and follow through for a Bomb, another Laser upgrade, and a third Gold Ring.
The True Form fight starts the same as the standard Andross encounter. Use the same eye-stun approach to take down both hands. Once the hands are gone, Andross explodes and reveals his brain and eyes. The eyes are tethered to the brain by electrified strands and fly around independently.
Do not attack the brain yet. Use radar to track the eyes and take them out with lock-on shots, laser blasts, or bombs. Avoid touching the electrified tethers during banked turns.
Once the eyes are destroyed, the brain's weak point is the yellow medulla oblongata at the base of the rear. Direct hits to the front cause the brain to warp away. Fly banked turns while braking, staying in the same rotational direction as the brain, to line up rear shots. Boost past it, perform a banked turn, slow down, and fire at the back. Repeat until it is done.
Quick reference: boss weak points
Star Fox on Switch 2 rewards players who learn each boss's phase structure rather than just spraying shots. Whether you are working through the Easy Route for the first time or grinding Expert Challenges on the Hard Route, knowing exactly what to hit and when is the difference between a clean win and a frustrating loop. For a full walkthrough covering routes, deliveries, and everything outside boss fights, the Star Fox: Holosim beginner strategies and core mechanics guide has you covered. You can also browse the full Star Atlas: Holosim strategy guides collection for more, or check out more strategy games on GAMES.GG. For the full game overview, visit the Star Atlas: Holosim game page.