

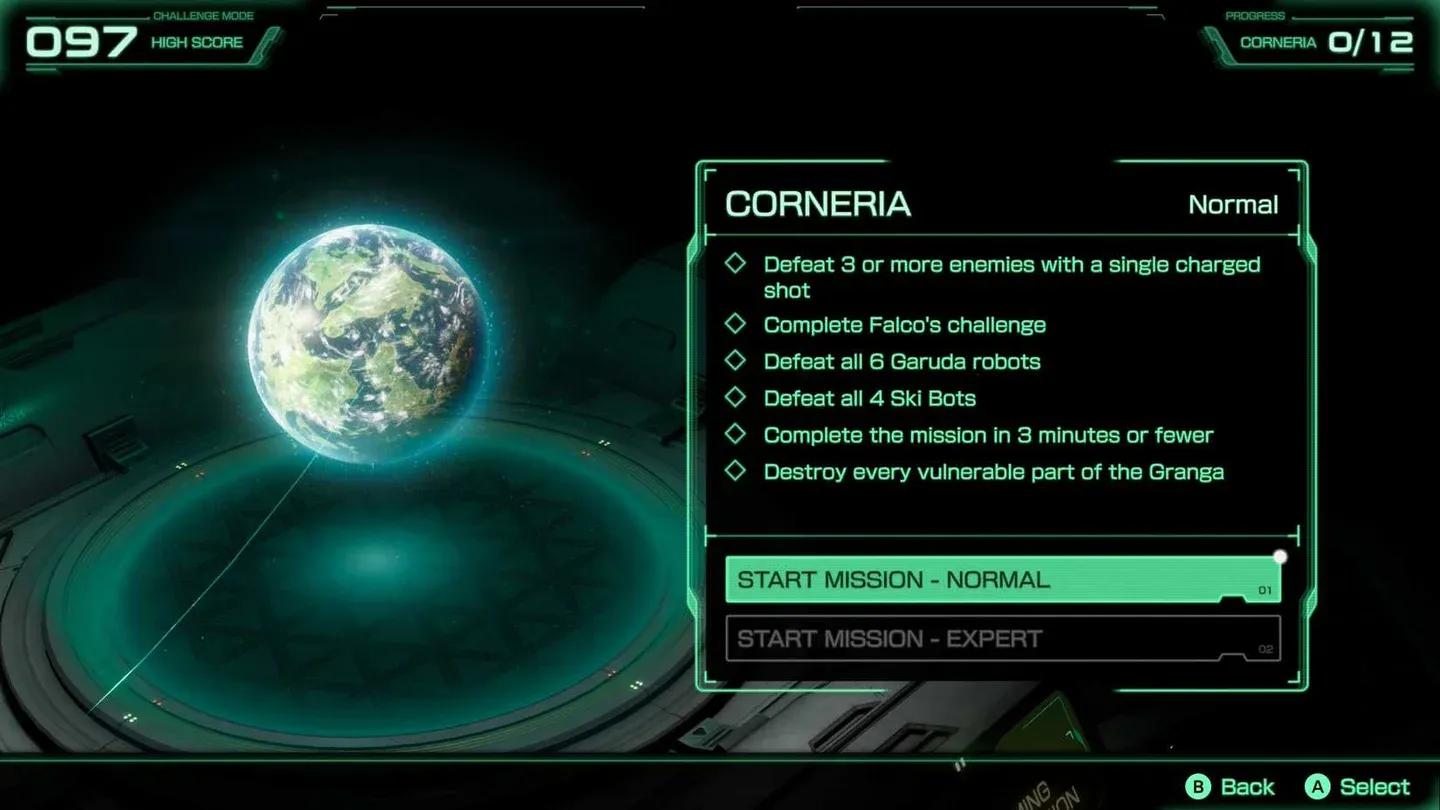
Corneria is where Star Fox on Nintendo Switch 2 tests whether you actually know the level or just survived it. Challenge Mode strips away the campaign safety net and asks you to pull off specific feats, from chaining a charged shot through three enemies before you even reach the city to destroying the Granga in under 10 seconds. There are 6 Normal Challenges and 6 Expert Challenges, and the Expert tier only unlocks after you clear every Normal one first.
How to unlock Corneria Challenge Mode
Finishing the Corneria mission in Campaign Mode on any difficulty unlocks the Normal Challenges. Easy works fine if you just want the door open. Once you complete all six Normal Challenges in Challenge Mode (campaign clears do not count), the Expert Challenges become available. The two tiers gate each other, so there are no shortcuts.
Normal and Expert challenge tiers
Normal challenges: full breakdown
Defeat 3 or more enemies with a single charged shot
This one is available almost immediately. Enemies fly in grouped together before you reach the city section, which is the best window to line up a charged shot. Hold your fire button until the laser is fully charged, then release into the cluster. You do not need to wait for a perfect moment deeper in the level.
Complete Falco's challenge
Falco's challenge requires two steps. First, save Falco after you pass the star ring. Then fly under all 7 stone arches on the lake. These are the same conditions that trigger the alternate route in the campaign, so if you have already taken that path, you know exactly where to go.
Defeat all 6 Garuda robots
Garuda robots are the large enemies that shove buildings over or hurl debris at you. Each one goes down in a single charged shot. Their positions are fixed:
- Garuda 1: To your right as you pass the two city buildings with neon signs
- Garuda 2: Behind a building just past the elevated road at the end of the first city stretch
- Garuda 3: To the left of the first gate entering the second city
- Garuda 4: Directly across from Garuda 3. Throw a bomb at this one while you shoot Garuda 3
- Garuda 5 and 6: Just before the lake, throwing metal beams straight at you
Defeat all 4 Ski Bots
The 4 Ski Bots skate across the lake. They are straightforward targets as long as you keep your attention on them. Do not attempt Falco's arch challenge at the same time.
Complete the mission in 3 minutes or fewer
Boost through the level consistently and collect laser upgrades and gold rings when they are on your direct path. The main route to the Granga is faster than the alternate route to the Attack Carrier, so stick to the main path. Granga goes down faster than the Attack Carrier, which matters a lot when you are racing the clock.
Destroy every vulnerable part of the Granga
Granga has five destructible parts: the head, two rocket-launching shoulders, and two legs. You must destroy all five before finishing the boss.
Shoot the head and both shoulders first. Once the legs are destroyed, Granga is immobilized on the floor and starts firing homing missiles, which makes targeting the remaining parts much harder. Keep your shot count disciplined and do not accidentally destroy the legs early.
Granga's five weak points
Expert challenges: full breakdown
Score 100 hits before taking damage
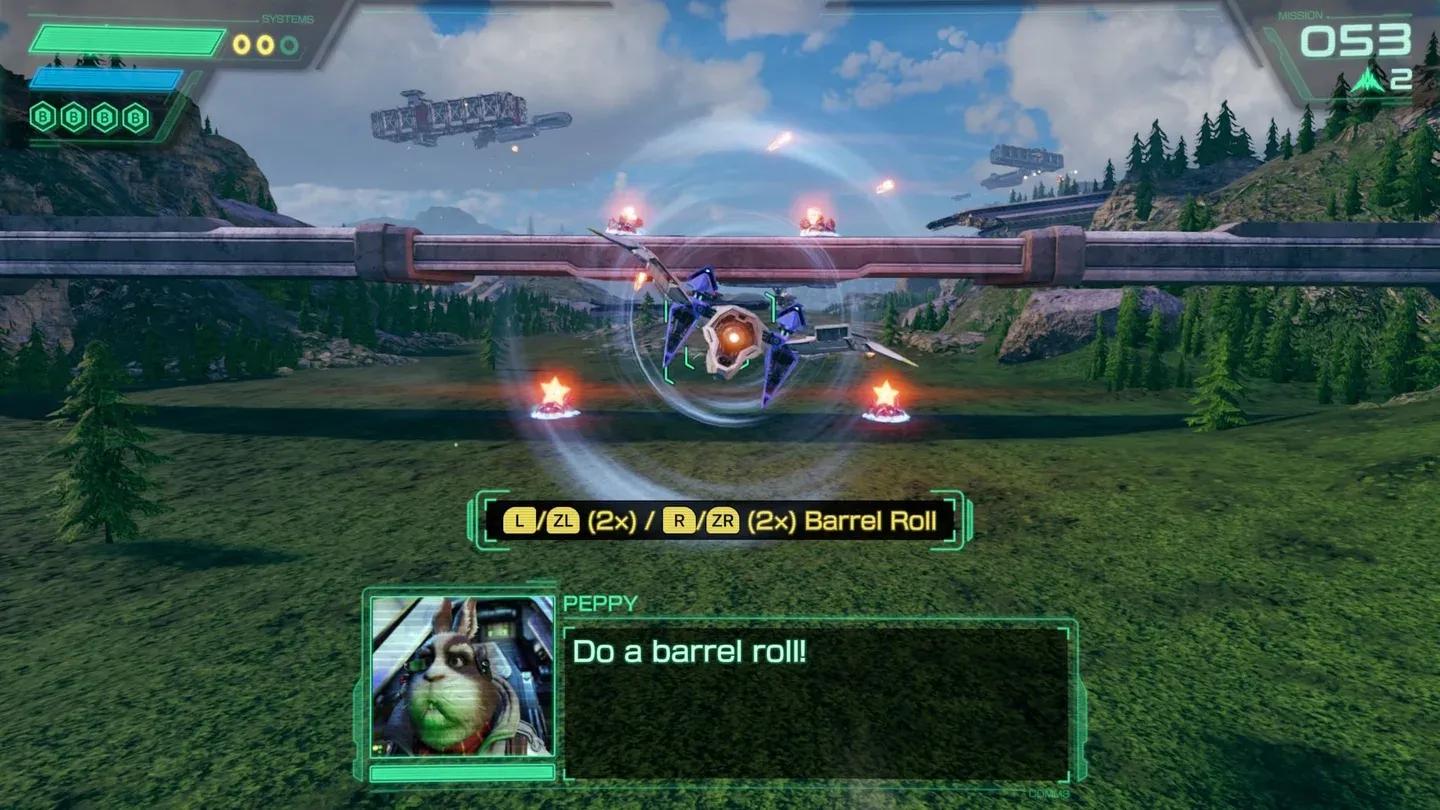
This is a memorization challenge more than a reflex one. You need to know when enemies appear so you can pre-aim rather than react. Barrel rolls are your main defensive tool here. Pressing the barrel roll button deflects incoming shots without interrupting your hit chain.
Complete Falco's challenge before Falco does
Save Falco first, then race him through the 7 stone arches on the lake. The moment Falco says "Think you can thread the needle", hold your boost button and do not let go. Tilting left or right with L or R while turning sharpens your arc through the arches significantly.
Prevent all buildings from being pushed over
Four buildings are at risk, all tied to the first four Garuda locations from the Normal Challenge. The trick is distance. Use a fully charged Hyper Laser or a bomb to destroy each Garuda before it gets close enough to push. Brake before each Garuda section so you have time to aim from range. If you fly in too fast, the building tips before you can fire.
Stop Garuda before they tip buildings
Destroy all Cornerian satellite dishes
There are 11 satellite dishes total. Here is where each one sits:
- Near the level start, to the right of one of the metal archways
- Behind the big gate at the end of the first city section. Shoot the gate down, then keep firing through the center to break the two dishes behind it
- Same gate section (dishes 2 and 3 share this location)
- Near the area where Falco starts lining enemies up for you, behind a circular house on the right side
- On the right side, slightly ahead of dish 4, during the moment Falco needs to be saved 6 through 11. All lined up in a row just past where Falco calls for help. Use a bomb to hit several at once, then clean up the rest with lasers
- The final three dishes sit behind the pillars at the end of the city area. Bomb two of them, then shoot the last. Use brake here to avoid flying past before you can fire
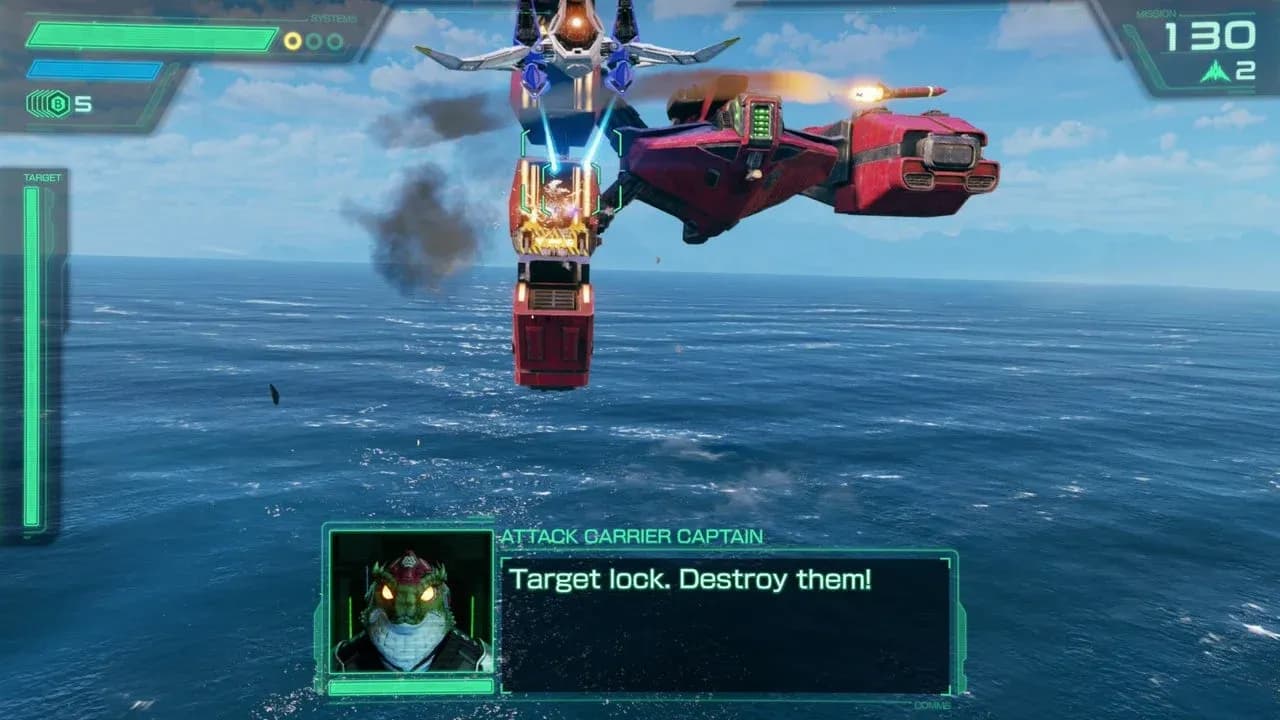
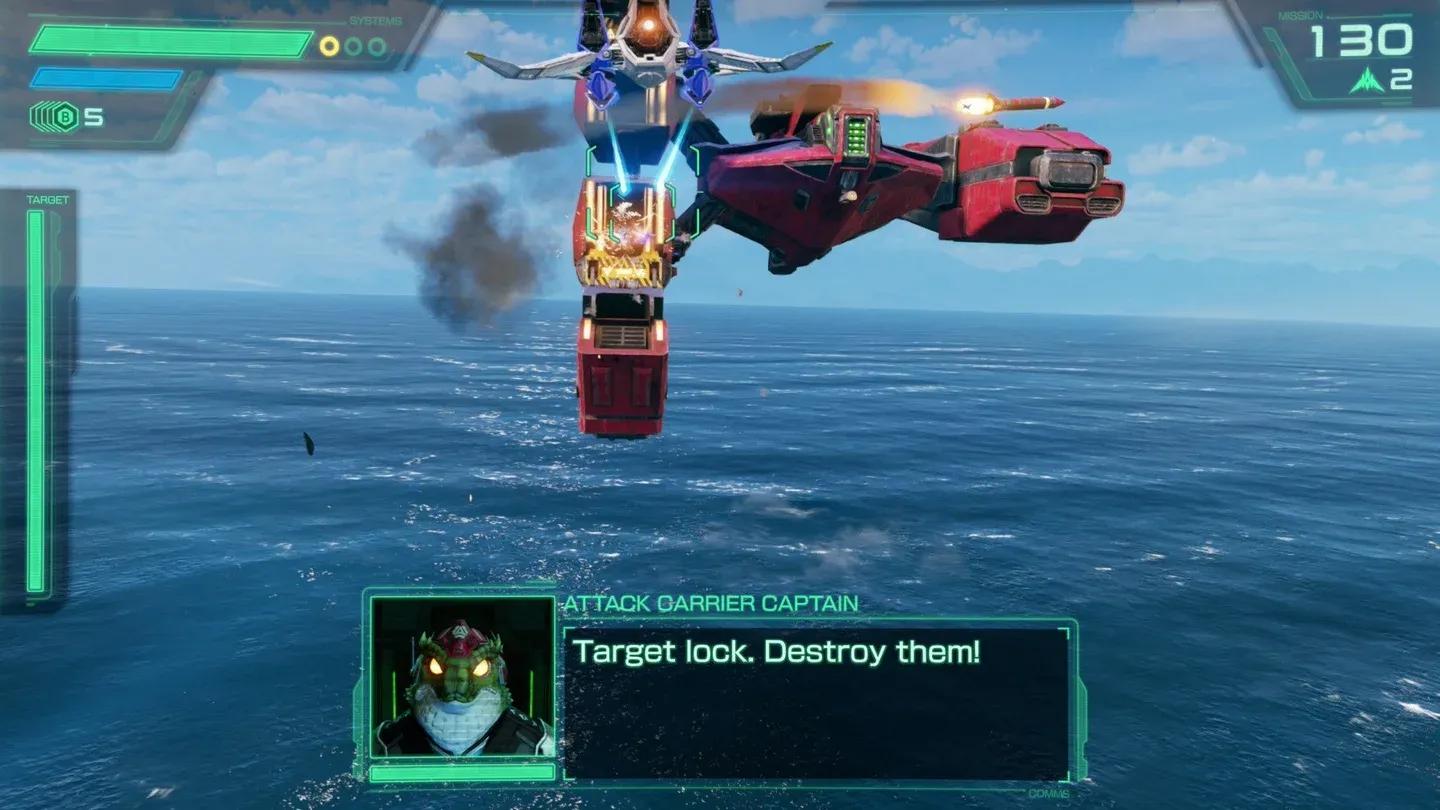
Defeat the Attack Carrier within 30 seconds
You need fully upgraded Hyper Lasers for this. As soon as the fight starts, position yourself to fire directly into the launch bays the moment they open. Target all three bays and aim to have them destroyed by the 15-second mark. Concentrate remaining fire on the ship's hull to burn down health quickly.
Defeat the Granga within 10 seconds
Fly under Granga's legs, then execute a sharp U-turn to face its back. Press L or R in the direction you are turning to get a tighter arc. Once you are facing the back, fire continuously. Aiming at the back deals maximum damage and the 10-second window is tight enough that you cannot afford to circle around twice.
Attack Granga from behind
Item locations worth knowing for challenges
Laser upgrades and gold rings are not optional decoration when you are chasing the 3-minute clear or the 30-second Attack Carrier kill. Laser upgrades appear at four points: from ships coming in from the sides at the level start, to the left of a falling building in the city fires, between the middle and right pillars in the far city area, and from an enemy above the water before the Attack Carrier fight.
Gold rings give you extra shield capacity when you collect three of them. Six are scattered across the level. The one under the seventh river archway and the two beyond the forest enemy line on the Granga route are the most accessible.
How do Normal and Expert Challenges compare?
Normal Challenges are about learning the level's geography and enemy placements. Expert Challenges assume you already know all of that and layer timing pressure, precision, and route knowledge on top. The satellite dish hunt is the longest Expert Challenge in terms of setup, while the 10-second Granga kill is the most mechanically demanding single task.
For players working through all of Star Fox Switch 2's post-game content, Corneria is one of the more forgiving missions to start with because the level is linear and enemy spawns are consistent. The skills you build here, specifically charged shot timing, Garuda positioning, and boss back-attack technique, carry directly into harder missions later.
For more on the game's post-game systems and additional missions, the full Star Fox Switch 2 strategy guides collection has you covered across every stage. If you are newer to the game's mechanics and want a foundation before tackling challenges, the beginner strategies and core mechanics guide is a solid starting point. Star Fox fits neatly into the broader tradition of strategy games that reward map knowledge and pattern recognition over raw reflexes. More details on the full game are on the Star Atlas: Holosim game page.