Search games, articles, guides...CtrlK
Sign InGet Started
Master Starfield faster with these hidden mechanics, inventory tricks, and ship systems most players miss in their first hours.

Written by Nuwel
Content Writer
See more GAMES.GG guides on Google
Add us as a preferred source and our guides show up first in your results.

Starfield PS5 Guide: DualSense Features, DLC, and PS5 Pro Modes
Everything PS5 players need to know about Starfield's DualSense features, Free Lanes update, Terran Armada DLC, and PS5 Pro modes.

Starfield Playtime Guide: How Long Does It Take to Beat?
From main story to 100% completion, here's exactly how many hours Starfield demands depending on how you play.

Starfield Beginner's Tips and Tricks
Every quest, build, faction, and ship system in Starfield covered. Your go-to reference for the base game and Shattered Space DLC.
Starfield throws a lot at you in the first few hours, and most of its best mechanics get a single tooltip before disappearing forever. The scanner alone has four distinct uses that the game barely mentions. Ship power management can win or lose fights, and your companion has been quietly carrying dead weight you could have offloaded hours ago. This guide pulls together the things that actually matter early on, so you spend less time confused and more time exploring the Settled Systems.
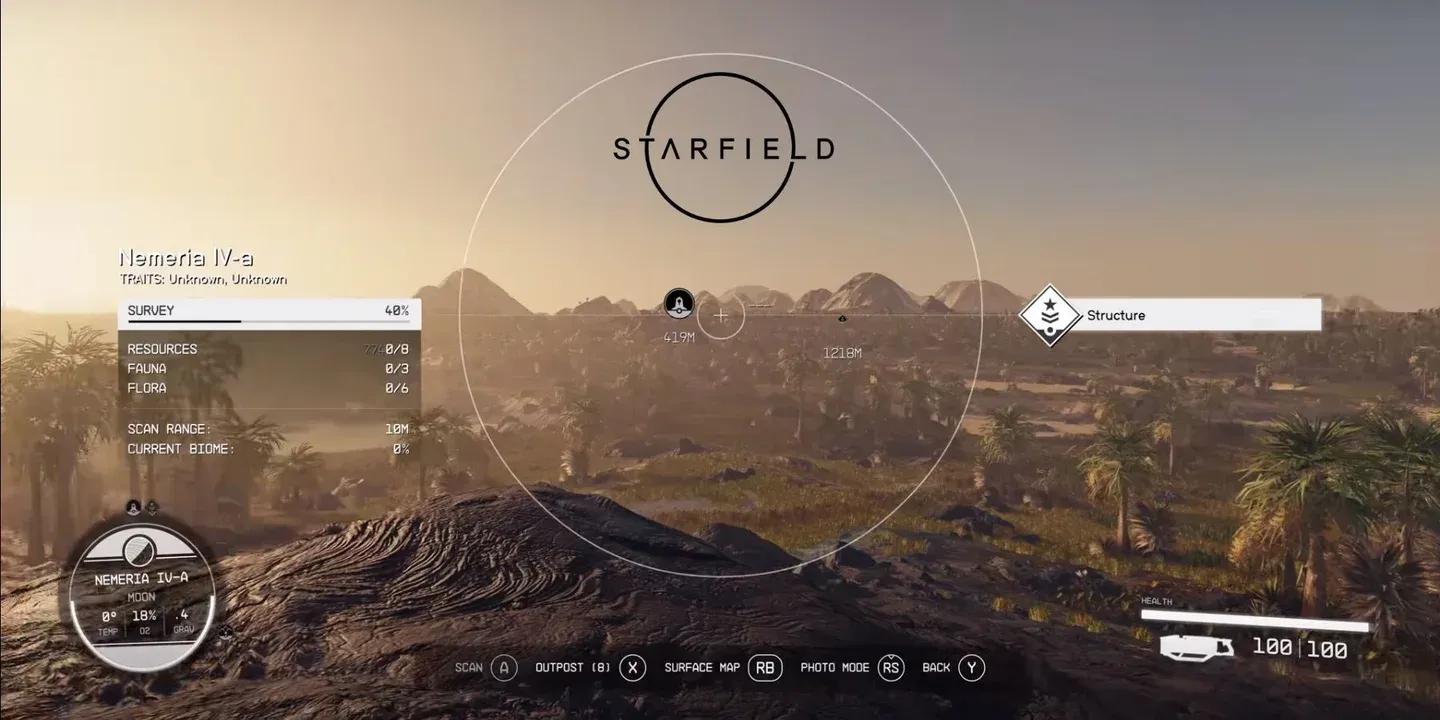
Most players treat the scanner as a planet survey tool and nothing else. That undersells it significantly. The scanner handles four separate jobs:
That last one is easy to miss. You never need to hotkey the Cutter separately. Pull out the scanner, draw your weapon, and it switches automatically. You can also hold ADS (left-click on PC, LT on Xbox) while using the Cutter to charge the beam and break ore deposits faster.
This is the one that catches new players off guard. Several actions in Starfield are completely locked until you put at least 1 point into the corresponding skill. These are not upgrades. They are requirements. You cannot do any of the following without the listed skill:
| Skill | What it unlocks |
|---|---|
| Boost Pack Training | Ability to use Boost Pack jump bursts |
| Piloting | Access to ship thrusters |
| Targeting Control Systems | Targeting specific ship systems in space combat |
| Theft | Pickpocketing NPCs |
| Gymnastics | Combat slide |
| Diplomacy | Force NPCs below your level to stop fighting |
| Robotics | Bonus damage to robots, plus ability to command them |
The Stealth skill is a partial exception. You can crouch and be hidden without it, but you will not see the hidden/detected indicator on your HUD until you invest a point.
Plan your first few skill points around what you actually want to do. If you want to use your Boost Pack at all, that first point in Boost Pack Training is non-negotiable.
Skill tree gating key abilities
Over-encumbrance is one of the most annoying recurring problems in Starfield. When you carry more than your weight limit, moving drains your O2 meter, which fills with CO2, which starts dealing damage. There are several ways to handle this that the game does not explain clearly.
The Frontier's cargo hold stores far more than your character can carry. You can access it from the small terminal to the left of the pilot seat, or from your character menu when within 250 meters of the ship. There is a shortcut to dump everything in your Resources tab directly into the hold in one press: T on PC or RB on Xbox. Research stations and crafting benches pull from the ship's cargo hold automatically, so you do not need resources on your person to craft.
There is also a Captain's Locker behind the cockpit seat for stashing a few essentials separately from the main hold.
You can transfer items directly to your active companion to lighten your load. This is especially useful when you are far from your ship and cannot fast travel due to over-encumbrance. Offload enough weight to your companion, and the fast travel option becomes available again via the scanner.
Ammo has zero weight in Starfield, so carry as much as you want. Most weapons are heavy, and modding them adds more mass. Stick to a small set of weapons you actually use and sell the rest. The items with the best weight-to-value ratio are desk ornaments, antiques (especially Earth antiques), and contraband.
Do not sell Survey Data to random merchants. Vladimir on The Eye space station above Jemison pays a premium rate significantly above standard vendor prices. Wait until you meet him through the main story before offloading any survey notes.
Space combat in Starfield has a power management layer that most players ignore until they are getting destroyed. Your ship's reactor generates power distributed across all systems, shown as bars in the bottom-left of the cockpit view. On PC, hold Left Alt and use WASD to shift power between systems in real time, even during a fight.
Once you unlock Targeting Control Systems, you can slow time during combat and fire on specific enemy ship components, like disabling their engine before boarding.
Contrabrand items show a yellow square icon. Any controlled planet with a settlement will scan your ship before you can land. If you are carrying contraband, you can jettison it, pay a fine, or install shielded cargo to attempt to bypass the scan. For a quick sell without getting scanned, The Den in the Wolf system has no scan and a Trade Authority shop on site.
You are not locked out of any faction by joining another. All major factions can be joined in a single playthrough. The main four are Constellation (the main story group), the UC Vanguard, the Freestar Rangers, and the Crimson Fleet. Ryujin Industries in Neon operates as a fifth corporate faction with its own questline.
Companions work differently than the game implies. Most companion skills do not directly boost your own stats. They improve the companion's own capabilities. Andreja, for example, has Pickpocket, but she uses it to occasionally give you credits as a gift rather than improving your own pickpocketing. Her particle weapon damage and stealth camouflage are active benefits during combat.
Where companions really pay off is ship crew assignment. Skills assigned to crew members that apply to ship systems are highlighted in the ship menu. A well-chosen crew can increase your ship's damage output, shield strength, and storage capacity beyond what you could achieve solo. The default crew cap is 3, and raising it requires upgrading crew quarters on your ship plus investing in the Crew Command skill.
For more strategies across all playstyles, browse more guides on GAMES.GG.