
Starfield ship building and the best builds for every playstyle
Starfield gives you two distinct ways to define how you play: how you build your character on the ground, and how you build the ship that carries you between the stars. Both systems are deep enough to swallow hours, and both reward players who understand what each stat actually does. This guide covers ship construction from first principles, then breaks down the 5 strongest character build archetypes, including how to slot legendary weapon traits into each one for maximum output.
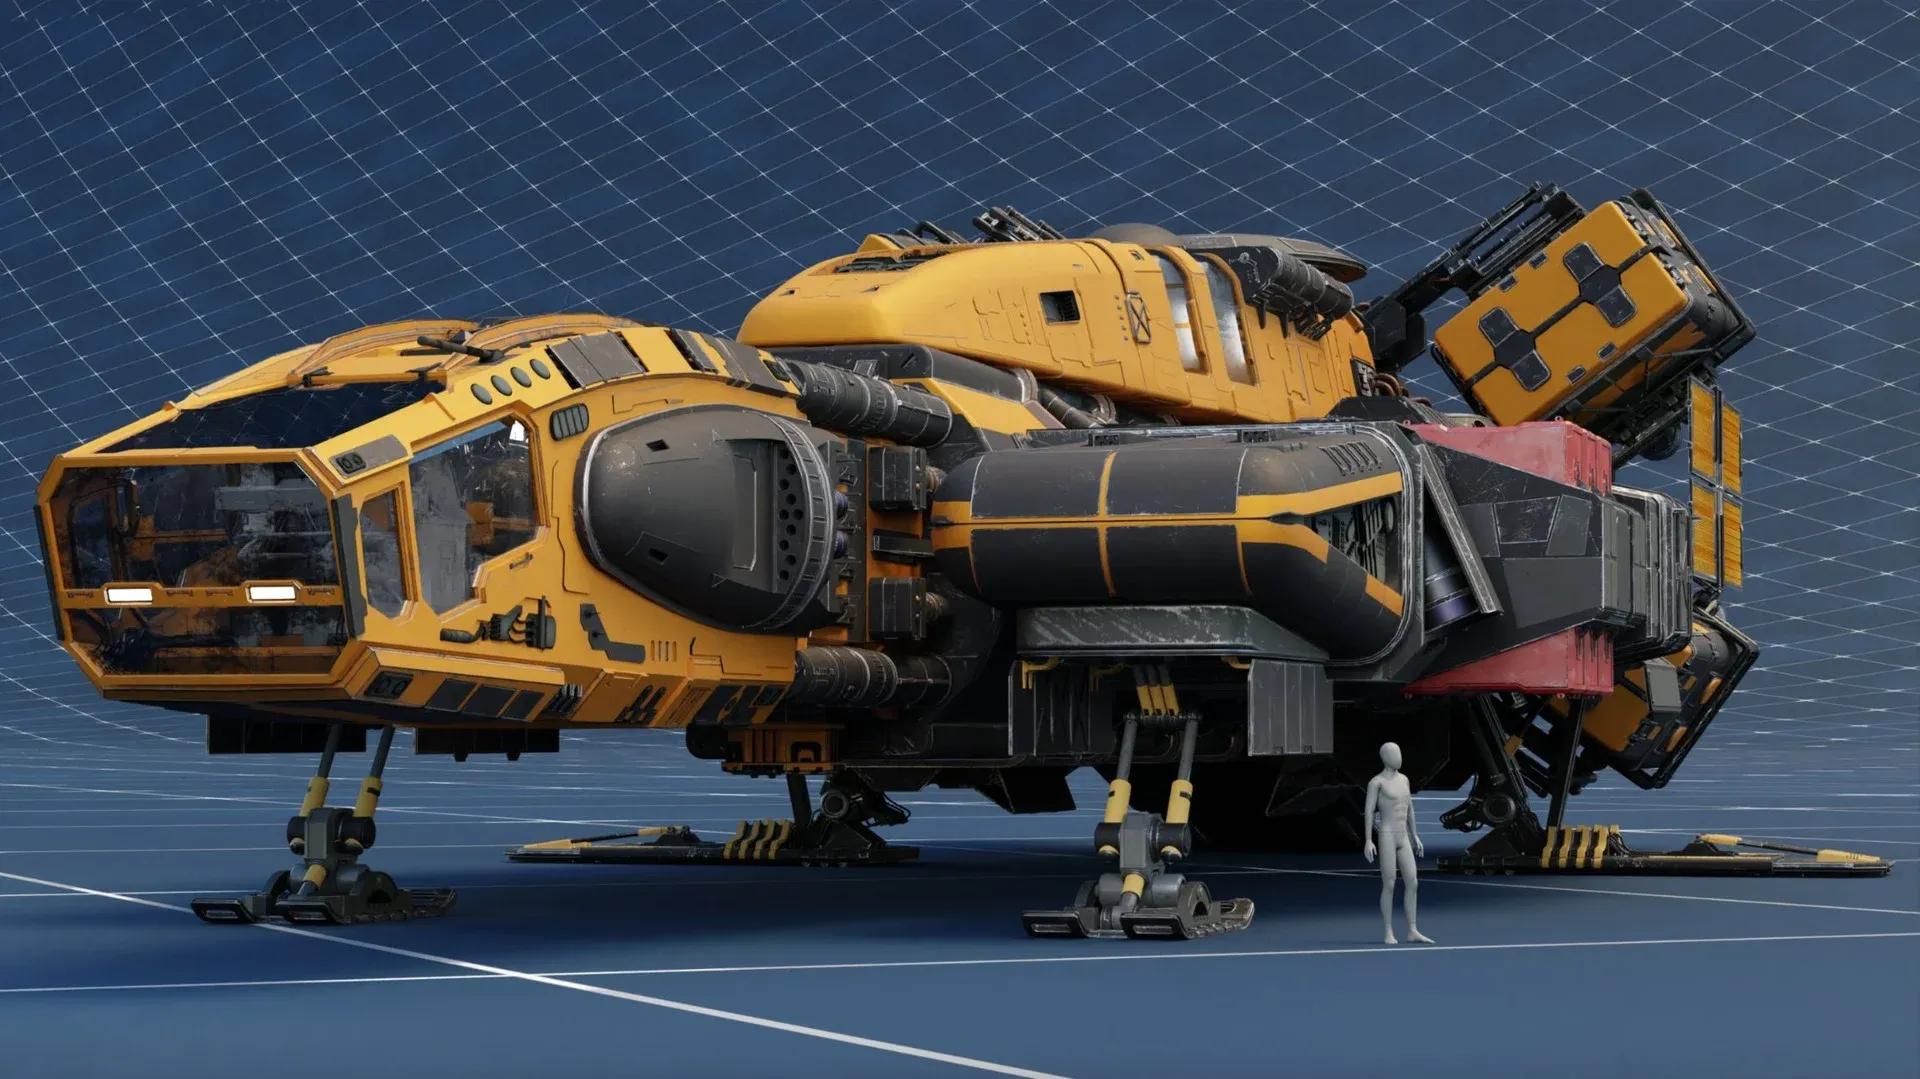
Ship builder module selection
How does ship building work in Starfield?
You cannot build a ship from scratch in Starfield. Every build starts from a ship you already own, which you then modify at a ship technician found near landing pads in populated areas across the Settled Systems. The technician sells parts directly, and parts never sit in your inventory or cargo hold; they exist only as purchasable options in the builder interface.
A few hard rules govern what you can and cannot do:
- You can only equip parts that match your current reactor rating. Better reactors unlock better components.
- Leveling up Starship Design in the skill tree is required to access higher-class modules.
- Every module you add increases Mass, which reduces speed and jump range.
- Every module also adds Hull, making the ship more durable. Mass and Hull always move together.
- You must always have exactly one reactor, one shield, and one grav drive fitted.
For a much deeper look at parts compatibility and manufacturer-specific modules, the Steam community ship crafting guide covers level restrictions and which shipyards stock which manufacturers.
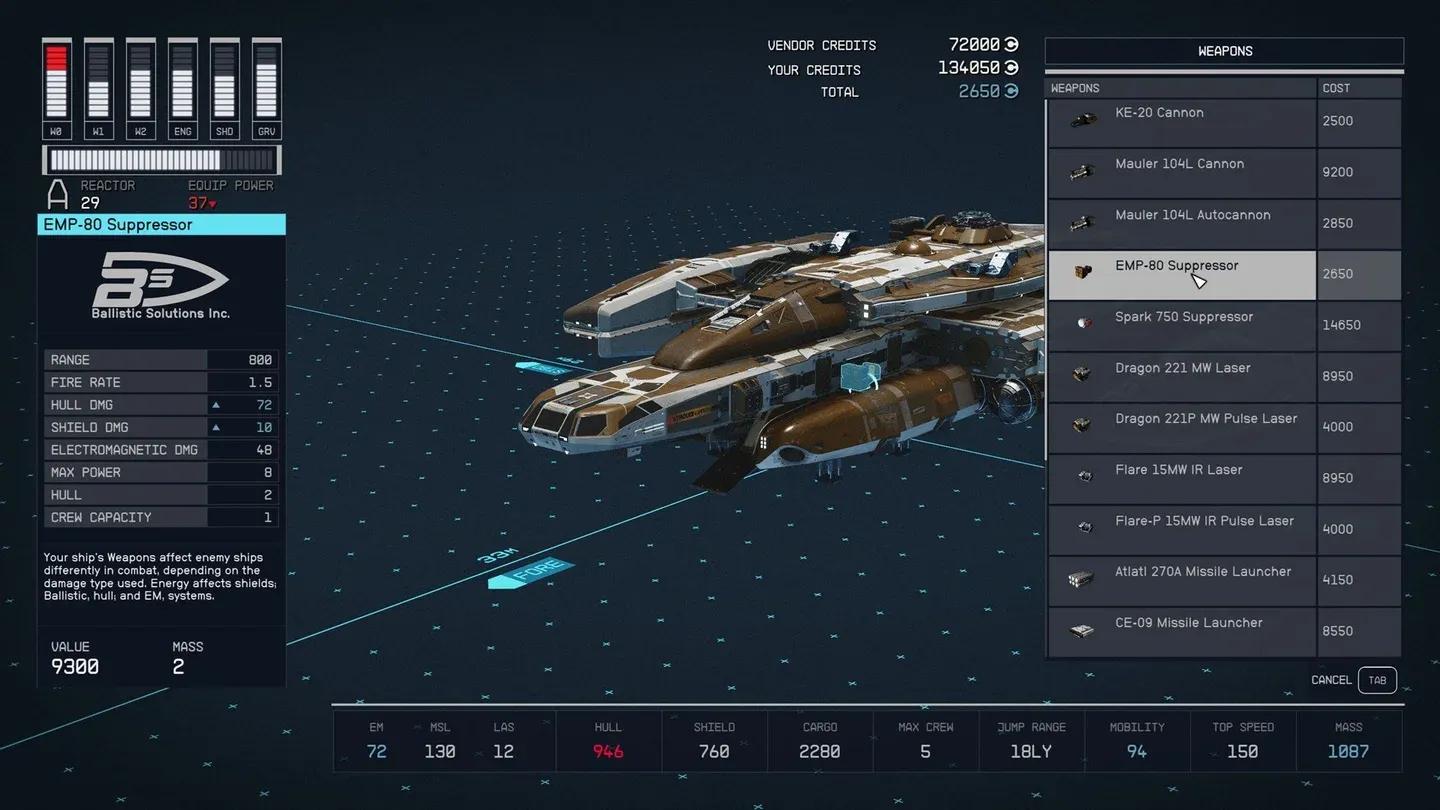
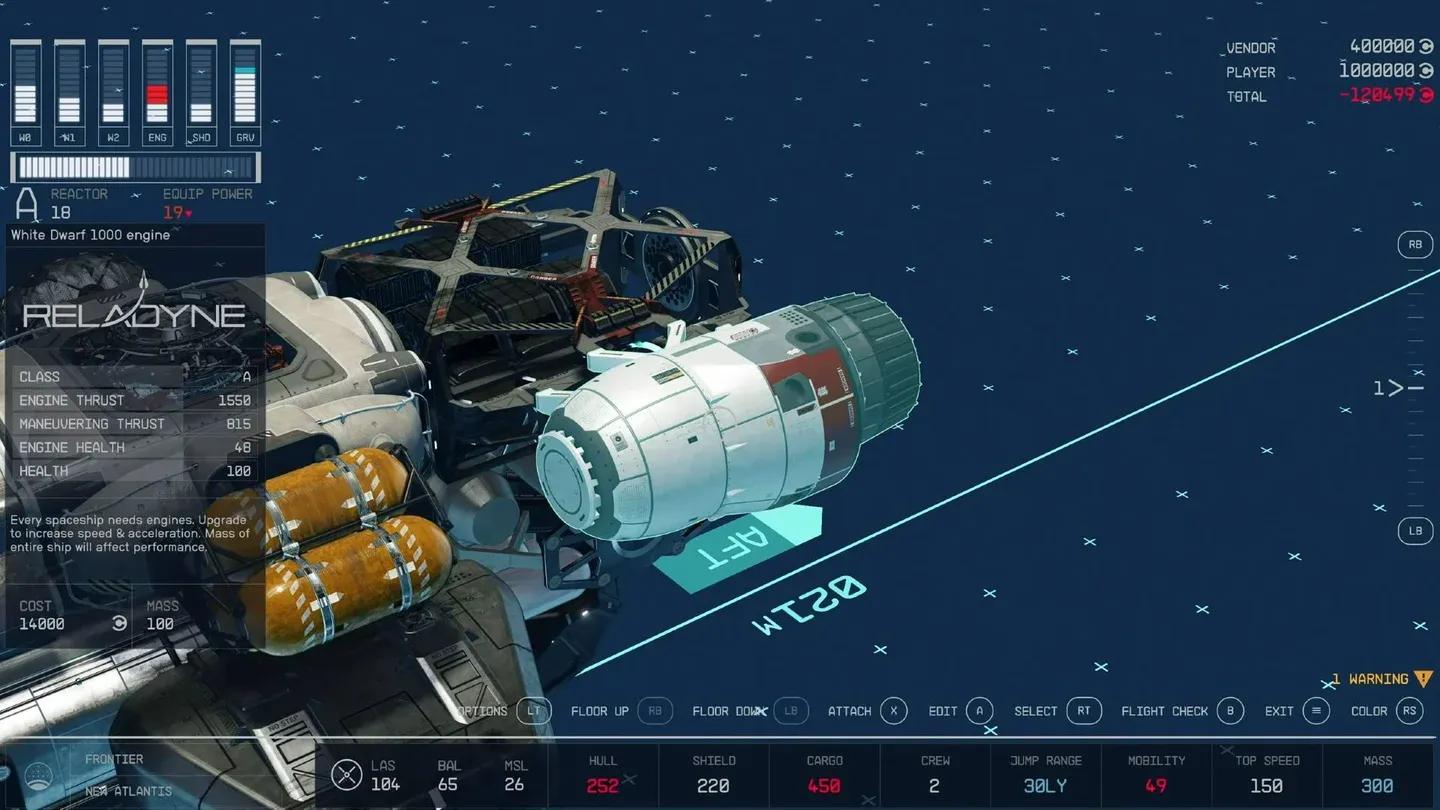
Starfield ship stats explained
Every number in the ship builder affects something tangible. Here is what each stat does:
Mass is the stat that bites most builders. Every module has weight, so the more you stack on, the slower and less agile the result. The flip side is that heavier ships carry more Hull, so there is a genuine trade-off between a nimble fighter and a durable fortress.
Full ship stats breakdown
What modules does your ship need?
Ship components are broken down into essential and optional categories. Here is a fast reference:
Essential (ship cannot fly without these):
- Reactor — the power source everything draws from. Better reactors generate more power and repair faster when damaged.
- Engine — determines thrust, maneuverability thrust, and top speed. More engines help, but each draws reactor power.
- Grav Drive — enables star system jumps. Targeting and destroying an enemy's grav drive stops them from escaping.
- Cockpit — where you fly from; also provides access to the cargo hold terminal.
- Landing Bay — the ramp that lets you board and exit on planets.
- Landing Gear — provides the hidden Lander Thrust stat. Heavier ships need more gear to take off.
Optional but significant:
- Habitat modules (Habs) — add crew slots, passenger slots, and workstations. Smaller habs connect larger sections.
- Cargo holds — pure storage. Shielded cargo holds conceal contraband from scanners.
- Fuel tanks — store Helium-3 for the grav drive. Tanks refuel automatically after every jump.
- Dockers — connect your ship to other ships or space stations like the Eye above Jemison.
- Shields — regenerating energy protection. Energy weapons hit shields hard; the hull underneath is what you actually need to protect.
- Structural modules — cosmetic cowlings, portholes, weapon mounts, and connecting pieces.
How does power allocation work in combat?
Your reactor sets a total power budget. Using the D-pad, you can redistribute that power across six systems on the fly during combat:
- LAS — laser weapon damage output
- BAL — ballistic weapon damage output
- MSL — missile weapon damage output
- ENG — flight speed
- SHD — shield strength and recharge rate
- GRV — grav jump charge speed
The practical implication is that if you are in a fight with no intention of jumping away, pulling all power from GRV and redirecting it to weapons or engines is free damage. Shields recharge faster with more SHD allocation, so toggling power mid-fight based on what is happening is a real skill that separates average pilots from effective ones.
What are the best ship build archetypes?
Ships are purpose-built and you can store multiple vessels to swap between them. Three archetypes cover most playstyles:
Piracy and bounty hunting: Prioritize high shields, engines, laser weapons, and missiles. Lasers strip shields, missiles target engines to disable ships for boarding. Keep mass low for speed and agility. De-emphasize jump range and large hab modules.
Exploration and surveying: Stack fuel tanks, a high-quality grav drive, large cargo holds, and diverse hab modules with workstations. Agility and weapons are secondary; you want range and storage. Keep some weapons for emergencies.
Cargo and smuggling: Maximum cargo holds including shielded bays, strong shields, and a powerful reactor. Attack power matters less than survivability; if things go wrong, the goal is escape, not a firefight.
The 5 best character builds and how to optimize them
The following builds represent the most effective character archetypes as of 2026. Each one is designed to stay functional across balance changes and works whether or not you have access to legendary rerolling systems.
Build 1: Ronin Melee Assassin
The Ronin build lives and dies on stealth approach and one- or two-hit kills. Early game, shorter fast-swinging blades work well for their wide arcs. Late game and in NG+, heavier blades like a Va'Ruun Painblade-style weapon provide better armor penetration and damage scaling.
Priority skills:
- Dueling / Martial Arts line — all melee damage and power attack bonuses
- Stealth — detection reduction and sneak attack multipliers
- Isolation — damage and defense boost when running without companions
- Concealment — near-invisibility while walking or crouching (late-game unlock)
- Fitness / Gymnastics / Wellness — O2 capacity and survivability for aggressive rushes
Weapon traits to target: Rapid (attack speed), Instigating (bonus against full-health targets), and a damage-over-time modifier like Lacerate or Radioactive for enemies that survive the first hit. Avoid defensive traits on your primary blade; every budget point should go toward killing faster.
Build 2: Stealth Sniper Infiltrator
This build clears outposts before anyone knows you are present. The weakness is cramped ships and zero-g environments, so carry a suppressed pistol as backup for close-quarters situations.
Priority skills:
- Marksmanship / Sniper Certification — zoom, accuracy, and headshot damage
- Sharpshooting / Ballistics — raw rifle damage and stagger
- Stealth > Concealment — the full stealth chain is non-negotiable
- Weapon Engineering — advanced scopes, suppressors, and extended magazines
The Reckless modifier is particularly strong here. Reckless trades increased incoming damage for a multiplicative damage boost. If you are never getting hit from long range, the downside is negligible while every engagement ends faster. Pair it with an Instigating-type trait for bonus damage against unaware targets, then add a crit-boosting modifier third. Prioritize two offensive traits before worrying about utility options like reload speed.
Build 3: Ballistic Bounty Hunter
The most flexible build on this list. A mid-range assault rifle paired with a high-damage pistol covers boarding actions, base assaults, and urban contracts without needing to respec. This is the right choice if you want to move between ground and ship content without constantly adjusting your loadout.
Priority skills:
- Ballistics — max this first; it is the core damage node
- Pistol Certification — sidearm accuracy and reload for close fights
- Rifle Certification — mid-range control and scope effectiveness
- Boost Pack Training — mobility between cover
- Targeting Control Systems — VATS-style lock-on; also doubles as ship combat value
- Security — for breaking into locked rooms during contracts
Weapon traits: For rifles, target recoil reduction, stability, and bonus damage while aiming. For pistols, raw damage, stagger, and armor penetration matter more than handling. This build works perfectly well on high-quality non-Exotic weapons, so do not chase rare drops at the expense of maxing your core skills first.
Build 4: Laser and Particle Beam Specialist
Energy weapons hit hard at mid-to-long range, penetrate armor effectively, and produce clear visual feedback in chaotic fights. The trade-off is that you often need line of sight, which means standing in the open longer than a sniper would.
Priority skills:
- Lasers — the core node; level as high as possible
- Engineering / Weapon Engineering — heat management and advanced lenses
- Medicine / Wellness — survivability for the moments you are exposed
- Boost Pack Training (Rank 3+) — kiting melee enemies and maintaining range
Reroll priorities for this build: Heat-management traits (more shots before overheat, effectively raising sustained DPS), armor-ignoring traits, and crowd-control effects like disorient or stagger. A Reckless-style boost can work here, but only if your positioning is disciplined. Beam users stay in sight longer than snipers, so incoming damage is a real risk.
Build 5: Ship Combat Ace
This build treats space as the primary game loop. The majority of skill points go into Tech and Pilot-related perks. Ground combat is handled with a single reliable rifle or shotgun, not a specialized loadout.
Priority skills:
- Piloting — unlocks better ship classes and handling; non-negotiable
- Targeting Control Systems — subsystem disable and lock-on
- Engine Systems — maneuverability and top speed
- Shield Systems — shield HP and regen rate
- Starship Design — required for advanced module and weapon builds
- Starship Weapon Specializations — choose Lasers, Ballistics, or Missiles based on your preferred loadout
Ship weapon strategy: Run at least two weapon types. Lasers strip shields first, then ballistics or missiles shred the hull once shields are down. Keep some laser power active even after shields drop to prevent regen while you work on the hull. Distributing power so lasers come online first, then reassigning to ballistics or missiles once shields are stripped, is the standard sequence for tougher encounters.
For ship module selection and which parts work best at each class level, the Steam community ship crafting guide is worth bookmarking before you start a serious ship build.
Build comparison at a glance
General tips to make every build stronger
A few mechanics apply regardless of which build you run:
- Use your scanner constantly. It highlights lootable items and containers in blue, including ones partially hidden from view. Running it through cluttered areas saves significant time.
- Sleep before long sessions. A bed gives you the Well Rested status effect, which provides +10% XP gain for 24 minutes. If you are in a romance, that bonus increases to +15%.
- Unlock broad skills first, then specialize. Stealth, Boost Pack Training, Piloting, and Targeting Control Systems all unlock new abilities rather than just improving existing ones. Get those first, then rank up the ones that fit your playstyle.
- Check cargo holds on every ship you board. If you are stealing a ship, contraband in its hold will get you arrested when you land in UC-controlled space.
For more Starfield strategies and guides across every genre, browse the latest guides at GAMES.GG to keep your builds current as Bethesda continues updating the game through the Free Lanes update and Terran Armada expansion this April.