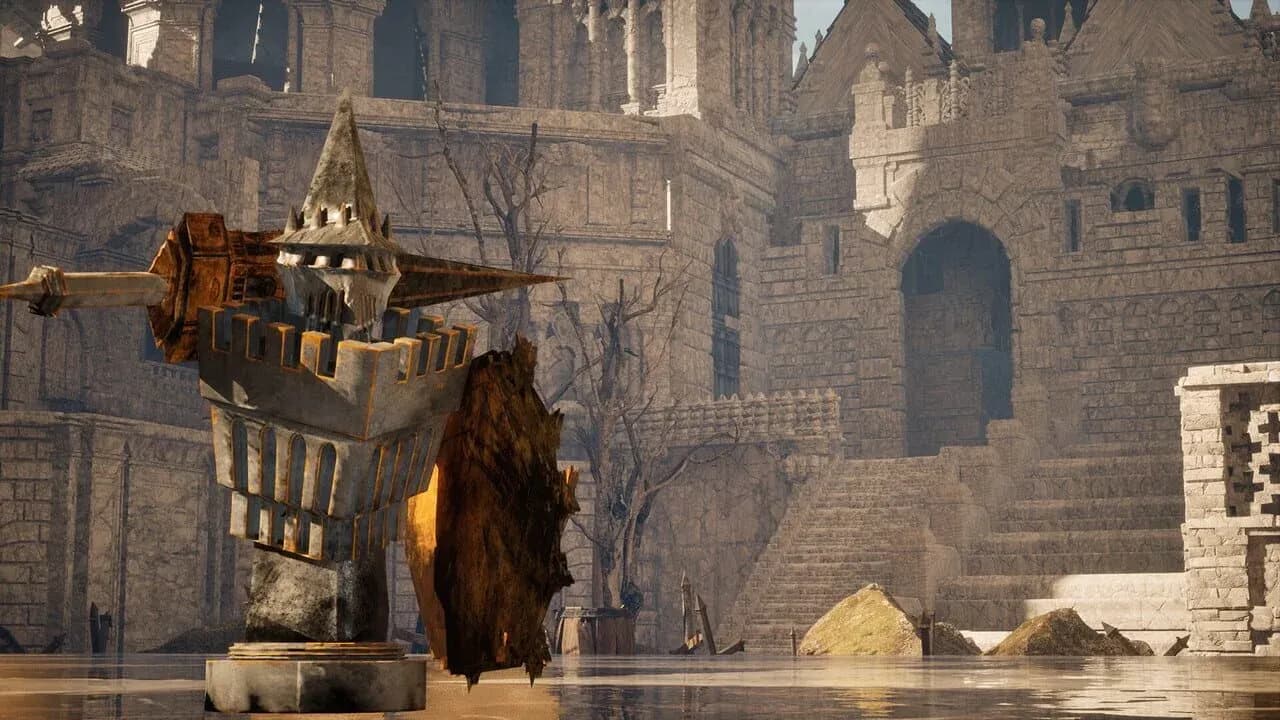

Stonemachia drops you straight into a soulslike built around a chess-piece protagonist, and Sacrigera Fortress is where everything clicks into place. You start as a pawn, fight angels, and work toward returning to heaven. The fortress is the first real area after the tutorial, and it packs in three boss fights, a handful of shortcuts, and enough enemy variety to punish anyone who ignores the parry system.
Starting out: the tutorial and Zerafim
Before Sacrigera Fortress opens up, the game puts you through a battlefield tutorial. Pick The Pawn as your starting class. It is the most balanced option available, and for a first run through this area, balanced is exactly what you want.
The tutorial teaches the basics: collect white feathers, defeat enemies, and get comfortable with parrying. Parry timing is the single most important skill in Stonemachia, so treat every tutorial enemy as practice. Do not rush through it.
How to defeat Zerafim, Heaven Ripper?
Zerafim closes out the tutorial section with wide, heavy swings and a lot of lateral movement. The good news: you do not need to finish this fight. Drain roughly 30 percent of Zerafim's health and a cutscene triggers, moving you into Sacrigera Fortress proper.
That said, the fight still demands respect. Watch for the rotating slash that transitions into a slashing stance. Zerafim will slash once, then move back slightly after the second hit. That retreat is bait. A third slash comes immediately, and players who chase the opening get punished hard. The other move worth noting is the multi-swing circular combo. Parrying Zerafim is more effective than dodging because the wide arcs give you consistent parry windows.
Zerafim moves around constantly, which means some attacks simply miss on their own. Do not overcommit to punishing every opening. Stay patient and let the boss come to you.
Navigating the fortress
Once inside Sacrigera Fortress, head straight ahead from the spawn point. Collect white feathers as you go. You will encounter enemies quickly, and fighting them is worth the time. Combat experience here builds the parry muscle memory you need for the bosses ahead.
Progress through the enemies in sequence: standard fighters, a projectile shooter (dodge rather than parry these), and a heavy hitter that deals massive health damage on contact. Do not get greedy against that last one. After clearing them, move through the area's slam hazards and interact with the black shield-like floating object to trigger the first proper boss fight.
Sea Gargoyle overhead slam
How to beat the Sea Gargoyle?
The Sea Gargoyle is a parry-heavy fight, and the rewards for landing parries are significant. The boss staggers on a successful parry and stays stunned long enough to take a solid burst of damage. The stun window is short, so have your follow-up ready.
The attack that ends most attempts early is the dual-handed overhead slam. Getting hit by it will almost certainly wipe your health bar. Either dodge it cleanly or, if your parry timing is sharp, parry it for one of the biggest damage windows in the fight. Wide swings are the Gargoyle's bread and butter, which makes this a fight where parrying pays off more than any other approach.
After the Gargoyle goes down, interact with the giant feather ahead. Then find the chessboard and interact with it to level up before continuing.
The dual-handed overhead slam from the Sea Gargoyle is almost always fatal if it connects. Do not attempt to trade hits during this attack.
Deeper into Sacrigera Fortress
Past the first chessboard, the area opens up with more enemy types and a few branching paths worth knowing about.
A giant NPC will smash through a wall ahead of you. Use that time to collect feathers nearby, then pass through the opening once it is done. From here, the path goes left across a tree and through a small passage on the right. A statue enemy waits further along. It shares a moveset with the Gargoyle, so the same parry approach works. You do not have to defeat it to proceed, but the feathers make it worthwhile.
Interact with the vinyl object on the left to open a gate. Collect feathers on the opposite side, then push forward. A projectile enemy and a large enemy occupy this section. Take out the projectile shooter first. Leaving it alive turns every subsequent fight into an annoyance. The large enemy looks threatening but falls quickly to parries.
What's the shortcut and how do you unlock it?
After defeating the large enemy, head left to collect a giant feather. Picking it up animates the nearby statues, and they all attack simultaneously. Parrying one stuns the entire group, which makes this encounter manageable despite the numbers. Clear them, then head right from the giant feather location.
A Gargoyle appears again along this path. Fight it or skip it. Then continue until the shortcut unlocks. Head back to the nearest chessboard to upgrade before the next boss.
An elevator in this section leads upward. Activate it. Beyond the elevator, enemies with delayed attack timings require adjusted parry windows. These are the ones that catch players off guard most often. The delay is intentional, so do not parry on instinct. Wait for the actual swing.
There is an alternate route to the boss room. Defeat the key-shaped enemy to open a door, then head left to find a giant. Open the door in that room and the enemies that appear will cause the giant to jump and unlock the boss room path from above.
Boss comparison: Sacrigera Fortress
How to defeat Centaur Furcifel?
Centaur Furcifel looks intimidating but ends up being the most approachable boss in the fortress. A few attempts to read the attack patterns is all it takes.
The overhead slash is easy to parry because the wind-up is visible well in advance. Side slashes are trickier and will catch you off guard the first time, but the timing becomes readable after two or three attempts. When the boss creates distance and jumps, an overhead slam is coming. The dangerous one is the quick slam after a slight step back. The timing is tight and the gap between the step and the attack is shorter than it looks.
The cross-sword attack, where Furcifel crosses both blades before slashing outward, is best dodged rather than parried. If you want to parry it, the window is right as the swords begin to open. Miss that window and you take full damage.
Once Furcifel is down, jump down from the boss room and follow the path right. Jump through the rocks to find a giant feather along the way.
Centaur Furcifel's side slashes are the hardest part of this fight. If you keep dying, spend a few attempts just watching the side slash animation before committing to parrying it.
Completing Sacrigera Fortress
After collecting the giant feather past the Furcifel arena, backtrack to the chessboard and head left. Move up the path, defeat the enemies here, and make sure to kill the one carrying a card. That enemy matters for progression.
At the top of the path, enter the building and take the staircase up. A cutscene plays, and Sacrigera Fortress is complete.
Sacrigera Fortress is a strong introduction to what Stonemachia demands from players. Every major fight rewards parrying over aggression, and the area teaches that lesson through repetition rather than punishment. Get comfortable with parry timing here because the game only gets more demanding from this point.
For more help across every area, the full Stonemachia strategy guides collection has you covered. Stonemachia sits firmly among the more demanding action games in the indie space right now, and there is plenty more to tackle after the fortress falls.