

Finding all the Quartz shards scattered across Styx Blades of Greed is one of the game's most involved challenges. Between the towering vertical layouts, patrolling guards, and multi-step puzzle sequences, it's easy to get turned around or miss a critical lever. This guide walks you through every shard location across both Turquoise Dawn and the Empire Wall, covering all six sub-quests you need to complete for the Whispers of Quartz main mission (plus the three earlier ones tied to The Quartz' Call quest).
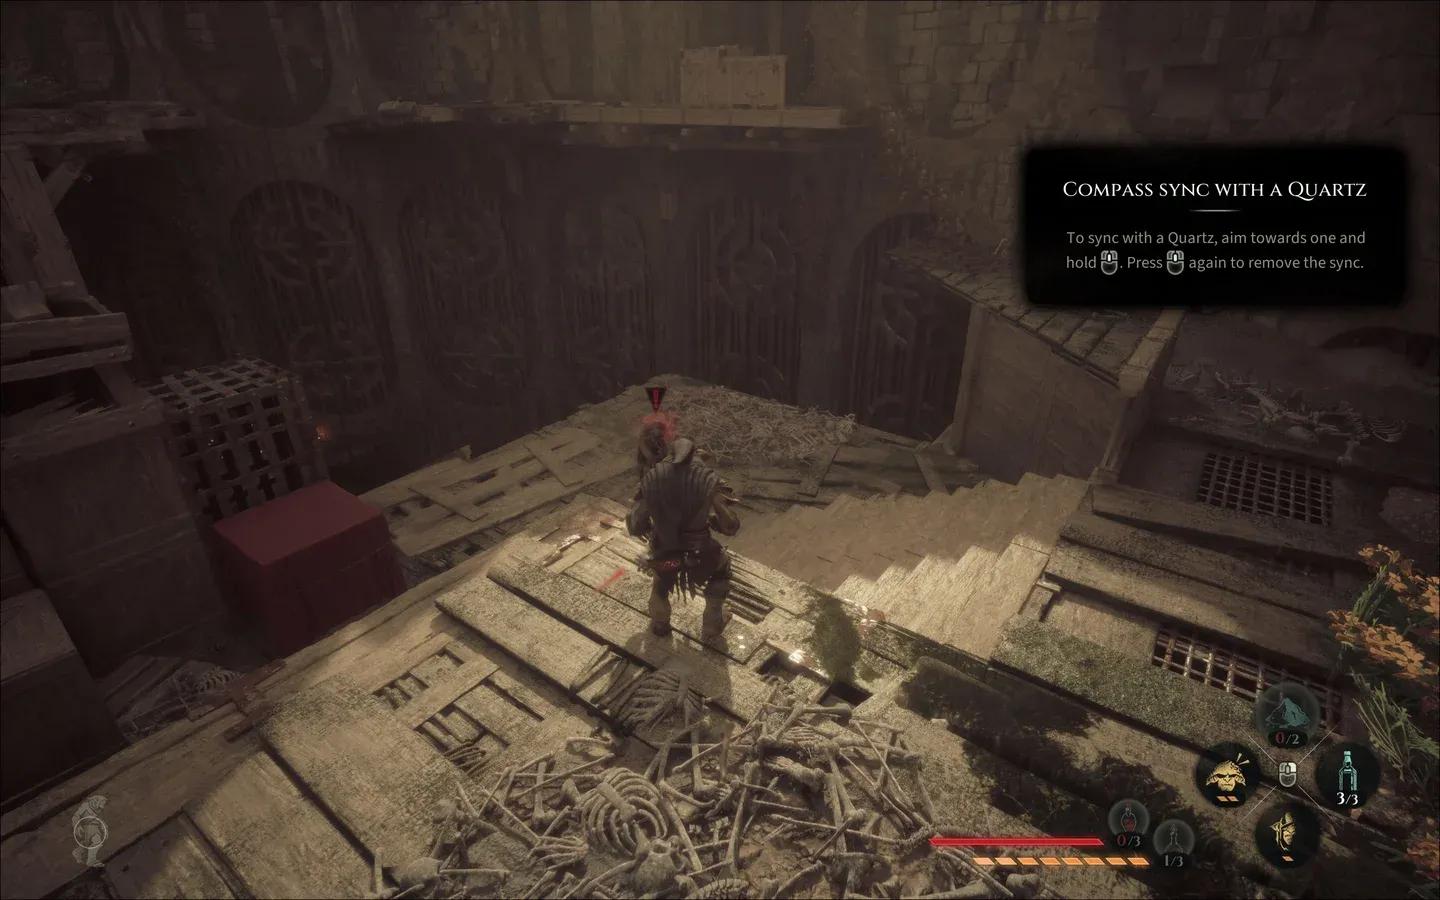
Quartz compass sync screen
What Are Quartz Shards and Why Do You Need Them?
Quartz shards are powerful collectibles that Styx must absorb to progress through the main storyline. Each one is locked behind a sub-quest with its own puzzle mechanics, enemy patrols, and environmental traversal. You'll need to collect three shards per region, and the missions can generally be tackled in any order within each zone.
Here's a quick overview of all the sub-quests covered in this guide:
How to Collect All Quartz Shards at Turquoise Dawn (The Quartz' Call)
Fast travel to Turquoise Dawn from the Zeppelin's to get started on these three sub-quests.
Orc Siege Spoils: Step-by-Step
From your arrival point, move straight ahead and turn right to find a broken bridge. Use your grappling hook to reach the ledge on the left, then climb up a rope inside a shaft to get onto the roof. You'll spot a ship's steering wheel nearby. Grapple across to the opposite ledge from there.
Your objective becomes securing the wharf by closing the drawbridge. Jump down to the patrol pathway below and silently assassinate all six human enemies, being especially careful around the brute guarding the wheel. Once they're all down, interact with the wheel to close the drawbridge.
Use a rope to descend one level, then follow the Quartz marker. You'll hit another closed drawbridge with guards. Grapple across it and push toward the elevator shaft ahead, which is locked inside a cage. Three levers control the cage:
- First lever is on the ground floor, guarded by soldiers. Defeat them and pull it.
- Second lever is on the floor above. A brute stands near it. Climb the overhead beams and loosen the chandelier to drop it on the brute and nearby guard simultaneously.
- Third lever sits on the uppermost floor, right beside the cage door. Clear the guards and pull it to unlock the cage.
Once the cage opens, walk up to the Quartz and absorb it to finish this sub-quest.

Elevator cage lever sequence
A Quartz on the Tracks: Step-by-Step
After wrapping up Orc Siege Spoils, follow the quest marker to a giant floating ship. You'll need to cross rooftops and grapple across several gaps to reach it. Once aboard, you'll find the Quartz locked in a cage that rides a track system.
Here's the sequence to move the cargo to freedom:
- Sneak behind the cage and pull the first lever to send it rolling toward the metal gate.
- Slip through the window beside the gate and pull a second lever to open the cage door and advance the cargo.
- Head up the stairs to the mezzanine level, sneak past a guard in the adjacent room, eliminate him, and pull the third lever.
- Jump over the wooden counter to reach the far side, then sneak through the ventilation opening above the next door.
- Assassinate the sleeping guard inside and pull the lever twice (once to move the cargo, again to open the next door).
- Clear the guards blocking the passage to the elevator, then pull the lever beside the elevator to drop it, breaking the cage open.
Head down carefully without triggering alarms, then walk up to the freed Quartz and absorb it.
The ventilation approach in step 4 is the cleanest way to avoid detection. If you try to take the door directly, the sleeping guard's patrol partner may spot you.
The Turquoise Diamond: Step-by-Step
This sub-quest sends you onto a merchant Zeppelin. Follow the quest marker there and use one of the ropes to board it. Enter through the small opening on the right side of the downward staircase, then slip past the brute and take the lower staircase.
In the room below, look left to spot a route behind you. Navigate through the guard-filled passage to a door, pick the lock with E (or your platform's interact button), and enter to find the Quartz in another cage. You'll need a key. Interact with the book on the bookshelf to get a clue about the captain who holds it.
Next, extinguish the chimney fire and climb up through it to exit. Make your way to the ship's far side by climbing the siderails, then grapple to the back ledge and wait by the open window to observe the captain and his two guards. Once the captain finishes his conversation and heads to the deck, grapple upward and hide behind the crates.
When the captain returns to your position, sneak behind him and pickpocket the keys. Return through the chimney, use the key to unlock the cage, and absorb the final Quartz shard for The Quartz' Call.
How to Collect All Quartz Shards at Turquoise Dawn (Whispers of Quartz)
For this second set of Turquoise Dawn shards, fast travel to the Infested Swamp from the Zeppelin's Map. Sync with the compass to reveal all three sub-quests.
The Sawmill Core: Step-by-Step
From the map location, use a rope to descend to ground level and crouchwalk along the left path toward the mill. Eliminate the two guards near the mill's entrance, then climb the ledges on the mill's left side to reach the back area. You'll learn you need to pull three levers in a heavily guarded space.
- Kill the sleeping enemy, climb to the upper section, and assassinate the guard through the left-side window. Enter from there and immediately hide behind the staircase.
- When the patrol path is clear, descend the stairs, pull the first lever, and duck into the underpass.
- Move through the underpass, wait for the armored guard to pass, exit, and pull the second lever. Return to the underpass quickly.
- Proceed through another underpass to the other side, wait for the patrolling guard, exit, and pull the third lever. Return immediately.
To leave the area, exit through the same window you entered. Climb to a window ledge nearby, kill the guard near it, and enter. In the room with the giant guard, hide under the table and mix poison into his food while he's on the far side. After he's down, execute the remaining guard in the back, then absorb the Quartz shard.
The Lost Shard: Step-by-Step
Navigate to the objective marker while avoiding insects and guards. Jump across the tree conks to reach the shard's platform, where a large insect guards it.
The most efficient kill method: throw a throwing bolt to weaken the insect, wait for the reset, grab the ledge above, then finish it with a knife strike. You can also fight it directly by dodging its attacks and striking repeatedly, but the bolt approach is faster and safer.
Absorb the Quartz shard once the insect is down. To exit the area, pick up the seed nearby and place it on the flower to open the gate.
The Ballista Charge: Step-by-Step
Proceed to the objective marker and grab the rope to reach the upper section. Your goal is to pull a lever that lowers the elevator, but the area is packed with enemies, including ballista operators on both sides.
Clear them in this order:
- Kill the guard on the left.
- Take out the patrolling guard.
- Eliminate the guard standing in front of the lever.
- Take out both ballista users before touching the lever.
- Pull the lever.
Use the rope to return to the lower section, move right, and enter the underpass. Move to the right corner, exit, and take out the standing enemy. Then kill the worker on the left, followed by the patrolling guard. When the armored enemy and a standing guard are grouped together, drop the chandelier at the right moment to eliminate them both at once. Absorb the Quartz shard to complete this sub-quest.
How to Collect All Quartz Shards at the Empire Wall (Whispers of Quartz)
For the Empire Wall shards, start by fast traveling to the Wailing Window tavern from the Zeppelin's Map. Use D-pad up + R3 (or equivalent) to sync the compass and reveal all three sub-quests.
The Smugglers' Good: Step-by-Step
From the tavern, head to the lower section and cross the wooden bridge toward the enemy base. Hide under the cart at the entrance and silently eliminate the patrolling guard (the other is asleep). Continue to the next guarded area and take out enemies one by one from behind, tracking their patrol routes carefully.
Grab the tall pillar to descend further, then head left and enter the building through a small gap on the right. Upstairs, pick up the journal to learn about a meeting at the shipyard. Follow the footsteps using Amber Vision outside, then enter the building on the left and hide under the table. Select the Spy prompt to eavesdrop on two smugglers.
When they finish talking, follow them outside using rooftops to stay hidden. Inside the next building, hide in the barrel and wait for one smuggler to leave. Take out the remaining one silently, then absorb the Quartz shard.
The Gangmark Fix: Step-by-Step
After The Smugglers' Good, you need to reach the upper Wall section. To unlock a fast travel point near the objective:
- Head upstairs and exit through the door.
- Cross to the opposite building's rooftop and locate the air balloon entrance.
- Find the lever downstairs and close the grid mechanism.
- Head upstairs to access the Map and fast travel to Helledryn's hideout.
From Helledryn's hideout, proceed via rooftops, take the right-hand path, avoid the guard, and enter the building. Climb to the top floor and exit through the hole on the right. Outside, a ballista has a direct line of sight on you. Take cover behind objects and use the roll mechanic to dash between covers as you advance toward the Gang's den. Enter from the left after the two guards finish their conversation.
Inside, hide under the table during the smugglers' chat, then move to the back and upstairs. Stay crouched and head left to reach the staircase. Climb the ledges and move left to trigger a cutscene showing a thief stealing the Quartz shard.
Drop to the balcony floor and maneuver to the bottom, using a falling box to clear guards during the final stretch. Proceed down the main street using carts as cover, then open the door to trigger the final cutscene and complete this quest.
The Stonebreaker's Fragment: Step-by-Step
Access the Map from the building's top floor and fast travel to Helledryn's hideout again. Drop to the rooftop on the right, move forward, and use the structures to cross to the opposite side. Enter the underpass and at the last intersection, turn left to overhear the guards' conversation, which reveals the locations of two elevators you need to activate.
First Elevator
Exit the underpass and climb through a nearby window. The first guard is asleep. Climb the wardrobe to his left, move across the room, and exit through the hole (make sure the patrolling guard isn't close). Enter the building ahead through a window, navigate outside using the shown path, and drop to the roof. Hang from the ledge in front of a guard, listen to the conversation, then kill him and move up.
Grab the pillar on the left to reach the roof, take the entrance there, and use Amber Vision to time the chandelier drop on the two guards inside. Peek through the door to discover the elevator's lever is missing. Examine the footsteps with Amber Vision to find the journal revealing the lever's location.
Exit through the window, descend to the bottom, and go through the hole near the stairs. Wait for the guard to turn, then sneak right through another hole. Use the rope to descend silently and take out the patrolling guard. Head left, pick up the lever from the counter, and return to the elevator. Either lockpick the door or enter through the hole above, fix the elevator with the new lever, and activate it.
Second Elevator
Navigate to the next objective, passing through two doors. Climb to the rooftop at the front, enter the building from above, and kill the stationary guard while the giant guard is on the far side. Silently open and close the door in the room, then pull the lever to activate the second elevator.
Absorb the Shard
Exit through the left-side window and jump to the rooftop on the left. Grab the ledge ahead when guards aren't watching, kill the patrolling guard first as he approaches, then eliminate the other one. Walk up to the Quartz shard and absorb it to complete The Stonebreaker's Fragment and wrap up all Empire Wall shards for the Whispers of Quartz mission.
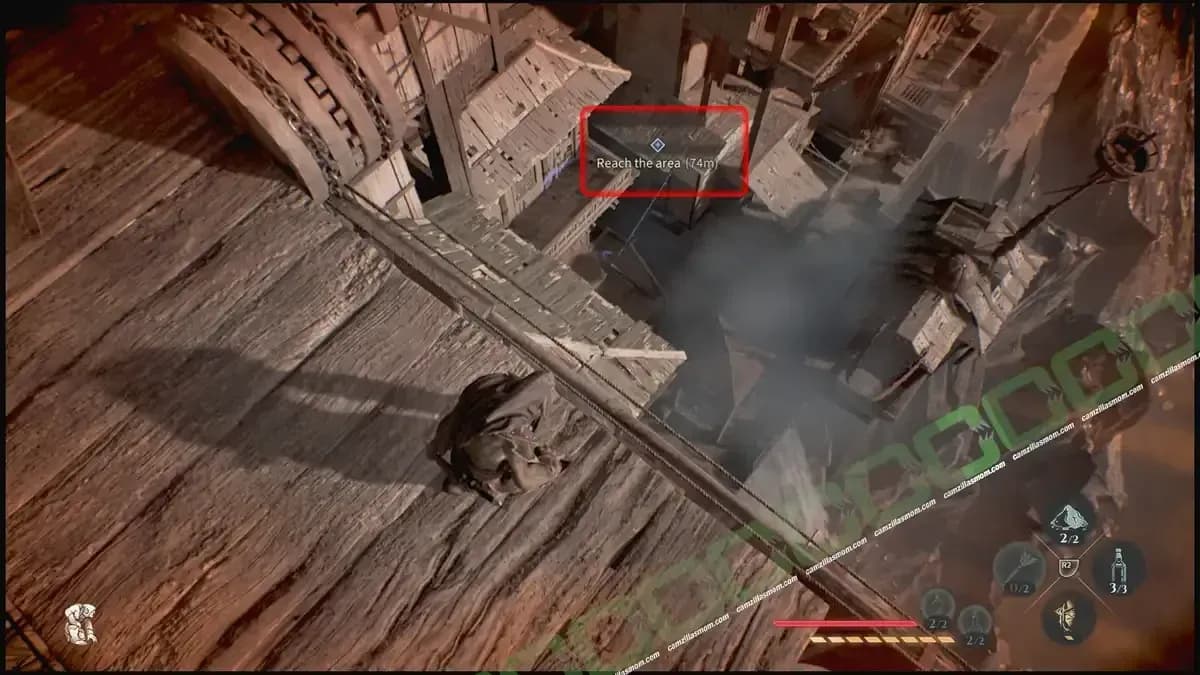
Empire Wall shard location
Returning to the Zeppelin
After collecting all shards in a region, proceed to the nearby fast travel balloon. You'll need to clear the guards first (use poison on any giant guards you encounter). Then close the drawbridge by pulling the lever on the floor below, access the Map, and fast travel back to the Zeppelin to continue the main story.
The sub-quests within each region (Turquoise Dawn and Empire Wall) can be completed in any order. However, you must finish the prerequisite main missions before the Quartz collection quests become available.