

Inventory space is one of the first things that starts hurting in Subnautica 2. You're juggling resources, tools, and scannable fragments while your backpack fills up after every dive. The fix is hiding inside Colonist Bunkers scattered across the ocean floor, each containing a Biobed that hands you permanent upgrades the moment you interact with it. There are 7 of these bunkers in total, and tracking them all down means more inventory slots, extra hotbar space, and a noticeably smoother playthrough.
Biobeds placed inside your own base function as respawn points. The Biobeds inside Colonist Bunkers are different — they give you permanent stat upgrades that carry through the rest of your save.
What do Biobed Adaptations actually give you?
Most Biobeds reward you with 3 additional inventory slots per interaction, stacking across every bunker you find. Two specific bunkers — the Salvage bunker and Nahema's Lab — give you a Dexterity Adaptation instead, which adds an extra quick-access slot to your tool hotbar. Tracking down all 7 means a significantly larger pack and more tools at your fingertips without any crafting required.
For a broader look at permanent character upgrades, the Subnautica 2 biomods and unlock guide covers every Biomod alongside the Bioscanner you'll need to access them.
Permanent inventory upgrade screen
All Biobed Adaptation Locations
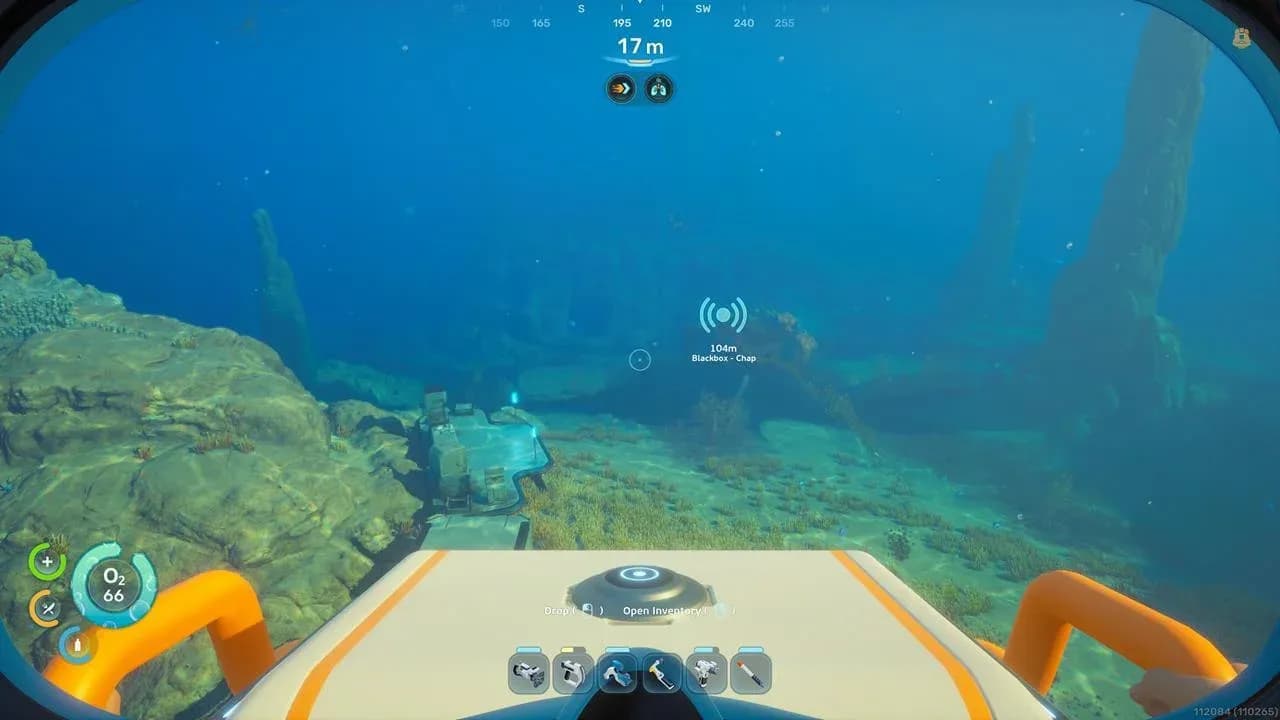
Chap's Blackbox (220 meters southeast)
This is the bunker most players stumble into naturally while following the main story. Head 220 meters southeast of your Lifepod and look for a cave entrance. Inside, the Biobed sits on the left side of the room. Interacting with it gives you 3 inventory slots. The room also has a bioreactor, repair tool, and floor locker worth scanning.
Quaker's Meetinghouse (250 meters southwest)
Swim 250 meters southwest and watch for a ruined wall section hanging off a cliff edge. Below that cliff is an "X" marked on the ocean floor, pointing to a hidden room entrance. Once inside, turn left to find the Biobed and collect 3 more inventory slots. A rebreather, power storage unit, and tadpole fragment are all scannable here, plus an advanced wiring kit and copper wire worth pocketing.
Anita's Garden (220 meters northeast, compass angle 60)
Align your compass to angle 60 before moving northeast. After 220 meters, turn back toward the Lifepod and look for a hole in the cliffside leading into a small cave. Swim left through the cave to reach the bunker. Head down the hallway, turn right, and the Biobed is waiting alongside blueprint scans for furniture items. Another 3 inventory slots added.
Salvage bunker (200 meters north-northeast, compass angle 15)
This one sits 200 meters north-northeast of the Lifepod. As you travel in that direction, you'll pass the Angel Comb associated with the Digestion Adaptation. Keep going until you spot a platform on the ocean floor with a supply crate, Wakemaker fragment, and wall rack nearby. The bunker entrance is a hole covered in blue-green coral. Drop down, follow the cave, and enter through a red hatch.
The Biobed here gives you a Dexterity Adaptation rather than inventory slots, adding an extra quick-access slot to your tool hotbar. You can also scan a Habitat Builder tool, Repair Tool, and several furniture pieces.
Nahema's Lab (380 meters southeast)
This bunker sits inside the volcanic biome, which means you need the Heat Tolerance Adaptation from the Spider Dome Angel Comb before you can survive the trip. Without it, the heat will drain your health before you get close. Once you have Heat Tolerance, swim 380 meters southeast until you're above a hole in the ground, then pan your camera northeast to spot a crevice in the nearby cave wall. Enter through the crevice to find the hatch leading into Nahema's Lab. The Biobed is directly to your left and rewards you with another Dexterity Adaptation.
Cicada Wreck (480 meters east)
Also in the volcanic biome, so Heat Tolerance is mandatory here too. Swim 480 meters east of the Lifepod and look for a large cargo wreck. The entrance is a small, hidden opening on the wreck's west side. The Biobed is in a room by itself inside and gives you 3 more inventory slots.
Both Nahema's Lab and the Cicada Wreck are in the volcanic biome. Attempting either without the Heat Tolerance Adaptation is a fast way to lose progress. Get that upgrade first.
Cicada Wreck cargo bunker
Sophie's Retreat (440 meters north)
The final Biobed is 440 meters north of the Lifepod. As you swim north, you'll pass the Old Habitat POI, which shows up on your compass. Don't enter it. Keep going another 60 meters north past that POI, then turn right. You'll find a cave surrounded by Pent plants. Follow the cave to a hatch at the end, which opens into Sophie's Retreat. The Biobed inside rewards you with 3 inventory slots, and there are furniture blueprints worth scanning throughout the room.
What order should you visit them in?
The first four bunkers (Chap's Blackbox, Quaker's Meetinghouse, Anita's Garden, and the Salvage bunker) are all accessible from the start. None require special adaptations, and they're all within 250 meters of your Lifepod. Hit these early and your inventory situation improves dramatically before you start pushing into tougher biomes.
Nahema's Lab and Cicada Wreck both require Heat Tolerance, so save those for after you've visited the Spider Dome. Sophie's Retreat at 440 meters north is a longer swim but has no biome restrictions, so you can slot that in whenever.
If expanding your carrying capacity is a priority, the dedicated Subnautica 2 inventory size guide covers every Biobed location alongside other methods for adding slots fast.
Scan everything in each bunker before leaving. Furniture blueprints, tool fragments, and scannable items found in these rooms speed up base building considerably.
For more on navigating the ocean and setting up efficient outposts near these bunkers, the Subnautica 2 strategy guides collection has you covered on everything from base placement to resource farming.