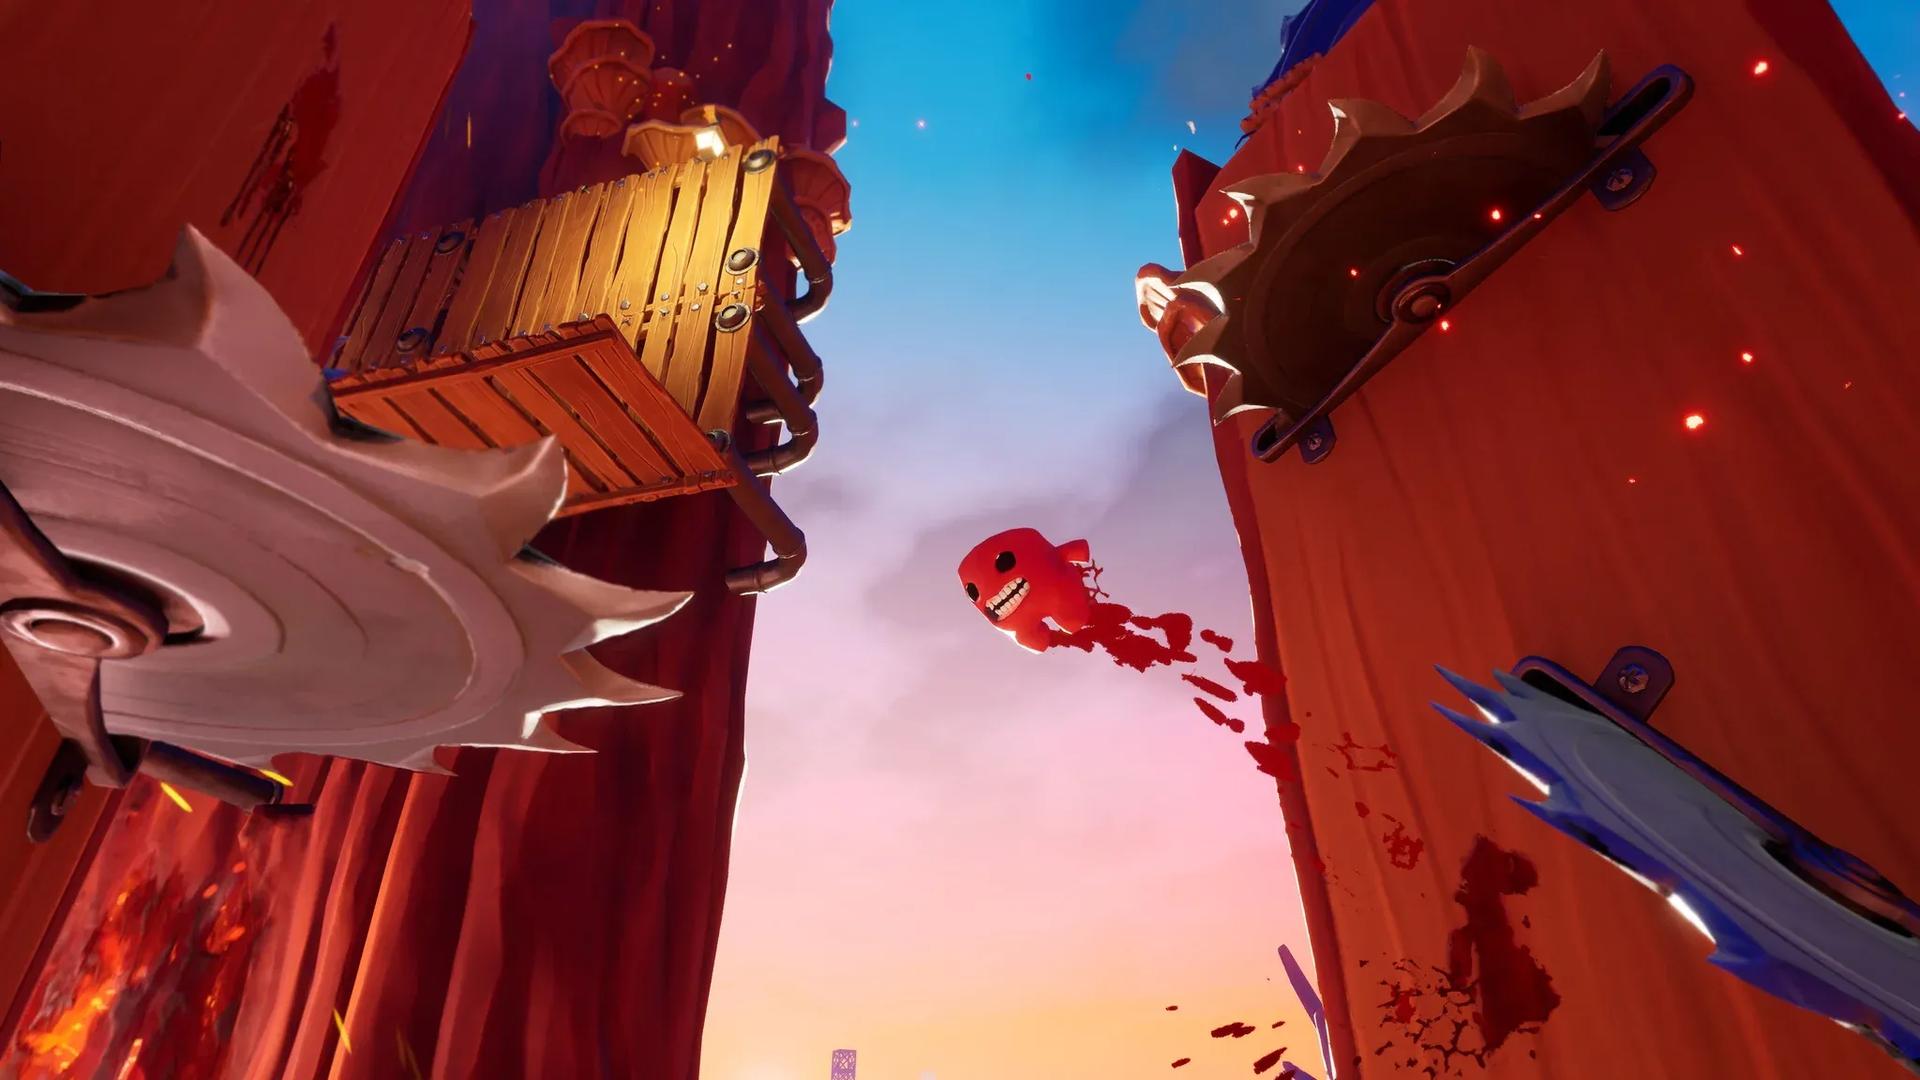

Bandages are the backbone of Super Meat Boy 3D's collectible system, and they're hiding in spots that will make you question your spatial awareness. There's exactly 1 bandage per level across every world, each one tucked off the main path and guarded by the game's signature wall of saws, spikes, and general hostility. Collect enough and you unlock secret characters with unique movement abilities. Miss them and you're leaving some of the game's best content on the table.
Bandages hide off the main path
What do bandages actually unlock?
Bandages unlock secret characters when you hit certain collection thresholds. These aren't cosmetic swaps either. Characters like Nate bring a double jump, Skeleton Boy floats between walls with extreme lightness, and Ed covers ground fast enough to make A+ clears significantly more realistic. The right character for a specific level can turn a 30-attempt nightmare into a clean first-try grab.
World 1 (The Forest) bandage locations
The Forest introduces the bandage system gently, then immediately stops being gentle around level four.
Levels 1-5
- Easy Start: Near the end of the stage, platforms branch left. The bandage sits on those left-side platforms, easy to grab if you don't autopilot toward the exit.
- Sawbot Struggle: Before jumping to the second platform, drop straight down. The bandage is waiting below.
- The Great Gap: Reach the middle platform where the log gets sawed apart, then jump right onto a separate platform holding the bandage.
- Cave Dash: One of the first genuinely tricky grabs. Reach the right wall with the leaf texture and keep wall-jumping upward. A hidden passage opens above. Watch the saws.
- Canyon Crush: Spot the first metal platform, then look down and right for a breakable wall. The bandage is behind it.
Levels 6-10
- Cliff Climb: At the very end, wall-run left instead of right. That's it.
- Squirrel Hole: Hit the second floor and check the right side. The bandage sits inside a saw trap that requires careful timing.
- Meat Forest: Near the start, jump to the platform ahead and look up. The bandage is on the higher level. Time the jump to clear the saws.
- Valley of the Flying Sawblades: Reach the massive log you'd normally climb, then go down instead. A saw trap guards the bandage at the bottom.
Suicide Siege: Stand on the middle platform near the first sawblade trap at the start, then jump left. It's hidden enough that most players walk past it several times.

Levels 11-15
- Spelunking: When Bandage Girl appears on the right near the exit, wall-run left instead of heading toward her. Thorns surround the bandage, so expect a few attempts.
- Thorn Trail: Same general idea. At the exit, wall-run right and off the visible edge to land on a hidden platform.
- Burning Valley: A hidden platform sits above and right of the metal wall at the start. Jump up to it immediately.
- Treetop Trials: Just before the final jump to Bandage Girl, detour left onto a platform near some saws.
- Rusty Outlook: Near the end, a wall leads up past a saw before the final stretch. Climb it to find the last Forest bandage.
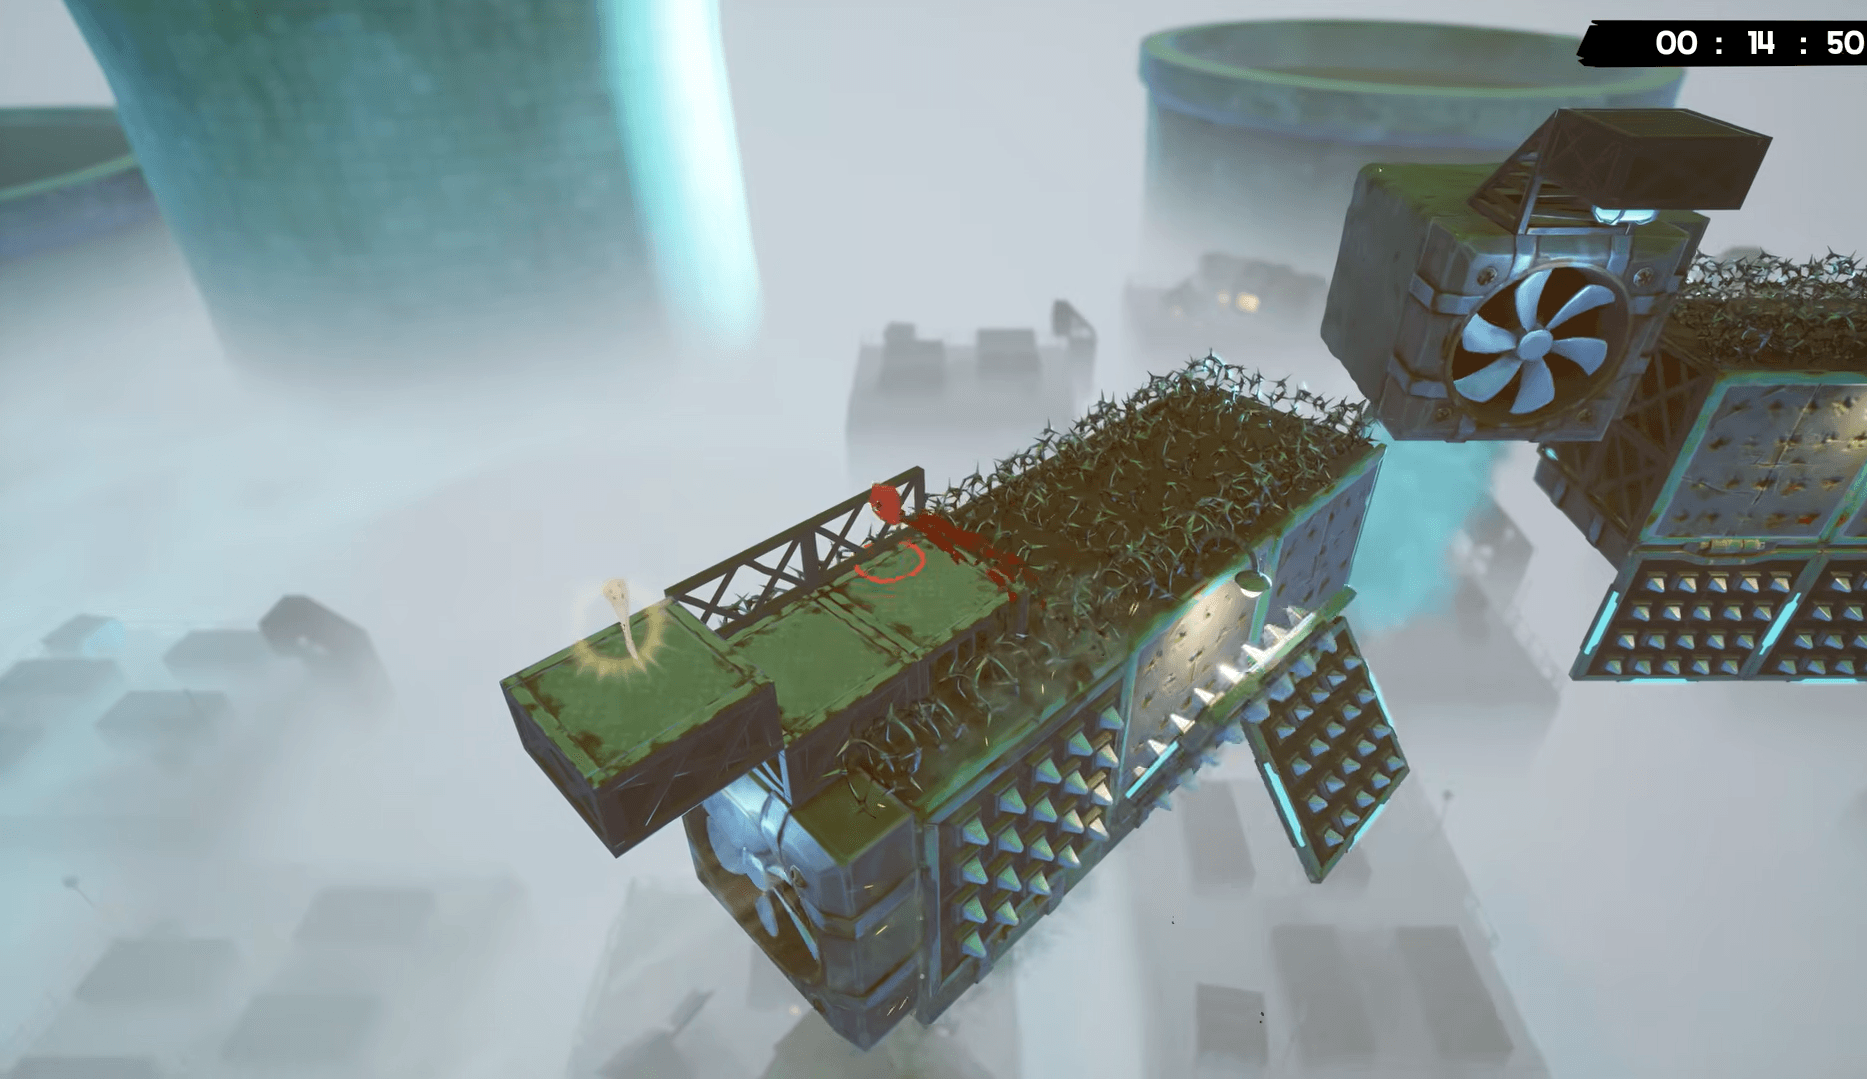
World 2 (The Wastes) bandage locations
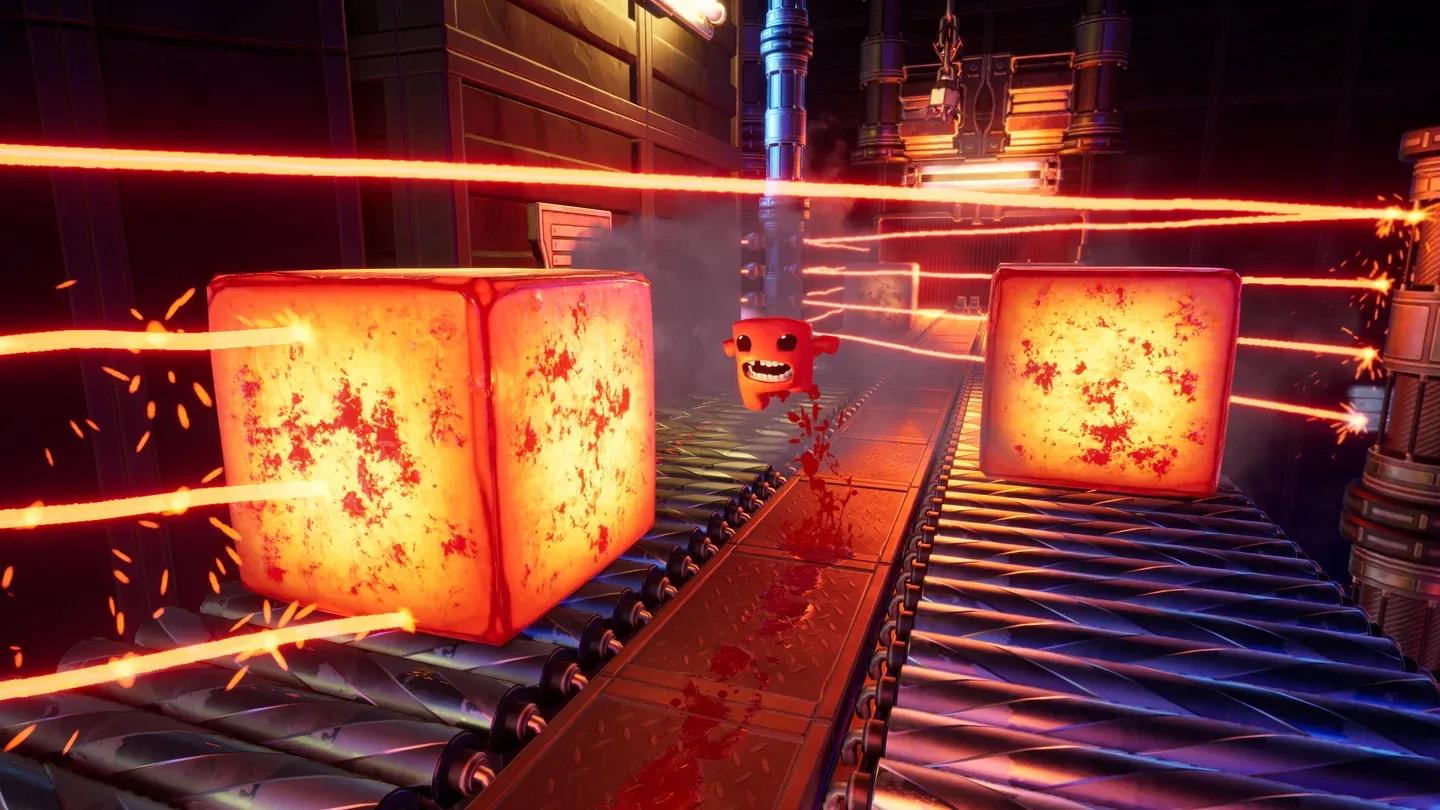
The Wastes introduces corroding cubes, disintegrating platforms, and green slime creatures, all of which exist specifically to make bandage collection harder.
- Toxic Trouble: Near the end after the rotating grinders, turn back left and wall-kick upward to reach the bandage high on the left.
- Corroding Cubes: Halfway through, spot the bandage on the right just under a grinder after a large gap jump.
- Poison Pitfall: After the huge early fall, clear the first corroding cube section and jump over the saw-blade wall to find the bandage on the other side.
- Disintegrate: Land on the disintegrating floor shortly after the second barrier and grab the bandage sitting between two saws before the floor drops.
- Trash Trouble: Land on disintegrating garbage between two grinders early on and wait. The floor falls away to reveal the bandage beneath.
- Upwind: On the home stretch using wind to climb, bounce off the left wall and look directly below your landing spot. The bandage sits inside a large metal frame.
- Slime Fan: At the third disintegrating platform around the halfway mark, drop to the metal platform below it. Bandage and grinders both waiting.
- Pipe Plunge: After the initial plunge and the spiked ball section, reach the end of the tunnel. The bandage is left of a wind surge.
- Terror Tower: Jump to the front face of the tower at the start rather than the left side. An entrance near the bottom holds the bandage. Skeleton Boy handles the initial glide here better than anyone else.
- Crushed Meat: After passing three meat-crushing lids, jump down and look left. Wall-climb back up after grabbing it.
- Olha's Nightmare: On the wall run before the meat crushers, most of the top is barbed wire but one raised platform breaks the pattern. Jump the wall and dodge the wire.
- Conveyor Panic: After the first purple barrier, go left and back rather than right. The bandage sits at the end of a platform with two grinders blocking the path.
- Patorra Tower 4: A green slime creature patrols the bandage's platform. Land in front of it and make a small jump around it rather than trying to walk through its wide hitbox.
- Trash Metal: Below the purple barrier near the start, two grinders have a gap between them. Drop through to the bandage, then wall-climb left to escape.
- Garbage Panorama: The bandage is mid-air during the final large gap jump. Dash immediately after grabbing it to stay on trajectory for the conveyor belt landing.
World 3 (The Forge) bandage locations
The Forge adds lasers, conveyor belts, and molten cubes to the mix.
- Cut Cut Cut: After the first conveyor belt and wall launch, land on a wooden block being sawed. The bandage is on the far side of the blade.
- Chop Chop Chop: Reach the top of the vertical wall, look up-right, and jump to the bandage floating in front of the blue screen.
- Burn Burn Burn: The bandage hangs below the finish platform. Grab it, then kick off the wall and dash back to the tower to climb out. Skeleton Boy can skip multiple wall sections here.
- Stamina Melt: A large wall midway through has vertical lasers cycling on and off. The bandage is high on that wall. Time the laser gaps carefully.
- Hot Blocks: After the first vertical conveyor belt, don't immediately move right. Look left for the bandage. Use a row of cubes on the normal belt to pass the lasers, then wall-jump over them on the return.
- Dilan's Nightmare: Use a passing molten cube as cover to move left through a row of lasers. Kick off the blue screen ahead to reach the bandage, then jump back over the lasers.
- Security Showdown: Underneath the first jump, before the red button. Easy once you know it's there.
- Questionable Working Conditions: After climbing the laser wall, stand still on the right platform and look bottom-right. Grinder at the base of that wall, so don't fall.
- Liquid Metal: From the finish platform, jump across to the long metal platform and look far right. Wait for lava to pause, make the large jump to the grey wall, grab the bandage, and get back before lava rises. Ed and Skeleton Boy both handle this jump well.
- Pain Production: When the music shifts to signal a nearby secret level, the bandage appears in the background in front of a wall to the right. It's on the correct route, so it's one of the easier Forge grabs.
- Cool Down, Man: After the first saw, wall-jump from the left to reach a raised platform on the right. The bandage is slightly higher and right of that platform, initially hidden behind a molten cube that lowers as you approach.
- Test Chamber: Near the end, drop onto the green conveyor belt and jump toward the right wall. Flying saw blades patrol that wall.
- Spike Hall: The bandage is below the finish platform on a jutting ledge. Getting down is easy. Getting back up requires Nate's double jump or Ed's big leap.
- Agony Ascend: The bandage sits on a left wall between long grinders above and below. Drop to it rather than trying to approach from the side, then jump back to your previous position or drop a level.
- Who Built This?: Early on at the moving laser section, the bandage is far below. Drop to it and climb back up.
World 4 (The Core) bandage locations
The Core trades saws for grubs, ghost worms, and lava. Wormhole Mayhem holds the claim as arguably the hardest single bandage in the game, and Wormageddon isn't far behind.
- Vermis Veins: In a small alcove near the grub section where enemies move left-to-right and upward. Grinders below, large grubs above.
- Coreborn Cavern: After the air jumps off blue walls, aim for the platform beneath the obvious landing spot. The bandage is there and the exit isn't far.
- Ruinous Tunnel: Right after the first vertical climb, visible by a yellow stained-glass window on the right. Moving spike balls and grinders guard it. Head back left to continue afterward.
- Runeforge Abyss: Below the two-grinder fly section. Spike balls move vertically above the bandage. Nate's double jump makes this significantly less painful.
- Sinew Spans: Near the end at the launcher section, jump backwards and right from the moving platforms to find the bandage high against the right wall.
- Wormscalation: Two sideways-moving platforms with grubs going back and forth. The bandage is on the right wall of that section.
- Magma Wastes: Visible almost immediately. The first obstacle is flipping blocks. The bandage is on the other side of a column to the right of that large platform.
- Frogs: Instead of climbing the grinder tower near the end, look left for a tower with a yellow stained-glass window. Smash through to find the bandage inside.
- Lava Torment: Smash the yellow stained-glass window, then find the alcove on the left while dodging rolling spikes. Lava rises, so move fast. Ed can still hit A+ here with a clean run.
- Glass Shards: After smashing through glass on the first jump, turn back left, leap over the gap and a grinder, and enter the small tunnel. You can also fly directly into it from the initial fall.
- Donut of Destruction: Before smashing the yellow stained-glass to reach the exit, grab the bandage from the blue platform on the right. More pink donuts to dodge for the privilege.
- Burn Voyage: After the last portal section, a black launch pad sits to the right of the grinder platform. Jump on it, reach the bandage above, and use the small wall to bounce back.
- Snakes on a Portal: On the second vertical wall climb, the route goes left through a portal. But over the wall and right is a separate section with the bandage. Nate makes the return jump manageable.
- Wormhole Mayhem: The bandage is to the left of a vertical tower you'd normally climb straight up. Claim it before scaling the tower, with ghost worms constantly flying at you. Skeleton Boy's speed and lightness make him the go-to pick.
- Wormageddon: High above two grinders after the dash-across section at the top of the tower. Ghost worms spawn constantly. Hide under the right grinder first since the worm spawning from that side always crashes when you're sheltering there. Skeleton Boy or Ed for the escape.
General tips for bandage hunting
A few patterns show up constantly across all four worlds worth keeping in mind before you start:
- Yellow stained-glass windows in The Core almost always hide something. When you see one, smash it.
- Off-camera jumps are the most common bandage placement trick. If a wall or platform extends past the visible area, jump toward it.
- Hazard clusters often mark bandage spots. A suspicious grouping of saws or grinders with no obvious reason to be there usually means a bandage is nearby.
- Separate your runs. Chasing a bandage and an A+ time simultaneously almost always costs you both. Grab the bandage first, then come back for the time.
- Replay mode is a legitimate scouting tool. Clear the level once normally, watch the replay to scan the geometry, then go back in knowing exactly where to look.
For more Super Meat Boy 3D coverage and guides on other platformers, browse the latest gaming guides at GAMES.GG.