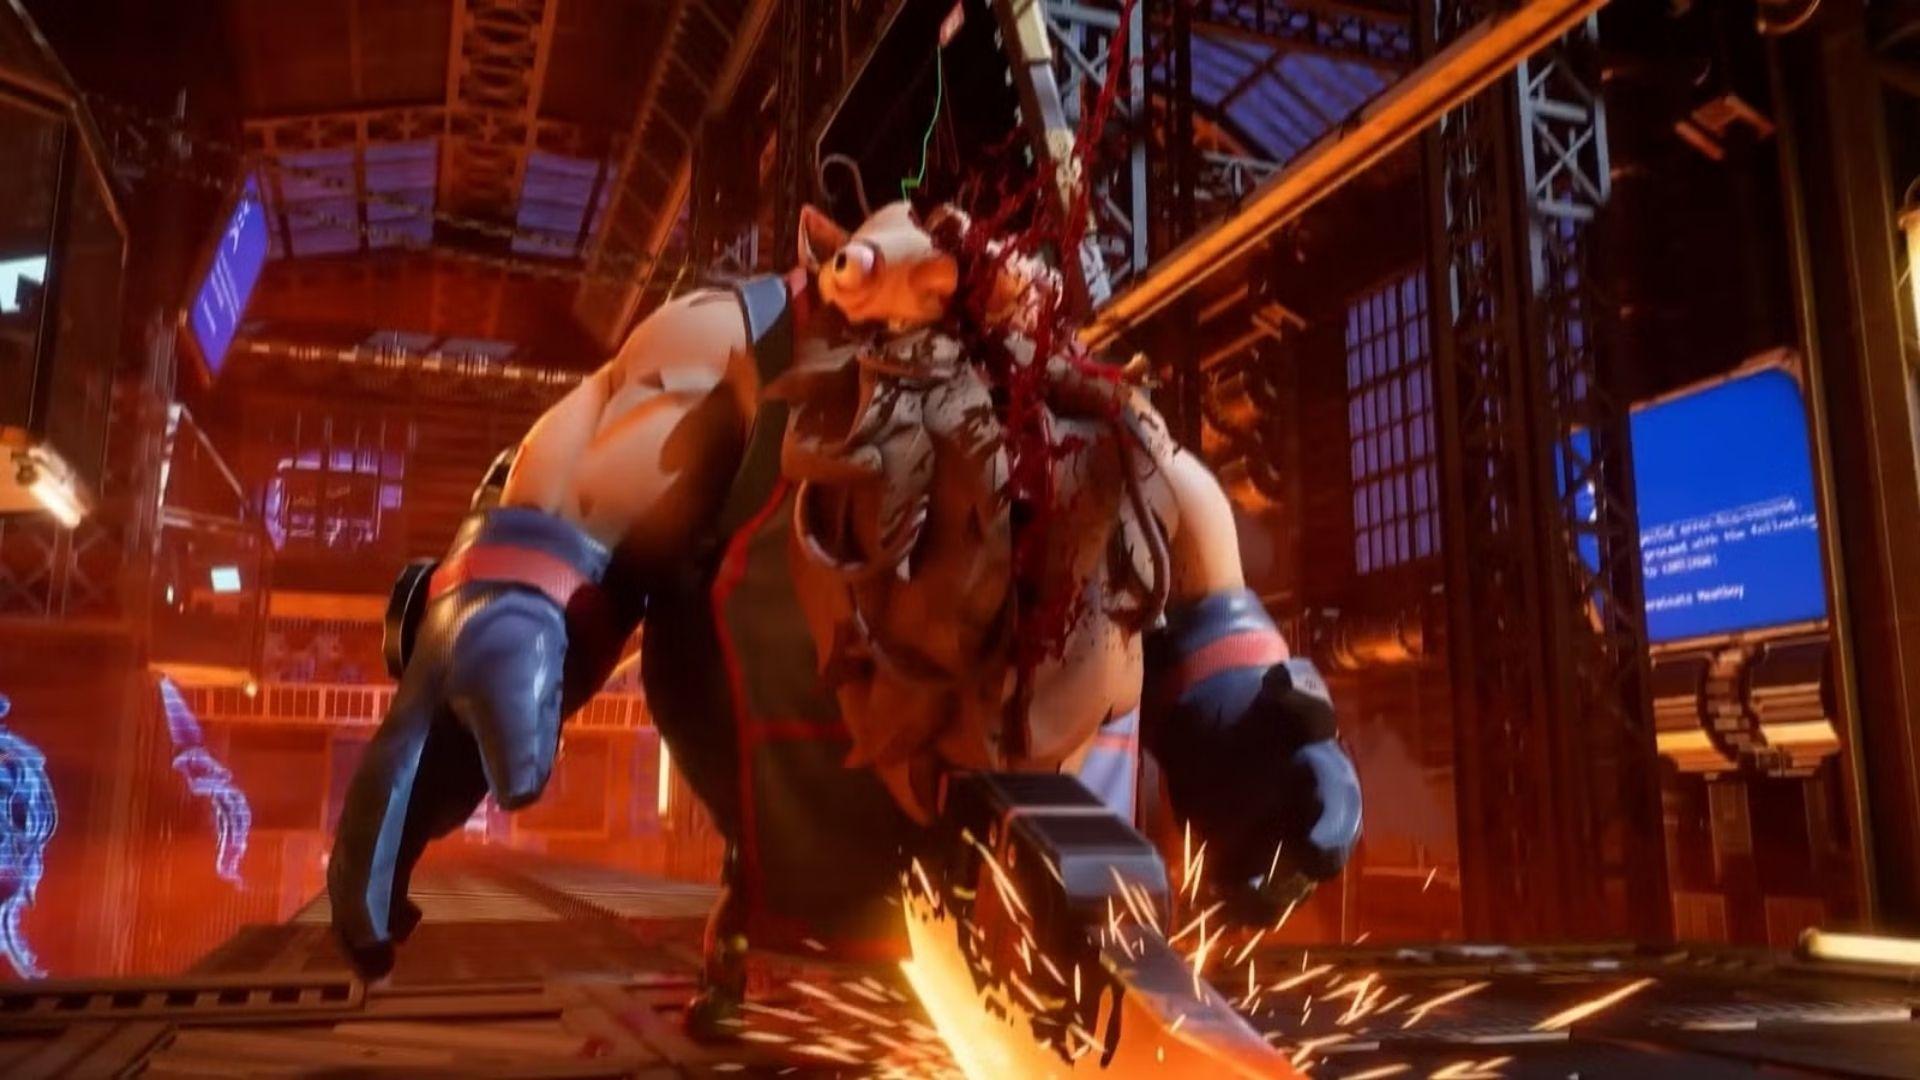

The Forge Master is the third boss in Super Meat Boy 3D, and by a significant margin the hardest you've faced at this point. After clearing Sawhalanthropus in The Forest and Mr. Filthy in The Wastes, you might think you have a handle on how Team Meat designs these encounters. You don't. The Forge Master is faster, more aggressive, and gives you almost no breathing room from start to finish.
What kind of boss fight is the Forge Master?
Like the first boss in Super Meat Boy 3D, this is a chase sequence rather than a traditional fight. There's no combat in the game at all, so your only goal is to stay ahead and survive the attack patterns. The difference here is that the Forge Master closes distance far more aggressively than anything before it. Stand still for even a second and it's over.
The entire fight is about route memorization and reading attack telegraphs. Once you know what each warning signal means and where to be when it fires, the encounter becomes manageable. Before that point, it's chaos.
How to beat the Forge Master
Phase 1: left-to-right side scroll
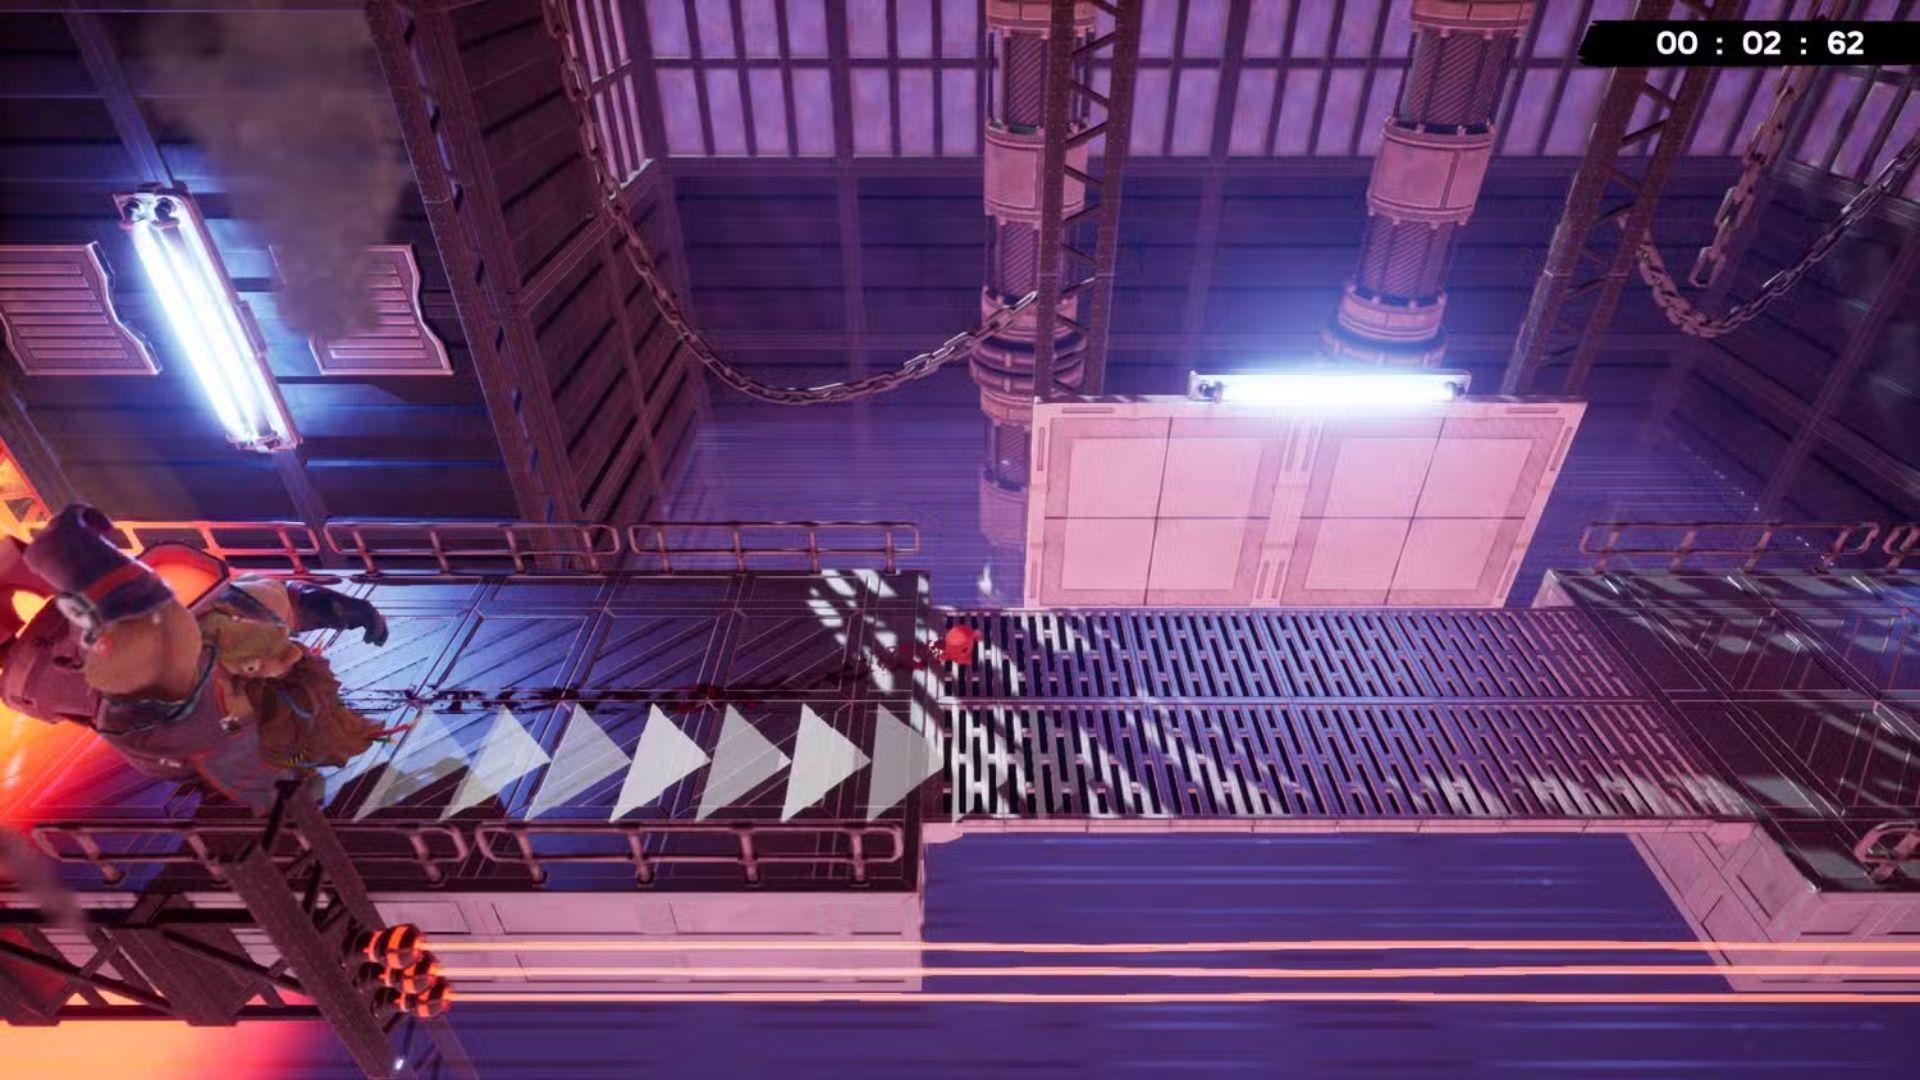
The fight opens with a standard side-scrolling section running left to right. This is where the Forge Master introduces its two core sword attacks, and learning to read them immediately is everything.
Single arrow on the ground means a vertical slice is coming. Get to the other side of the arrow as fast as possible.
Double arrows on both tracks means a horizontal slice. You cannot run through this one. Jump the moment you see the double arrows appear, because the timing window is extremely tight. Hesitate and you're dead.
Scattered throughout this section are breakable walls that require a jump dash to smash through. Don't slow down looking for them. If there's a wall in your path, dash through it immediately and keep moving.
Super Meat Boy 3D Guide: How to Beat the Forge Master
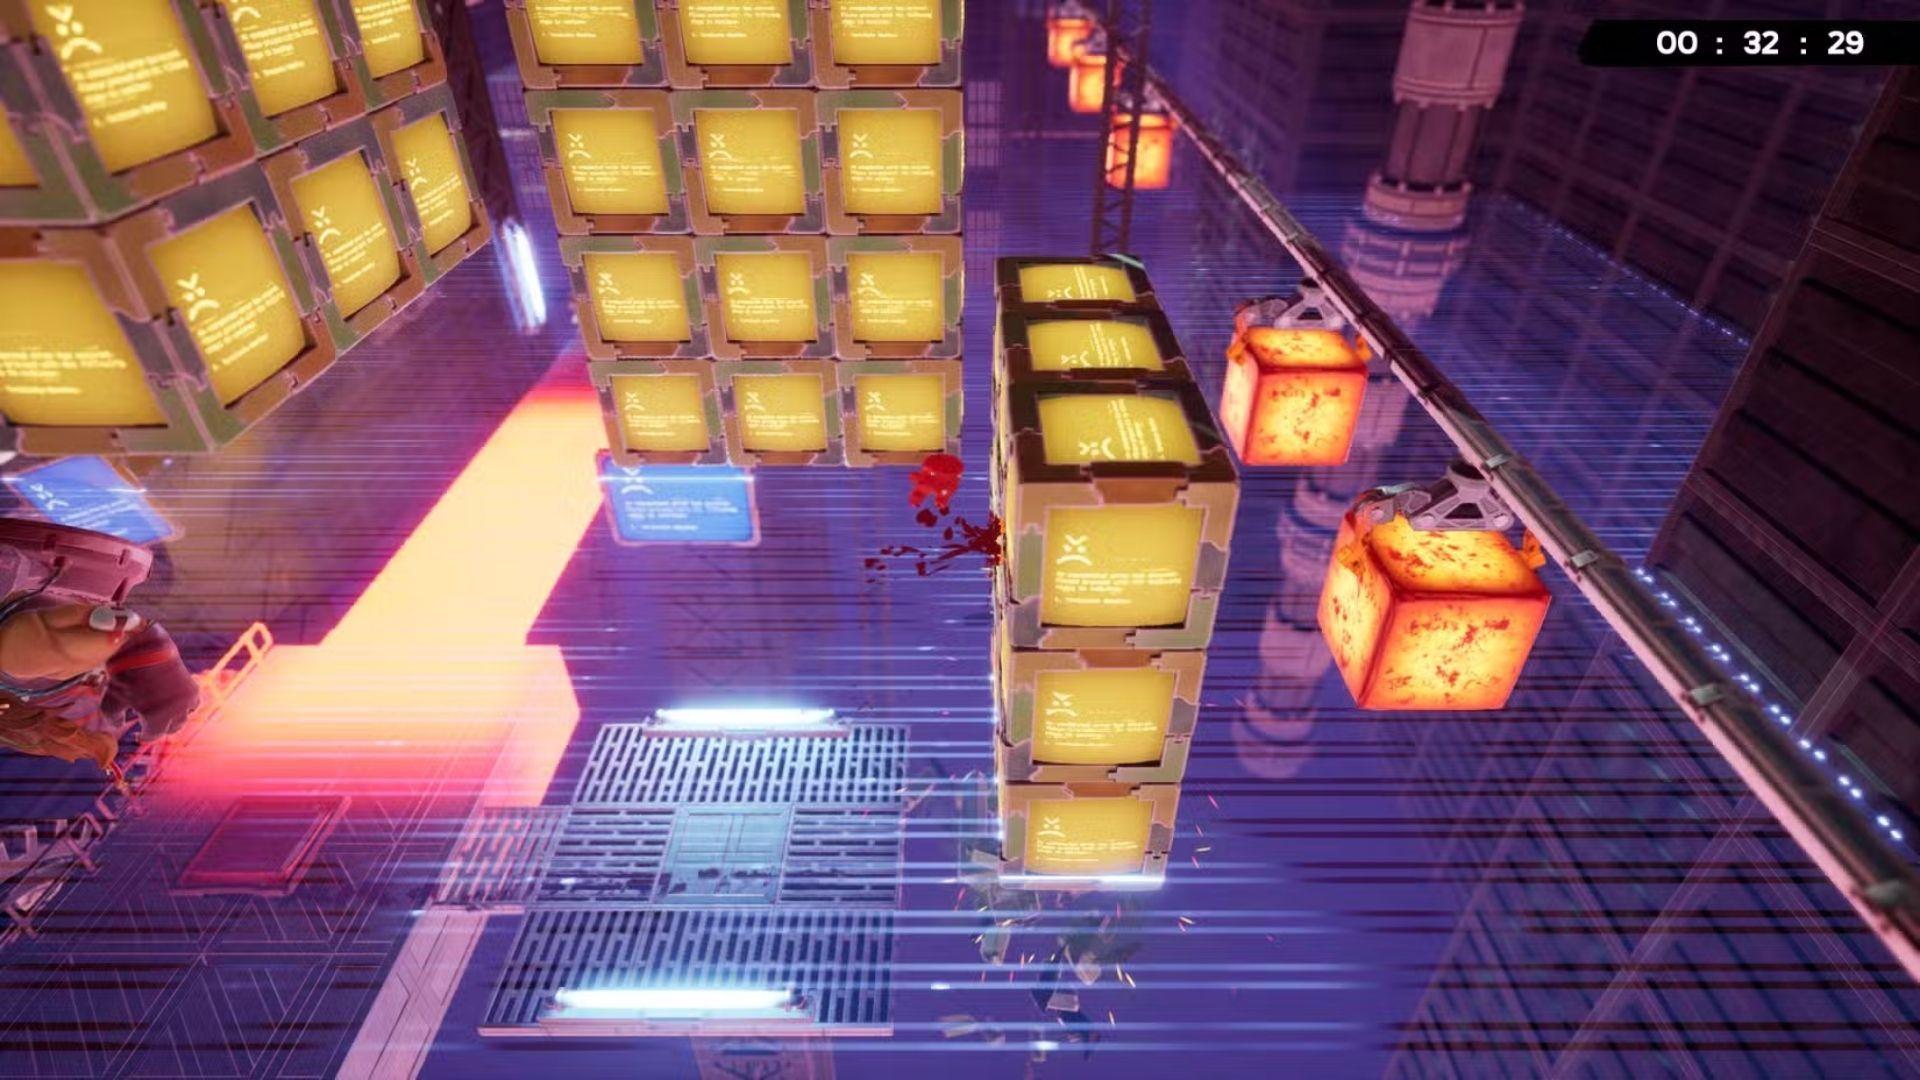
The other hazard in Phase 1 is molten lava balls that launch from off-screen and land on marked spots on the ground. The landing zones always alternate sides, so zigzag between them rather than trying to predict each one individually. Once you recognize the alternating pattern, these become readable.
At the end of this section you'll hit a giant red button. Step on it, then immediately wall jump up a series of exploding TV screens. Move fast here. The screens detonate quickly.
Phase 2: top-to-bottom vertical scroll
After the button and the TV wall jump, the camera axis flips. Now you're running downward while the Forge Master chases from the top of the screen.
The sword slices carry over from Phase 1, so keep reading the same arrow telegraphs and dodging accordingly. The added wrinkle here is two giant molten orbs that the Forge Master fires at you. These travel quickly and you need to jump over them just before impact. The key word is just before: jumping too early leaves you in the air when the orb arrives.
Another red button appears at the bottom of this section, followed by another exploding TV wall jump. Same drill as Phase 1: hit the button, wall jump fast, don't stop.
Super Meat Boy 3D Guide: How to Beat the Forge Master
Phase 3: bottom-to-top vertical scroll
The final phase flips the axis one more time. Now you're moving upward with the Forge Master at the top of the screen bearing down on you.
This section is shorter than the previous two, but panic kills more players here than anywhere else in the fight. The Forge Master throws a few final sword slices at you. Read the arrows, dodge them the same way you have been, and keep climbing.
Survive the last wave of attacks and the fight ends.
Why does the Forge Master feel so hard?
The difficulty spike here is real. The previous two bosses give you more reaction time and clearer spacing. The Forge Master compresses everything. The sword slices come faster, the lava hazards overlap with the sword patterns, and the axis changes between phases force you to reorient quickly.
The fight is fundamentally about routing and safe zones rather than reflexes alone. That framing is correct. After running this encounter multiple times, the deaths that sting are almost never random. They happen when you forget a pattern or hesitate on a dodge you already know.
Quick tips before your next run
- Play on controller. The wall jump inputs in particular are far more consistent on a gamepad than keyboard.
- Memorize which phase uses which hazards before focusing on execution. Knowing what's coming eliminates surprise deaths.
- The red buttons are checkpoints of a sort. Treat reaching each one as a mini-goal to reduce mental load.
- When the axis changes between phases, reorient your mental model immediately. The dodge directions stay the same relative to your character, but new players sometimes get confused by the camera flip.
For more boss fight walkthroughs and platformer guides, browse the latest guides on GAMES.GG to keep your run going.