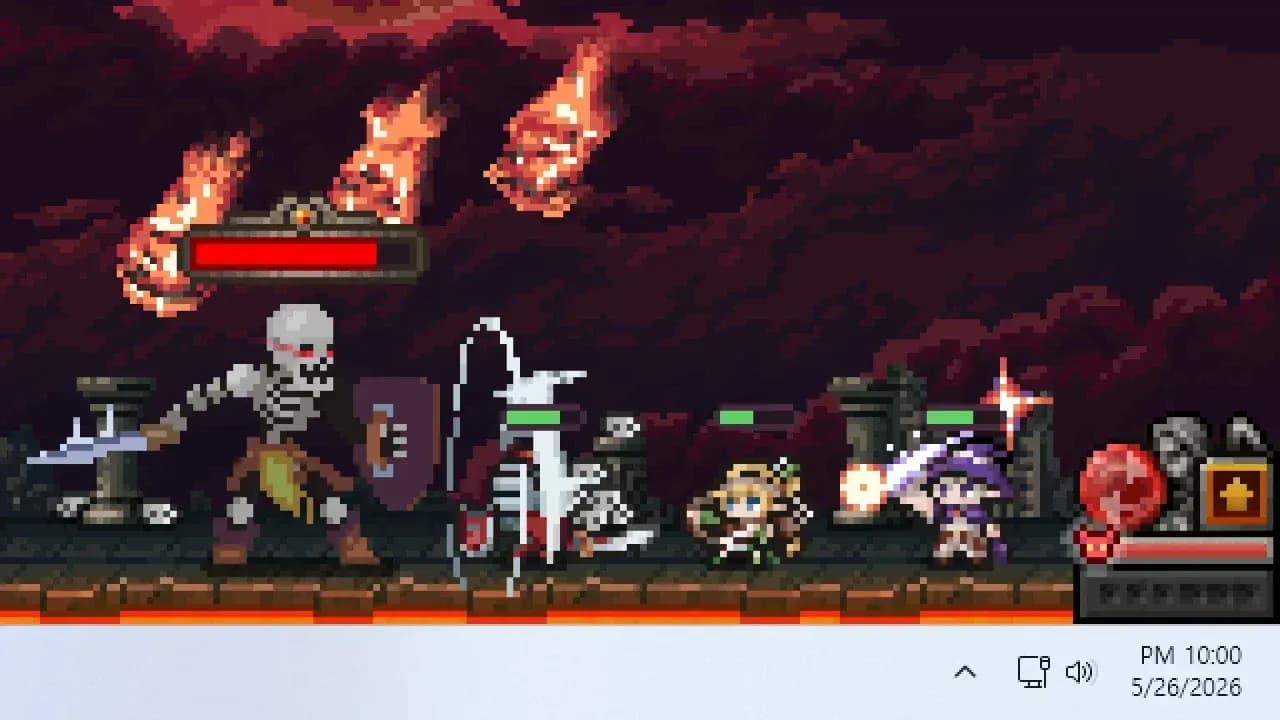

TBH: Task Bar Hero packs a surprising amount of depth into its taskbar-sized window. Between the Hero-dric Cube's six distinct features, a branching Rune Tree that can cost tens of millions of gold at the top end, pets that work whether deployed or not, and a live Steam Market integration, there is a lot to absorb without much in-game explanation. This guide covers every major system so you can stop guessing and start progressing.
What should you prioritize first in TBH: Task Bar Hero?
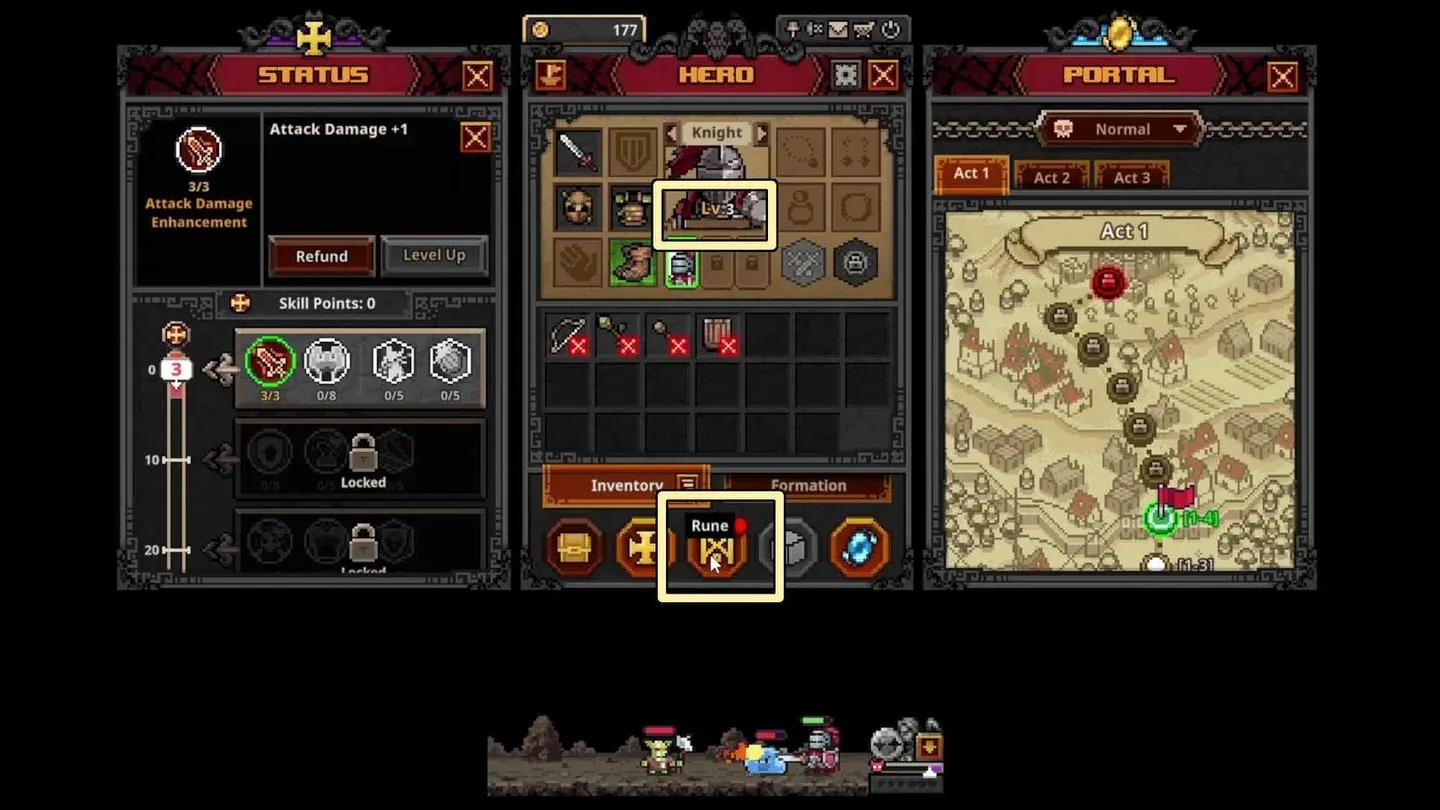
The single most impactful thing you can do early is unlock your full formation. Your party starts with fewer than the maximum three slots, and the two Runes that open them sit directly south of your starting node in the Rune Tree. The second slot costs a manageable amount of gold, but the third slot runs 150,000 gold, which feels steep at the start. Push toward it anyway. A full three-hero party clears stages faster, survives longer, and accelerates every other system in the game.
Unlock formation slots before spending gold anywhere else in the Rune Tree. The compounding benefit of a third hero outweighs nearly every other early upgrade.
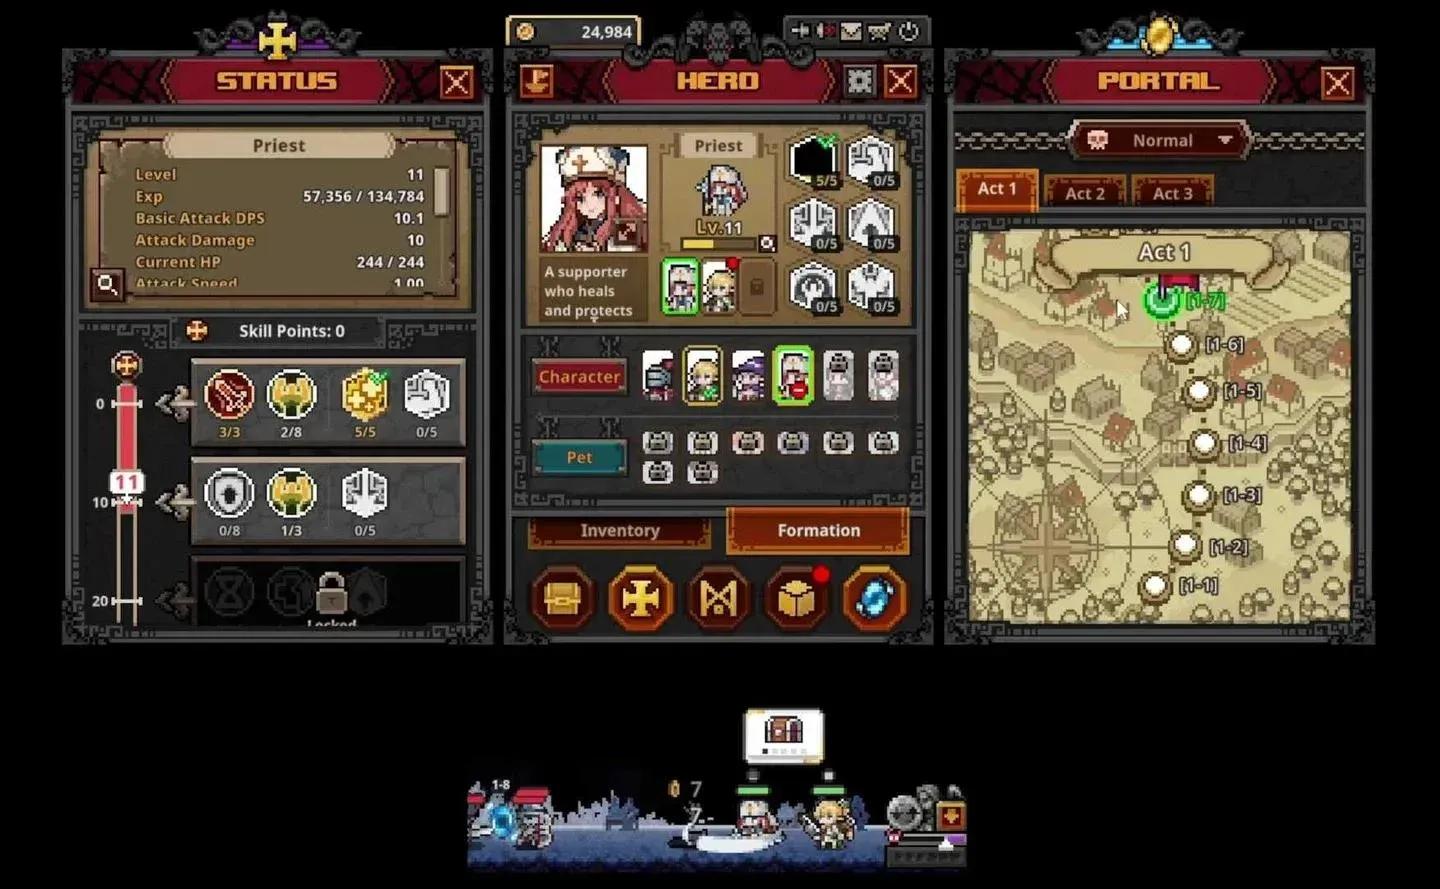
For your starting class, Knight and Ranger are the two most recommended picks. Knight fills the tank role cleanly, while Ranger's high attack speed makes her a strong offensive choice from the jump. The Priest is a free DLC addition and is widely considered essential for any formation, so add her to your library immediately if you haven't already.
Once your formation is full, check the Formation tab to arrange hero positions. Changing a hero's order using the arrow buttons next to their portrait does not trigger the 60-second deploy cooldown, so reordering is free and instant. Switching a hero out entirely does carry that cooldown, which matters if you're mid-run.
How does the Hero-dric Cube work?
The Cube is the central itemization hub and the source of most new-player confusion. It has six features, each serving a distinct purpose.
Synthesis
Synthesis takes 9 items of the same rarity and produces a random item of higher rarity. The resulting item's level is determined entirely by the level range set in the dropdown on the top right of the Cube window, not by the level of the items you put in. You can feed in gear up to 5 levels below the range minimum and still get a result within that range. The rarity jump is not always exactly one tier up; with luck it can skip ahead.
Skip Synthesis early on. Gold is too valuable in the beginning for the Rune Tree, and item drops are not yet excessive enough to justify burning them. Once you're deeper into the game and gold pressure eases, Synthesis becomes a reasonable way to chase higher-rarity gear.
Alchemy
Alchemy converts unwanted gear and materials directly into gold. Use the auto-fill button to populate it quickly, but check the contents before confirming. There is no rarity filter, so it will grab anything in your inventory including items you want to keep. Lock items you care about using Alt + Left Click before running auto-fill. Hovering over any item in the Cube shows its gold conversion value in the bottom left corner.
Enabling the "include stash items" option during Alchemy will pull from every stash tab. Only use it if you've locked down everything worth keeping first.
Crafting
Crafting generates a random item within your chosen level range using materials. The rarity and class of the output are random, but the level range is controlled. Crafting is also the primary way to obtain accessories, since they do not appear to drop from regular chests in Acts 1 through 3 on Normal difficulty. Craft whenever you have the materials; there's no reason to hoard them.
Decoration, Engraving, and Inscription
These three features slot enhancement materials into gear pieces. Decoration slots open at blue rarity. Engraving slots appear on Immortal-rarity items. Inscription slots are exclusive to Arcana-rarity gear. Each slot type uses different materials with different trait pools, so check what traits a material can roll before slotting it into a class that can't benefit from them.
If you slot the wrong material and want to redo it, use the Removal feature. Note two things: the gear must be unequipped before removal, and the removed material is destroyed rather than returned to your inventory.
Offering
Offering lets you spend commemorative coins for random items. It functions similarly to a loot box system and comes in multiple rarity tiers. Legendary Offering items have been found as boss drops, specifically from the Act 2-10 boss.
Cube Alchemy converts items to gold
How does the Rune Tree work, and where should you spend?
The Rune Tree is a sprawling upgrade web organized into directional zones. After securing your formation slots to the south, here's what each zone does:
The auto-open chest feature in the Far North zone runs on cooldowns: 300 seconds for common chests and 600 seconds for blue and stage boss chests. The adjacent cooldown-reduction nodes cost a significant amount and only trim those timers by 9 and 15 seconds respectively, making them low priority until you're flush with gold.
The second active skill slot sits to the right of the third formation slot node and costs 50,000 gold. It's useful but not urgent early on, since skill points are limited at low levels and you may prefer to hold off until you can equip higher-tier active skills rather than two Tier 1 options.
The far end of every branch gets expensive fast. End-zone nodes range from 1 to 3 million gold, with the final stash tab sitting at 50 million. Treat those as late-game goals.
You can view a full summary of all active Rune bonuses by clicking the small grey list icon in the top right corner of the Rune Tree screen.
For a detailed breakdown of Rune costs and unlock priorities, the hero slots guide covers the exact spending path step by step.
Rune Tree upgrade zones
Where do you farm pets, and are they worth it?
Pets are passive bonuses that apply at all times regardless of whether the pet is deployed on the Formation screen. Equipping a pet is cosmetic only; the effect is always on. That makes unlocking pets early a genuine priority since you get the benefit for free.
Each pet unlocks by defeating a set number of specific monsters. Here's where to find them:
- Bat: Act 1-8
- Giant Fly: Act 2-4 and 2-5
- Fire Spirit: Act 2-8 and 2-9
- Blue Golem: Act 3-6
- Ghost: Act 3-4 and 3-5
Spawn counts vary by difficulty tier. If Normal feels too slow for stacking kills, consider returning to these stages on Nightmare or higher once your party is strong enough to clear them quickly. Alternatively, push progression first and revisit pet farming later with a stronger team, potentially subbing in a lower-level hero to power-level them at the same time.
For a full ranking of which pets give the best returns on Gold, EXP, and chest drop bonuses, check the pets tier list.
How does farming efficiency work?
Clearing the highest available stage is not always the most efficient farming approach. Faster clear times on slightly lower stages can produce better loot per hour than grinding a stage where your party barely survives. Test a few stages around your current ceiling and compare chest frequency.
For raw speed, an offensive trio like Priest + Ranger + Sorcerer clears faster than a Knight-anchored setup because it trades survivability for AoE damage output. If your Priest alone can sustain the party through a given stage, dropping the Knight in favor of a third damage dealer is worth testing.
Use the blue portal icon in the bottom right of your main TBH window to fast-travel to any previously completed stage. Hovering over each stage in the portal shows the region level, which helps you gauge where you're farming relative to your party's current level.
Hover over stages in the Portal window to check their region level. This tells you whether you're farming in an optimal experience range for lower-level heroes you're trying to catch up.
Portal window for stage fast travel
How do you use the Steam Trade Ship and Market?
Items of Immortal rarity and above are generally the ones worth listing on the Steam Market. Legendary items may fetch a few cents, but it's worth checking current listings before deciding. The process works like this:
- Drag items from your in-game inventory to the SteamTradeShip window (accessible via the ship icon at the top left of the main TBH window).
- Open your Steam Inventory (either manually or via the inventory button in the Trade Ship window).
- Find the item under the TBH tab, click Sell, set a price, and confirm through Steam Guard.
Once listed, the item disappears from your in-game inventory until delisted. To retrieve a delisted item or claim a purchased one, go to your in-game mailbox (the mail icon in the top right of the main TBH window). The mailbox refreshes on a 10-second cooldown each time you open it.
A few things to keep in mind before listing:
- Gear must have all decoration, engraving, and inscription materials removed before it can be loaded onto the Trade Ship. The claw icon in the ship window links directly to the Cube's Removal feature.
- Bought items cannot be immediately relisted due to Steam's own resale rules. There is a 7-day hold period.
- Items from accounts that were later banned may still appear in listings. Proceed carefully with unusually cheap high-rarity items.
For the full breakdown on farming gear to sell and maximizing Steam Wallet income, the earn Steam money guide goes deep on the entire process.
Quick tips and settings you might have missed
- The auto-retry on stage failure toggle sits in the bottom right corner next to the menu button. Blue means it retries on failure. Grey means it drops you to the previous stage automatically, and keeps dropping until it finds a stage your formation can clear.
- Red soulstones are worth holding onto until you've cleared Act 1-10. They start dropping more frequently from any chest in Act 2 and above, and higher-level gear quickly alchemizes for more gold than a soulstone anyway.
- Not every equipped skill is an activation skill. The Ranger's Rapid Fire triggers off her attacks, and the Priest's blessings are always-active aura buffs. Check each skill's behavior before committing points.
- If your log window disappears, go to Settings and enable Pin Log Window to restore it.
- Chest drop rates start between 16 and 8% in early acts, drop to around 3% by Act 1-8, and continue declining from there. Rune upgrades to chest drop chance help, but the baseline gets low.
For everything else, the full TBH: Task Bar Hero strategy guides collection covers class tier lists, best team compositions, and more to keep your progression moving.