

The loss-streak trait that pays you back harder than any other in Set 17
Anima is TFT Set 17's economy cash-out trait, and it plays nothing like a standard carry or tank synergy. The whole point is to lose fights deliberately, stack Tech, and then cash out for Anima Weapons powerful enough to win the late game from behind. Get it right and you're fielding a board that other players simply cannot match. Get it wrong and you bleed out before the weapons ever arrive. This guide covers every Anima champion, the Tech math, which cash-out thresholds are worth targeting, and how to position your board to stay alive while losing.

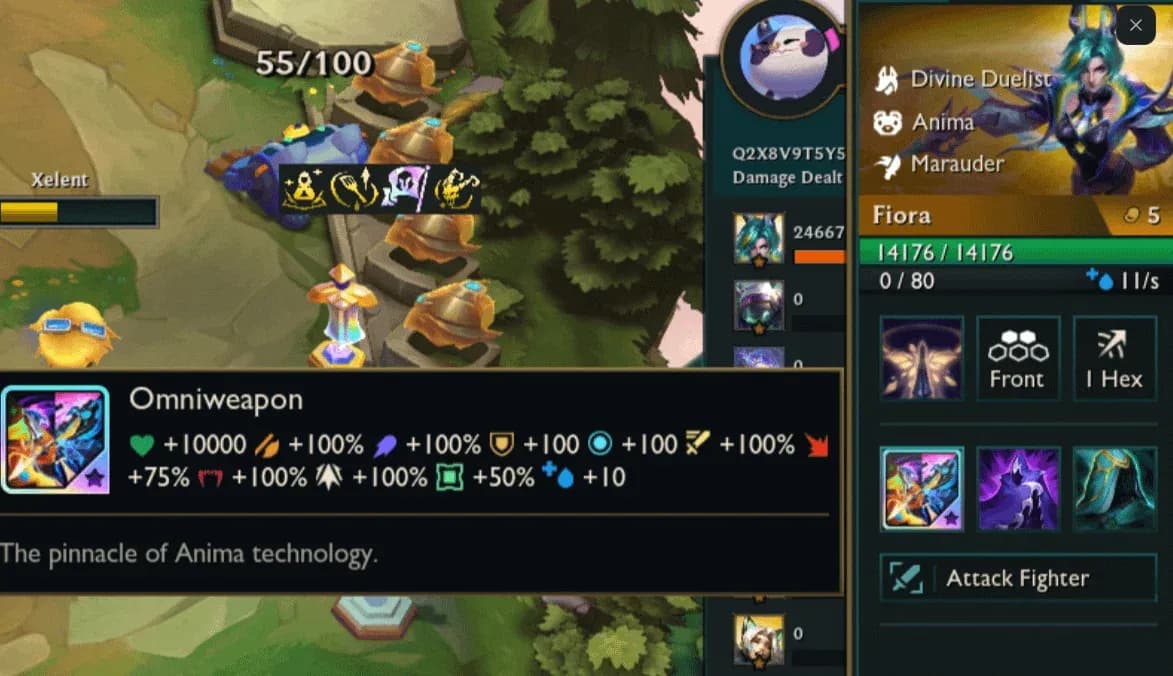
Anima trait board at 5 units
How does the Anima trait work?
Activating Anima at 3 units starts the Tech engine. After every player combat loss, you gain 20 Tech plus an additional amount equal to 5 times your current loss streak. On top of that, each Anima unit takedown generates 2 Tech. Every time the pool hits 100 Tech, you're offered a set of Anima Weapons. You can take them immediately or skip the offer to let Tech keep accumulating, which pushes the next weapon offer to a higher power tier.
The 6-unit breakpoint adds a win bonus: after winning a player combat, you also gain loot. That said, most Anima players spend the majority of the game at 3 units, only scaling to 5 or 6 once the cash-out is secured and the board is being rebuilt for the final push.
All five Anima champions explained
Anima has exactly 5 units in Set 17. That tight roster is intentional: Riot designed economy traits to require a 3-cost unit before the trait can activate, which stops players from hard-forcing it on a cheap early board.
Briar (1 gold, Primordian + Rogue)
Briar is your cheapest Anima unit and the one you'll find most consistently in the shop. Her passive, Fish Frenzy, gives her attack speed for every 1% of missing health, so she naturally ramps as damage piles up. Her active deals physical damage to a target and hits 50% harder against tanks. Place her in front of enemy tanks to maximize both her damage output and the chance she secures a kill for extra Tech.
Jinx (2 gold, Challenger)
Jinx is the primary carry candidate early in the game. Her ability Explosive Attitude fires a barrage of rockets in a cone, with the number of rockets scaling with attack speed. Each rocket deals physical damage to the first target hit. She benefits heavily from attack speed items and is the unit most likely to clean up kills and generate the 2 Tech per takedown the trait relies on.
Aurora (3 gold, Voyager)
Aurora is the unit that unlocks the trait at 2-1 if you find her in a PVE orb. Her ability Hopped-Up Hacks opens a 2-hex rift around the target, dealing 80/120/190 magic damage to each enemy inside plus split damage across all enemies hit. The split damage is worth understanding: Aurora is excellent at pressuring grouped enemies but may not single-handedly finish off a target. She works best alongside a secondary carry who can clean up weakened units.
Aurora's Hopped-Up Hacks rift
Illaoi (3 gold, Vanguard + Shepherd)
Illaoi is the Anima tank. Her ability Test of Spirit gives her a shield scaling with AP (450/525/650 at 1/2/3 stars), drains health from the 3 nearest enemies over its duration, then slams for 80/120/180 magic damage within 2 hexes. She's durable enough to anchor the front line from stage 2 through to the final rounds, and her 2-hex slam range means she punishes clustered enemy boards.
Fiora (5 gold, Divine Duelist + Marauder)
Fiora is the 5th Anima unit and the one that unlocks the 5-unit breakpoint. Her passive, Perfect Bladework, reveals a Vital on her target every 2 attacks. Hitting a Vital deals true damage and heals her for 15% of the damage dealt. Her active reveals 6 Vitals at once, attacks them all rapidly, transfers remaining Vitals to the nearest enemy if the target dies, and on the final Vital creates a 2-hex healing aura for allies over 5 seconds. She's a late-game carry that scales with both AD and AP items.
Anima champion quick reference
When should you play Anima?
Activating Anima from stage 2-1 is the target. Every round the trait is active is more Tech in the bank. The earlier you start losing with the trait on, the larger your eventual cash-out window.
The practical checklist for your stage 1 PVE rounds: look for an Aurora or Illaoi drop from orbs. Either one is your 3-cost activation piece. From there you only need to shop for Briar (1 gold) and Jinx (2 gold) to have 3 Anima live at 2-1.
Augment selection should lean into the loss-streak identity. Tiniest Titan and Tiny Titans are strong picks for the extra HP they provide, which buys you more rounds to hit higher Tech thresholds. Comeback Story and Calculated Loss both reward losing rounds, pairing naturally with the Anima gameplan. The dedicated Anima Commander augment is the strongest opener: it gives you a Briar, Jinx, and Illaoi immediately plus 10 bonus HP, meaning you walk into 2-1 with 3 Anima already active.
Which cash-out threshold should you aim for?
This is the decision that separates Anima players who top-4 from those who bleed out at 8th. There's no single correct answer, but here's a clear framework based on your current HP and board state.
- 100-200 Tech: Early Tier 1 weapons. Take these only if your HP is dangerously low and you need to stabilize immediately.
- 300 Tech: Tier 2 weapon. This is the recommended minimum target if you start Anima from 2-1. Strong enough to spike your board meaningfully.
- 400 Tech: Still a Tier 2 weapon, but this breakpoint also gives you a chance at Champion Duplicators or upgraded Anima units, making it especially valuable for reroll-focused builds.
- 600+ Tech: Tier 3 weapons. Anything above 600 is strong enough to nearly guarantee a win if played correctly. These weapons are particularly effective on 3-star 3-cost units or a fully itemized Fiora.
The golden rule: if your HP is dropping too fast to reach the next tier, take what's available. A Tier 2 weapon on a stable board beats a Tier 3 weapon you never live to receive.
Timing your cash-out around a PVE round is another key detail. PVE rounds give you time to reorganize items and rebuild your board without the immediate pressure of a player fight.
How to position your board during the loss-streak phase
This is the part most guides skip. Positioning during the loss-streak isn't random: you're trying to lose the round while still securing at least one kill for the 2 extra Tech.
The most reliable method is clumping all your units on one side of the board so they focus the same target. Concentrate items on a single unit to guarantee enough damage for one kill. Scout your opponents every round: weaker boards mean you can use the corner pocket strategy, placing two ranged units in the back corner with a melee unit that traps the enemy into walking into your ranged units last.
Do not level up unless you're certain adding a unit won't accidentally win you the round. Even reaching natural level 4 should prompt a check: if your opponents are weak, hold the bench and keep the board small.
Top Anima comps in Patch 17.1
Based on Patch 17.1 data from Emerald+ games, here's how the main Anima variants stack up:
The Anima Fiora build is the clear top performer. Core items on Fiora include Bloodthirster, Sterak's Gage, and Titan's Resolve. Sona slots in as a secondary carry with Jeweled Gauntlet, Nashor's Tooth, and Spear of Shojin. Master Yi fills the third carry slot with Malware Matrix, Edge of Night, and Giant Slayer.
For the Anima Arbiter Reroll, the core is a 3-star Aurora (Jeweled Gauntlet, Nashor's Tooth x2) and 3-star Diana (Bloodthirster, Guinsoo's Rageblade, Titan's Resolve), with 3-star Illaoi tanking (Ionic Spark, Steadfast Heart, Spirit Visage). LeBlanc adds Arcanist damage with Guinsoo's Rageblade, Jeweled Gauntlet, and Giant Slayer.
For more TFT Set 17 builds and strategies, browse more guides at GAMES.GG.
What makes Anima different from other economy traits?
The comparison to Set 13's Chem-Baron trait is useful context. Both traits reward deliberate losses with powerful cash-out items. Anima's distinction is that the weapons scale with how long you hold out, so the optimal play is rarely to take the first offer. The risk-reward calculation of "skip this weapon and hope to survive two more rounds" is what makes the trait genuinely skill-testing rather than just a passive bonus.
The 5-unit roster also means you can't splash Anima into an unrelated comp the way you might add a couple of Bastions for resistances. You're committing to the identity from the start, which makes augment selection and early-game scouting more consequential than in most other Set 17 builds.