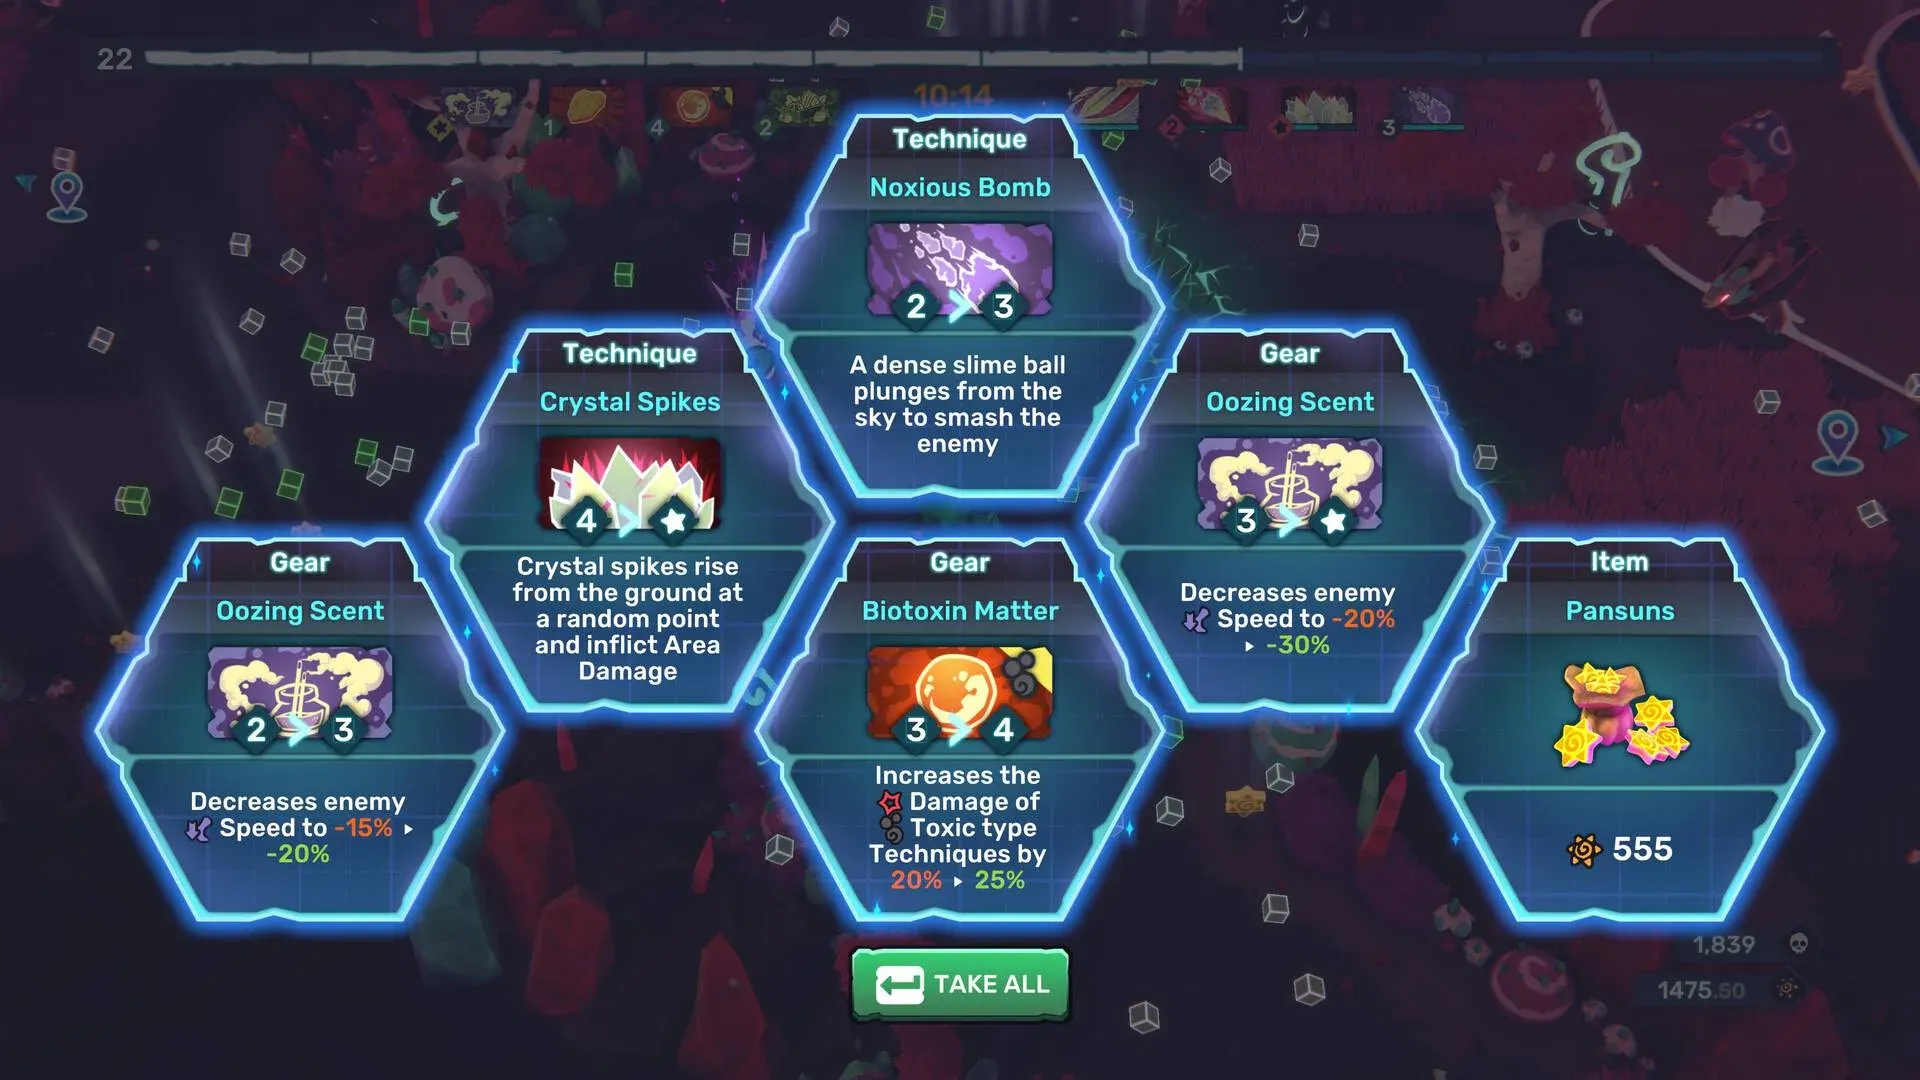
If your Temtem: Swarm runs keep falling apart mid-game, the synergy system is almost certainly why. Most players grab techniques at random, never trigger the upgrade conditions, and wonder why their builds feel flat. The good news: once you understand how Technique + upgrades actually unlock, everything clicks into place fast.
How does the synergy system work in Temtem Swarm?
The system has three stages, and skipping any one of them means you never see the upgraded version of a technique. Here's how the progression actually works:
- Unlock the base technique (often by playing a specific Temtem or hitting a damage milestone)
- Max it out during a run
- Equip the right gear in a future run to trigger the Technique + (enhanced) version
That third step is where most players get stuck. The gear requirement is not the same for every technique, and some of them have a two-stage gear unlock: a default piece that works immediately, and a harder condition that unlocks a better one.


What's the fastest way to unlock Technique + upgrades?
Focus on one or two elemental types per run. Spreading across five types in a single session means you max nothing and trigger no gear conditions. The biggest mistake players make is trying to unlock everything simultaneously.
Here's a practical approach:
- Pick a Temtem that naturally feeds into one type (for example, Platypet for Water or Smazee for Melee)
- Max two or three techniques of that type before branching out
- Then target the specific gear condition for the Technique + you want
Full Technique + unlock conditions by type
The tables below cover every Technique + upgrade in the game, organized by elemental type. Each entry shows what you need to unlock the base technique and what gear condition triggers the enhanced version.
Water techniques
| Technique | Unlock Condition | Gear Condition |
|---|---|---|
| Water Blade + | Play with Platypet | Hydro Turbine (default) |
| Fluid Barrier + | Deal 12,500 Water damage | Fortify Band (default) |
| Water Cannon + | Defeat Oceara in under 1 min | Holster → Survive 10 min in Cipanku |
| Wave + | Play with Platypet | Heatsink → Use Platypet Ultimate 20 times |
| Ice Shuriken + | Defeat Yowlar in under 60 sec | Ice Cream → Survive 10 min in Kisiwa |
Nature techniques
| Technique | Unlock Condition | Gear Condition |
|---|---|---|
| Sharp Leaf + | Defeat Tyranak in under 1 min | Nectar Vial → 1,300 Nature damage |
| Revitalize + | 16,000 Nature damage | Play Kinu 3 times |
| Resin Trap + | Play with Kinu | Travel 10,000m in Cipanku |
| Roots + | TBC | Win without Smazee evolving |
Toxic techniques
| Technique | Unlock Condition | Gear Condition |
|---|---|---|
| Pollution + | 12,500 Toxic damage | 1,000 Toxic damage |
| Toxic Ink + | Default | Platypet level 25 |
| Toxic Waste + | Equip 3 Toxic techniques | Defeat Gorong |
| Noxious Bomb + | Defeat Gharunder in under 1 min | 15,000 Data Burst damage |
| Venom Spread + | 2,700 damage with Zephyruff | Beat 7 spots in Tucma |
Neutral techniques
| Technique | Unlock Condition | Gear Condition |
|---|---|---|
| Fierce Claw + | Default | 1,000 Neutral damage |
| Ki Field + | Default | 15,000 Ki Field damage |
| Roar + | Default | Oree level 25 |
| Rotten Zone + | Open 10 chests | Innki level 50 |
| Expanding Force + | Travel 1,300m in Cipanku | Defeat 1,000 Hocus |
| Rainbow Guard + | Default | Play Oree 3 times |
| Darkness + | Earn 666 Pansuns | Survive 10 min in Arbury |
| Rainbow Bomb + | Equip 4 different types | 2,700 damage with Pycko |
| Piercing Slash + | Play Venx | 2,700 damage with Venx |
| Undermine + | Defeat Loatle | Travel 42,195m |
| Magic Lens + | Defeat Volgon in under 80 sec | Defeat 1,000 Hocus |
Melee techniques
| Technique | Unlock Condition | Gear Condition |
|---|---|---|
| Martial Strike + | Play Smazee | Default |
| Oshi-Dashi + | Default | 15,000 Tornado damage |
| Haito Uchi + | Equip 3 Melee techniques | 1,000 Melee damage |
| Blockade + | 12,500 Melee damage | Pigepic level 25 |
| Soul Blast + | Use Venmet Ultimate 20 times | Defeat enhanced Cycrox |
Earth techniques
| Technique | Unlock Condition | Gear Condition |
|---|---|---|
| Petrify + | Default | 15,000 Petrify damage |
| Asteroid Belt + | Pigepic Ultimate 15 times | 1,300 Earth damage |
| Earth Drill + | Play Pycko | Defeat 1,000 Osuchi |
| Sludge Gift + | Defeat Galios in under 80 sec | Survive 10 min |
| Quicksand + | 16,000 Earth damage | Defeat Piraniant |
Digital techniques
| Technique | Unlock Condition | Gear Condition |
|---|---|---|
| Data Burst + | Default | Default |
| Data Corruption + | Play Oree | Use Ultimate 50 times |
| Turbo Attack + | 12,500 Digital damage | Default |
| Hologram + | Heal 1,000 HP | Default |
| Exploit Beam + | Play Chromeon | 1,300 Digital damage |
Fire techniques
| Technique | Unlock Condition | Gear Condition |
|---|---|---|
| Fire Tornado + | Default | 1,000 Fire damage |
| Fire Bite + | Play Raiber | Survive 10 min |
| Hellfire + | 2,700 damage with Raiber | Revive 5 times |
| Warm Cuddle + | 16,000 Fire damage | Use Oree Ultimate 20 times |
Electric techniques
| Technique | Unlock Condition | Gear Condition |
|---|---|---|
| DC Beam + | Play Innki | 1,000 Electric damage |
| Thunder Strike + | Default | Default |
| Sparkling Bullet + | Defeat Nessla in under 1 min | Default |
| Tesla Prison + | 12,500 Electric damage | Default |
Wind techniques
| Technique | Unlock Condition | Gear Condition |
|---|---|---|
| Wind Blade + | Play Pigepic | 15,000 damage |
| Boomerang + | Default | Default |
| Tornado + | 12,500 Wind damage | Play 10 times |
| Wind Trail + | Play Zephyruff | 2,000 synergy damage |
Mental techniques
| Technique | Unlock Condition | Gear Condition |
|---|---|---|
| Tentacle Slash + | Play Houchic | Win without evolving Platypet |
| Ignis Fatuus + | Defeat Aohi in under 1 min | Travel 10,000m |
| Psy Wave + | Default | Default |
| Beta Burst + | 12,500 Mental damage | 1,000 damage |
| Gamma Beam + | Use Vental Ultimate 20 times | Defeat enhanced Arachnyte |
Crystal techniques
| Technique | Unlock Condition | Gear Condition |
|---|---|---|
| Glass Blade + | Play Crystle | Survive 10 min in Tucma |
| Crystal Spikes + | Default | Defeat Granpah |
| Mineral Hail + | Defeat Shuine | 1,000 Crystal damage |
| Quartz Shield + | 12,500 Crystal damage | Default |
Which Temtem should you pick to unlock synergies faster?
Some Temtem unlock multiple techniques at once just by being on your team. Platypet unlocks both Water Blade + and Wave + by default, making it one of the most efficient early picks for a Water-focused run. Kinu unlocks Resin Trap + and also serves as the gear condition for Revitalize +, so Nature builds benefit heavily from repeated Kinu runs.
For players who want community input on which Temtem perform best in practice, the Steam discussion thread on best Temtem to play in Swarm has active player recommendations worth checking. Pair those community picks with the TemTeam competitive tier list, which tracks Temtem rankings and gets updated regularly, to see which picks hold up at higher difficulty.
Building with purpose across multiple runs
The synergy system rewards repetition. Running the same Temtem several times is not grinding for its own sake; it's the actual mechanism for unlocking gear conditions. Martial Strike + just needs you to play Smazee and the gear is default, making it one of the fastest Technique + upgrades in the game. Others like Undermine + (travel 42,195m for the gear condition) are long-haul unlocks you build toward over many sessions.
The approach that works: treat each run as a specific unlock mission rather than a general survival attempt. Pick a technique you want to upgrade, check both its unlock condition and its gear condition, then build the run around hitting both.
For more strategies across different game modes and Temtem builds, browse the full guides library at GAMES.GG to find deeper breakdowns on specific playstyles.