

The Legend of Heroes: Trails Beyond the Horizon is a long and system-heavy JRPG that closes out the Calvard arc. It mixes real-time action with turn-based combat, splits its story across multiple character routes, and introduces new progression systems that can feel overwhelming at first. This guide is designed for new players who want a clear understanding of the core mechanics and practical advice to avoid early mistakes.
Understanding the Three-Route Structure
You'll split your playtime across three distinct storylines, each featuring predetermined party compositions and unique challenges:
This structure means progression must stay balanced. Ignoring upgrades, Quartz setups, or equipment on one route will eventually block progress when that team becomes mandatory. Van’s route is generally the most demanding early on, so prioritizing his gear and Quartz upgrades can reduce frustration.
Later in the game, all routes intersect through Grim Garten, where characters from different routes can be mixed. This makes early balance even more important.
Combat Basics and How the Hybrid System Works
Combat in Trails Beyond the Horizon switches between real-time Field Battles and turn-based Command Battles. Both matter equally.
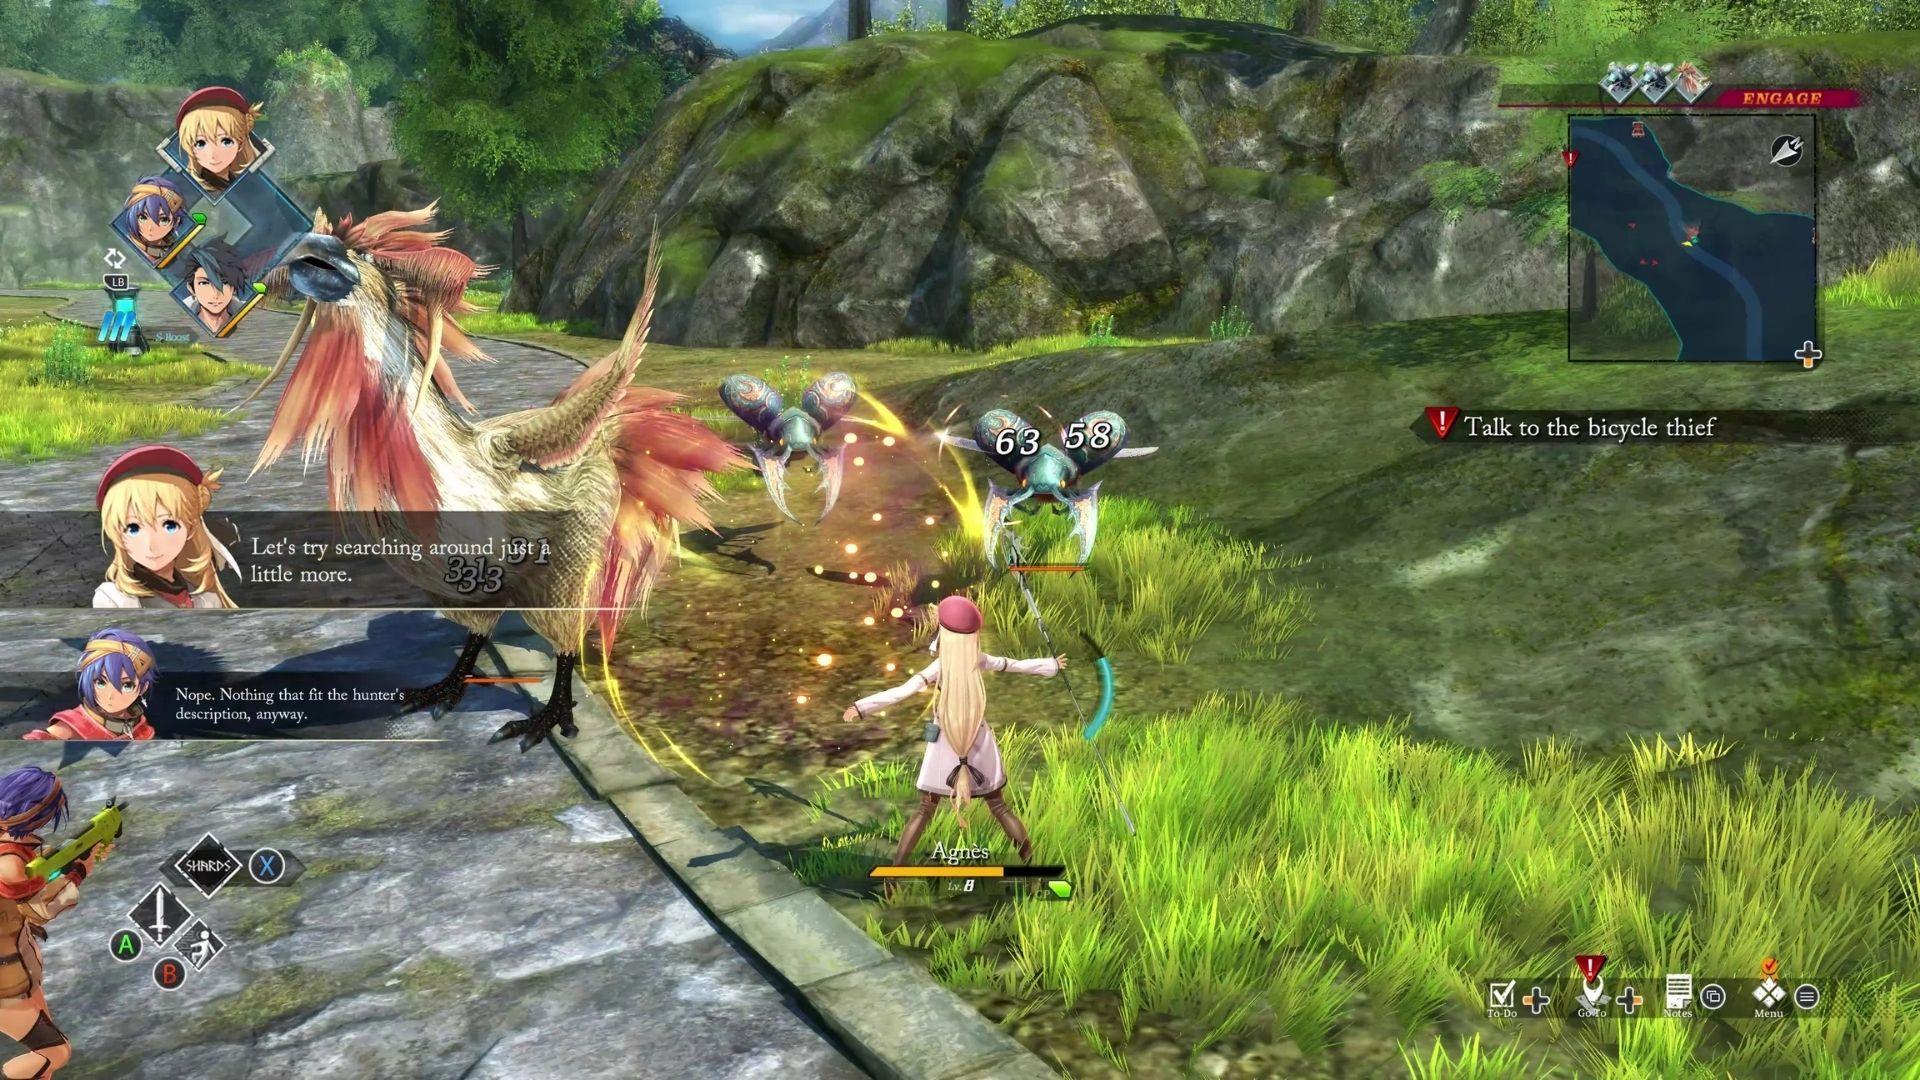
Field Battle
In real-time encounters, your goal is stunning enemies to trigger advantageous Command Battle transitions. Button mashing gets you killed fast.
Perfect dodging activates Cross Charge, dealing massive damage and building stun gauge rapidly. Watch enemy wind-ups, dodge at the last second with Circle/B, then unleash your counter. This single technique transforms trash mob encounters from dangerous to trivial.
The Legend of Heroes: Trails Beyond the Horizon Ultimate Beginner's Guide
Z.O.C.
The Zone of Control ability (R3/Right Stick) slows enemies while boosting your attack speed. It costs nothing, operates on a cooldown, and attacking enemies refills it faster.
You should activate Z.O.C. the instant it's available. It reduces incoming damage, speeds up stun accumulation, and gives you breathing room to position for Cross Charges. Aggressive play refills the gauge in seconds, letting you chain activations back-to-back.
Command Battle Strategy
Once you stun enemies and transition to turn-based combat, positioning and turn order manipulation become critical.
Shard Commands replace the old Brave Orders system, providing party-wide buffs like increased damage or critical rate. The twist? Bosses use them too, and their buffs stack dangerously.
When a boss activates a Shard Command, you'll see a glowing icon above their head. You cannot dispel it with attacks or debuffs. The only counter is overlapping it with your own Shard Command, which consumes Boost Gauge.
Always reserve 50% Boost Gauge for defensive overlaps. Burning everything on S-Crafts leaves you helpless when the boss activates a 50% damage buff right before their ultimate attack.

Shard Command activation menu
Exploration & Progression
Exploration and progression are closely tied to systems that are easy to miss early on.
Golden Eye
Missing treasure chests in one-time dungeons creates permanent gaps in your equipment progression. The Golden Eye Shard Ability reveals all chests on the field map, eliminating backtracking anxiety.
Unlock it by equipping Mind Elemental Quartz with a value of x2 or higher on your Orbment's Extra Line. A basic Mind 1 Quartz typically suffices. Slot this on your lead character immediately and never worry about missed loot again.
Art Driver Hunting
Previous games let you purchase Art Drivers (spell sets) from shops. That's over. In Beyond the Horizon, you find them exclusively through chest hacking and challenge completion.
Never skip hacking minigames. Those locked chests contain irreplaceable Drivers that define your build potential. Prioritize characters who benefit most from elemental diversity, like Agnes or Altina.
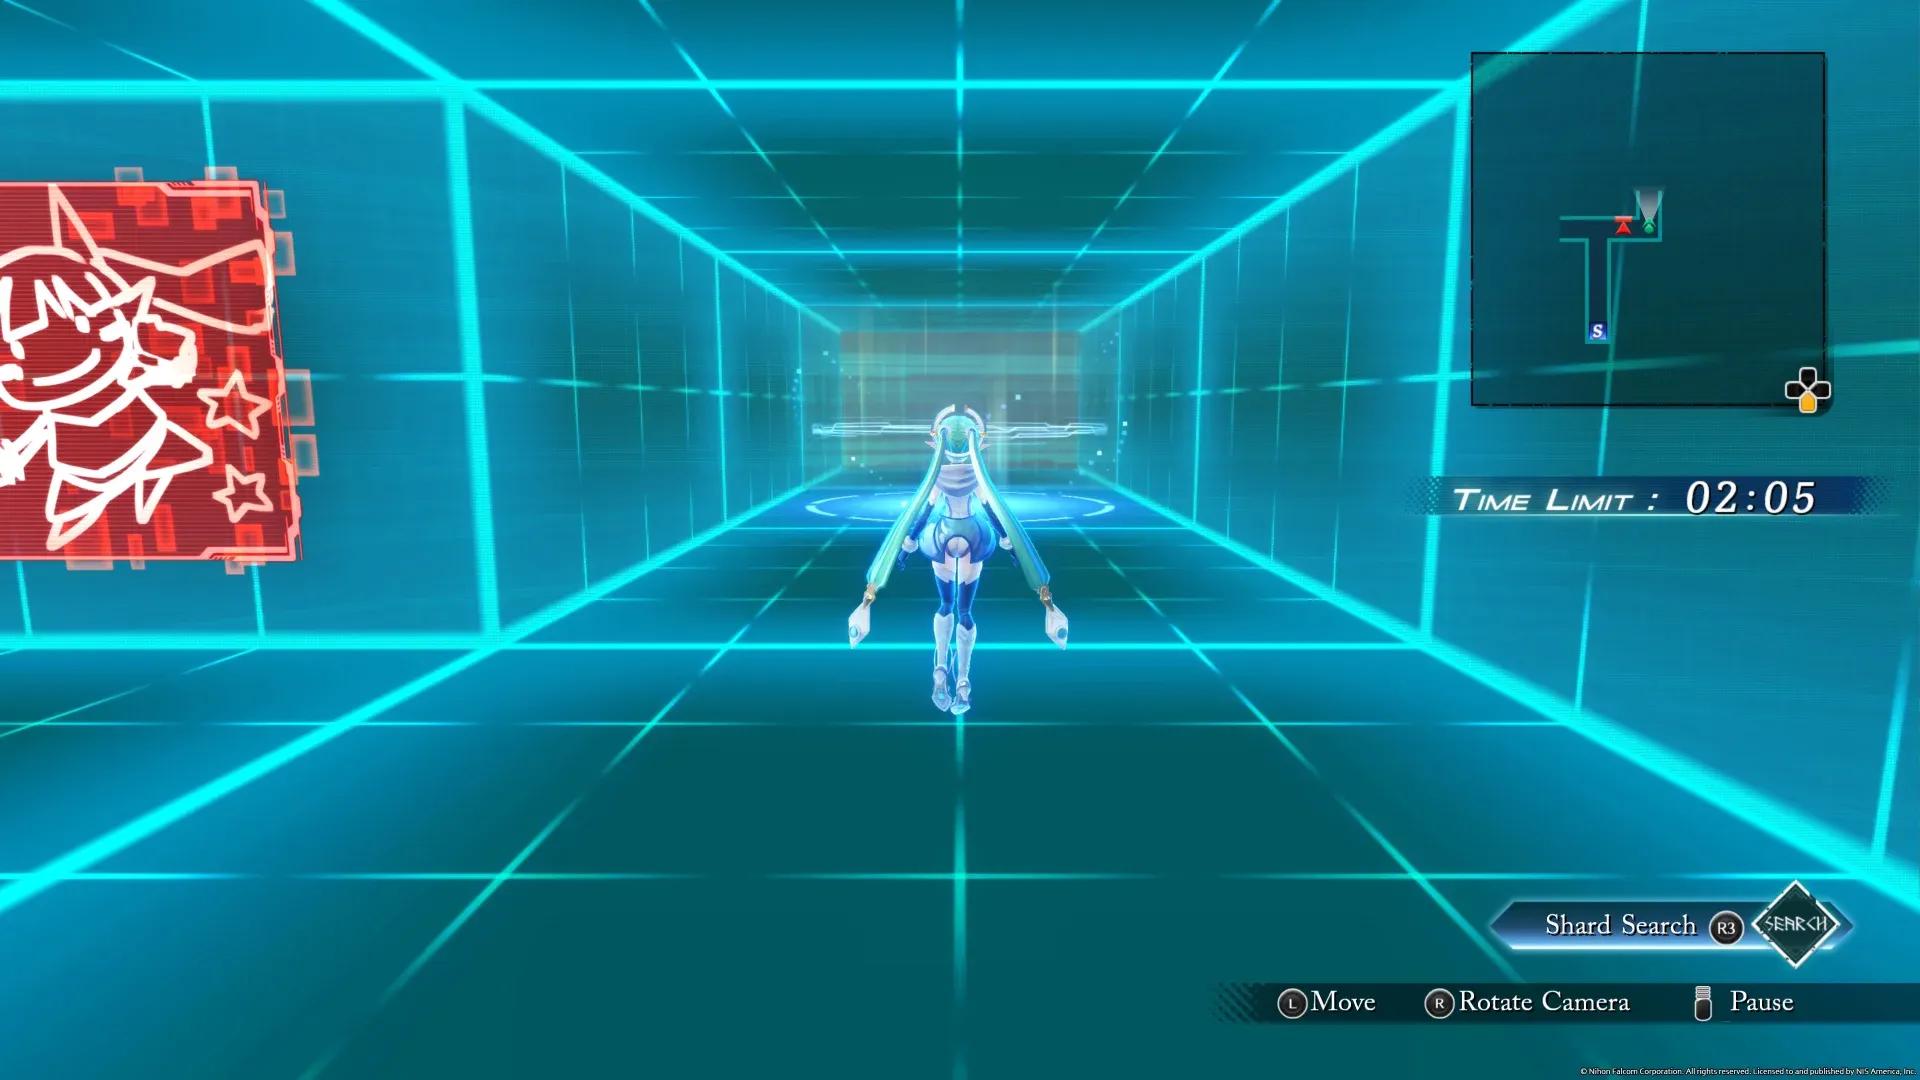
Chest hacking interface
Resource Management and Economy
Shop Icon Awareness
When viewing the map, vendor icons display in red when new inventory arrives, gray when stale. This small detail saves massive time wandering between merchants.
Check red icons immediately after story progression. New weapons and armor often represent significant power spikes that trivialize upcoming encounters.
Food Over EP Items
Consumable food restores HP without tapping your EP reserves, letting you save mana for combat healing and offensive arts. Stock up on vendor food before dungeon runs.
Boarders' Hashed Beef, Aromatic Bouillabaisse, and Supreme Beef Sukiyaki provide excellent HP recovery at reasonable prices. Your EP becomes pure offensive fuel this way.
The Grim Garten Priority
Grim Garten unlocks relatively early and is presented as optional content, but it plays a major role in character growth. It is the main source of high-tier accessories, consistent experience gain, and additional character development. Waiting too long to engage with it makes later difficulty spikes harder to manage.
Because Grim Garten allows custom party setups, it is also the best place to test synergies between characters from different routes. Treating it as part of normal progression rather than post-game content leads to a smoother experience overall.
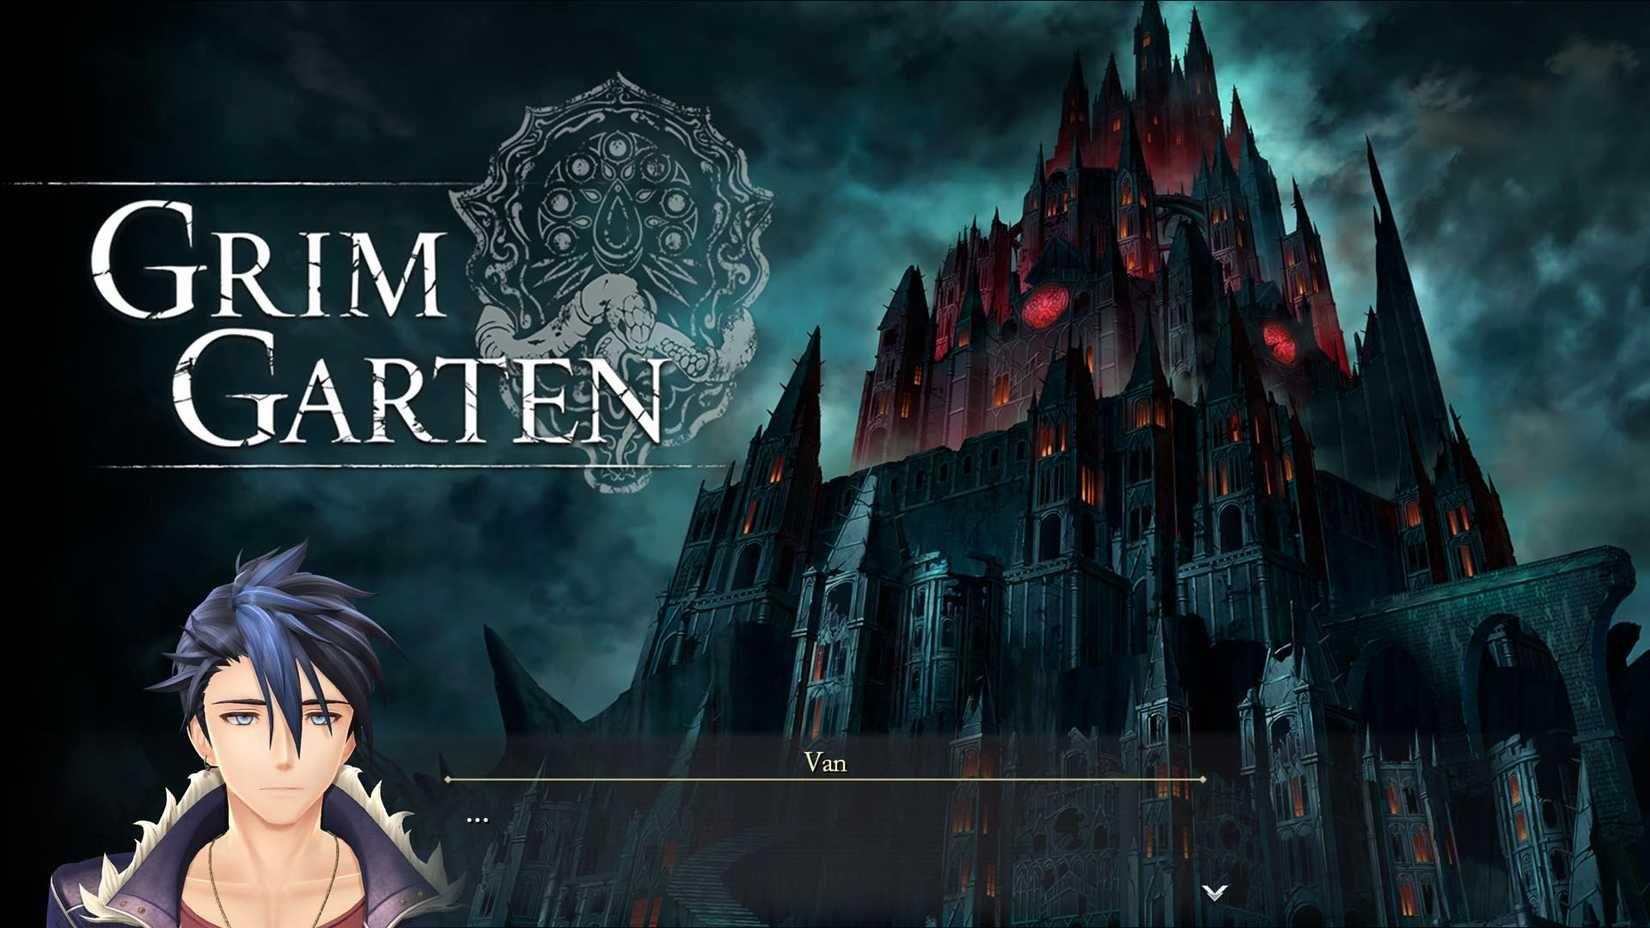
Grim Garten dungeon entrance
Tips & Tricks for Beginners
One of the most common beginner mistakes is hoarding Boost Gauge. While S-Crafts are powerful, Boost Gauge is also your defense against enemy Shard Commands. Using it actively for overlaps and Awakening is often the safer choice.
Connection Events and side quests are also easy to ignore, but they provide permanent stat boosts, unlock Crafts, and improve long-term performance. Skipping them makes later sections of the game harder than necessary.
Finally, avoid focusing all resources on a single character or route. The game regularly forces party switches, and underdeveloped characters can quickly become a liability during mandatory encounters.