

Life Is Strange: Reunion keeps its control scheme approachable, but a few specific bindings matter a lot more than you'd expect. The Rewind mechanic and Photography mode each pull from keys you'd normally associate with movement, and not knowing that going in can cause some genuinely frustrating moments during timed choices.
Default PC keybind layout
What are the default PC controls in Life Is Strange: Reunion?
The game ships with a standard WASD movement setup. Most actions are handled through the mouse, with secondary functions spread across the keyboard. Here's the full breakdown:
Movement and camera
Choice and menu navigation
Arrow keys handle choice navigation faster than the mouse during timed dialogue, so getting comfortable with them early pays off. Timed choices appear more often than you might expect across the playthrough.
Rewind controls
Rewind is one of the most-used mechanics in the game. Fast Rewind with Shift skips through longer moments without holding the standard rewind, which saves real time when you're backtracking through a decision. Auto Rewind with Ctrl handles the rewinding automatically if you'd rather not manage it manually.
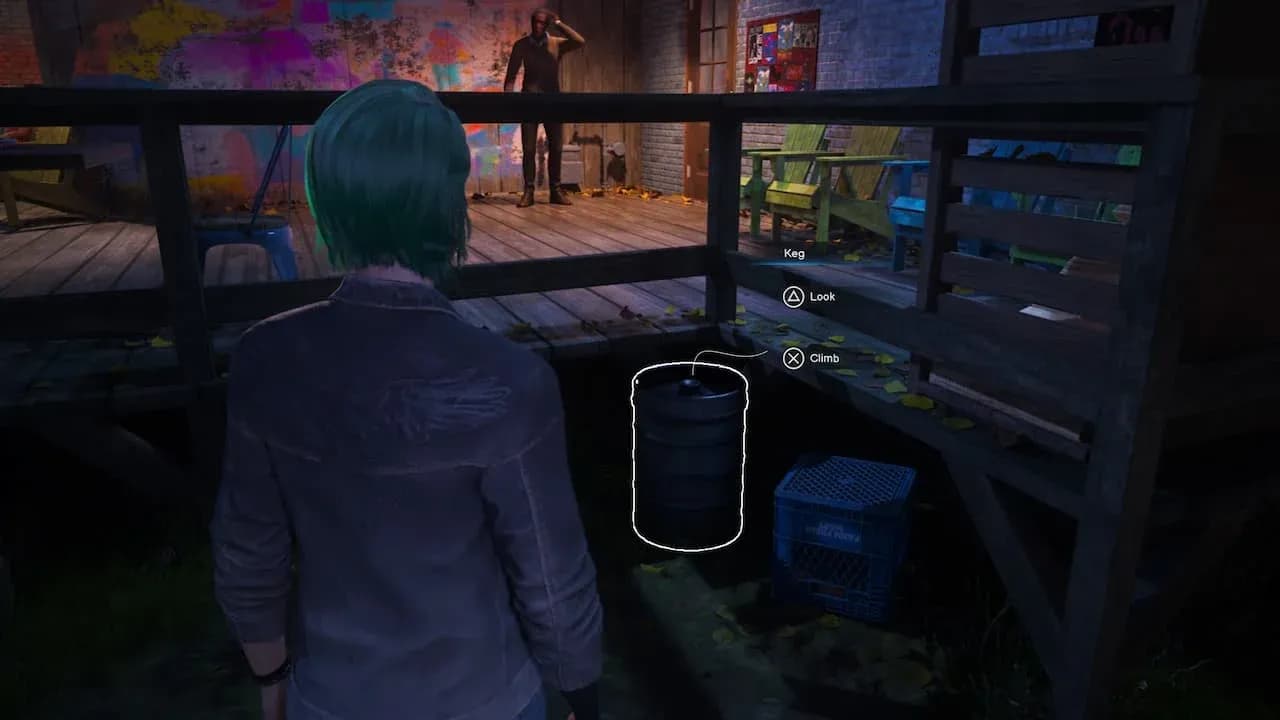
Photography controls
This is where the overlap gets tricky. R, F, and the arrow keys all double up between camera control during normal movement and photography rotation. Once you open photography mode with C, those keys shift function entirely. Muscle memory from regular movement can cause misfires here until you adjust.

Photography mode key layout
Can you change the controls in Reunion?
Yes. Keybinds are fully remappable through the settings menu. If the photography and movement key overlap causes problems, reassigning camera rotation or zoom to less-used keys is worth doing before you get deep into exploration sections. The Control Scheme page on the Life is Strange wiki) also lists historical default layouts across platforms, which is useful context if you're coming from an earlier entry in the series.
Tips that actually make a difference
After spending time with these bindings across multiple chapters, a few habits stand out as genuinely helpful:
- Use Fast Rewind (Shift) instead of holding standard rewind. It covers the same ground in a fraction of the time.
- Switch to arrow keys for dialogue choices the moment a timed prompt appears. Mouse clicks work, but arrow keys are more reliable under pressure.
- Before entering photography mode, mentally note that W no longer moves you forward. Pausing for half a second before any input prevents accidental Double Exposure triggers.
- During exploration, R and F control the camera vertically. If you're looking for something above or below eye level, these are faster than repositioning your character entirely.
How do controls connect to achievements?
A few of Reunion's 29 achievements depend directly on how well you handle these inputs under pressure. Sass Queen requires winning every Backtalk encounter in a single playthrough, and those encounters are essentially timed dialogue challenges. Getting comfortable with arrow key navigation before those moments arrive makes a real difference. Major Gumshoe asks you to find every optional piece of evidence, which means exploring thoroughly and using the camera effectively.
Getting the controls down early isn't just about comfort. It directly affects whether you can pull off a clean single-playthrough run for the harder completionist achievements.
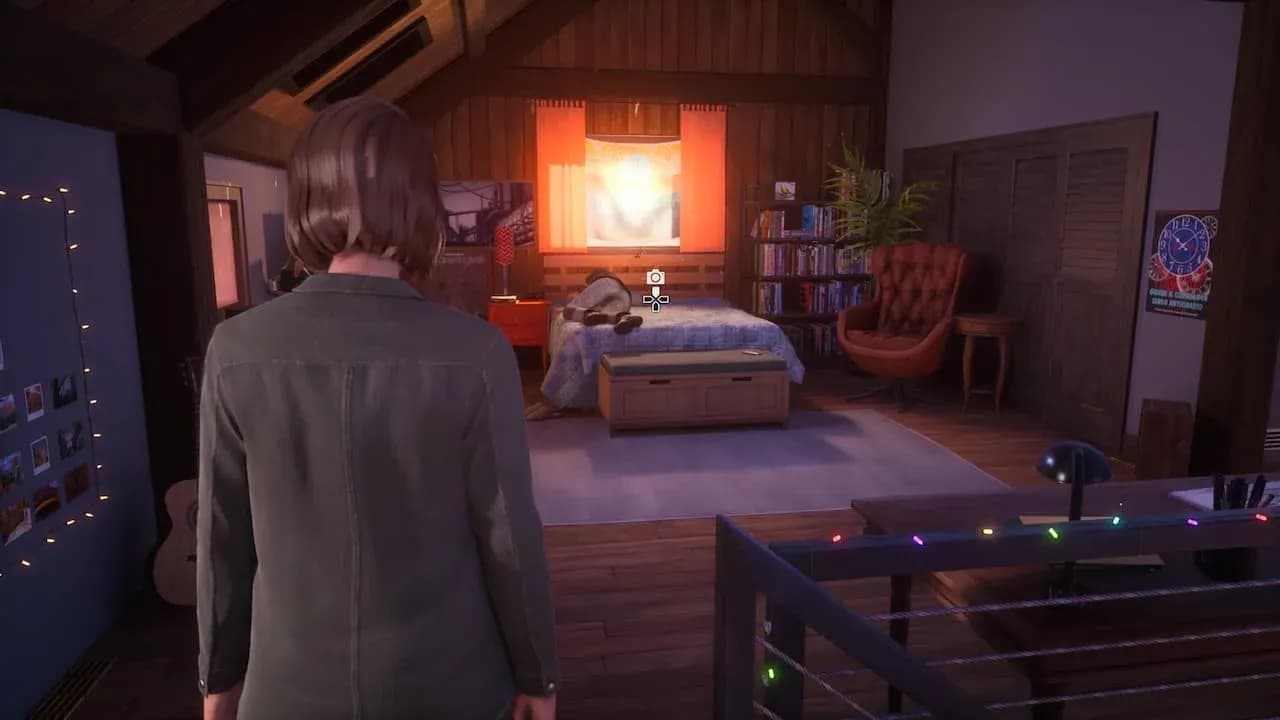
Photo Wall collectible tracking
For more guides covering Life Is Strange: Reunion and other games, browse the full guides section at GAMES.GG.