
The Ancient Fire Sanctuaries in Windrose's Foothills biome look deceptively simple. Four empty Braziers, a locked door, and a vague sense that fire is involved. The problem is that the Firebowls meant to sit on those Braziers are scattered across the ruins, some behind breakable walls, some buried in debris, and at least one requiring you to build your way up to a rooftop. This guide walks through both Foothills sanctuary variants so you can clear them cleanly, grab every chest, and move on with your Gold Ingots and Gold Mask of the Priest in hand.
What are the Ancient Fire Sanctuaries in Windrose?
There are two distinct Ancient Fire Sanctuary layouts in the Foothills biome, also known as Foothills Island 4 and Foothills Island 6. Both follow the same core loop: locate missing Firebowls, return them to broken Braziers, repair and light each one, then loot the Ancient Chests that unlock. Completing a sanctuary awards XP and access to high-value loot including Tumbaga Ingot and Gold Ingot.
The two sanctuaries differ significantly in layout and enemy types, so the walkthroughs below cover each one separately.
The four Brazier pedestals
How to solve the Foothills Island 4 sanctuary
This sanctuary sits on the eastern side of its island. Before doing anything else, clear the pirate camp. The mix of Sailors, Sergeants, Grenadiers, and Musketeers will harass you constantly if you try to carry Firebowls while they're still active.
Finding the first two chests and starting orientation
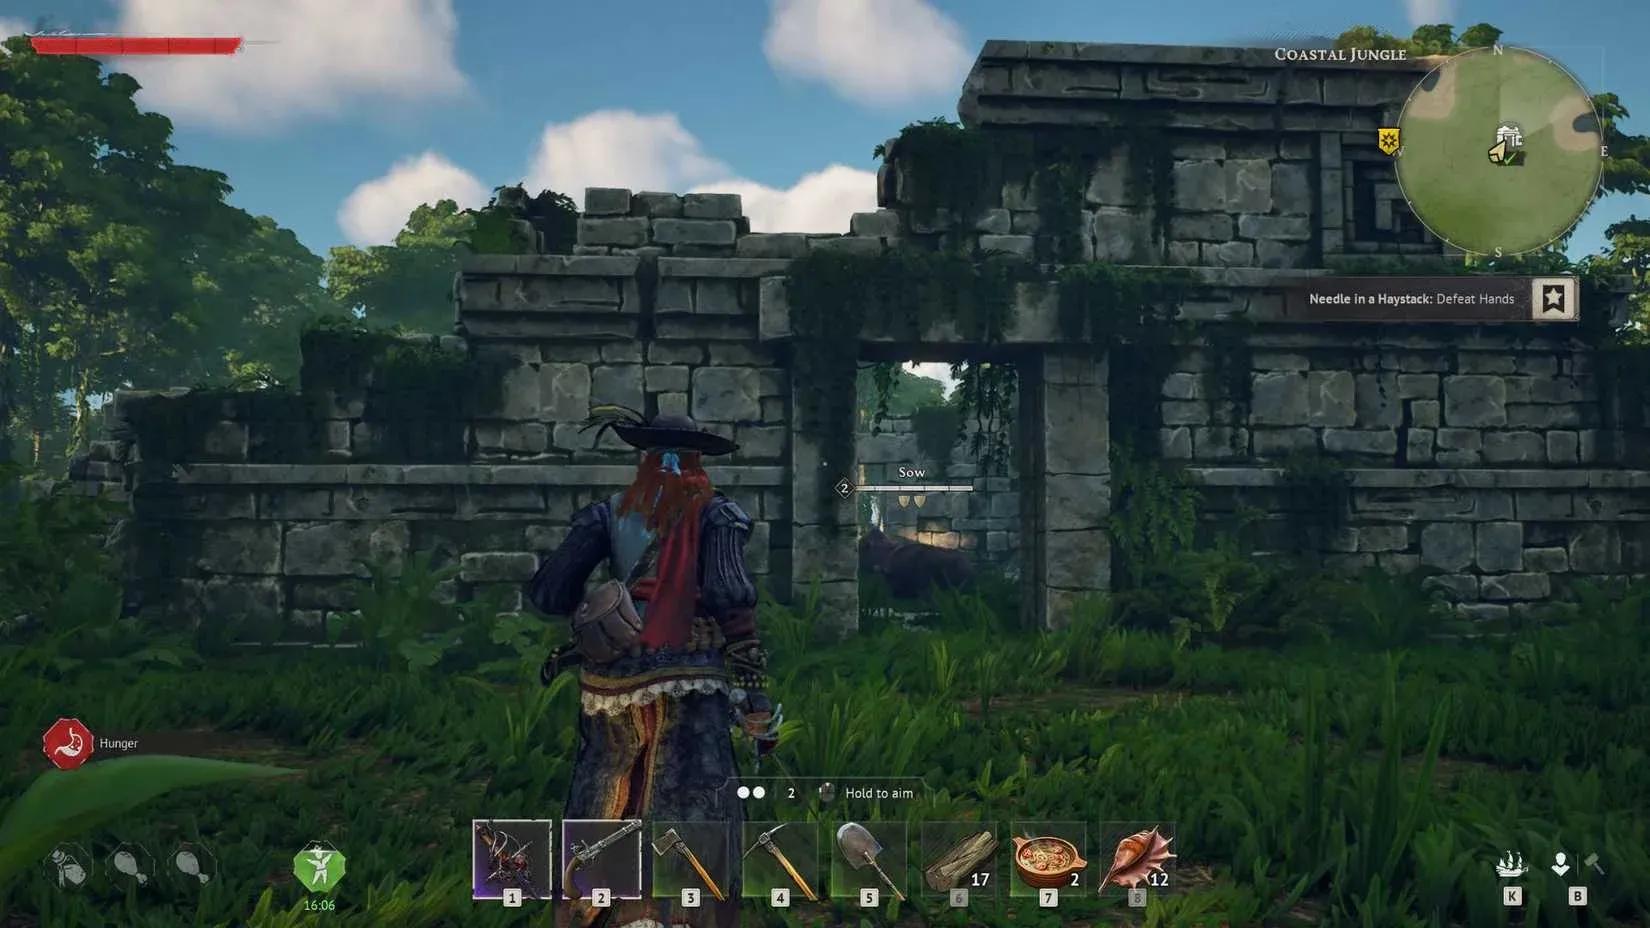
On the southern side of the camp there are two chests worth grabbing before you touch any puzzles. One is inside a tent, the other is just north of it with resources. If you're also running the Needle in the Haystack quest, the table near the second chest has clues for the next step.
From that table, look north. Two routes branch off. Take the upper route first, then head west toward the vine-covered walls. An Old Skeleton past those vines can be looted for Armor.
Getting into the main courtyard
Drop west into the main temple area. Head to the northwest corner where thick vines block a doorway. Inside, turn left. You'll find a Heavy Vase on the floor and a Dilapidated Wall to the south. Break that wall, then immediately check the wall to your left for a second smaller Dilapidated Wall. Break it to reveal an alcove with a resource chest.
Back in the main courtyard, face south. You'll spot a glowing vase in the southeast and one in the northeast. Pick them up and place each on the corresponding button: one in the northeast, one in the south. This clears the path forward.
Clearing the thorn path and reaching the Braziers
Cut through the Thorn Bush to the south. You'll see a Firebowl ahead, but don't grab it yet. Take the door to the left (southeast) first. Inside, find a heavy vase to the east, carry it north, and drop it on another button. This unlocks a chest in the north with epic loot.
Exit and head west to the door, ignoring the Firebowl again for now. Take the door on the right and follow the stairs down to the west. At the bottom, look east: Thorn Bush and Undead. Use ranged attacks to clear the Undead first, then smash through the Thorn Bush to make a safe path.
Once clear, look east and west at the base level. The Brazier on the right (east) can be immediately repaired and lit. That leaves three Firebowls to find.
Retrieving the three Firebowls
Use the ladder in the southeast to climb back up. Run and jump along the northern platform, then across the western ledge to return to the upper level.
Firebowl 1: Pick up the Firebowl that was sitting to the south. Carry it down the west stairs, drop to the bottom floor, and place it on a Brazier.
Firebowl 2: On the north side of the lower room, use your Pickaxe on the damaged column to create a slope. Climb up and collect the Firebowl from the southwest. Drop down and place it on the next Brazier.
Firebowl 3: Climb the damaged column again and go east to find another ladder. This leads to a room with an Old Skeleton (loot it for a weapon, though the drop is randomized). Exit south and look left: an Ancient Chest here contains valuables and a Gold Ingot. The final Firebowl is in this same room. Take it down to the bottom and place it on the last Brazier.
With all four Braziers lit, the east door opens. Grab the final chest inside for Tumbaga Ingot.
How to solve the Foothills Island 6 sanctuary
This layout is cleaner than Island 4 but has its own quirks. Start by clearing the goats so they don't headbutt you mid-puzzle.
The four Braziers are grouped at the center of the ruins. The one in the southeast corner can be lit immediately, so do that first.
Chest and Firebowl on the north level
Head to the northern side of the sanctuary and climb to the top level. There's a chest up here containing loot and Healing Herbs. Drop back down and head southeast toward the columns. Hit the Damaged Column with your Pickaxe to create a bridge, then walk up it to reach the Firebowl sitting on top of the building.
Southwest and southeast Firebowls
Move to the south side of the sanctuary. Check the southwest corner first for an Old Skeleton with Armor inside. Then go to the southeast corner and follow a slope down to a stone ledge. Climb it to reach another Firebowl. Carry it back up the slope to the north and place it on a Brazier, then repair and light it.
The hidden tunnel Firebowl
Head to the west side and find the hole with piles of rubble. Mine the debris on the eastern side to uncover another Old Skeleton with healing items. Then mine the debris on the north side. This opens a tunnel containing an Undead and the final Firebowl. Deal with the Undead, grab the Firebowl, and return it to the last Brazier.
With all four Braziers lit, the final chest inside the sanctuary unlocks.
What rewards do you get from the Ancient Fire Sanctuaries?
Both sanctuaries offer Ancient Chests that are only accessible after all Braziers are lit. Here is what to expect:
- Gold Ingot (Island 4 Ancient Chest)
- Tumbaga Ingot (both sanctuaries' final chests)
- Randomized weapon from Old Skeleton loot (Island 4 upper room)
- Armor from Old Skeleton loot (both sanctuaries)
- Gold Mask of the Priest
- XP for completing the location
Tips to make both sanctuaries easier
After clearing both layouts, a few habits make the whole process faster:
- Bring your Pickaxe. Both sanctuaries require mining Damaged Columns or debris piles. You cannot complete Island 6 without it.
- Clear enemies before touching Firebowls. Carrying a Firebowl slows your movement, and getting hit while holding one is a reliable way to drop it somewhere inconvenient.
- Keep wood in your inventory. The Island 4 version and some puzzle variants may require you to build a quick ramp. Having 10–30 wood ready saves backtracking.
- Dropped Firebowls respawn. If a Firebowl falls into water or an unreachable spot, it returns to its original location after roughly 30 seconds.
- Use ranged attacks on the lower level in Island 4. The Undead and Thorn Bush combination at the bottom is much easier to handle from the stairs above than by dropping in blind.
For more Windrose walkthroughs and exploration guides, browse the latest guides at GAMES.GG.