
Captain Thomas Richards is the first real boss Windrose throws at you, and he hits hard enough to end your run in seconds if you walk in underprepared. This is a soulslike-style encounter built around reading attack patterns and managing stamina, not just dealing damage. Get the prep right and the fight becomes a controlled exercise in patience. Skip it and you will respawn outside the cave more times than you want to count.
What gear should you bring against Thomas Richards?
The highest gear level available before this fight is Level 5, since iron-tier crafting is locked behind defeating Richards himself. Every piece of equipment you bring should be upgraded to that cap before you enter the cave.
For weapons, two options stand out based on extensive testing:
- Rapier of a Thousand Cuts: Applies stacking Bleed on each hit. A three-hit-and-retreat loop lets Bleed tick damage while you dodge, compressing the fight significantly.
- Greatsword: A more forgiving pick for strength builds. Heavy attacks chip Richards' posture guard faster, and the reach keeps you outside his axe arc.
- Sturdy Rapier: This weapon widens the perfect parry window considerably, which makes a real difference if you struggle with tight timing on blocks.
- Crusher: A strength-build option with a chance to knock the boss down, creating windows to deal extra damage or heal.
Max out gear before the fight
A Blunderbuss or pistol is worth bringing for opening shots and posture pressure, since ranged fire strips his guard faster than melee. Gunpowder is scarce before this point, so use it selectively rather than burning through your supply.
Best Armor Sets
Random Uncommon pieces will not cut it here. Stack Rare-tier armor and aim for set bonuses, which activate at two and four equipped pieces. Here is how the relevant sets compare:
The standard hybrid that works best is two Conquistador pieces plus two Flibustier pieces: flat 15% mitigation combined with a 20% attack stamina reduction, giving you more dodges per combo window. An alternative split of two Pikeman plus two Privateer trades mitigation for extra health and crit chance, which closes the fight faster once you are comfortable reading his swings.
Blueprints for these sets drop from pirate camps and are also sold by faction Provisioners in Tortuga.
What consumables do you need for the Richards fight?
Your base health pool without food buffs is too low for this encounter. Windrose supports stacking food bonuses, so pair an Endurance-boosting dish with a Health-boosting dish at a Cooking Fire before heading out. Boiled Crab is easy to craft and provides a 15-minute health buff, though the buff disappears on death.
For potions and alchemy items, bring the following:
- Healing Potions (full stack of 10): These restore 55% of maximum Health. Minor Healing Potions only restore 35%, which is not enough for Richards' heavy combos.
- Bandages (at least 10): Use these for calm recovery between exchanges. They are the cheapest bulk healing available.
- Elixir of Cruelty: A Rare alchemy consumable that increases damage by 8% for 15 minutes, crafted from an Alchemical Base, 1 Boar Tusk, and 1 Pearl at the Alchemy Table. If you have a Distiller, the Infused Elixir of Cruelty extends the same 8% buff to 30 minutes.
Before leaving base, spend a moment near your Bonfire to trigger the Rested buff, which boosts stamina regeneration. It disappears on death, so it mainly benefits your first attempt, but it costs nothing to grab.
The tent trick
Richards' arena is instanced, meaning a tent placed inside will not function as a respawn point. Drop a tent at the cave entrance and set it as your active revival point before entering. This keeps failed attempts cycling in seconds rather than forcing a full corpse run each time.
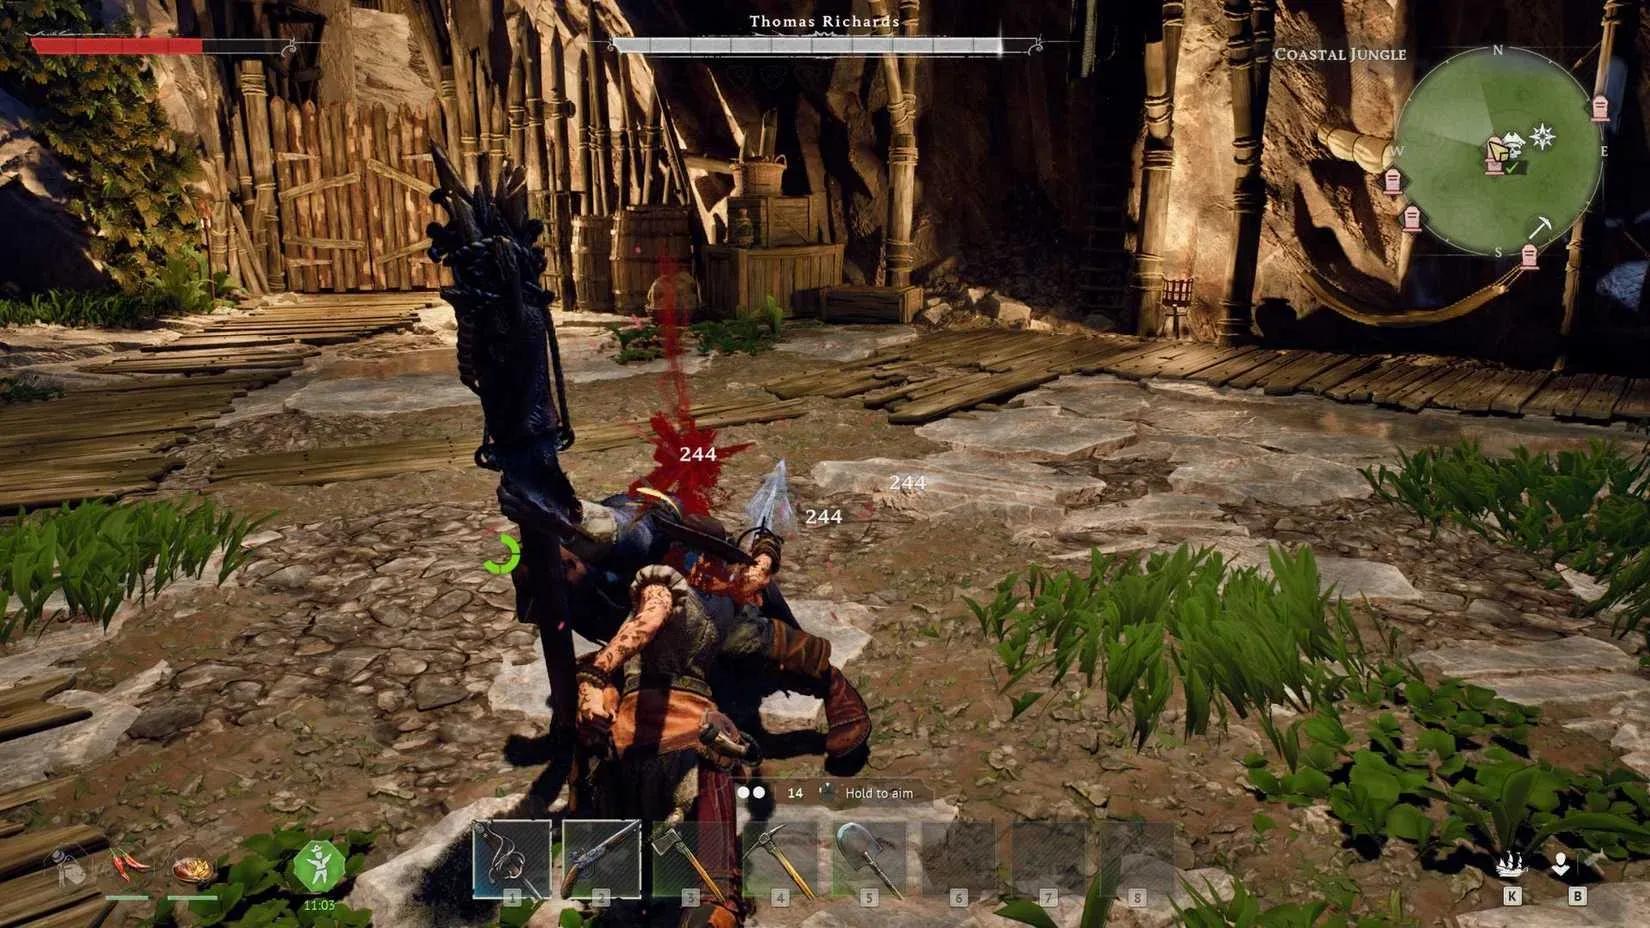
All Thomas Richards attack patterns
Thomas fights with a two-handed axe supplemented by thrown grenades, forcing you to manage both melee spacing and area denial simultaneously. Standard swings can be blocked with a Perfect Block, but attacks with a red glow telegraph are unblockable. Learning which is which is the foundation of the fight.
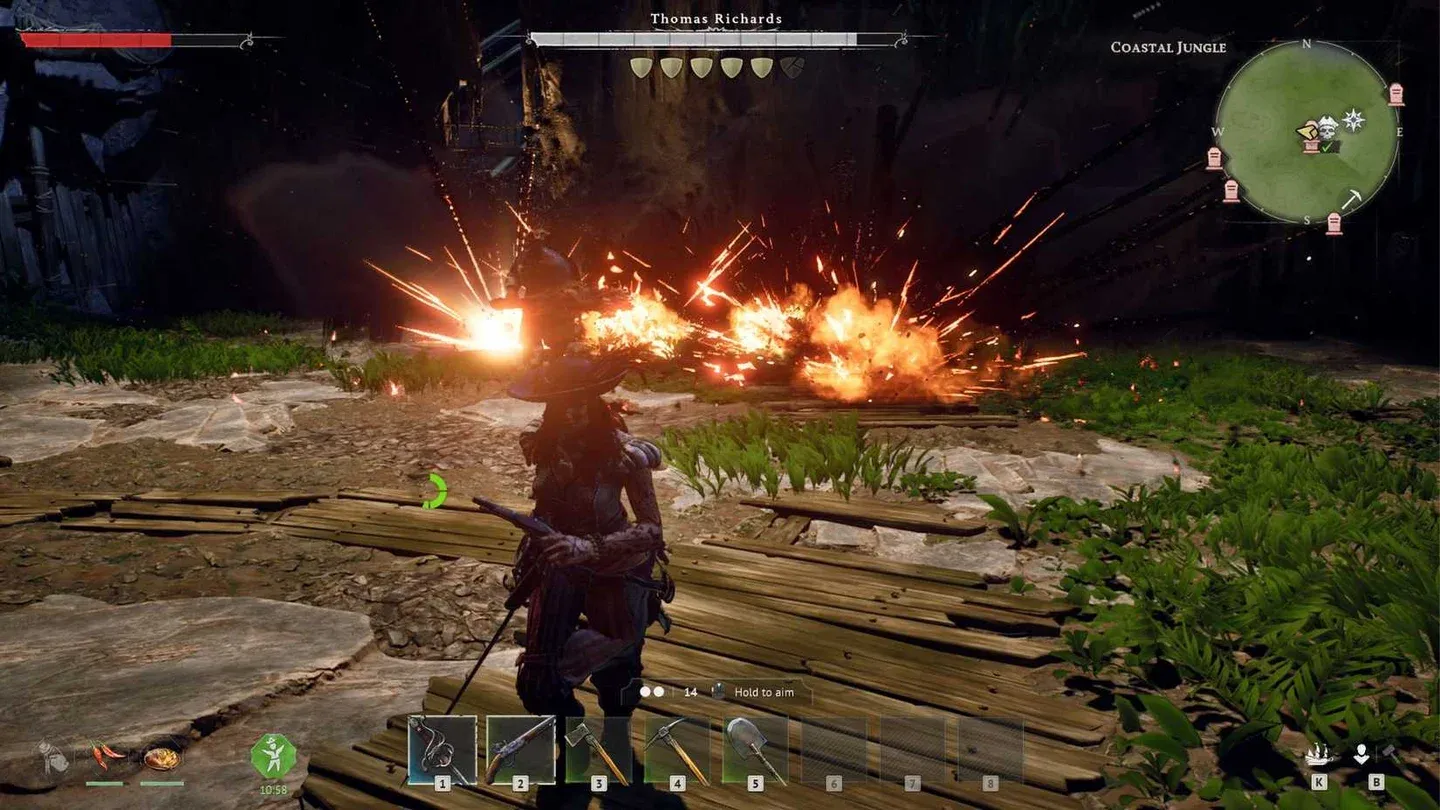
The Bomb Toss is frequently misread as a threat. It is actually the safest healing window in the entire fight. Richards remains completely idle until detonation, so use that pause for a Bandage or Healing Potion and re-engage once the blast resolves.
How to beat Thomas Richards
With preparation done and his moves memorized, the fight comes down to patience and stamina management. The encounter punishes greed harder than almost any other early-game encounter in Windrose.
Here is the core combat loop:
- Press T to lock on as soon as you enter the arena so dodges and blocks automatically face Richards throughout the fight.
- Walk backward through his Double Swing or Triple Swing. Richards cannot outpace your backward walk, making this the safest way to avoid chip damage.
- After the second or third swing lands, step in for one heavy attack, then disengage before the pattern repeats.
- When the red glow telegraphs a Heavy Overhead or Forward Grab, stop attacking entirely and dodge sideways.
- When he throws Bombs, step outside the blast marker and heal rather than pressing the attack.
- Never fully empty your stamina bar. Recovery from zero stamina takes significantly longer than from partial depletion, leaving you unable to dodge incoming hits.
Posture guard and the stagger window
Thomas carries a posture guard displayed as small icons beneath his health bar. Every clean hit chips it down. Breaking it outright for a critical stun typically requires five or six consecutive Perfect Blocks without a miss.
For most players, the practical path is landing damage in the cooldown windows between combos while Bleed from the Rapier of a Thousand Cuts or the 8% bonus from the Elixir of Cruelty gradually compresses his health bar. Once all shield icons are gone, Richards stuns for one to two seconds, giving you free damage. If he takes no damage for a period, he begins slowly regaining those shields.
How do you dodge the grab attack?
The Forward Grab has a longer wind-up than his other attacks, which gives you slightly more time to react. Commit to a sideways dodge rather than backward. Dodging back can still catch the lunge's hitbox. Keep Healing Potions on a hotbar slot so they are accessible without opening the inventory mid-combo.
As his health drops, the Double Swing pattern speeds up and hits harder, but the fundamental shape of the fight does not change. Keep the same rhythm and do not get greedy chasing an extra hit when the window only offers one.
What do you get for beating Thomas Richards?
Beating Richards wraps up the Revenge Is Best Served Cold questline, which is given by Doctor Galen Skelton. Return to Skelton in Tortuga after the fight to continue the main campaign.
Here is everything that unlocks:
- Foothills biome access, opening the next area
- Iron Ingot recipe and full iron-tier crafting, raising the gear level cap beyond 5
- 50 Experience Points
- Discovery of the Silver Ingot
- Thomas Richards' Journal
- 1 Seafood Platter
The gear cap unlock is the biggest reward. Iron-tier crafting is what lets you push past Level 5 equipment and start building toward the fights that follow Richards in the campaign.
For more on what comes next in Windrose, check out the full Thomas Richards boss fight breakdown on XboxPlay or browse more Windrose guides to stay ahead of the progression curve.