

The Activate the Bridge quest in Witchspire is a Level 17 Main Quest that sounds simple on paper but sends you wandering across Mira Isles looking for three roots buried in a region full of tangled vines that all look identical. The actual activation mechanic is not complicated. Finding each root and knowing where to go next is the real problem. This guide covers every root location, the exact steps to activate each one, and what to do once the spectral bridge opens.
How does the Activate the Bridge quest work?
At the Isle Bridge, you'll notice three colored pedestals. These represent the three roots you need to activate across the region. The mechanic is straightforward: find each root, follow it to its associated pedestal, and stand on that pedestal until the root activates. The bridge only restores after all three are done.
The part that trips most players up is leaving after spotting the root without standing on the pedestal. The root itself does nothing. The pedestal is what registers completion. Keep that rule in mind for all three locations.

Three pedestals mark your objectives
Where is the first root?
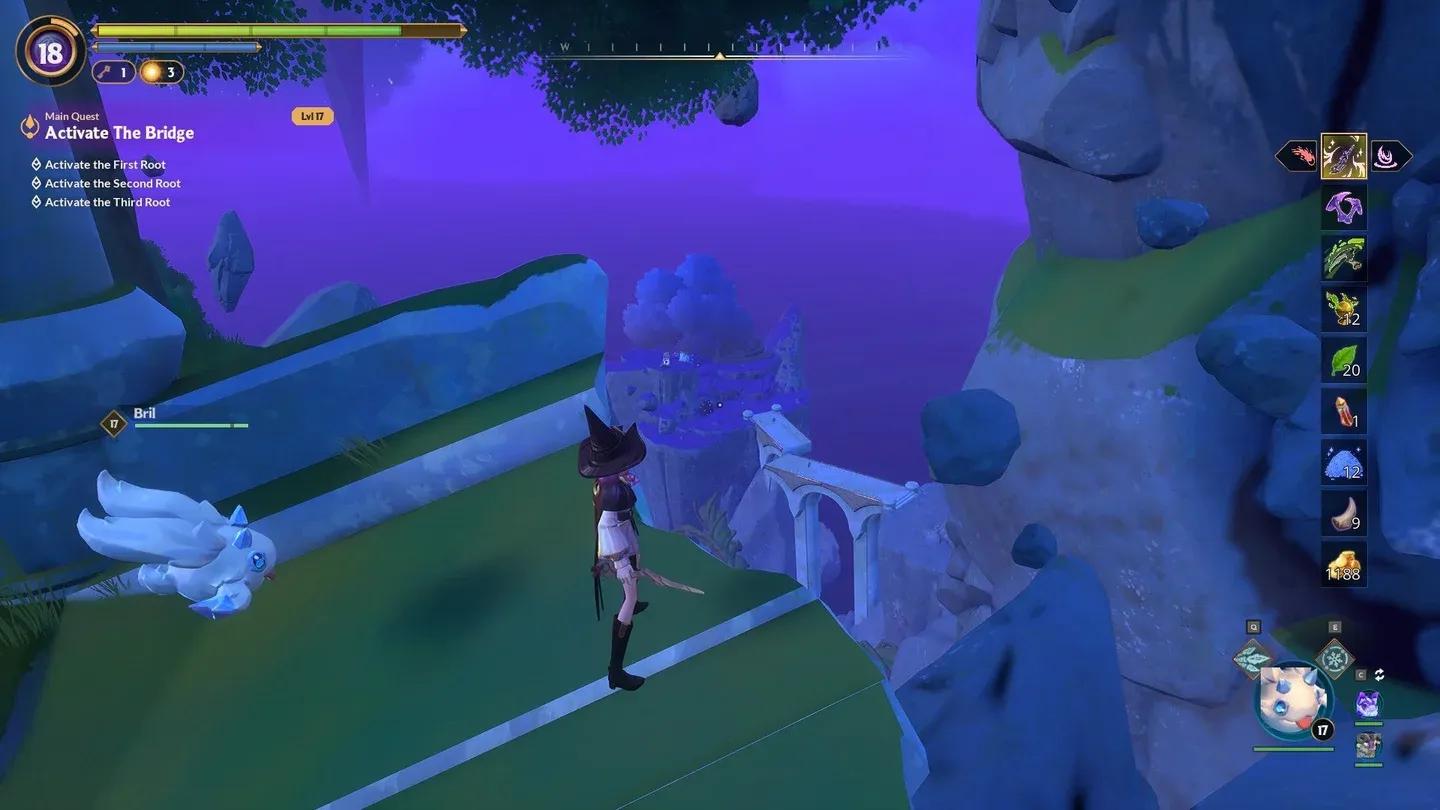
Stand at the Isle Bridge entrance near the three colored pedestals and walk toward the bridge edge. Look down and to the left. The first root is visible on the island directly below.
Hop on your Broom and fly down to that island. The pedestal connected to the root is nearby. Stand on it and wait for the activation to complete. Watch out for Al'uunian Vanguards patrolling this area. They are not difficult enemies, but landing carelessly in the middle of a group while trying to activate a pedestal gets old fast.
This first root is essentially the game teaching you the mechanic before sending you further afield, so treat it as practice for the two that follow.
First pedestal below the bridge
Where is the second root?
After activating the first root, follow the bridge path where the Al'uunian Vanguards are stationed and push through the cave ahead filled with Taileafs. When you emerge on the other side, you'll see more roots glowing with a faint green pulse. These all look like they lead back to the Isle Bridge, which is exactly why this section causes so much confusion.
Ignore the visual noise and push south. The second root sits on a purple-colored island far south of the Isle Bridge. Check your map for a purple landmass with a grey circle marker and head directly for it.
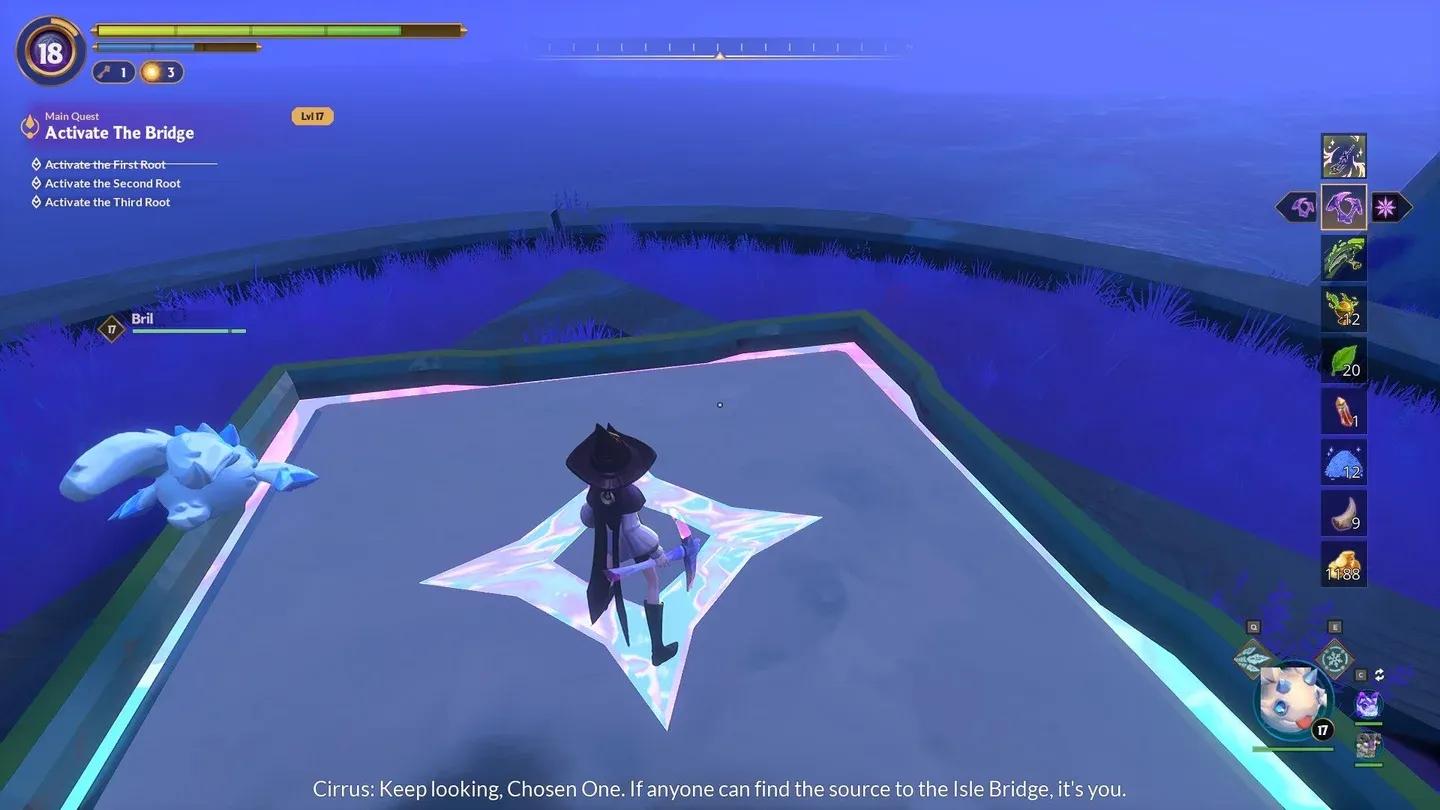
Reaching the pedestal requires climbing the island. Having two double-jumps unlocked makes this significantly easier. If your mobility upgrades are not there yet, gather some wood and build a temporary staircase up the side. The game lets you do this, and there is no shame in taking the construction route over pretending the jump timing is consistent.
Once at the top, stand on the pedestal. Two roots down.
For players still building out their character progression, the Witchspire beginner's guide covers the essential early upgrades worth prioritizing before tackling quests like this one.

Second root on the purple island
Where is the third root?
The third root sends you back toward where you first entered the region. Head to Eastell on the eastern side of Mira Isles. To reach the root, you need to travel through R'hyrrgar's Stronghold and continue past R'hyrrgar himself.
Unlike the second root, the climb here is less demanding. The Froblins who occupy this area have built stairs and platforms throughout the zone. Follow these upward and they will carry you most of the way. Once you reach the top, stand on the pedestal to activate the third root.
All three roots are now active.
What happens after activating all three roots?
Return to the Isle Bridge. A spectral bridge will have formed, giving you a path across the previously blocked gap. Cross it on your Broom and head toward the ruins ahead.
Look for a tower with a prismatic glass platform at its base. This functions as an elevator. Wait for it to arrive, then ride it up into the ruins. Inside, you'll find the final Orb for the Mira Isles Flight Pillar, two Nox Pillars that unlock a reward chest when activated with the right Familiar, and a second bridge that continues the route toward Shuddersands.
For players who have not yet set up efficient travel around the region, the Witchspire ritual candles and fast travel guide explains how to use Hearths and Homebound Scrolls to cut down on backtracking between objectives.
Spectral bridge opens the way
Common mistakes to avoid
After testing this quest across multiple runs, these are the four mistakes that cost the most time.
- Leaving before the pedestal activates. The root visual does not confirm completion. Stand on the pedestal and wait.
- Chasing every vine you see. The region is full of root paths that loop back toward the Isle Bridge. Use the map and look for the purple island markers instead of following vines blindly.
- Attempting the second root without mobility upgrades. Two double-jumps or a wood staircase are the practical solutions. Trying to brute-force the climb without either is a time sink.
- Crossing the spectral bridge immediately. Collect 4 out of 5 Mira Isles Flight Pillar Orbs before crossing. The ruins after the bridge contain the fifth, so you are not far off, but going in underprepared means more backtracking.
For more on getting the most out of your progression before and after this quest, the full Witchspire guides collection has everything from early Luminary upgrades to biome routing covered.