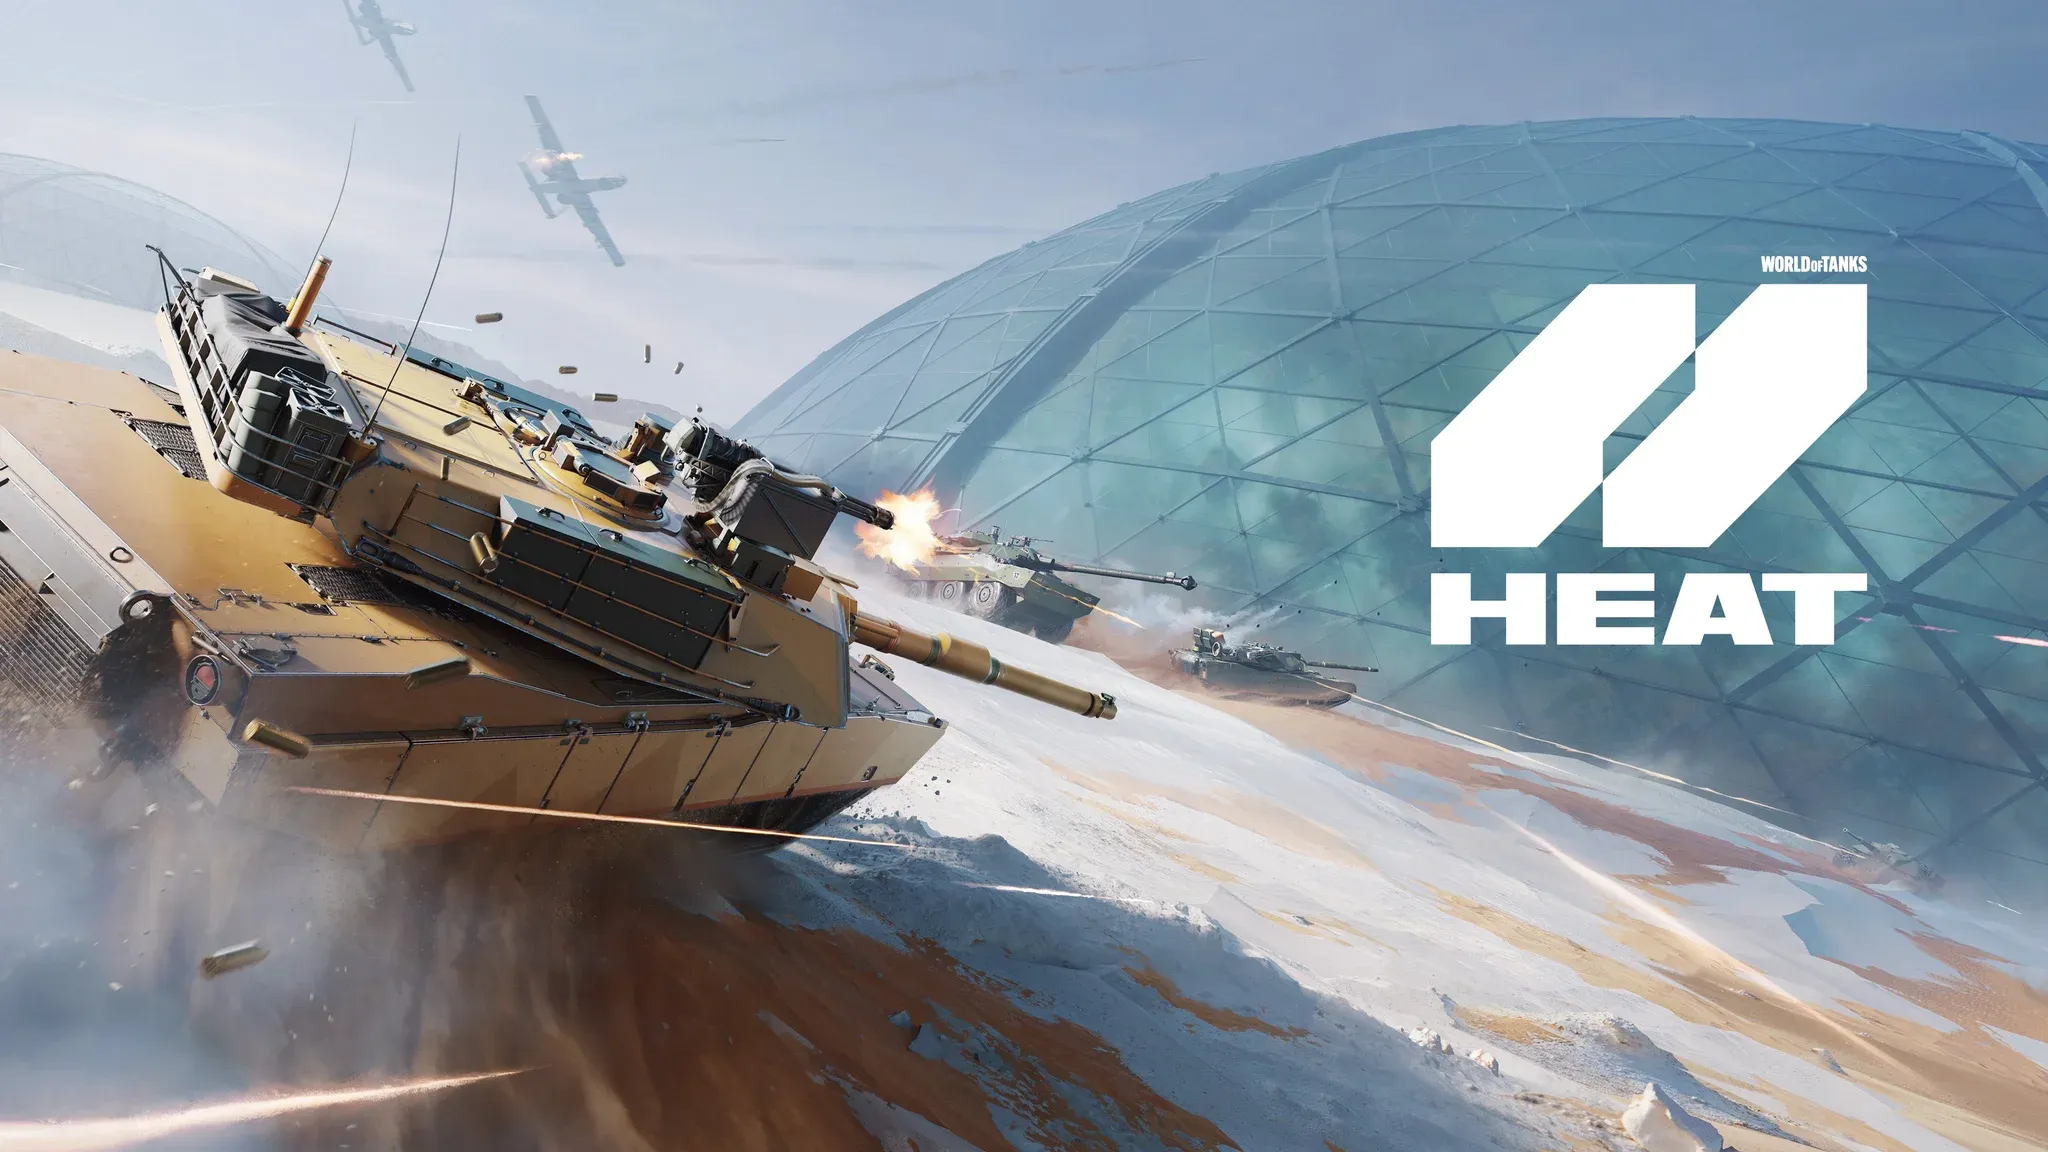

World of Tanks: HEAT drops you into armored combat with a roster of vehicles that each play a genuinely different role. Some hit hard from range, some control space with gadgets, and a few are just awkward to use no matter how much time you put in. This tier list breaks down every available tank so you know exactly where to spend your unlock resources instead of learning the hard way.
S-Tier Tanks
These three vehicles are the strongest options available right now. If you are new to World of Tanks: HEAT or trying to climb efficiently, start here.
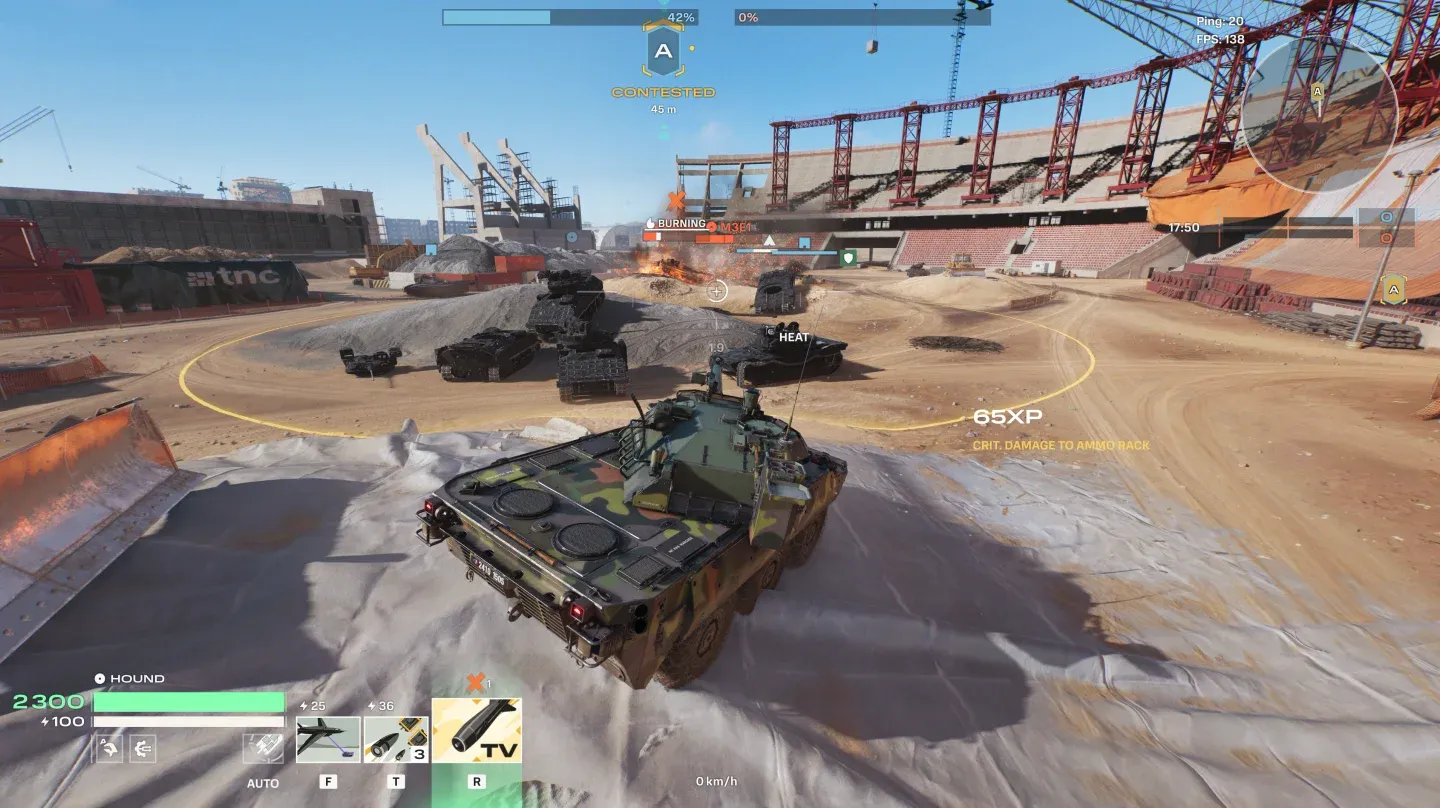
M60A2 leads the S-tier pack
M60A2
The M60A2 is a damage machine. Its autocannons punch through heavy armor, and the anti-tank guided missile adds another layer of threat. What makes the missile particularly dangerous is the area of fire it creates on impact, which keeps dealing damage to any tank caught in the zone. Enemies cannot simply absorb the hit and move on.
Object 287
The Object 287 is the most creative tank in the roster. The harpoon ability pulls you directly to an enemy while disabling them, which sets up immediate follow-up damage. The hedgehog traps add a passive threat that punishes anyone who tries to ram or reposition through your space. Activating the ability a second time destroys the hedgehogs instantly, which can catch opponents completely off guard.
Marder 1A3
The Marder 1A3 is a team fight specialist. Suppression Strike deals damage and applies Fragile stacks, a debuff that increases the damage the target takes. Smart Mines either add three more Fragile stacks or max out existing ones, meaning a coordinated team can shred a target's effective health pool in seconds. Both abilities deal direct damage on top of the debuff, so this tank pulls double duty in any group engagement.
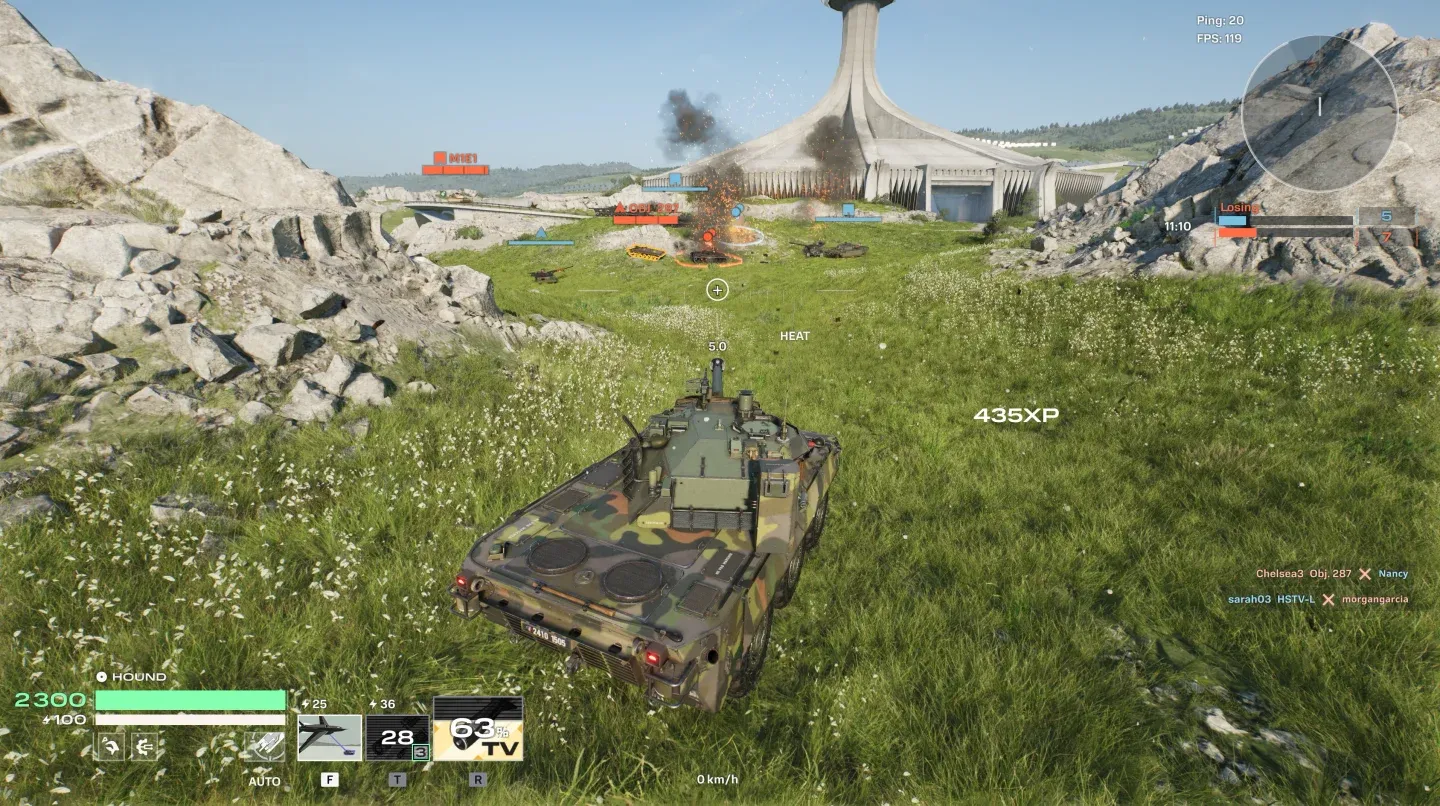
Marder 1A3 ability layout
A-Tier Tanks
These five tanks are all worth using. None of them are weak, but each has a condition or limitation that keeps them out of S-tier.
XM1 90
The XM1 90 stands out as the only tank available for free, which makes it the default recommendation for anyone just getting started. The dual-fire mode gives you flexibility to adapt mid-fight, and the Unload ability can one-shot lighter tanks by dumping multiple rounds in a short window. The ceiling is high enough that experienced players keep coming back to it.
M3E1
The M3E1 brings TOW missiles that penetrate heavy armor and apply a fire damage-over-time effect on hit. The Laser Designator marks enemy tanks and makes them more vulnerable, which is genuinely powerful in coordinated play. The catch is that the Designator's value drops sharply when playing solo or with uncoordinated teammates.
XM1V
The XM1V is built around disruption. Demolition Charges damage and slow targets, and Minefield stops enemies from moving entirely. If the damage numbers were higher, this tank would be S-tier material. As it stands, you need teammates to capitalize on the crowd control or the value gets wasted.
M60A1
The M60A1 has an auto-targeting 50 Cal that handles the slow-and-damage role passively, freeing you to focus on positioning. The charge ability does heavy damage and physically displaces enemies, which is excellent for breaking formations or forcing tanks off objectives. Committing to the charge puts you in a predictable path, so timing matters.
M1E1
New players will find the M1E1 forgiving. The self-targeting turret reduces the mechanical load, and the objective shield absorbs incoming damage while you hold a point. The obvious downside is that the barrier stops you from shooting back, which creates awkward windows where you are protected but passive. Fix that timing and this tank performs well above its apparent ceiling.
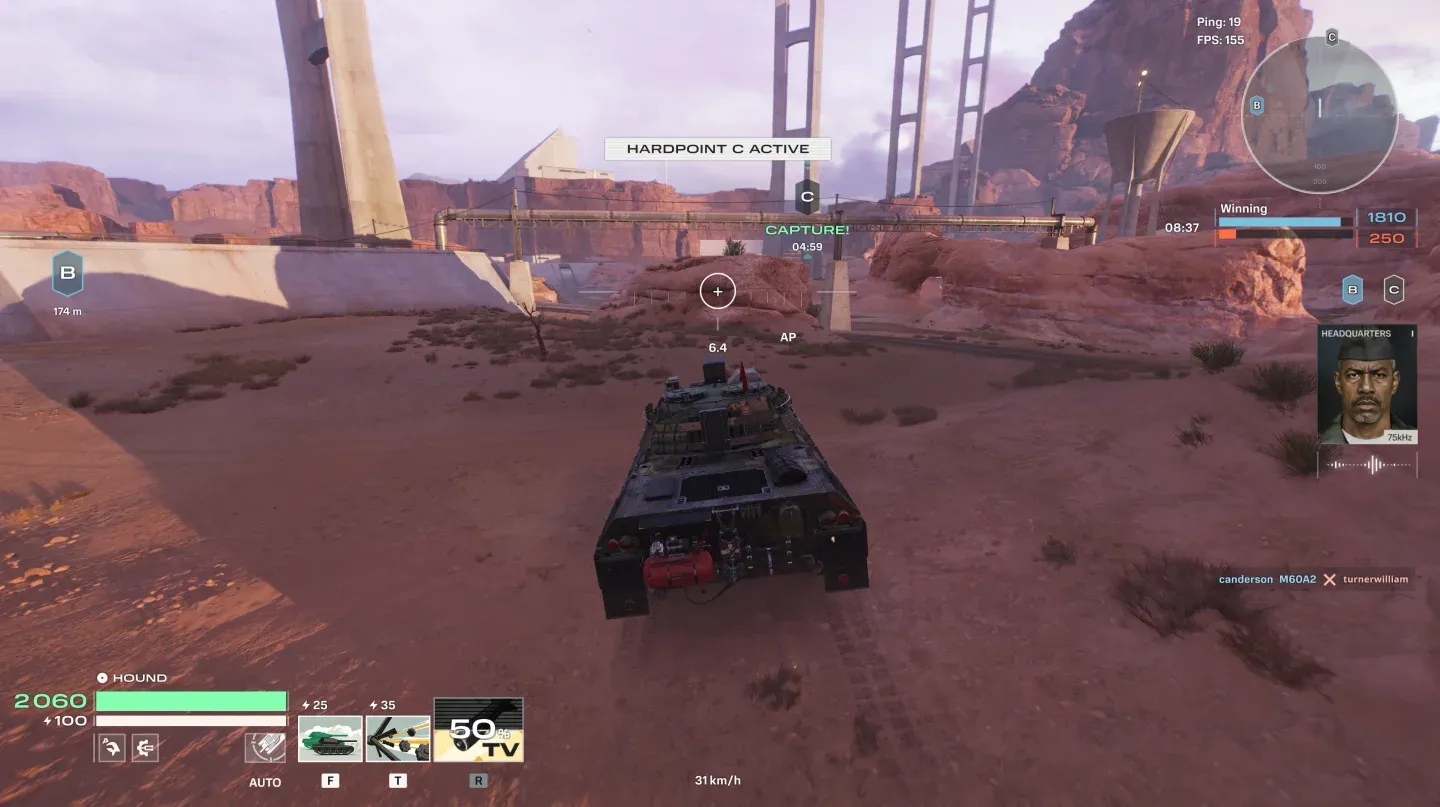
M1E1 shield blocks all fire
B-Tier Tanks
None of these tanks are completely unplayable, but each has a specific problem that limits their ceiling in the current meta.
AMX10 RC
The AMX10 RC can hit two tanks with a single Top-Attack missile volley, but only if those targets are traced. You either rely on a teammate to trace them or burn your UAV drone ability just to set up the missiles. Wasting an ability slot on target acquisition that other tanks handle passively is a real cost.
FV4030 X
The FV4030 X is the most defensively oriented tank in the roster. Jamming Field disrupts nearby enemies and the ballistic shield keeps you alive, but both abilities demand that enemies are already close. Against teams that play at range, this tank contributes almost nothing offensively.
M551A1
Close-range brawling is not where the current meta rewards you, and the M551A1 is built entirely around it. The damage output up close is real, and the shield stops incoming attacks, but getting into melee range consistently is a liability. This is also the hardest tank in the game to master, which compounds the problem.
T-62AV
The T-62AV has interesting tools. Pyro-Trail leaves burning ground that punishes enemies who follow you, and Rocket Barrage adds decent burst damage. The problem is that Pyro-Trail only works when enemies are actively chasing you, which is a condition you cannot reliably create. Better options exist for the same role.
LEO 1A6A1
The LEO 1A6A1 relies on a decoy to misdirect enemies and a Trapping Shot to immobilize and damage them. Both abilities have real limitations: the decoy placement range is extremely short, making it hard to use effectively, and the damage from Trapping Shot is too low to justify building around it.
What's the best tank in World of Tanks: HEAT?
The M60A2 is the strongest all-around pick right now. The autocannon damage, the guided missile, and the area fire on impact give it tools for almost every situation. If you want raw damage output with a low skill floor, this is the vehicle to unlock first.
For players who prefer utility over firepower, the Marder 1A3 is arguably more valuable in organized team play. Stacking Fragile on a priority target and letting teammates burst it down is one of the most efficient kill patterns in the game right now.
For more vehicle breakdowns, loadout tips, and strategy content, the World of Tanks: HEAT guides collection has everything you need to keep improving. HEAT sits firmly in the shooter games space but plays differently enough from traditional shooters that having a solid reference point for each tank makes a real difference.