
Xenonauts 2 drops you into the commander's seat with almost no hand-holding. You're managing a global anti-alien operation, juggling base construction, soldier training, air interceptions, and turn-based ground combat simultaneously. The game rewards careful planning and punishes recklessness hard. This guide breaks down every major system so your first campaign doesn't end in a nuclear war triggered by alien-manipulated world leaders.
What are the core gameplay loops in Xenonauts 2?
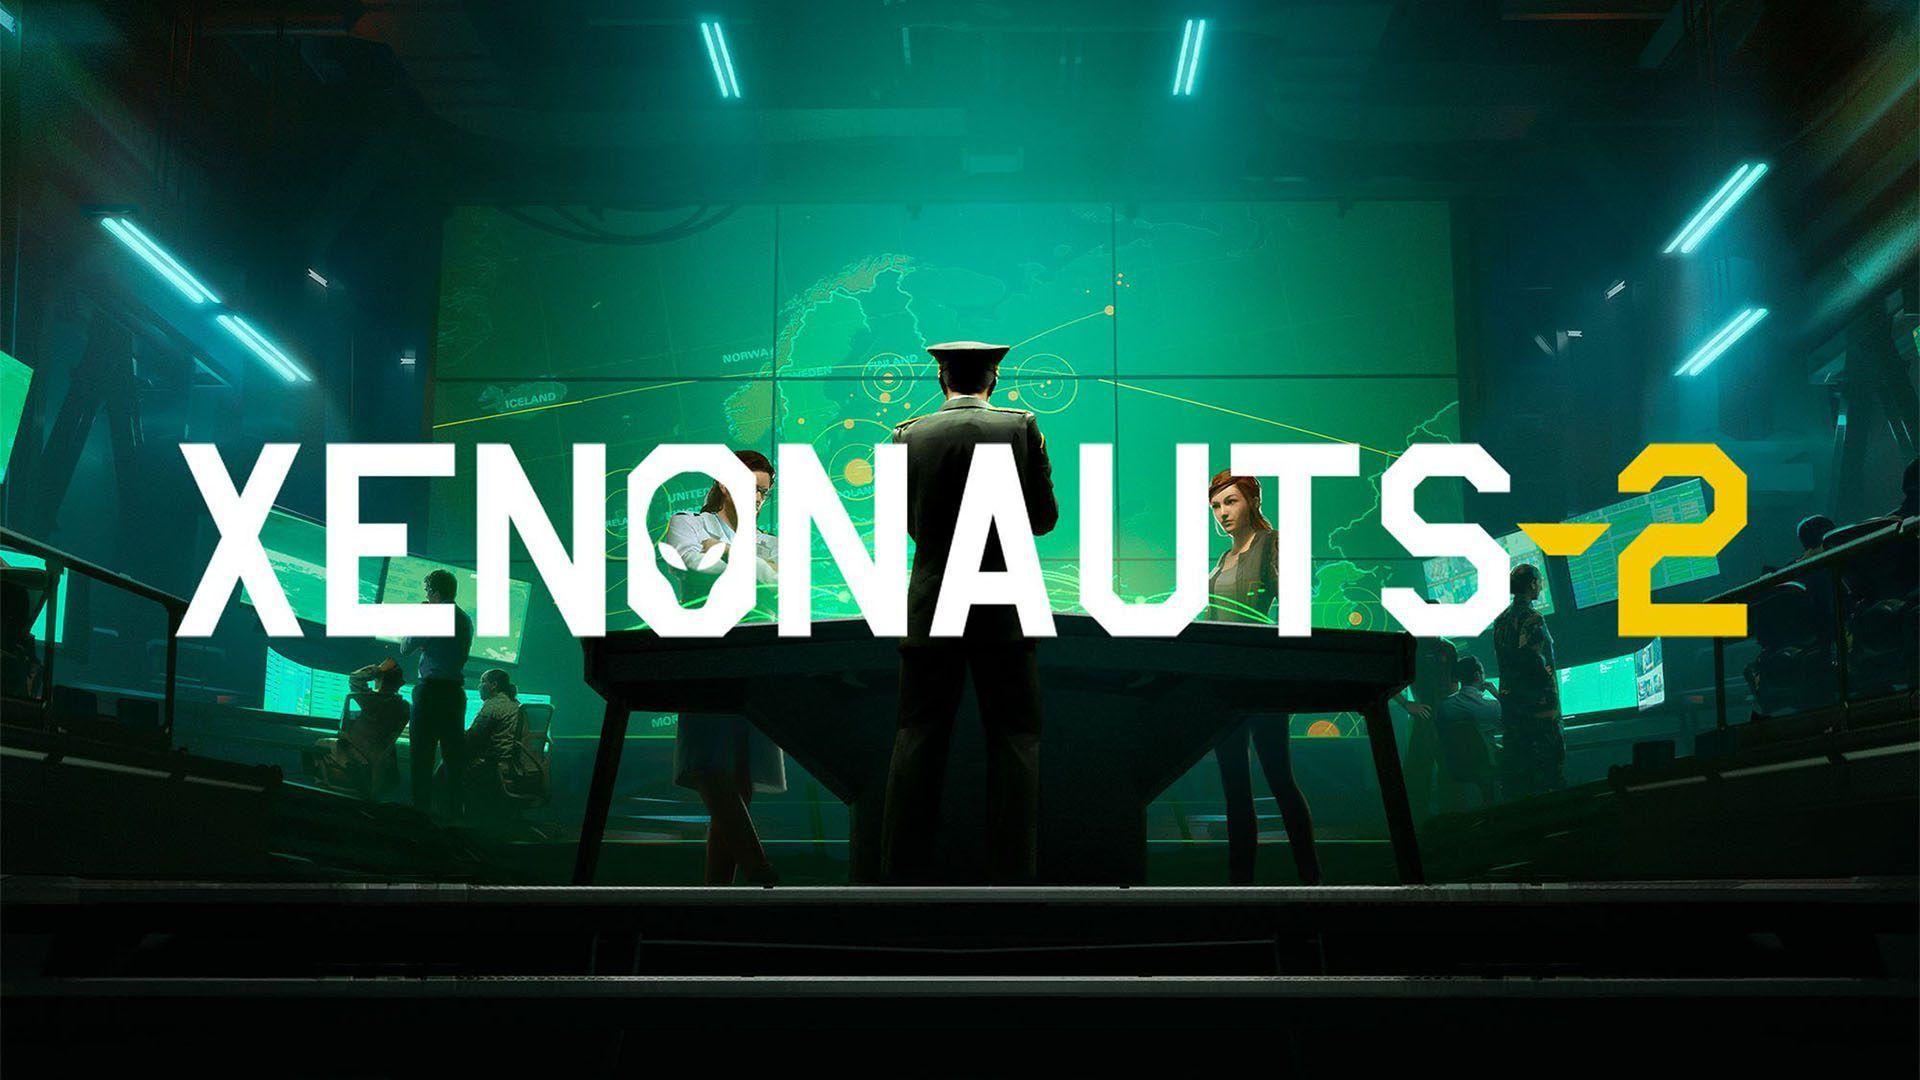
Xenonauts 2 runs on two distinct layers that feed into each other constantly. The Geoscape is your strategic view of the world, where you manage bases, direct aircraft, spend Operations Points, and watch the alien threat escalate in real time. Drop into a Tactical Mission and the game shifts to a tile-based, turn-based combat system where every Time Unit counts.
Neglect the Geoscape and your funding dries up, panic spirals out of control, and you run out of soldiers to field. Rush Tactical Missions without proper preparation and you'll lose your best troops to alien weapons that outclass yours from the start. Both layers demand attention.
How does the Geoscape work?
Time on the Geoscape runs continuously at adjustable speeds, toggled with F1 through F4. The slowest speed is the default when you first open the screen. At the fastest setting, a full day passes in seconds, so stay alert.
The bottom right of the screen shows your Operations Points: your current total and your daily income rate. These points are the currency of strategic influence. You spend them to raise emergency funds, reduce the Doomsday Counter, identify new recruits, build additional bases, and manage Supporters across every region.
Supporters fall into three states: Infiltrator (alien-controlled, actively hurting you), Neutral (doing nothing), and Recruited (working for you). Each region has four Supporters spread across five categories: Funding, Intelligence, Scientist, Engineer, and Security. One of those four is an Elite Supporter, marked with a star, which delivers double the effect of a standard Supporter. Recruiting all four Supporters in a single region unlocks a substantial bonus for your organization.
As the campaign progresses, the Doomsday Counter transitions into Regional Panic. If too many regions exceed a Panic rating of 100 for a full month, the campaign ends in defeat.
How should you set up your first base?
Your starting base placement matters more than most new players realize. Positioning your initial base somewhere geographically central lets your aircraft reach global events faster. You'll expand with additional bases as funding grows, but early response time is a genuine constraint.
Every base sits on a 6x6 grid that you fill with modules. The layout isn't just cosmetic: if your base gets attacked, the battle map reflects your actual construction. Plan with defense in mind from the start.
What modules should you prioritize?
Some modules grant adjacency bonuses when placed next to specific other modules, so layout optimization pays off. Building a Medical Facility early cuts recovery times for wounded soldiers. Injured troops suffer a significant HP reduction and need time off the roster, so having replacements ready and shortening downtime is essential.
Research and Engineering both scale with staff numbers. Your Research Capacity caps how many Scientists you can employ at that base, and your Engineer Capacity does the same for Engineers. Critically, research and engineering are per-base operations. Equipment built at one base doesn't automatically transfer to another, though alien resources like Alenium and Alloys are shared globally.
Running multiple bases means you can pursue multiple research projects simultaneously, which becomes a significant advantage in the mid-game.
How does soldier progression work?
Soldiers have six core attributes that all develop through active use, not passive leveling.
Every attribute requires 1000 Progression Points to gain +1. Killing a hostile unit awards 200 Progression Points regardless of which attribute. Progression Point requirements increase at certain thresholds, meaning high starting stats compound over time. Soldiers with strong base attributes are worth protecting.
Medals are earned through specific battlefield feats and reward +1 to all attributes on receipt, making them a meaningful bonus for veterans.
How should you equip your soldiers?
Every soldier deploys with exactly what you put on them in the Armoury. Forget to assign a primary weapon and they go into combat unarmed. The equipment screen has slots for Armour, Primary weapon, Secondary item (pistols only for the weapon slot), and the Tactical Vest for consumables and utility items.
Carry Weight matters. Exceed a soldier's Carrying Capacity and they suffer a Time Unit penalty every turn. Strength governs carry capacity, so heavier loadouts suit high-Strength soldiers.
Default loadouts can be saved and applied across your entire roster. If you've settled on a sniper configuration you like, save it and retrofit every sniper in one action. The system defaults to the base version of any item you don't have enough copies of, so you won't accidentally send soldiers out empty-handed.
What do you need to know about tactical combat?
Ground missions run on a traditional turn-based system with no initiative order. Every soldier acts before the turn ends, in whatever sequence you choose. The core resource is Time Units (TU): every action, from moving a single tile to firing a weapon, costs TU.
How does cover and line of sight work?
Line of sight uses a mutual system. If your soldier can see an alien, that alien can see your soldier. Vision cones extend from every unit and get blocked by walls, tall objects, and doors. During night missions, deploy flares to illuminate areas.
Cover works on two tiers. Low cover (boxes, fences, low walls) gives a 40% chance to miss incoming shots. Tall cover (hedges, full walls) provides a 100% chance to miss. Every object on the map is destructible, which cuts both ways: you can eliminate cover an enemy is hiding behind by shooting the object directly. Hold Ctrl and left-click any object to target it.
Crouching costs 4 TU and increases your Accuracy by 10% while making you 10% harder to hit. Always factor this into your TU budget before firing.
What are suppression, stun, and smoke used for?
These three mechanics can shift fights that would otherwise go badly.
Suppression triggers from near-misses, gunfire, and flashbangs. It immediately drains the target's remaining TU for the current turn and reduces their starting TU by 50% on their next turn. Use it to neuter dangerous enemies before they can act.
Smoke Grenades create clouds that make shooting into or out of them very difficult, while also applying stun damage to anyone inside. They dissipate after a few turns. Use them to buy time when you're outnumbered or need to reposition.
Stun tactics (Stun Baton, Stun Gun, Smoke) are cumulative. Once a unit's total stun damage exceeds its current HP, it goes unconscious. The efficient approach is to damage enemies first to lower their HP, then apply stun to finish them non-lethally. Captured enemies and equipment have research value.
Reaction Fire fires automatically when an enemy crosses your soldier's line of sight during the alien turn. The chance to trigger it depends on the Reflexes attribute, weapon modifiers, and how many TU the soldier has remaining. Ending your turn with TU in reserve isn't wasted: it directly improves your reaction shot odds and builds Reflexes.
Air-to-air interception: what should you know?
When a UFO appears on the Geoscape, you can scramble fighters to intercept it. Left-click a UFO to focus your aircraft on it, left-click empty space to reposition. The green and red cones show each ship's firing range. Use roll and afterburner abilities to dodge incoming fire.
Interceptions are timed. If the UFO survives until the timer expires, it jumps out of the engagement. Smaller UFOs that go down trigger a resource pickup at the crash site. Larger UFOs generate a Tactical Mission at the crash site for your ground team.
Skilled maneuvering can let you beat statistically superior UFOs early on, but this becomes harder as the alien campaign escalates with deadlier craft and wider firing angles. Advancing your aerial technology is eventually non-negotiable.
Key tips that will save your campaign
A few things the game doesn't spell out clearly enough:
- Hold Shift while hovering over a tile to see both the TU cost to move there AND the accuracy of a shot from that position. This is one of the most useful tools in the game.
- Pre-position troops inside the Skyhawk dropship before launching. A sniper or shield soldier near the side doors can get an immediate shot or flanking position the moment combat starts.
- Advanced alien weapons and equipment left on the battlefield are gone after the mission. Pick them up before extraction.
- "Eliminate Target" objectives often allow capture rather than killing. Capturing is harder but yields better rewards.
- If a mission is going wrong, retreat via the Esc menu. Every soldier not aboard the Skyhawk when you take the retreat option is counted as a fatality.
- There is friendly fire. Watch your angles.
For more strategy guides across all genres, browse the latest guides on GAMES.GG to keep your skills sharp across every game you play.