
007 First Light hides 23 MI6 Intel files across its chapters, and tracking them all down earns you the For Your Eyes Only trophy or achievement. These files are unlike any other collectible in the game: when you interact with one, it logs into your collectibles menu but stays physically in place. That means you can revisit any checkpoint through Chapter Select to clean up anything you missed, and the saves register the moment you interact, so no need to push to the next checkpoint.
The trickiest part of hunting these down is that MI6 Intel has no consistent look. One entry is a computer terminal. Another is a wooden spoon. Because the game offers no chapter-by-chapter tracker (only a type-based count when you open the Touchpad menu), this guide walks through every single file in order, with exact checkpoint references and precise directions.
After completing Q's tutorial in Chapter 4, you unlock the Q-Watch scan ability. Hold the relevant button to highlight nearby interactables in yellow, which makes spotting Intel in cluttered rooms significantly faster.

Q-Watch scan finds hidden intel
What do MI6 Intel files unlock?
Collecting all 23 MI6 Intel files unlocks the For Your Eyes Only trophy and achievement. Each file is a dossier on a character you encounter in the story, ranging from supporting agents like Selina Tan and Moneypenny to villains like Damian Webb and Caliban. They add context to the narrative without being required reading, but completionists and Bond lore fans will want every one.
Nothing in 007 First Light is permanently missable. Chapter Select lets you jump directly to any checkpoint, and Intel saves instantly on pickup. You can quit out right after grabbing a file without needing to reach the next checkpoint.
All MI6 Intel locations
Chapter 4: The Heart of the Matter
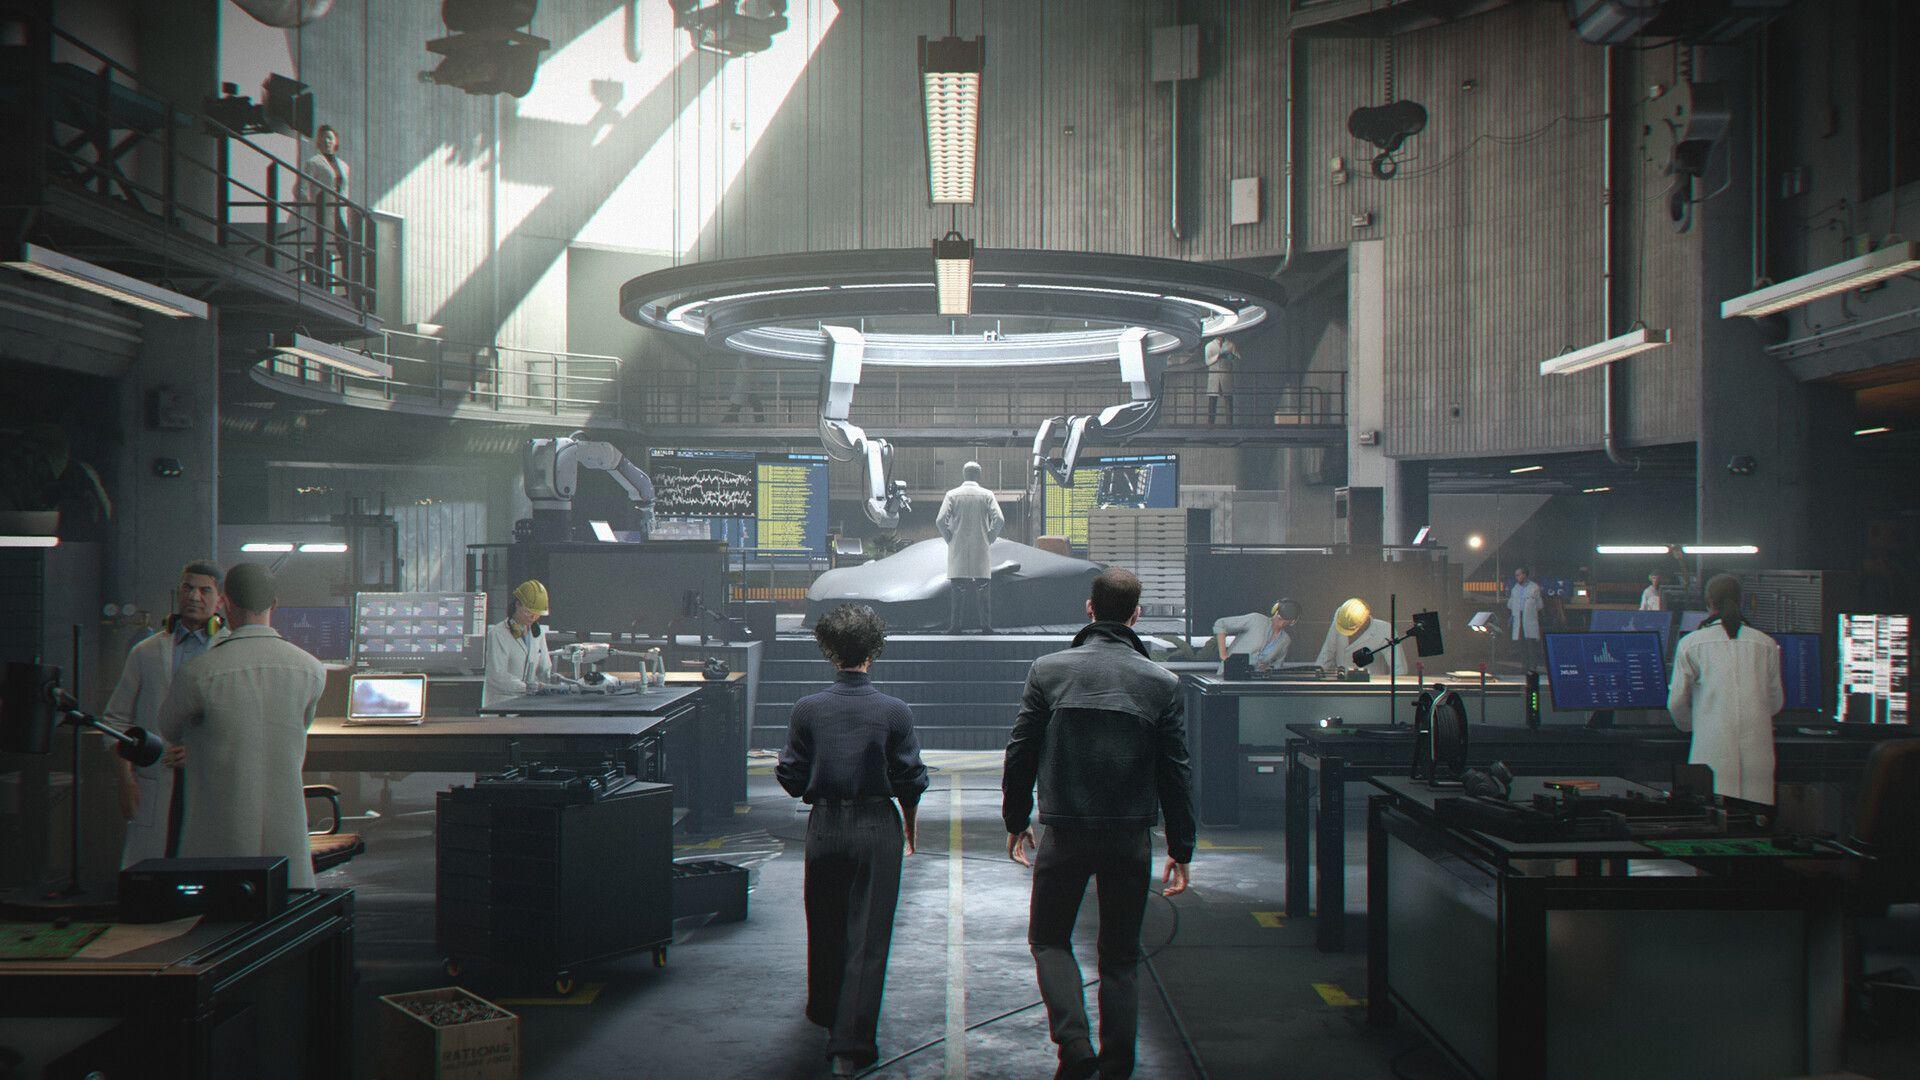
Intel #1: Workshop Notice (Selina Tan) Checkpoint: Q-Lab. When you enter the Q-Lab to meet Q and Selina Tan, head to the back right corner of the room. The file sits on a cupboard near two scientists in conversation.
Intel #2: Recruit Stats (00 Recruits) Checkpoint: Q-Lab. After speaking with Q and completing the Q-Watch tutorial, find the laptop on the desk behind where you first approached Q. You can only interact with it after finishing the Q conversation, not before. It sits next to the test chamber containing the green Land Rover.
Chapter 5: A New Home
Intel #3: Family Photo (Lennox Monroe) Checkpoint: Home. Walk straight into the living room immediately after arriving at the penthouse. The photo sits on the cupboard in the right corner, on a dresser with two mirrors on top. Flip it to log the file.
Intel #4: Dress Box (Cressida Bright) Checkpoint: Home. Follow the main hallway objective into Cressida's bedroom. The intel is the gift box sitting on her bed.
Chapter 7: A Matter of Considerable Delicacy
Intel #5: Arrowhead Report (Arrowhead) Checkpoint: Operations. After taking the elevator up to see Moneypenny, turn around and walk in the opposite direction of the objective marker. At the far end of the floor you'll find a red file on a desk beneath a large TV displaying the MI6 logo.
Intel #6: 009 Profile (009) Checkpoint: Master Manipulator. Trigger the cutscene in Moneypenny's office, then grab the manila folder sitting on her desk before continuing the conversation.
Chapter 9: Out of the Ashes
Intel #7: Facial Composite (Niko and Tero Murto) Checkpoint: Talk to Moneypenny. After taking the elevator up to Operations, hang right when you exit. The file on the Murto twins sits on a desk along the back wall in the corner.
Operations floor intel pickup
Chapter 10: The Past Never Dies
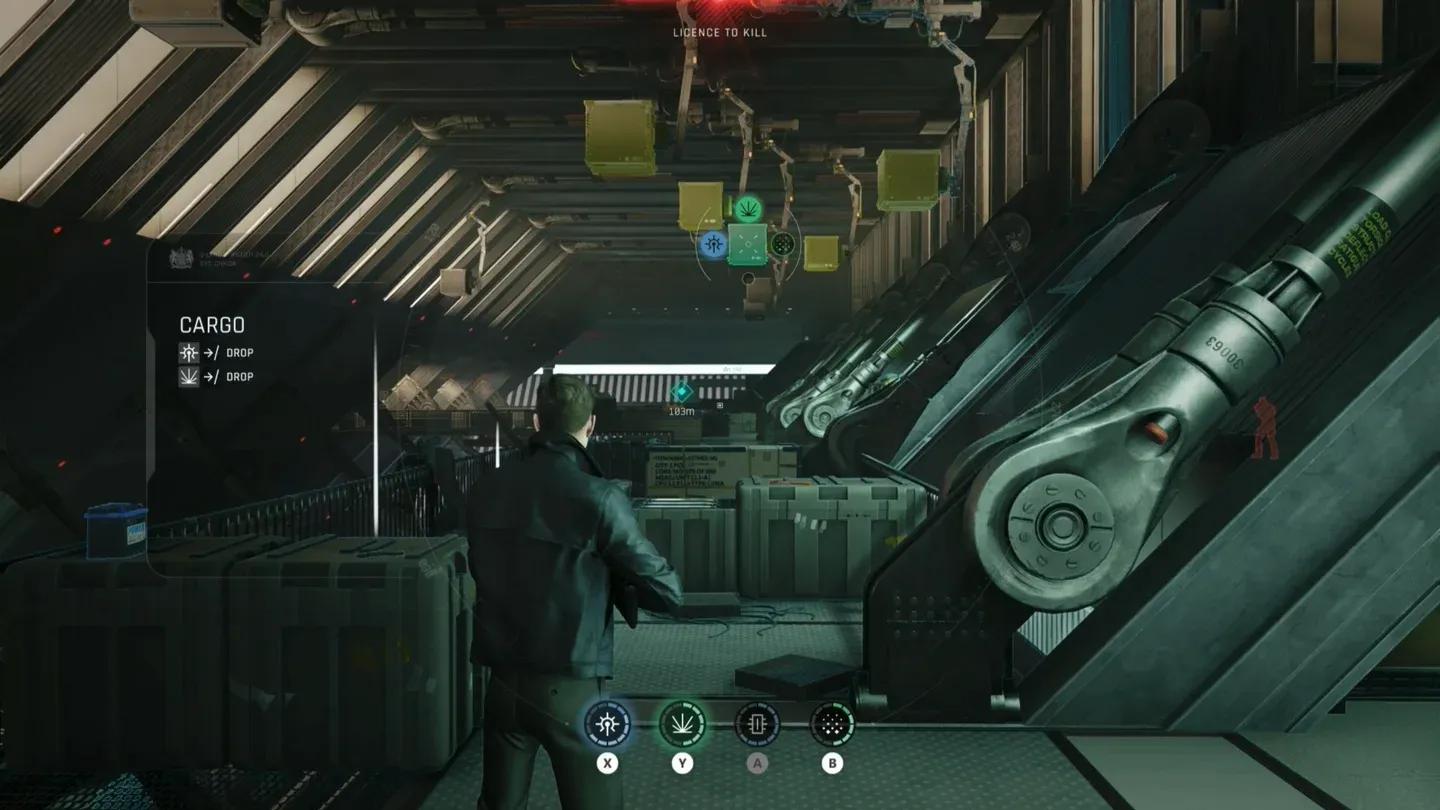
Intel #8: Delivery Box (Bawma) Checkpoint: Black Market. Head toward the weapon dealers and shooting range section of the market. At the pickup truck loaded with guns, hang left then right toward a stall selling golden statues and antiques. The small box on that table is the file.
Intel #9: Photo of Greenway (John Greenway) Checkpoint: Examine the crime scene. Board 009's boat and trigger the cutscene. Afterward, enter the backroom and turn left. The photo of John Greenway is on the table along the wall.
Chapter 11: Uninvited
Intel #10: Bond Family Photo (James Bond) Checkpoint: Back home. Enter Bond's bedroom and interact with the photo on the nightstand to the right of the bed.
Intel #11: Webb Industries Press Pack (Webb Industries) Checkpoint: Get upstairs. After entering the gala using the stolen invitation, go left into the room with empty chairs and a stage. A guarded press photographer section sits to the left. Distract the guard at the entrance using the fusebox in the right corner, then use the Bluff mechanic on the remaining person inside. Grab the promotional flier on the table.
Intel #12: Security Notice (Stephen Bright) Checkpoint: Security Office. Inside the security hub on the second floor, take the second door on the right into the large conference room. The file on Stephen Bright is on the center table. Bond will handle the two guards in the room automatically.
Chapter 12: Knightfall
Intel #13: Wooden Spoon (Roger Finch) Checkpoint: Executive 1st Floor. After Greenway boosts you up to the statue, jump to the next balcony, follow it left, and jump the railing. Shimmy across the ledge and climb through the window. Head downstairs to the bathroom and kick open the left stall to find the office key. Return to the locked door on your main path, go through, and enter the office labeled R. Finch on the left. The large wooden spoon on display by the wall is the collectible.
Intel #14: Employment Contract (Isola Vale) Checkpoint: Executive 1st Floor. When you reach the corridor with laser sensors blocking a door, push the obstacle aside to access the vent. Take the straight path through the vent (not the left exit) and emerge into an office. The contract is on the desk.
Intel #15: Psych Profile (Damian Webb) Checkpoint: The Penthouse. Reach Webb's penthouse and check the back right corner. The file sits on the shelf beneath the statues.
For Intel #13 in Knightfall, you need to find the office key in the bathroom before the locked door will open. Players who skip the bathroom detour often get stuck wondering why the door won't budge.
Chapter 13: Going Old School
Intel #16: Driving Gloves (Q) Checkpoint: In the zone. When you meet Q in the back room of Q-Branch, look to the right of the car being worked on. The pair of driving gloves on the desk is the Intel file.
Chapter 14: Time to Die
Intel #17: Keynote Presentation (Theresa Lorca) Checkpoint: The three targets. After the cutscene where you meet Lorca at the Serenity Space pool area, the file is on the ground directly at your feet in front of the loungers. Hard to miss if you look down.
Intel #18: Caliban Profile (Caliban) Checkpoint: Suit up. Complete the bowtie QTE sequence, then walk into the living room and interact with the file on the desk.
Intel #19: Gun Case (Riptide) Checkpoint: Tracking Damian. After being freed from the handcuffs, look to your right for a black case resting on a bundle of cables (wooden coil). Interact with it before moving on.
Riptide intel case location
Chapter 15: Man of the Hour
Intel #20: Q's Photo (Rhys Beckett) Checkpoint: The betrayal. Make your way into the Q-03 Stress Testing room by using a gadget on the fire extinguisher above the door scanner (the Laser Strap works here). Inside, open the locked cabinet using code 4397. That number comes from the license plate of the armored car in the test chamber right beside you. Inspect the photo inside to collect the file.
The cabinet code for Intel #20 is always 4397, tied to the in-game car's license plate. If you want to skip the in-game puzzle, just use that number directly.
Chapter 16: Wave of the Future
Intel #21: M Profile (M) Checkpoint: Operations Department. Progress to the security room where you upgrade your ID bracelet as part of the main story. M's profile is sitting on a desk near the vent exit inside that room.
Intel #22: Webb's Manuscript (Sir Nicholas Webb) Checkpoint: Operations Department. Directly after upgrading the ID bracelet, follow Isola until you reach an area with a large rock holding a chair and a cat statue. The manuscript is on the chair.
Chapter 17: For England
Intel #23: Wallet (Eve Moneypenny) Checkpoint: Utility tunnels I. After defeating the two snipers, enter the service tunnel and use the wall panel to shut off the fan. Pass through the fan and the wallet is straight ahead on the ledge, before you climb down the ladder.
Quick-reference table: all 23 MI6 Intel files
How do you track missing Intel without a chapter counter?
The game's collectible menu sorts by type, not by chapter, so you can see your total Intel count but not which specific chapter you're missing one from. The fastest fix is to cross-reference your count against this guide's table. If you have 19 out of 23, for example, check which chapter ranges you haven't revisited and jump directly to the relevant checkpoint in Chapter Select. Since the save triggers on pickup, you can grab a file and quit immediately.
For players chasing the full 92-collectible haul, the 007 First Light all 92 collectible locations guide covers every type including Cards, Mementos, Postcards, and Legacy Items in one place. If you're specifically after the safe and door codes that appear alongside some of these collectible runs, the 007 First Light safe codes and door codes guide has every combination including the 4397 cabinet code from Chapter 15.
The Intel files are among the more story-rich collectibles in the game since each one is a dossier on a named character. Collecting all 23 gives you a fuller picture of who Bond is dealing with across the whole campaign, which makes the 007 First Light guides collection worth bookmarking if you plan to go for full completion across all collectible types.