
Alabaster Dawn looks approachable in its first hour. One sword, one crossbow, some enemies to swat. Then the Trial of Aether opens up, Inferna Vespa blocks your path, and suddenly the game is asking whether you actually understood anything it taught you. The answer, for most first-time players, is "not quite." This guide covers what the game expects you to know before those walls go up: weapon planning, Growth Chart priorities, gems, food, Trial of Aether puzzle logic, and a full breakdown of the Inferna Vespa boss fight.
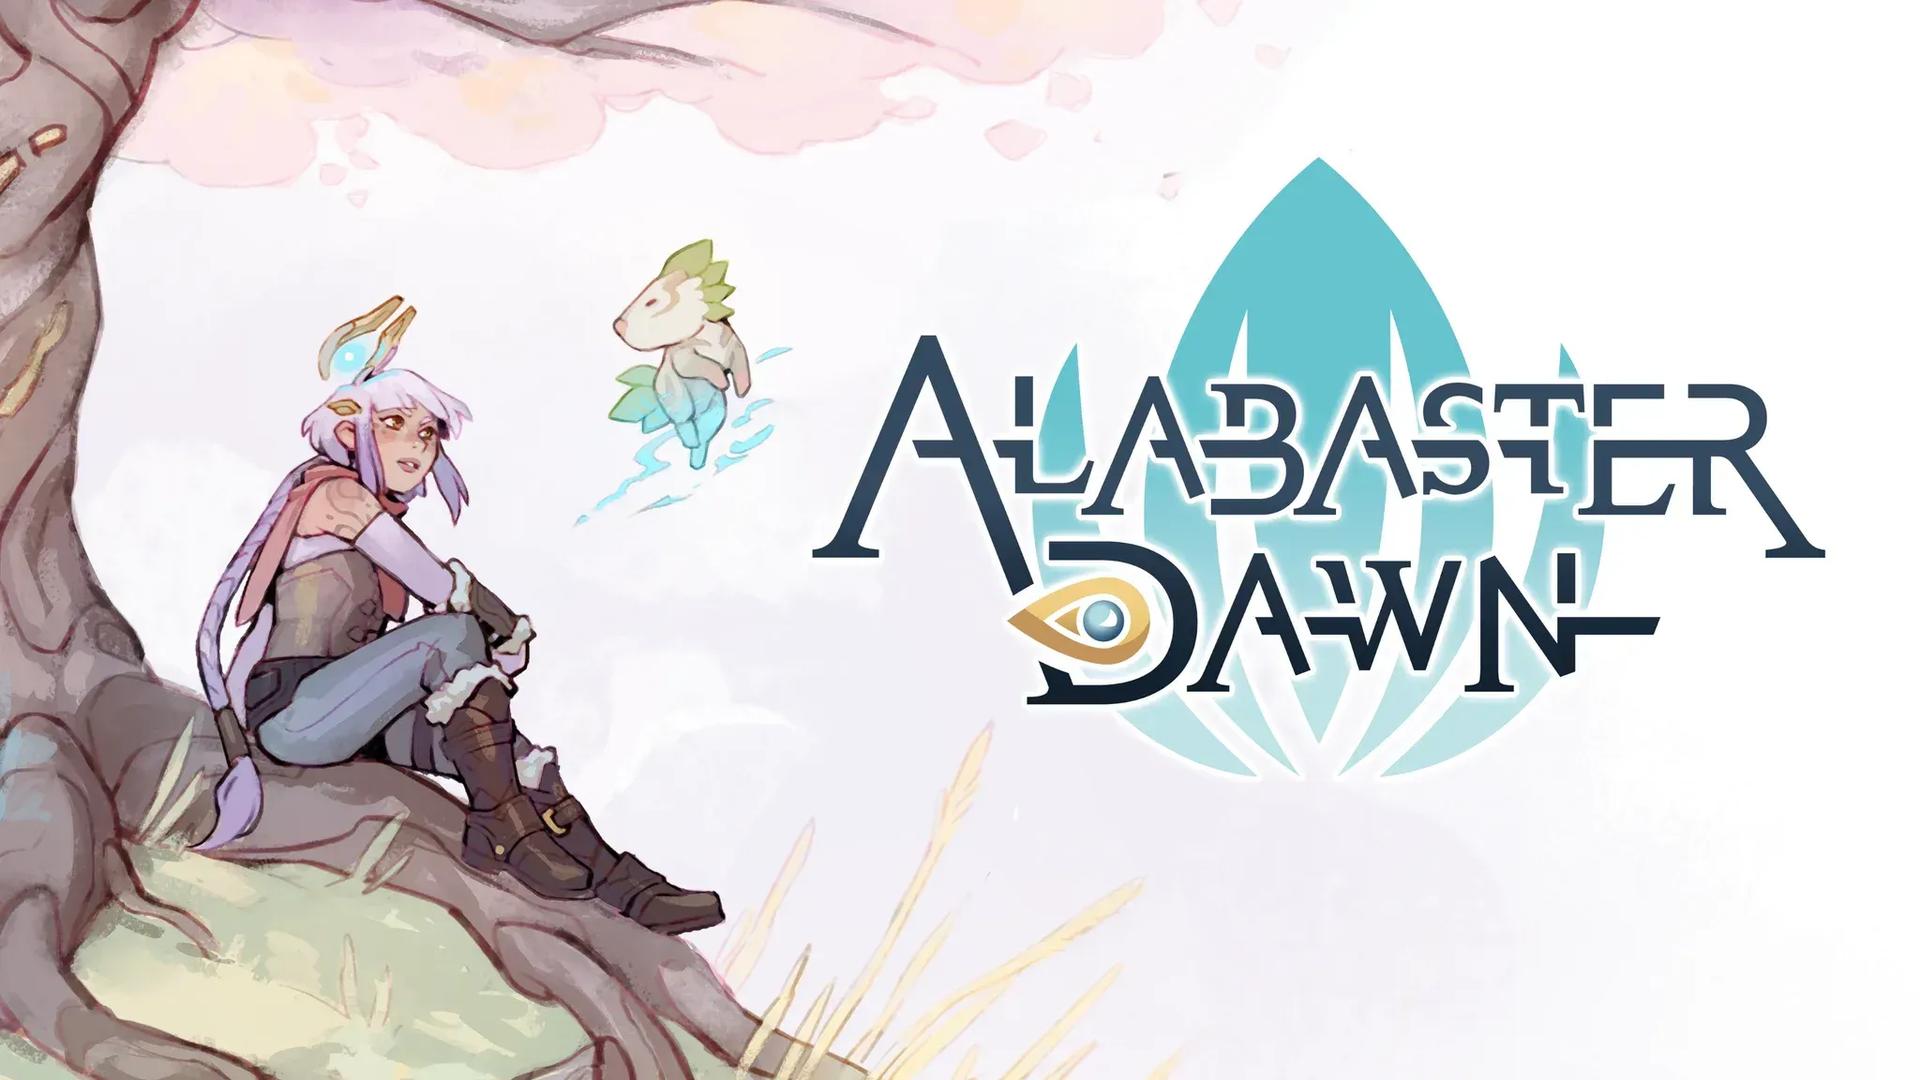
Developed by Radical Fish Games, the studio behind CrossCode, Alabaster Dawn is a top-down action RPG built around 4 elements, 8 weapons, weapon-specific Growth Charts, puzzle dungeons, and a food scaling system called Palate Level. You play as Juno o'Lira, who wakes underground after the catastrophic arrival of Nyx and has to fight her way back to her destroyed village.
The opening teaches one system at a time, but the full structure is deeper than it appears:
If you are coming from CrossCode, the DNA is obvious. Alabaster Dawn adds weapon XP, food scaling, and more direct action-game commitment on top of the puzzle and element reading CrossCode trained you for.
How does the weapon system work?
The first weapons you receive are the Claio Solas (sword) and Bogha Solas (crossbow), handed to Juno by her companion Cabbage early in the prologue. The hammer, Ortrom Solas, arrives soon after and teaches you that weapons are not cosmetic swaps. Later, the Chakram-style ranged weapon Fain Solas becomes important for puzzle interaction and object-catching.
The full picture is 4 elements with 2 weapons each, not just sword and crossbow.
Weapon XP planning by stage
Combat basics: what actually matters
Alabaster Dawn is fast, but it is not a mash game. Three layers define how fights play out.
Break pressure matters more than raw damage in many encounters. The stagger meter under an enemy's health bar fills as you hit them. Fill it completely and the enemy is staggered, opening a punish window. Breaker-focused moves and the right weapon type speed this up significantly.
Animation commitment is the source of most early deaths. Heavy attacks and charged strings are strong precisely because they lock you in. Use them after a whiff, after a break, after a projectile pattern ends, or when the target is locked into its own animation. If the enemy is still active and close, use shorter strings.
Guard and parry timing can turn incoming attacks into punish windows. When the game marks incoming projectiles with red arrows, that is a signal that you can parry. A timed press of E before the projectile connects reflects it rather than just avoiding it. Dodging with Space keeps you alive, but a clean parry creates an opening.
Element and enemy quick reference
If an enemy feels too tanky, check whether it needs a specific weapon, element, or break tool before assuming your level is too low.
Growth Chart, Breaker, and upgrade priorities
The Growth Chart is where weapons become real tools, not just stat sticks. Early nodes unlock weapon-specific Combat Arts, gem slots, stats like strength and armor, Breaker pressure, stamina, and defensive options.
A good early Growth Chart plan is not "all damage." The goal is enough survival to make mistakes, enough break to create openings, and enough weapon identity to solve rooms faster.
Gems and the Artificer system
Gems slot into weapons and equipment to shape your build. The Artificer forge system opens up as the game progresses and lets you craft or upgrade gems. A single well-chosen gem can matter more than a Growth Chart node.
Food, boosts, and Palate Level
Food is a real combat system. Cooking meals gives you boosts that can be activated mid-fight. Holding the input while activating a boost slows time slightly, making it safer to use in the middle of a tough encounter.
Palate Level is the part most new players ignore. The more you cook and try different dishes, the higher your Palate Level climbs, and the more powerful your food effects become over time. If you only cook the same basic meal, you are leaving long-term scaling power unused.
How to solve Trial of Aether puzzles
Trial of Aether is the first dungeon that tests whether you actually understand weapon, element, and projectile logic. The core mechanic is simple: use Aether panels or the Power of Aether ability to charge your ranged attacks, then hit purple orbs, crystals, switches, and lightning-weak enemies.
The most common mistake is trying to solve every room with normal shots. If a purple orb, ring, or crystal does not respond, check three things in order:
- Are you standing on the Aether panel or using Power of Aether?
- Are you hitting the correct target from the correct angle?
- Does the room need a ring interaction or Chakram catch before the shot matters?
Room-by-room answers
How to beat Inferna Vespa
Infoerna Vespa is a giant wasp that guards Nyx's nest and is the first boss that forces you to stop playing sloppy. The fight takes place in a nest arena where the boss controls distance with dives, stomps, and multi-shot projectile patterns.
The core lesson Inferna Vespa teaches: stop chasing. Most deaths happen when players swing during movement instead of waiting for the final landing, projectile recovery, or break state.
Inferna Vespa attack guide
Shooting bolts at Inferna Vespa's abdomen while it is mid-air is the most reliable damage approach. Keep building the stagger meter with crossbow pressure, and when it falls to the ground, move in and spend your best melee combo. When it recovers, it fires multiple lasers from its mouth: dodge or parry them, then repeat.
Pre-fight checklist
- Fill your Healing Bulbs before entering. The boss can deny access to arena healing plants during the fight.
- Cook and activate a food boost if you have one available.
- Have at least one reliable Combat Art on your main melee weapon.
- Make sure your crossbow has a Growth Chart unlock so ranged pressure does more than chip damage.

Inferna Vespa stagger window
Exploration, side quests, and unreachable chests
Alabaster Dawn is route-heavy by design. You will see rewards before you can reach them, and that is intentional. Most blocked chests or inaccessible areas require a later weapon, a specific Divine Art, a completed side quest, a rebuilt route, or a shortcut that has not opened yet.
Do not make 100% completion your first goal. Mark suspicious spots and keep progressing until you have more tools.
What not to worry about yet
For deeper dives into specific systems, the full Alabaster Dawn strategy guides cover builds, Trial of Aether room-by-room solutions, boss patterns, and exploration in detail. Alabaster Dawn sits firmly in the action games space, and if you enjoy games that reward learning their systems properly, the depth here is worth the investment.