
The Trial of Aether is the main dungeon in Alabaster Dawn and the only one in the launch version of the game. Located in the Koro Valley, it is where you unlock the Aether element and spend several hours learning a puzzle language built around Aether panels, floating rings, movable blocks, and the Chakram. Most players do not get stuck because the puzzles are hard. They get stuck because one small detail is easy to miss: stepping off the panel before firing, skipping the ring interaction, or treating the Chakram as a damage tool instead of an object-control tool.
What tools do you actually need for Trial of Aether?
Before tackling individual rooms, you need to understand what each piece of equipment actually does in this dungeon. The single biggest error players make is trying to solve every room with normal shots.
The dungeon rewards players who combine panel charging, ring redirection, Filia weaving, and Chakram object control. Combat is secondary to understanding the room.
Floor A walkthrough
A1: Switch platform puzzle
A1 teaches the core switch logic that runs through much of the dungeon. The order and your position both matter.
- Shoot the left switch first.
- Step onto the platform.
- While standing on the platform, shoot the right switch.
- Move forward after the path shifts.
- Shoot the next switch to lower the first barrier.
- Move forward, then shoot that same switch again to lower the second barrier.
If the second barrier stays up, you shot the switch from the wrong position. Return to the platform angle and try again.
Optional chest: Near the door, jump right onto the side platform and follow the path around to find a chest containing Whisper of the Gods x3.
A2: Crystal path hub
After clearing enemies, interact with the floating object. Hitting the crystals (one at a time) activates paths on each side of the room. Follow each side path to its door. Once you reach a door, that path stays permanently unlocked. You will return to A2 multiple times, so do not worry about chests you cannot reach yet.
A3: Block marker room
Kill the enemies, then interact with the floating object to spawn blocks. The marks on the floor are your guide for final block placement.
- Move the first block so you can jump to the second block on the platform.
- Use both blocks to build a path to the northern platform.
The second section has two blocks and two crystals. Place the first block at the platform edge, the second block at the back left on the square floor marker. Hit the top crystal to create a platform, jump to the second block, then hit the other crystal to finish.
A4: Floating ring projectile room
A4 introduces the floating ring mechanic. Firing a projectile into a ring lets you redirect it in a new direction.
- Shoot the ring, then steer the projectile into the left orb to lift the platform.
- Repeat with the set of 3 floating rings to hit the second orb on the right.
- For the barrier section: lower the barrier with the switch, move your projectile into the middle ring, raise the barrier again, then hit the upper-left orb.
Clear the remaining enemies and exit back to A2. Grab the Trial Mark to unlock the path forward.
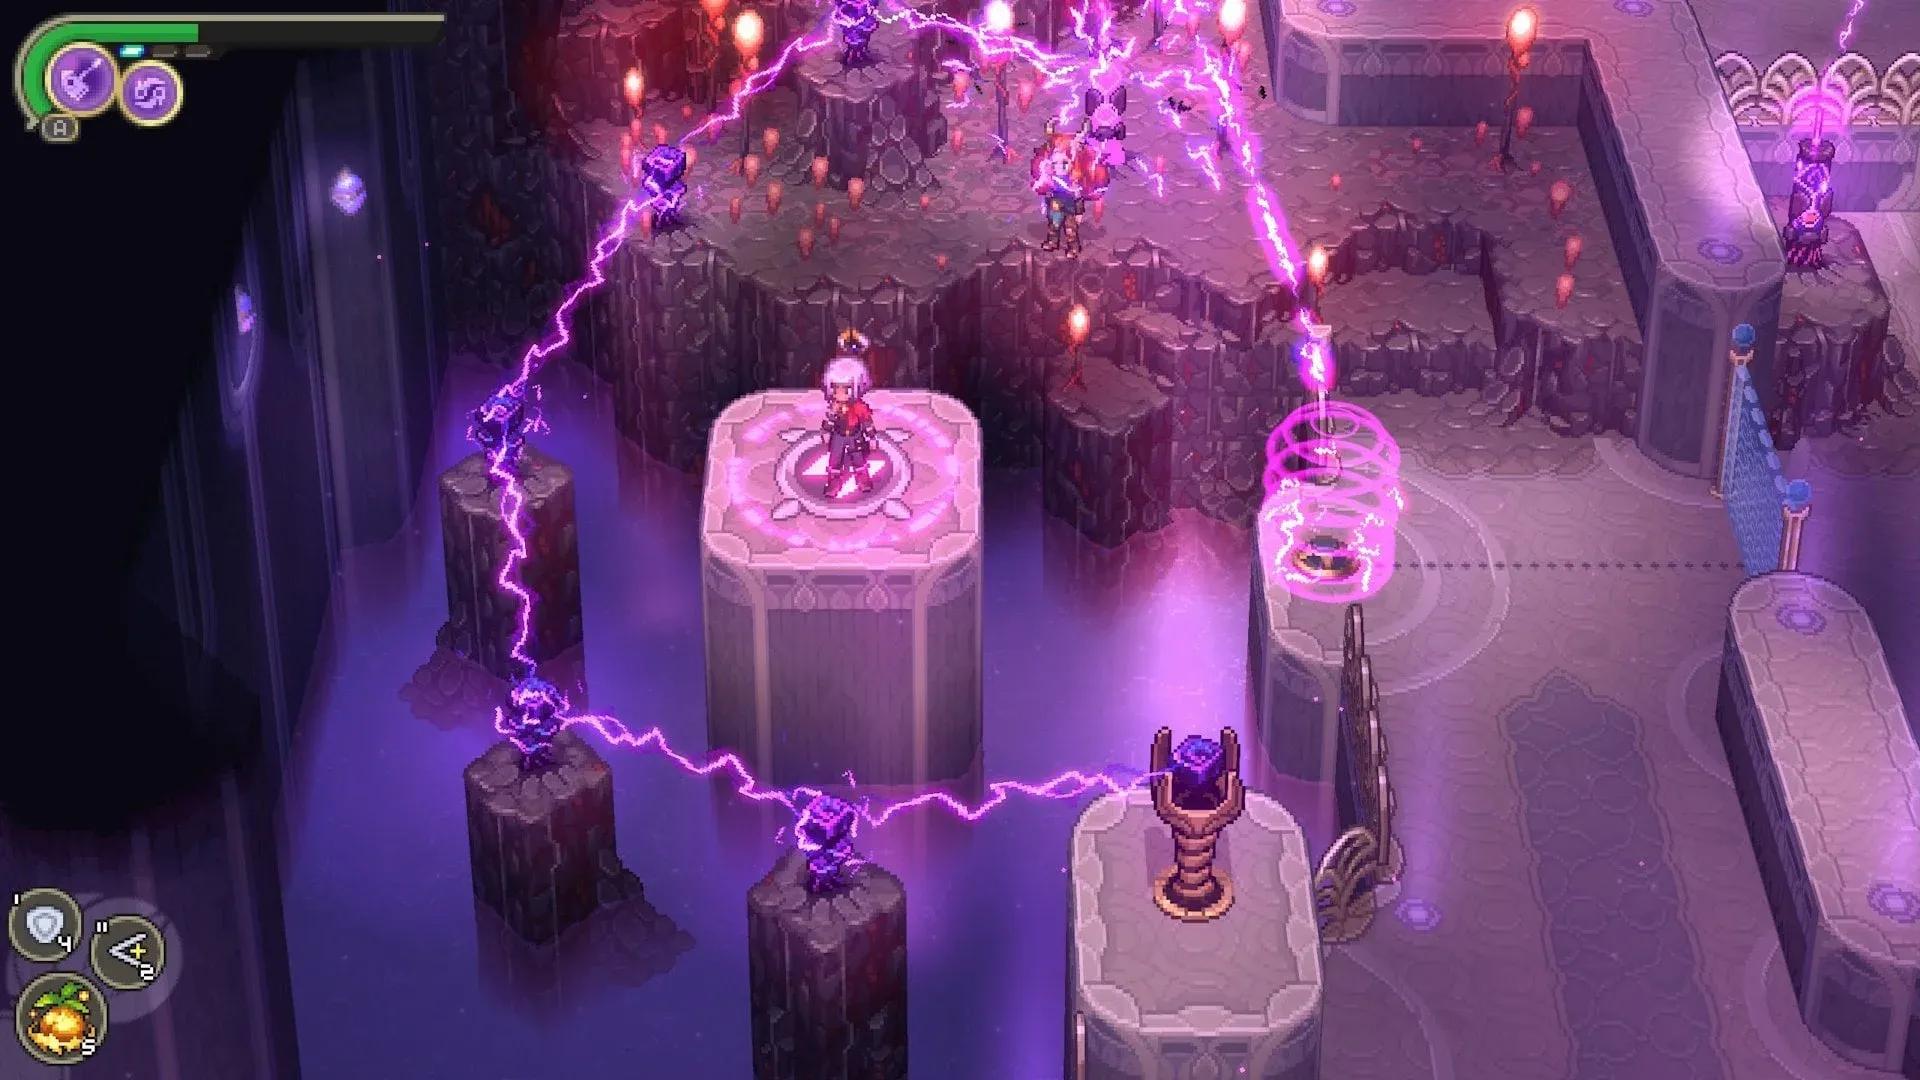
A5: Aether panels and the block chain puzzle
A5 is where the dungeon's main mechanic becomes explicit. This room has two distinct challenges.
First half: four purple orbs
After clearing the enemy waves, a purple Aether panel appears on the floor. Stand on it to charge your projectiles, then shoot all four purple orbs on both sides of the room. Move to the next panel and hit the purple rock on the pedestal to remove the shield from the button, letting you head east.
Two detours worth grabbing before finishing A5:
Second half: block chain puzzle
This is the A5 section that stops most players. The two movable blocks are not just platforms here. They act as conductors for the Aether lightning chain.
- Move the lower block so it sits between the purple pedestal rock and the pillar shielding the other rock.
- Stand on the Aether panel and shoot the pedestal rock.
- Reposition both blocks to form a clean line from the pedestal rock toward the second pillar.
- Shoot the pedestal rock again.
- Once the orb shield drops, shoot the orb to open the way forward.
Interact with the floating objects to move to the next floor.
Floor B walkthrough
B1 and B2: Aether combat rooms
Shoot the purple orbs from the Aether panels, then move through the enemy waves. The frogs take extra damage from lightning, so stay on the panels while shooting them. The large turtle fires a projectile you can reflect back at it.
Completing B2 grants you the Power of Aether, which lets you use Aether attacks freely without relying on floor panels. This changes how the rest of the dungeon works.
Outside the Hall of Trials: Dirty Quill location
After exiting the Hall of Trials, do not walk straight to the next area. Jump to the platform on the left.
- Shoot the left-side rings.
- More rings and an orb appear.
- Complete the ring and orb sequence.
- Open the chest for the Dirty Quill gem.
Dirty Quill effect: +20% ranged attack and +35% Blight resistance. This is one of the best early gems for players using Aether-charged projectiles or safe ranged pressure.
Heading right reveals another lightning puzzle. Interact with the floating rings, hit the crystal to raise a platform, then break the rocks behind the taller cliff section to find a chest with Whisper of the Gods x4. Hit the crystal then the pedestal rock quickly to free the pillar, interact with it to destroy it, and open the next enemy arena. After clearing it, check the left side for a chest containing an Amplifier Construct.
B3: Moving platform puzzle
Interact with the large floating rings to summon platforms and crystals. Hitting the crystals next to platforms causes them to move. Reach the second platform, then shoot the crystal on that platform to drop the barriers.
On the second visit to B3, you will use moving platforms and buttons together. Each button shifts a platform between two positions, and you need to coordinate orb launches with platform timing to clear both barriers.
B4: Key route connector
B4 is mostly a connector room. You need a key before going north. Clear the enemies and keep moving. On a later pass through B8, you can shoot growths along the north wall of B4 to remove walls and access a chest containing the Stardrop Counter Divine Art (though expect an ambush when you try to open it).
B5: Ball and Chakram puzzle
B5 is the dungeon's biggest wall for most players. The room is not asking you to shoot the ball. It is asking you to move it, catch it, and redirect it.
First visit setup:
- Go left and interact with the rings to spawn a block.
- Move the block down and to the right.
- Return to the ball and hit it twice so it lands on the lower platform.
- Equip the Chakram and catch the ball.
- Fire the ball onto the ring on the block.
- Move the block left and up.
- Fire the ball into the tentacles.
Second visit (B5 again):
Interact with the rings to spawn two blocks. Move the top block all the way right, move the lower block right then down. Shoot the ball up, catch it with the Chakram, fire it into the block, then move that block up to line up with the other one. Move that block up between the two platforms, then fire the ball into the tentacles to remove the wall and get the key.
B6: Lightning orb routing
After the enemy waves, the dungeon introduces orbs with purple rocks inside. Hitting the pedestal rock with lightning activates the orb and makes it float. You can then shoot it to move it, similar to the ball in B5.
- Direct the first orb into the purple rock at the bottom to remove the barrier from the pillar.
- For the second combo: activate the orb, hit it left, catch it with the Chakram, launch it into the rings north, then into the pillar powering the barrier.
- The final section requires activating the northwest orb, shooting it up, catching with Chakram, firing right to activate a second orb, then chaining that second orb through two sets of rings into the final pillar.
B7: Enemy gauntlet and Boom Snare
B7 is a straight enemy gauntlet using enemies you have seen throughout the dungeon. Clear them all to unlock the chest, which contains the Boom Snare Divine Art. Take the upper door into B4 to shoot a growth across the gap and remove a wall, then return through B7's lower door.
B8: Enemy lightning balls
A new gimmick appears here: some enemies fire lightning balls that release catchable orbs when you shoot them. Catch and fire these orbs into pillars and purple rocks to remove barriers. Take the left door to access B4's north side and the Stardrop Counter chest.
B9: Multi-element orb puzzle
B9 is the dungeon's hardest puzzle room because it checks whether you understand element switching. The key rule is that you can have projectiles of different elements active in the room simultaneously.
Element matching:
Multi-projectile sequence:
- Fire an Aether projectile into the rings and direct it toward the lightning orb.
- Before that sequence finishes, switch to wind.
- Fire a wind projectile into the first set of rings.
- Move the wind projectile down into the lower rings.
- Switch back to Aether and redirect the lightning projectile down and right to hit its orb.
- Switch back to wind and hit the wind orb.
Symbol orb section (second half of B9):
The right side replaces elemental orbs with symbol orbs that change the room state rather than just dropping barriers. Your goal is to move a block through the room using these symbols.
- Activate the large rings, then hit the purple pedestal rock to activate the orb.
- Catch the orb and fire it into the block.
- Switch to wind to move the block.
- Move the block onto the first button, then shoot the star symbol to create a bridge.
- Move the block across, then fire into the up-arrow orb.
- Push the block onto the next button and stand on the second button when the barrier drops.
- Shoot into the "S" symbol and move the block along.
- Repeat the button-and-block setup, shoot into the "U" shaped orb.
- Switch to Aether / lightning and fire into the final pillar.
B10: Final enemy waves
B10 is a series of enemy waves. Clear them, then head back into B3 and take the elevator up.
How do you beat Rana Lingua Magna?
Rana Lingua Magna is the Trial of Aether boss. The fight is built around the break meter mechanic.
- Build up the break meter safely by avoiding AOE attacks and dealing consistent damage.
- When the meter fills, the boss breaks and exposes its tongue. Attack the tongue immediately for heavy damage.
- After the first break, lightning pillars protect the tongue. Shoot the balls fired by the cliff enemies, catch them with the Chakram, and fire them into the lightning pillars to clear the protection.
- Once the pillars are down, punish the tongue again.
The simple rule: break first, clear pillar protection with Chakram if needed, then punish the tongue.
All Trial of Aether rewards worth grabbing
Common mistakes that will get you stuck
For more help with Alabaster Dawn's systems, the Alabaster Dawn guides collection covers builds, gems, and everything beyond the Trial. If you are new to the genre, action games with puzzle-heavy dungeons like this reward patience over brute force every time.