
The Unyielding Solidarity questline is where Alabaster Dawn starts opening up. After sealing Nyx's nest and reuniting with her parents, Juno gets a proper look at the world she's trying to save — and quickly discovers the job is far from finished. This chapter packs in two multi-phase boss fights, a handful of side quests, a new weapon unlock, and more gems than you might expect to find. Here's everything you need to get through it without missing a thing.
Chapter 1 post-prologue: what changes after the Inferna Vespa fight?
Once you've defeated the Inferna Vespa and sealed Nyx's nest, the land of Lyhamn comes back to life. Juno passes out from overexertion and wakes up with her parents, Solon and Cassandra, in their shelter. Talk to both of them, then head south and turn left to exit the camp.
Follow the sandy path toward Lyhamn Centre. You'll trigger a short scene with a family along the way before meeting the rest of the villagers. The village chief, Noah, makes it clear that Nuemera still roam the world despite Juno's efforts. After that, speak to Estera, who introduces you to the cooking system at the resting spot.
How does the cooking and Boost system work?
Every recipe produces a Boost — a passive buff with a limited number of charges. Use a charge in combat, and fighting enemies refills it. Once all charges are spent, you need to cook again. Boosts are activated with Y, X, and C. The game gives you 10 Rations to craft your first Basic Ration, so cook it before heading out.
Your Palate Level also matters here. Using Boosts in battle earns Palate EXP, and raising your Palate Level permanently increases how effective your cooked food becomes. It's a system worth investing in early.
After cooking, you'll receive two objectives: talk to Penterson at Lumber Corner and Orlanda at Old Kamu Village.
How to reach Penterson and complete Branching Out
Penterson is the closer of the two targets, so head there first. Exit the village heading north, then use your map to navigate toward Lumber Corner in the east. Hold Space briefly to trigger Juno's sprint boost — release it mid-run for maximum speed.
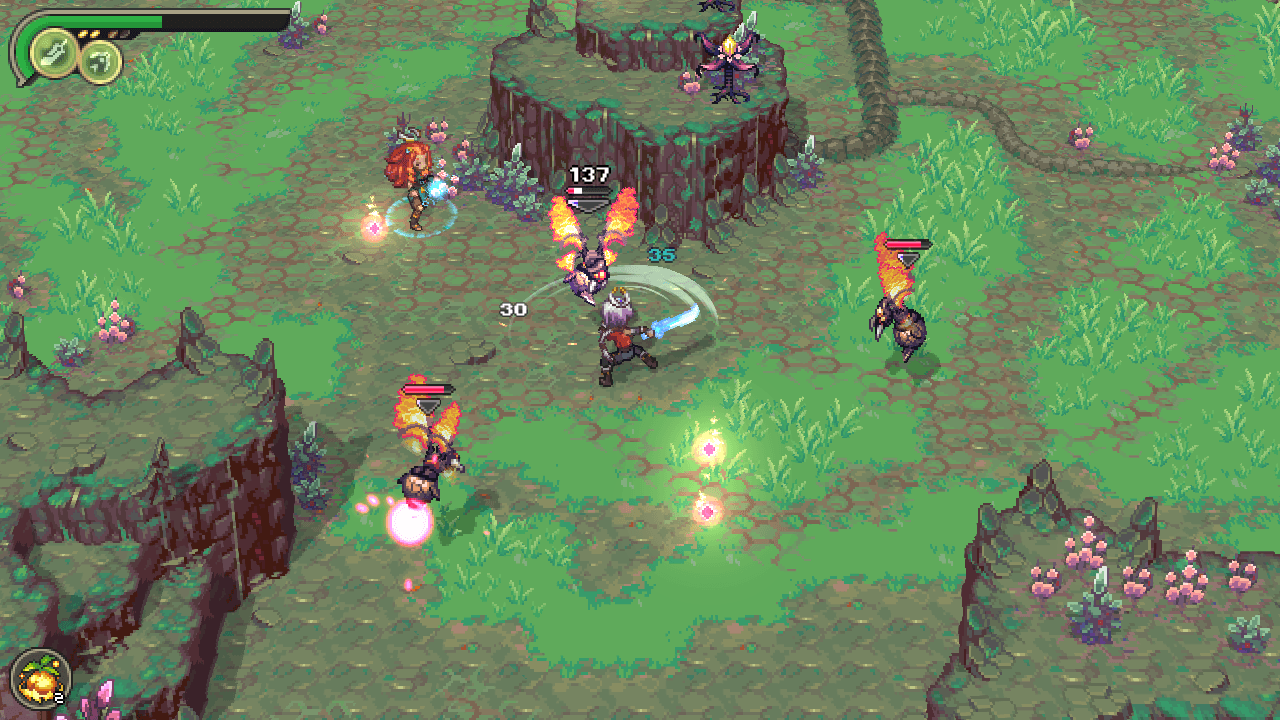
At the Forked Road, turn east. Before reaching Lumber Corner, you'll hit a mandatory encounter near the Shelter. Clear the Nuemera to earn your first gem: Dim Halo, which slots into the Cordis section (health) and provides +10% Max Life and +5% Armor. Equip it immediately.
There's also a second gem, Bent Edge, sitting in a reward orb just before Lumber Corner. Climb up to the clifftop from the north, work south, and make the final jump across to grab it. It gives +15% Melee Attack, +20% Bullseye, and +5% Affinity — strong early stats worth the detour.
Once you reach Penterson in Koro Valley, he tasks you with securing the wood sourcing locations in the Red Forest.
Getting Ortrom Solas and navigating the Red Forest
The Red Forest sits south of Lumber Corner. The bridge connecting to it is broken, so defeat three flower Nuemera to lower the barrier and reveal rock platforms you can cross. Head south and clear the enemies to trigger a scene where you receive Ortrom Solas, a Divine Hammer. This weapon deals heavy strikes against high-defense enemies and, more usefully, smashes the shiny rocks scattered throughout Lyhamn that you couldn't break before.
Since the rock platforms disappear after you cross, turn west at the intersection and smash rocks to find an alternate path back to Penterson. Clear two more encounters along the way. Return to Penterson to finish Branching Out and collect a Wooden Box as your reward.
Rice to the Occasion: how to clear Orlanda's quest
Orlanda lives in Old Kamu Village, the northernmost settlement on the map. Head north from Lumber Corner through Fossil Road, cross the bridge, and follow the path up. Just before entering the village, you'll encounter a Waysprout — this is where the game introduces cooking on the go and explains the Palate Level system.
Inside Old Kamu Village, grab the hidden gem in the western section: smash the rocks, defeat a handful of enemies, and claim the Chipped Edge gem from the blue sphere. Then speak to Orlanda.
She tasks you with destroying four Nyx Veins across two locations:
- Eye of Remis (west of Old Kamu Village): two Nyx Veins, one north and one south of the area.
- Silver Fields (east, then north past smashable rocks): two more Nyx Veins.
Before leaving Eye of Remis, climb up the cliff to the north and jump the gap to grab a reward orb containing Whisper of the Gods x3.
After destroying all four veins, return to Orlanda to complete the quest. A new questline, Blooming Villain, will trigger automatically.
A Sneak Peak: the optional side quest worth doing first
Before jumping into Blooming Villain, activate A Sneak Peak and head to the northernmost section of Kamu Valley. This area is technically off the current map boundary, but you can reach it.
The area uses a ball-and-tentacle puzzle mechanic. Here's the sequence:
- Hit the ball into the Floor Vein to open the first barrier.
- In the next area, hit the ball forward once, then into the second Vein.
- Defeat the mobs in the following room, then hit the ball up to the cliffside platforms near the two Veins. Hit it into each one.
- A Turtle Nuemera blocks the next path — use your Hammer to break its shell.
Defeating the turtle rewards you with Fain Solas, a Divine Chakram. This ranged weapon lets you catch moveable balls and redirect them. Hold right-click to aim, left-click to catch, then release right-click to launch. You'll use it immediately in the following puzzle rooms.
The final puzzle rewards include Whisper of the Gods x4 from a side orb and the Fickle Quill gem from the main reward: +20% Ranged Attack and +25% Gamble.
After the final barrier, follow the path to Silver Peak for a short cutscene about Juno's friend Esh.
How to beat Custo Turri Magnus (Blooming Villain boss)
Fast travel to Koro Valley's Eye of Remis, head south past the cleared encounter, and cross the bridge to reach Patron's Grave. Before the boss arena, check the cliff to the left of the statue monument — follow the path up and jump to the reward orb for the Brittle Shell gem: +10% Armor and +5% Max Life.
Save at the Waysprout, then cross the bridge.
Custo Turri Magnus is a massive plant boss with three phases, projectile attacks, and ground spikes.
The most common mistake here is staying still to parry. If you stand in one spot, the boss places a barrier wall exactly where you're standing the moment it prepares to shoot. Move slightly around the arena first, then parry. In phase 3, get right behind the boss between the spikes just before it launches — tight timing, but it works.
After the fight, you'll receive your first Divine Art: Leaf Blades, a chargeable special attack you can use in future battles.
Unyielding Solidarity continuation: the village feast and Unknown boss fight
Fast travel back to Lyhamn and head to the Centre. Talk to Estera and her daughter Filia, then take the Wooden Box to Lyhamn's Wellspring to trade it for Whisper of the Gods x5. A few in-game weeks pass, the village is rebuilt, and Juno wakes up to a celebration.
Before entering the Centre for the feast, the twins mention they've hidden gifts in nearby houses. You can find Grumpy Salmo x5 and Koro Rice x9 — both useful cooking ingredients. Inside, speak to Cassandra and sit down for dinner. Juno leaves mid-speech, and her father Solon joins her for a backstory sequence where she recalls her training and her best friend, Eshrin Lius (Esh).
The quiet doesn't last. A rock with a red aura crashes into the centre of Lyhamn, and an unknown warrior emerges from it.
How to beat the Unknown Soldier (three-phase fight)
This boss is faster and more aggressive than Custo Turri Magnus, relying on agility, a sword, and projectiles.
Phase 1: The soldier swings their sword at close range and carries a shield. Parry the sword attacks to fill the stagger meter. Once staggered, the shield breaks temporarily, letting you land clean hits. Use your Hammer to stagger faster.
Phase 2: A barrage of projectiles joins the sword attacks. The third projectile in each volley is a charged shot — parry it, but note it will return for a second pass. Parry it again. The soldier also introduces Infinity Sword, a shockwave attack in a straight line. Dodge sideways and attack from behind immediately after.
Phase 3: The soldier attempts to heal. They succeed the first time, but when they try again, Filia arrives and interrupts the heal. Keep attacking through the increased attack frequency. The soldier retreats after you finish them off.
After the fight, the village gathers at the Wellspring. Noah summons Remis, one of the Gods, who grants a reward before departing. The Unyielding Solidarity questline ends here.
Journey Up North prologue: what to do before leaving Lyhamn
After Juno packs up, head to Lyhamn's Centre and speak to Petros. He received a Divine Hammer from Remis and can now forge new gems from items dropped by Nuemera. This is worth using before you head out.
Talk to Noah, then visit Filia at her home. Juno decides not to bring her along, but Filia follows anyway. Fast travel to Koro Valley's Eye of Remis, head north, and pass through the left Crescented Gate. Rest at the Waysprout until night.
Filia joins the party here. Follow the shallow water path, clear the Nuemera encounter ahead for a new gem, and continue to the Underground Shelter. From there, you enter the Hall of Trials.
Gem summary for Unyielding Solidarity
For more guides covering every chapter and side story, check out the full Alabaster Dawn strategy guides collection. Alabaster Dawn is one of the stronger entries in the action games space right now, and the questlines only get more complex from here.