
The Wunderbarrage is Totenreich's map-exclusive scorestreak in Call of Duty: Black Ops 7, and getting it requires more than just spending Salvage at a crafting table. You need to work through a multi-step sequence involving a randomized crate hunt, a Flak Gun firing, and a blinking-lights puzzle that gives you unique numbers every run. This guide breaks down every step so you're not wandering around Totenreich guessing which crate to pry open next.
What do you need before starting the Wunderbarrage quest?
Before any of this is possible, you need the Jotunn Star wonder weapon. The Jotunn Star is a prerequisite for accessing the second floor of the Lighthouse and for firing the Flak Gun later in the process. Without it, the quest cannot progress. If you haven't picked it up yet, check out the step-by-step Jotunn Star wonder weapon guide before continuing here.
Jotunn Star required first
How to get the Flak Gun Round in Totenreich
With the Jotunn Star in hand, head to the second floor of the Lighthouse on Beacon Island. On a middle shelf near the east window underneath the stairs, you'll find a Crowbar. Pick it up.
The Crowbar lets you crack open specific crates across the map, and one of them contains the Flak Gun Round. The exact crate is randomized each run, but according to the source guide from GameRant, there are four confirmed crate locations to check:
Opening the wrong crate hits you with an elemental debuff, but it only lasts around 30 seconds, so don't panic if you get tagged. Just move to the next crate and keep checking.
You can read the Cargo Manifest note inside the War Factory (where the Glocke Drop Controller is located) for a hint, but since the location is still randomized, it's faster to just work through the four crate spots directly.
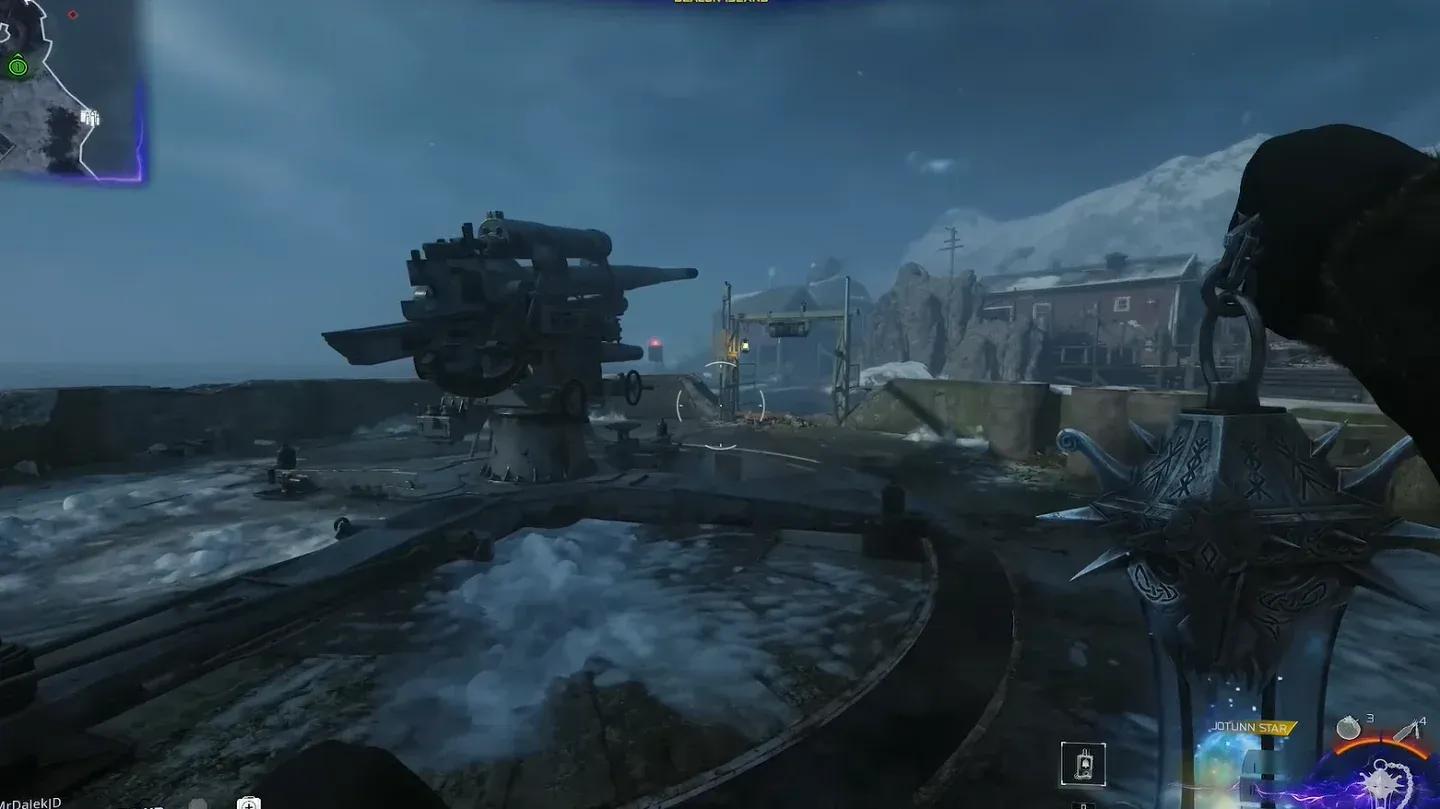
Once you have the Flak Gun Round, return to Beacon Island. Locate the Flak Gun facing Eidskallen Landing to the southwest and interact with the back of it to insert the round. Then fire the Jotunn Star at the Flak Gun to trigger the launch sequence.
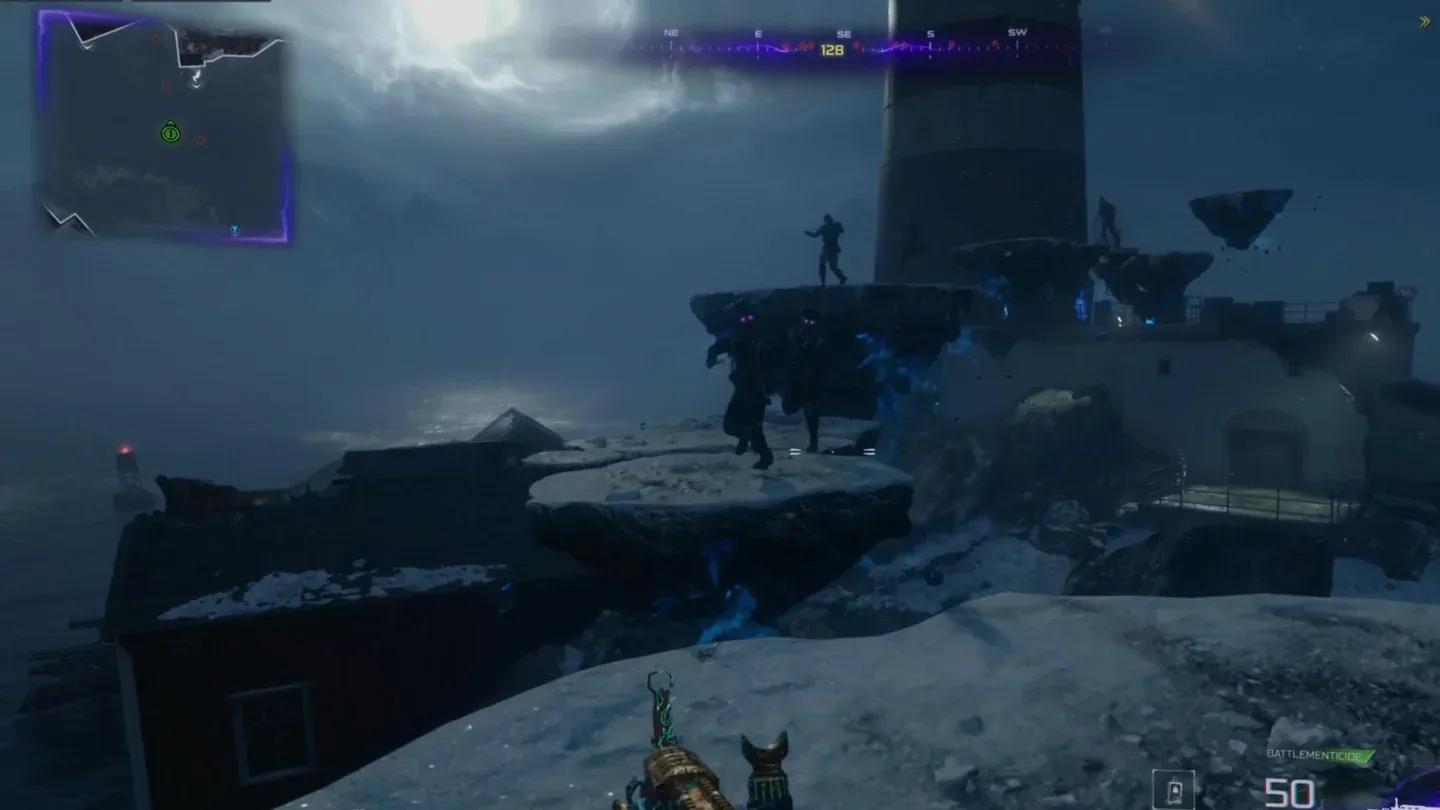
The Flak Gun fires at the giant robot head in Eidskallen Landing. Walk up to the robot head and hold the interact button until the meter fills. The Transmitter drops as a quest item. Pick it up.
Fire the Flak Gun at the robot
How to solve the transmitter puzzle in Totenreich
This is the step most players get stuck on, because the numbers are different every single run.
Take the Transmitter to Tyr's Head, accessible via Tyr's Shoulder or Tyr's Foot from the Storm Bridge. Insert the Transmitter into the empty panel slot on the left ladder. Once placed, the left and right lights above Tyr's central panel begin flashing in sequences.
Here's what to watch for:
- The lights flash a first sequence, pause, then flash a second sequence
- Track how many times the left light blinks and how many times the right light blinks in each sequence
- These numbers are your Amplitude (left light) and Frequency (right light) values
As an example from testing documented by GameRant: the first sequence produced a left-light blink of 2 and a right-light total of 5, giving Amplitude 2 and Frequency 5. The second sequence produced 7 (left) and 3 (right).
Write your numbers down before leaving Tyr's Head. There's no way to replay the sequence on demand, and if you misremember even one digit, you'll get the wrong confirmation from the Tyr P.A. system.
After noting both sequences, exit Tyr's Head and head to the Core Foundry. Near the Double Tap perk machine, there's a rope covered in ice. Throw a Molotov or use a Charged Shot from the Jotunn Star to melt the ice, then climb the tower.
At the top, interact with the transmitter terminal and input your values:
- Use the Left Stick to set Amplitude (your left-light number)
- Use the Right Stick to set Frequency (your right-light number)
Once the dials match your first sequence numbers, the Tyr P.A. gives a confirmation message. After a short delay, input your second sequence numbers for a second confirmation. Purple-eyed zombies will spawn after the second confirmation, which signals the puzzle is complete.
How to get and use the Wunderbarrage
After completing the transmitter puzzle, head to the warehouse opposite Double Tap in Core Foundry. The Wunderbarrage Controller spawns there and can be picked up.
For future runs, the Wunderbarrage can be reacquired from the Crafting Table under the Support tab for approximately 2,000 Salvage. There's also a small chance of fishing one up on Beacon Island if you'd rather save the Salvage.
As for what the Wunderbarrage actually does: it calls in the giant robot to fire 5 rounds of missiles at targets across the entire map, regardless of where you're standing. The damage output is significant, but the blast radius will absolutely down you if you're caught in it.
The Wunderbarrage isn't the strongest scorestreak in the meta, but it's required for weekly challenges and for the Totenreich Main Quest, so learning this process is worth the time investment.
What else is there to do in Totenreich?
Totenreich has a lot of layered content beyond the Wunderbarrage. If you're working through the map's secrets, the complete Totenreich Relics guide covers all 6 relics with unlock conditions and loadout tips. For a broader look at everything the map has to offer, the full Black Ops 7 strategy guides collection is the best place to keep your progress moving forward.