

The Atomkraft Core is one of the more demanding items in Call of Duty: Black Ops 7's Totenreich Zombies map. It only becomes available in the final stretch of the Main Easter Egg, and it requires you to haul a radioactive device across a snowstorm while frost periodically damages you and ice walls erupt from the ground. This guide covers every step: how to get the core, how to charge it, and how to deliver it to Tyr without dying.
What is the Atomkraft Core and how do you get it?
The Atomkraft Core is a Main Quest item in Totenreich. You cannot obtain it until the final stages of the Easter Egg. To unlock it, you must first collect three Uranium pieces and complete the Claw Machine puzzle. Once both prerequisites are done, the Atomkraft Core becomes available for pickup at the Machine Workshop.
The core's purpose is to power up Tyr, the giant robot that plays a central role in the map's story. Before it can do that, though, you need to charge it first.
Atomkraft Core placement spot
How to charge the Atomkraft Core in Totenreich
After picking up the Atomkraft Core from the Machine Workshop, carry it to Eidskallen Landing. The target location is the palette to the right of the Quick Revive perk machine. Place the core there.
Once it's down, head into Lief's Boat Repair, the building directly behind Quick Revive. Find the power switch on the west wall and interact with it. This triggers a lockdown sequence where zombies will swarm the area and try to disrupt the charging process.
Your strategy here is to train zombies around Quick Revive and loop around the outside of Lief's Boat Repair. The key mechanic to watch is the outside generator: when the blue sparks stop, sprint back inside and jumpstart the generator at the west wall. You need to do this twice before the charge completes.
The entire charging sequence takes roughly 70 seconds. When it finishes successfully, the Atomkraft Core transforms into the Charged Atomkraft Core.
Recommended loadout for the Storm Bridge run
Before picking up the Charged Atomkraft Core, make sure your loadout is ready. The run to Storm Bridge takes you through a snowstorm that deals damage over time, and ice walls will rise from the ground blocking your path.
The Jotunn Star is especially valuable here because ice walls cannot be bypassed any other way. If you need help getting it before this step, check out the step-by-step Jotunn Star Wonder Weapon guide for Totenreich.
How to use the Charged Atomkraft Core at Storm Bridge
Once you pick up the Charged Atomkraft Core, move immediately. Sprint through Eidskallen Square and Skallen Market toward Storm Bridge. Frost attacks will hit you periodically throughout this route, and ice walls will rise from the ground at intervals. Use the Jotunn Star to shatter both the walls and any zombies that get in your way.
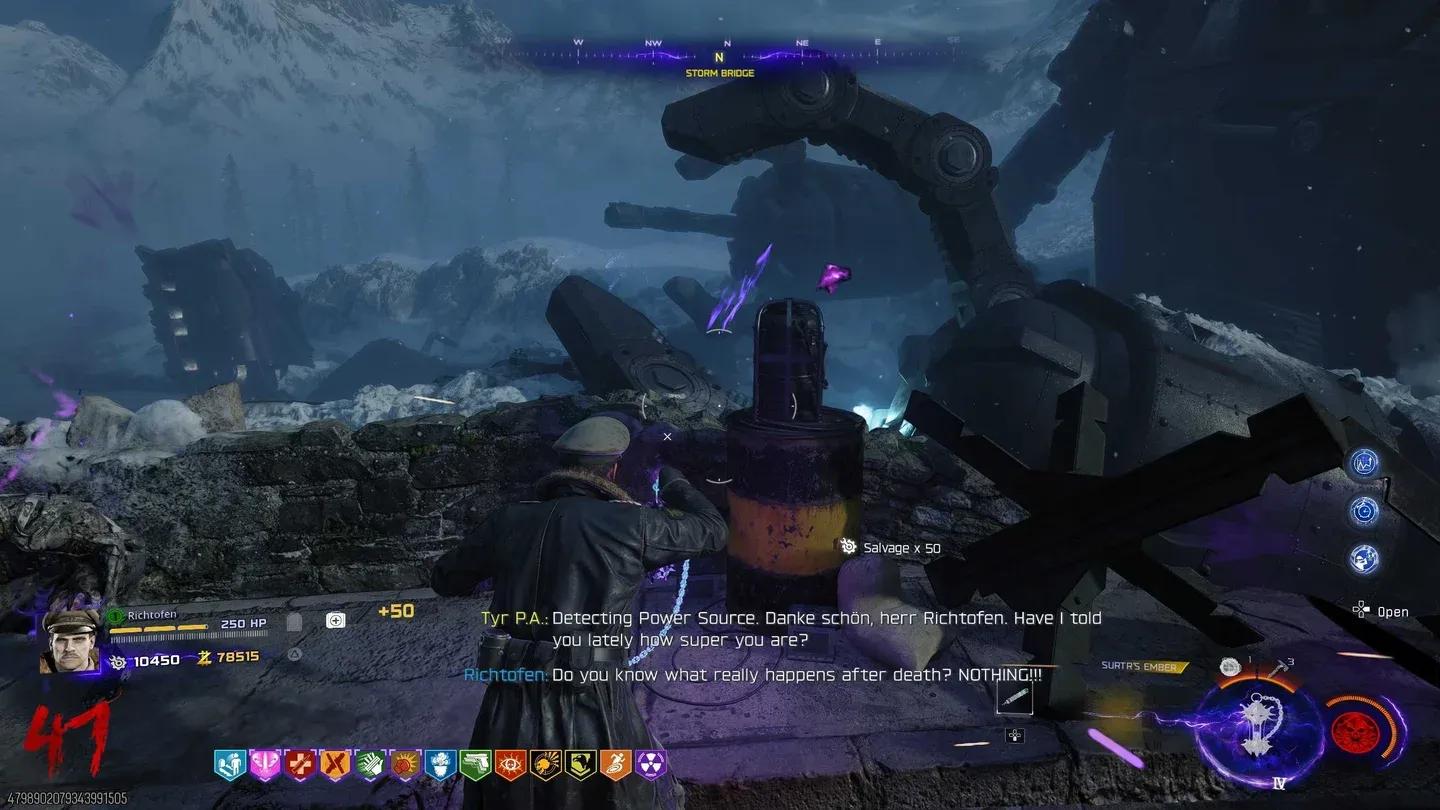
At Storm Bridge, navigate to the center of the bridge. You are looking for a barrel positioned opposite the Deadshot Daiquiri perk machine. Place the Charged Atomkraft Core on that barrel, facing Tyr.
After placement, Dravakar will emerge. Tyr attacks Dravakar in a cutscene-style sequence, but zombies remain active throughout, so stay mobile and keep fighting.
What do you get after completing the Atomkraft Core step?
Once the Charged Atomkraft Core sequence concludes, head to Tyr's Foot to pick up the Dravakar Shard. This item feeds directly into one of the final steps of the Totenreich Main Quest, so securing it is non-negotiable if you want to finish the Easter Egg.
The Atomkraft Core step is one of the most movement-intensive sections in Totenreich. The combination of carrying restrictions, timed charging, and a frost-damage gauntlet means preparation matters more than reaction speed here.
Totenreich has a lot of moving parts beyond the Atomkraft Core. If you want to go deeper into the map's secrets, the full Call of Duty: Black Ops 7 strategy guides collection covers everything from Relics to the Glocke Drop Controller, including a dedicated walkthrough on how to get the Glocke Drop Controller and its hidden loot reward.