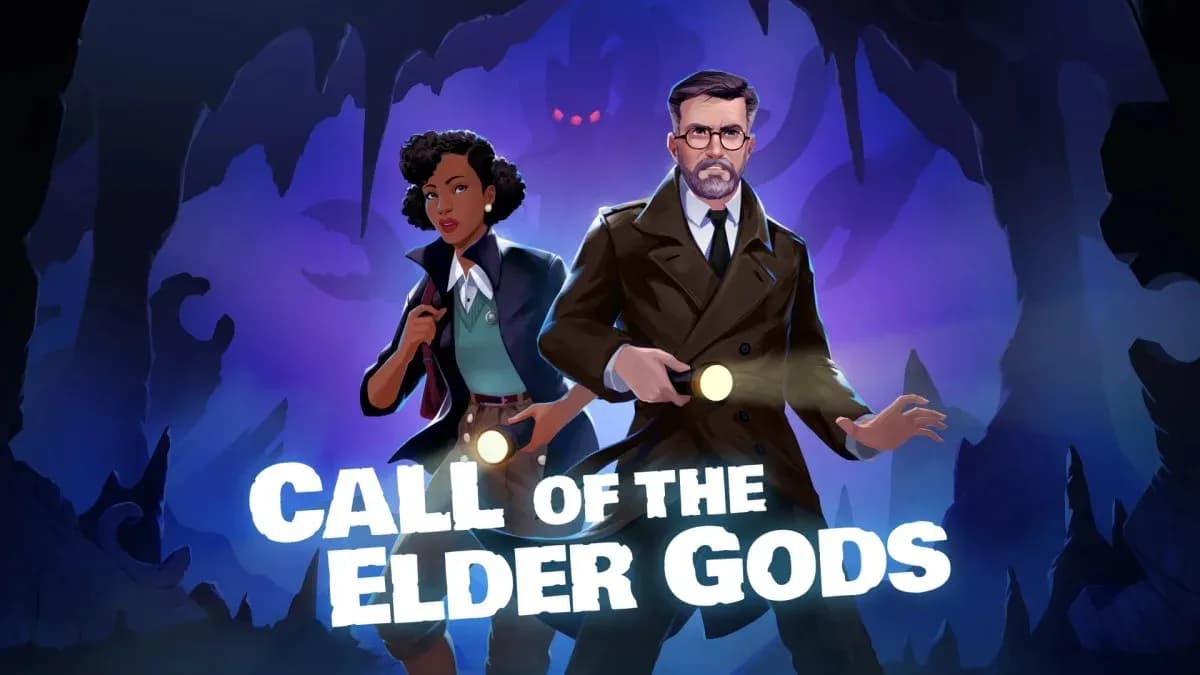

Call of the Elder Gods is a Lovecraftian puzzle-adventure from Out of the Blue Games, the studio behind 2020's Call of the Sea. You play as Eevee Drayton, a woman haunted by recurring nightmares and a gap in her memory, who teams up with Professor Harry Everheart to uncover the truth behind an ancient alien civilization. The puzzles are genuinely clever and occasionally brutal, so this guide walks you through every major solution across all six chapters, plus all three endings.
Chapter 1: Everheart Manor
How do you open Eevee's padlock journal?
In the prologue bedroom, approach the second desk and interact with the journal's padlock. Rotate the top and bottom elements first to free the middle ring, then rotate the middle element and slide the pin inward. The journal opens, and you're off.
Once you reach Everheart Manor, the real puzzle work begins. The manor is split across a library, an office, a graveyard, and a set of grounds with five garden vases.
How do you solve the vase puzzle in the manor gardens?
The gate near the greenhouse has five faces, each with a symbol above it. Every vase in the garden needs to face an object that matches its corresponding symbol. The correct orientations are:
- Vase near the gate: face the gate (moon symbol)
- Vase in the gazebo: face the firepit (flame symbol)
- Vase near the statue: face the tree stump (matches the carving in the journal photo)
- Vase near the greenhouse: face the greenhouse (flower symbol)
- Vase near the well: face the well (fish symbol on the bucket)
Once all five are aligned, the gate opens. Head into the mausoleum to collect the greenhouse key, then grab the missing book from inside the greenhouse.
How do you arrange the books in Harry's office?
This is the manor's centerpiece puzzle. With the missing book retrieved from the greenhouse and placed on the shelf, you have eight books total. Find the four portrait frames around the manor, each showing Harry at a different age with two Latin words above them. Arrange the books in age order from youngest to oldest. The correct sequence is:
- PRAETERITA
- MUTARE
- NON
- POSSUMUS
- SED
- FUTURA
- PROVIDERE
- DEBEMUS
The shelf opens a secret compartment. The document inside points to a hidden tunnel behind the library fireplace. Follow it down to find the Professor and a broken statue covered in Black Ooze.
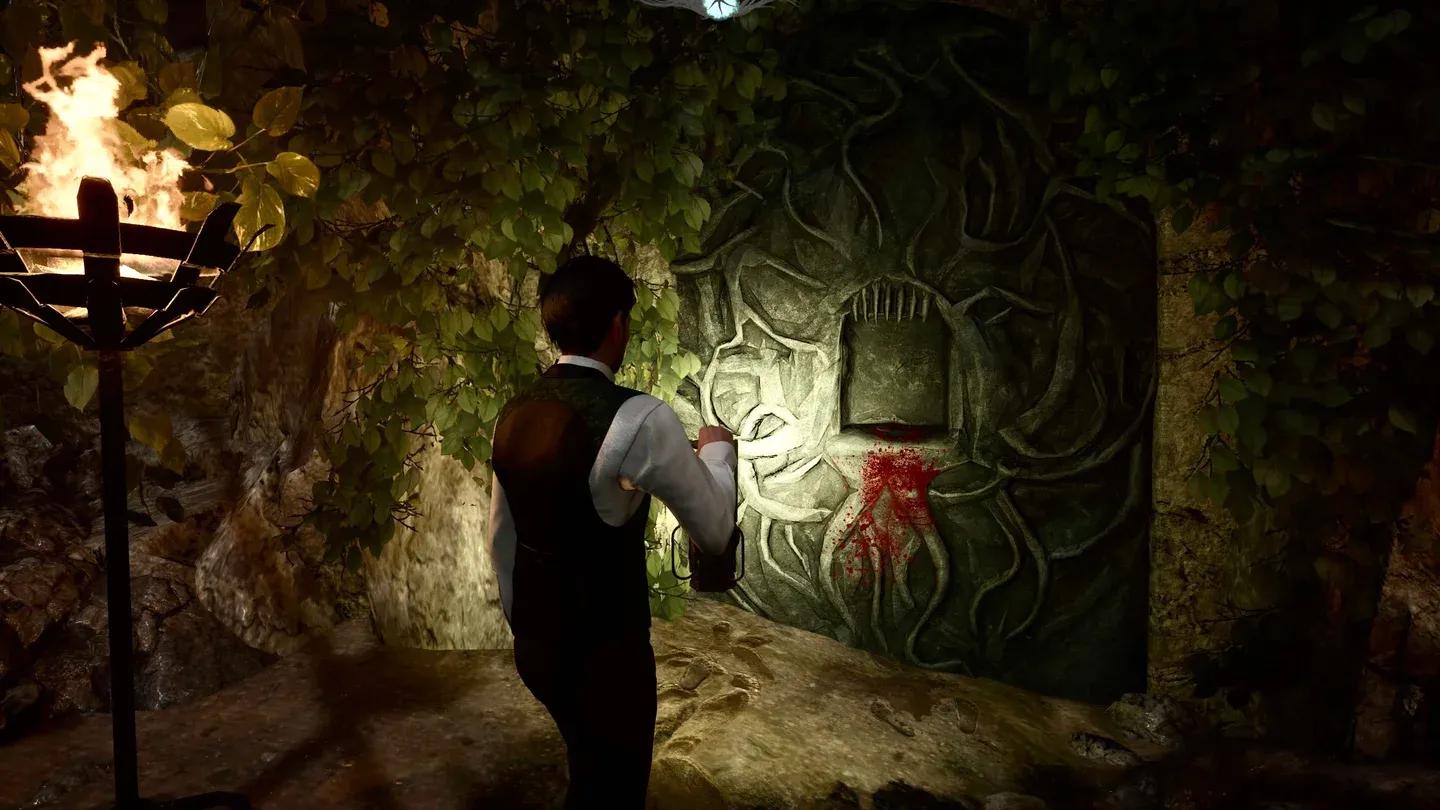
Chapter 2: The Rapahhanic River Caves
The caves in Virginia introduce the game's core mechanical threat: Black Ooze (also called Icor). The murals down here establish that the stone towers are not ruins but energy collectors powered by the substance.
How do you use the water and Black Ooze separation machine?
The goal is to isolate exactly four units of Black Ooze in the second tank. Here's the full sequence:
- Fill the first tank, transfer to the second tank, then press the button between the second tank and the small tank to send only water to the small tank. You now have one unit of Black Ooze in the second.
- Repeat the fill-and-transfer process, drain the small tank, and repeat once more. You should reach two units of Black Ooze.
- On the third fill, change the flow direction and drain the remainder of the first tank into the small tank. Transfer from the second tank to the small tank until the second tank holds three units of Black Ooze with no water.
- Switch flow back, fill the first tank, and transfer to the second. You now have four units. Press the vertical pipe button to send the ooze upward.
How do you solve the piano key sequence on the surface?
Harry controls the piano-style panel. The notes in your journal correspond directly to key presses followed by the C button. The exact sequence:
- Keys 1, 2, 4, 5 then C: raises the towers
- Keys 1, 1, 4, 4 then C: rotates the towers, revealing a doorway in the left tower
- Keys 4, 4, 1, 1 then C: rotates back to original position
- Keys 1, 2, 4, 5 then C again: raises towers further, revealing entrances in both towers
After collecting the statuette from the left tower and placing it in the contraption in the right tower, return to the panel:
- Clean sequence: Keys 1, 4, 2, 3 then C (fills tower with Black Ooze)
- Fire sequence: Keys 4, 2, 5, 3 then C
Place the statuette in the dumbwaiter to send it down to Evangeline. Interact with it using the left, right, then central buttons to complete the statue with an orb.
Chapter 3: The Starry Wisdom Society
After Eevee is taken by Caleb Bowen, the chapter splits between Harry's rescue mission and Eevee's forced psychic visions. Harry navigates the Starry Wisdom building while Eevee witnesses key events from 1934, including the meeting between Franklin Drayton and Harry, which reveals the Yithian coordinates: 8-93-4-5.
How do you solve the tetrahedron puzzle?
Interact with the large tetrahedron in the marble room. Press the central triangle buttons on each side to unlock the edges. Mirror the small tetrahedron you found in the drawer: one side showing three moons, one showing three stars, one showing three suns. Start with the corner piece that only has two symbols, rotate it into position, then work the remaining pieces around it.
Once solved, rotate the orb inside so its glowing line matches the glowing tab at the 6 o'clock position. Then rotate the building model that appears: align the bottom and middle layers so the stairs face you directly, and rotate the dome so no tab appears above the front door.
How do you fill in the Egyptian statues correctly?
After searching all five offices and developing the film from the psychiatrist's office (second tray, first tray, third tray in that order), you have enough information to fill in each statue. The full solution:
The key deduction: the Dilettante's office photo shows he's the largest member, and the developed photo shows the largest member has a crocodile head. A note in the Astronomer's office confirms that Orion's mask matches his hieroglyph, which is the crocodile.
Chapter 4: The Arctic Radio Station (ZNP-C)
Spitsbergen is the game's most systems-heavy chapter. You're restoring power across a derelict Nazi research base while switching control between Harry and Evangeline.
How do you restore power to the radio station?
The generator key is inside a lockbox on the right side of the radio tower's ground floor, just beside the stairs. Once you have it, unlock the generator building and flip the switch. Then, as Evangeline, use the screwdriver on the fuse box (four screws, then flip the bottom switch).
The power routing requires switching between characters:
- Evangeline turns on the fuse box bottom switch; Harry pulls the garage lever
- Evangeline activates the next two fuse switches; Harry finds the mess hall switch
- Evangeline flips the second-from-top switch; Harry finds the storage building switch
- Evangeline flips the top switch (radio tower); Harry climbs to the outdoor balcony and flips the final switch
How do you solve the Enigma Machine?
There are two Enigma Machine sequences in this chapter: one in Harry's flashback and one in the radio tower itself.
Harry's flashback (message starting GMR):
- Reels: III, I, II
- Dials: 15, 26, 1
- Plugs: U-A and W-F
Radio tower (three encrypted messages):
For the third message, the first letters are obscured. Based on the available codes in the journal and the visible last letter W with a curved second letter, the message starts with SSW on 3 January.
How do you open the reinforced bunker door?
The door code is built from the general's assigned number and the date it was last changed. The final communication was 25 February. The code changes every 10 days, meaning it was last set on 19 February. Adler was the assigned general but died on 26 January, so Hohenberg took over. The code is 9519. Input it clockwise from top-left on the four dials: 9, 5, 1, 9.
How do you trap the Black Polyp creature?
You cannot kill the creature with weapons. Use the control room console as Harry to open and lock specific doors, herding the smoke monster into a contained room. The door codes are 438, 527, and 309. Once the creature is locked in room C, Harry and Evangeline can reunite and proceed through the double doors together.
Chapter 5: The Great Library of Pnakotus
This chapter is where the game's time-displacement story clicks into place. Evangeline connects with the Yithian Great Engineer, confirming that her dreams were actual memories of her mind being swapped with an alien entity millions of years ago.
How do you calibrate the brainwave machine?
Test each letter-number combination on the left side of the machine to find seven matching brainwave patterns between Evangeline and the creature. Then set the four dials to unique brainwaves: A to 3, B to 1, C to 4, D to 3. Flip the on switch, then press the red button.
How do you use the Observatory and Central Map?
The Observatory requires you to identify what era Evangeline is in. The presence of a Dimetrodon in the gardens places her in the second era. On the Observatory machine, find the Earth symbol (third planet from the sun, represented by a large circle with two wavy lines and a small circle above), press it, then rotate to select the two-wavy-lines symbol for era 2. Note the constellation symbol from the ceiling that matches Evangeline's journal entry.
At the Central Map machine, input the constellation symbol and then the number representing the fifth era (present day, shown as two wavy lines with a ball on the end of the top one). Press the green button.
How do you input the code into the spaceship console?
The number system uses a grid-of-threes logic: one, two, and three lines represent 1, 2, and 3. Adding a dot increases the value. The code you need is 89345, which matches the Yithian coordinates Eevee remembered in Chapter 3. Input each digit using the correct line-and-dot notation, then press the green C button.
Chapter 6: Pnakotus and the Final Choice
The final chapter takes place in the ruins of Nakotus in the Great Sandy Desert of Australia. The ball mechanism puzzle here has three patterns to complete before the path to the Basalt Tower opens.
How do you solve the ball mechanism puzzle?
All three patterns are controlled from the same console. Each pattern adds another ball to the system:
- Pattern 1: Start the second ball, then when it reaches the first quarter, start the first ball. The resulting symbol should match the shape found on the upper rock (an S with a dot, rotated so the dot is on the left beneath a wave). Use the first odd switch to adjust it.
- Pattern 2: With the first two balls already moving, start the third ball when the first ball reaches the first quarter. Use the first and second switches to form the ISS-like symbol matching the door near the waterfall.
- Pattern 3: Start the fourth ball at the same time as the third. Use all three switches to match the symbol on the side of the large door.
Between patterns, you also need to solve two light-beam puzzles using orbs and rotating lenses to collect the second and third patterns from globes in the environment.
What are all the endings in Call of the Elder Gods?
The story ends at the Basalt Tower with a sacrifice choice. Whoever enters the ooze pool stops Caleb Bowen, but the game's lore implies that consciousness survives within the Elder God's Icor.
To reach the Secret Ending, you need to recognize that Dr. West is a future version of the consciousness transfer. During the final vision sequence, follow Harry's instructions exactly as they appear in the 1934 expedition notes rather than making independent choices.
The final sacrifice decision
Frequently asked questions
Can you save both Harry and Eevee? In the base game, the narrative requires one character to enter the ooze pool. The Close the Loop achievement suggests their consciousness continues within the Elder God's Icor, but neither character escapes in a traditional sense.
What does the reverse piano sequence do? Playing the notes in reverse order in the Virginia caves fills the tower with Black Ooze, creating the orb needed for the statue. This is a required step, not an optional one.
What are the Yithian coordinates? The coordinates for Nakotus are 8-93-4-5. Eevee recovers them during her psychic vision in the Starry Wisdom building in Chapter 3.
For more help navigating Eevee's journey through Lovecraftian horror, check out the full Call of the Elder Gods guides collection. If you enjoy puzzle-heavy adventure games with strong narrative backbones, this is one of the more satisfying releases of 2026.