
The Nurse sits in S tier despite recording a 39.38% kill rate in October's match sample. That gap matters when you're choosing a Killer in Dead by Daylight. Blinking through obstacles offers an advantage that a single percentage doesn't explain.
This tier list compares 42 Killers by their chase tools and ability to sustain pressure, then puts those recommendations beside results from 9,715 community-uploaded matches recorded between October 1 and October 29, 2026. Start with the ranked roster, then use the power breakdowns to find a Killer whose decisions you actually want to learn.
What's the best Killer in Dead by Daylight?
The Blight and The Nurse are leading choices for their ability to change how a chase works. Blight turns the environment into high-speed rush routes, while Nurse blinks through obstacles. The Hillbilly, Dracula, The Ghoul, The Slasher, and The Spirit complete S tier, offering different combinations of mobility, tracking, and chase pressure.
The strongest choice for you depends on which of those tools you can apply consistently. Nurse's obstacle bypass, Spirit's predictive tracking, and Jason's footprint-based stealth ask you to make very different reads.


Full Killer tier list
These rankings focus on standard public matches. S tier prioritizes strong chase or map pressure; lower tiers increasingly reward specific setups, favorable terrain, or specialist knowledge.
| Tier | Killers | What the tier means |
|---|---|---|
| S | The Blight, Dracula, The Ghoul (Ken Kaneki), The Hillbilly, The Nurse, The Slasher (Jason), The Spirit | Leading powers for chase control, mobility, or sustained pressure |
| A | The Animatronic (Springtrap), The Artist, The Executioner (Pyramid Head), The First (Henry Creel), The Huntress, The Krasue, The Lich (Vecna), The Mastermind (Wesker), The Nightmare, The Wraith, The Xenomorph | Strong tools with more demands on execution, map knowledge, or matchup decisions |
| B | The Deathslinger, The Dredge, The Good Guy (Chucky), The Hag, The Houndmaster, The Judgment, The Knight, The Legion, The Nemesis, The Oni, The Onryō, The Plague, The Singularity, The Trickster | Effective powers that reward a clear plan, good reads, or suitable add-ons |
| C | The Cannibal, The Clown, The Demogorgon, The Doctor, The Ghost Face, The Pig, The Skull Merchant, The Trapper, The Twins, The Unknown | More situational pressure, with greater dependence on layout, Survivor mistakes, or specialist experience |
Pick a power before building around it. Once you've narrowed the roster, the Survivor and Killer perk guide can help you compare perk choices for that direction.
Which S-tier Killer matches how you play?
Fast travel and planned attack routes
The Blight chains high-speed rushes off the environment, using those rebounds to cross the map and attack at sharp angles. Choose him if learning how terrain connects into rush routes sounds more appealing than taking every chase along its obvious path.
The Hillbilly uses a chainsaw sprint for fast travel and dangerous chase-ending hits. His appeal is direct: the same power gives you a way to cover distance and threaten Survivors. The decision is where to commit that sprint.
Obstacle bypass and predictive tracking
The Nurse blinks through obstacles to reposition around Survivors. Her power changes the importance of terrain during a chase, making blink placement the central skill to learn. That's the mechanical reason for her S-tier position, even with a 39.38% recorded kill rate.
The Spirit phase-walks out of sight, then uses sound, scratch marks, and prediction to reappear near Survivors. Pick her if you enjoy interpreting movement cues and committing to where someone is going rather than simply following their current position.
Flexible forms and temporary power windows
Dracula shifts between forms to combine pursuit, tracking, and ranged pressure. His strength is the choice between those functions. You need to recognize what the current chase requires and select a form that answers it.
The Ghoul, Ken Kaneki, attaches his kagune to vertical surfaces and propels himself through chained leaps. A qualifying grab against a healthy Survivor applies Deep Wound and a Kagune Mark, enabling Enraged Mode and additional mobility.
Stealth tracking and environmental throws
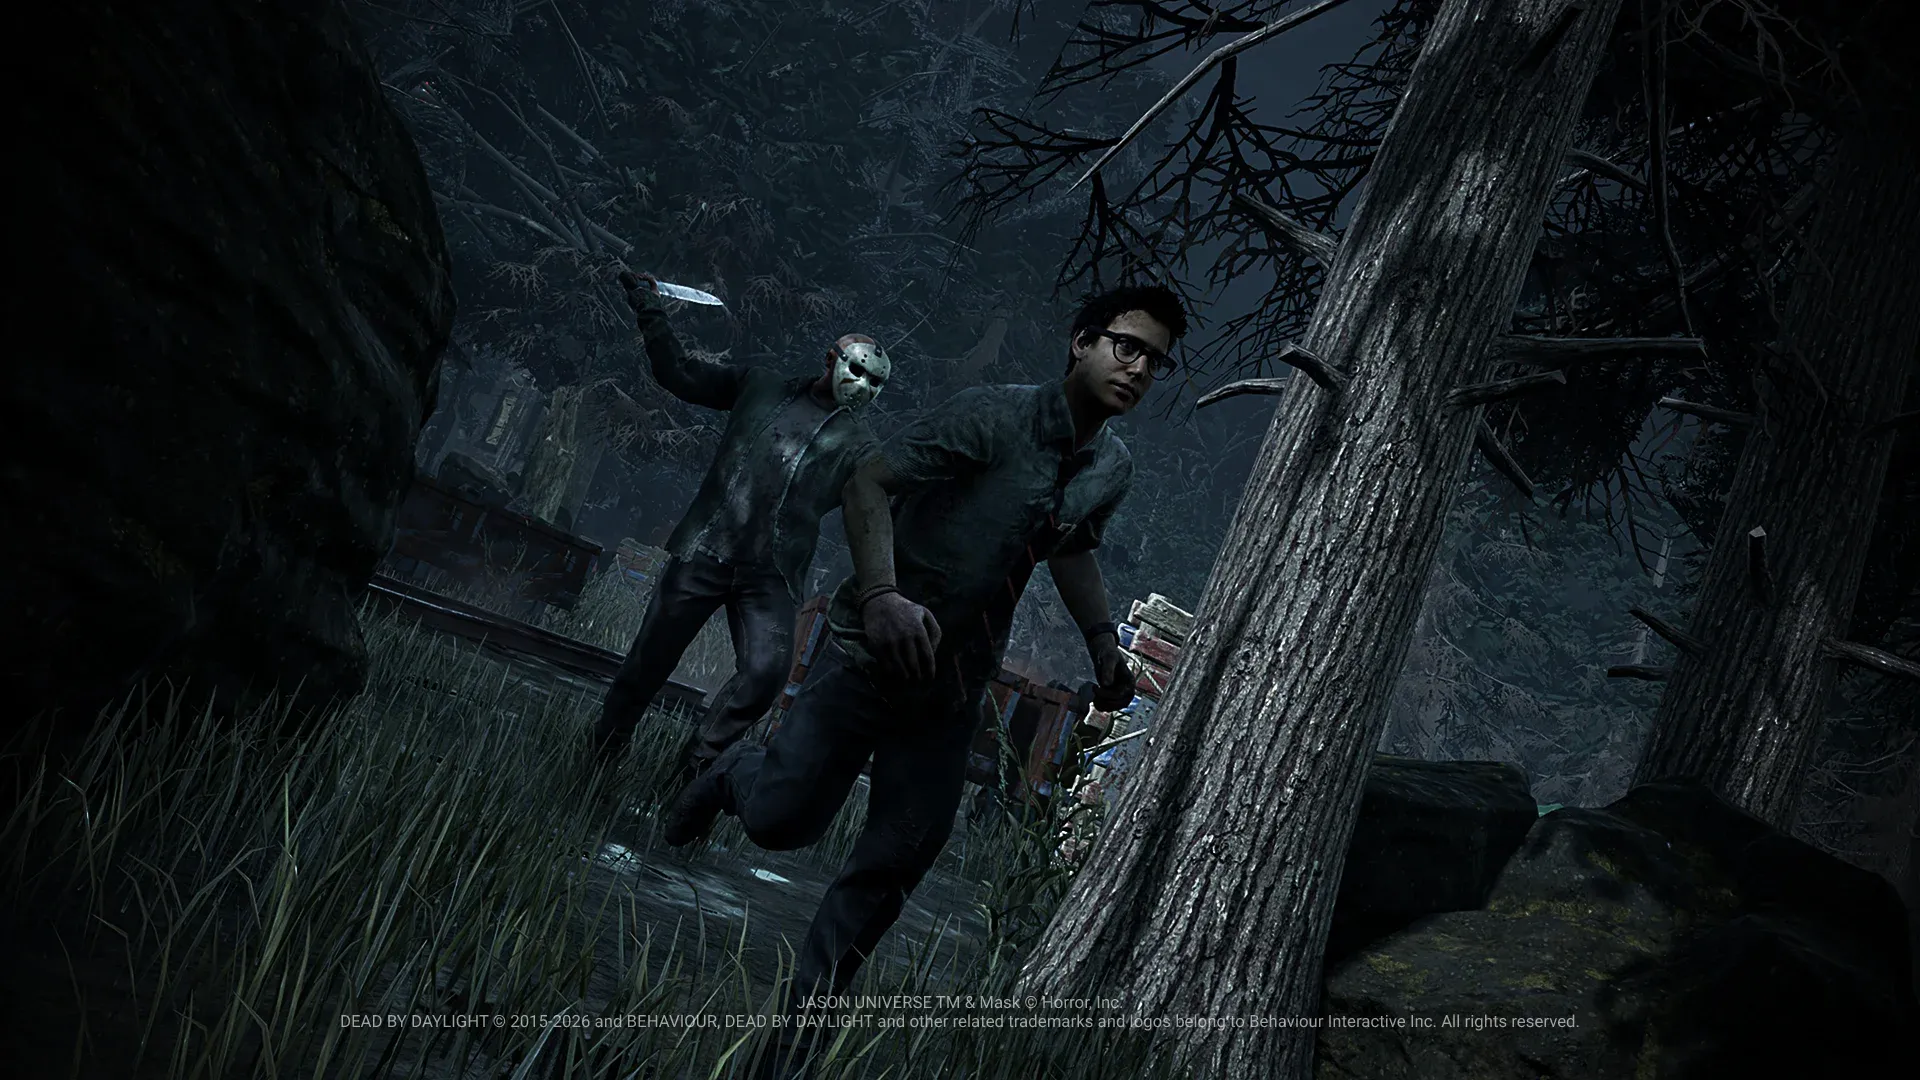
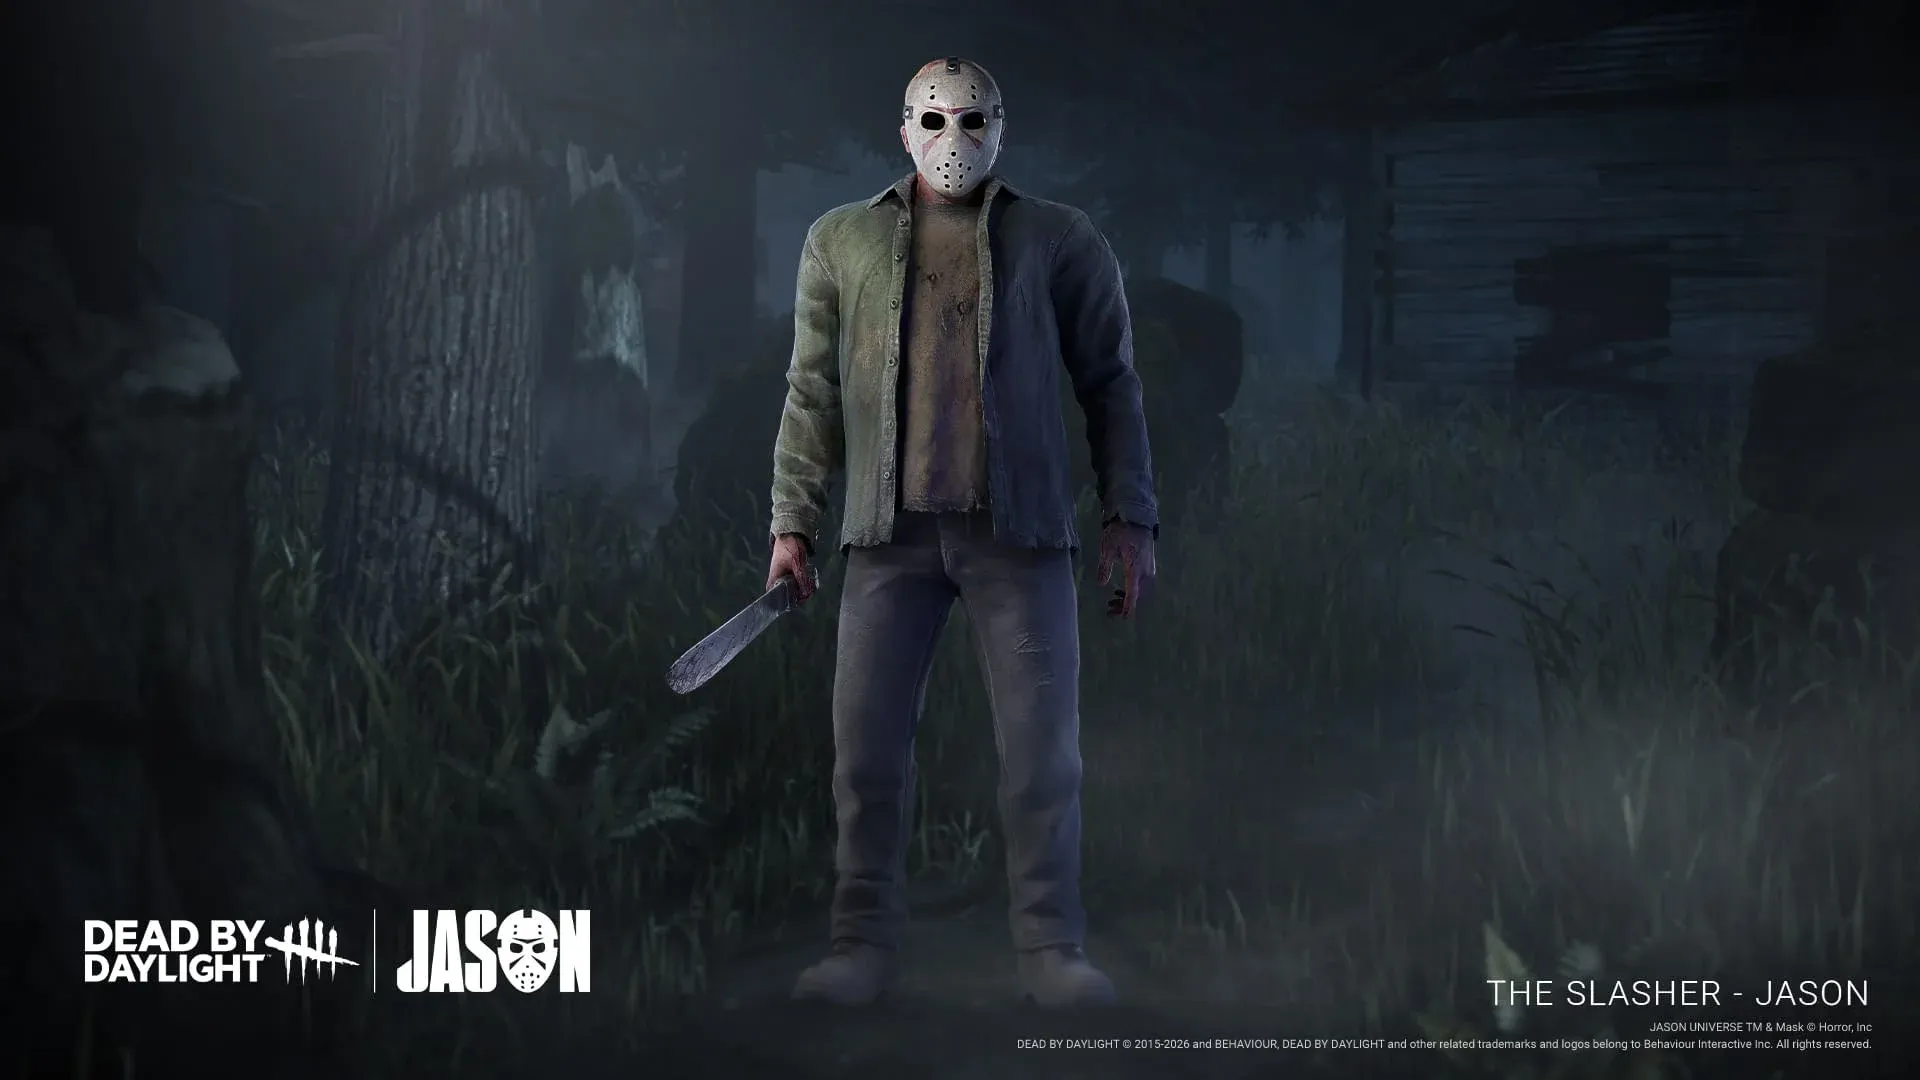
The Slasher, Jason, combines Omnipresent Evil, Jump Scare, and thrown projectiles. Jump Scare moves him to a selected pallet, wall, or vault, giving him a way to re-enter a chase at a chosen piece of terrain.
Jason's scrap and hook projectiles can injure Survivors and knock them toward surfaces. Hooks can also pin healthy targets. Read the space before throwing: a clear lane and a nearby pinning surface create different opportunities. The Jason build guide covers perk and add-on choices around his toolkit.
Which A-tier Killers are worth learning?
Choose the kind of chase you want
The Wraith cloaks to move unseen, then uncloaks to begin a close-range chase. The Huntress instead throws hatchets to punish predictable movement at range. Those are clear starting points if you already know that stealth approaches or projectile aiming appeal to you.
The Mastermind uses Virulent Bound to dash, grab Survivors, and spread infection. The Xenomorph combines tunnels, Runner Mode, and a tail attack. Both offer movement and chase tools, but their powers ask you to learn different approaches to reaching and threatening a target.
The Artist uses Dire Crows to scout, zone loops, and injure marked Survivors. The Executioner lays Torment trails and threatens Survivors through terrain with Punishment of the Damned. Choose between them based on the pressure you want to develop: scouting and zoning, or attacks that challenge the protection terrain usually provides.
Build around setup and follow-up
The Krasue alternates between an on-foot form and a faster floating-head form. Her on-foot projectile applies a Leeching Gland, increasing the target's vulnerability to Intestinal Whip. Track which Survivor you've infected before switching forms for the follow-up.
The Animatronic, Springtrap, combines a thrown projectile with travel through Security Doors. A Survivor carrying the projectile cannot heal until removing it and becomes vulnerable to his close-range grab. Survivors can also use the doors and their cameras, so consider the chase route around your chosen exit.
The First applies curses through special attacks and travels through the Upside Down. Build pressure around those curse interactions. He is Henry Creel, the Stranger Things incarnation of Vecna; The Lich is the separate Dungeons & Dragons Killer whose spells control space, disrupt movement, and attack at range.
When should you choose a B- or C-tier Killer?
B tier rewards a clear power plan
The Houndmaster is a good example of why a lower tier still deserves attention. Search reveals Survivors along Snug's route and provides a faster path to follow. Chase sends Snug forward, allows a redirect, and can catch a Survivor to drag them toward her.
Position to capitalize on Snug's catch. Another Survivor can intervene, and the grip alone does not guarantee an injury. Houndmaster's power creates an opening; you still need to be close enough to use it.
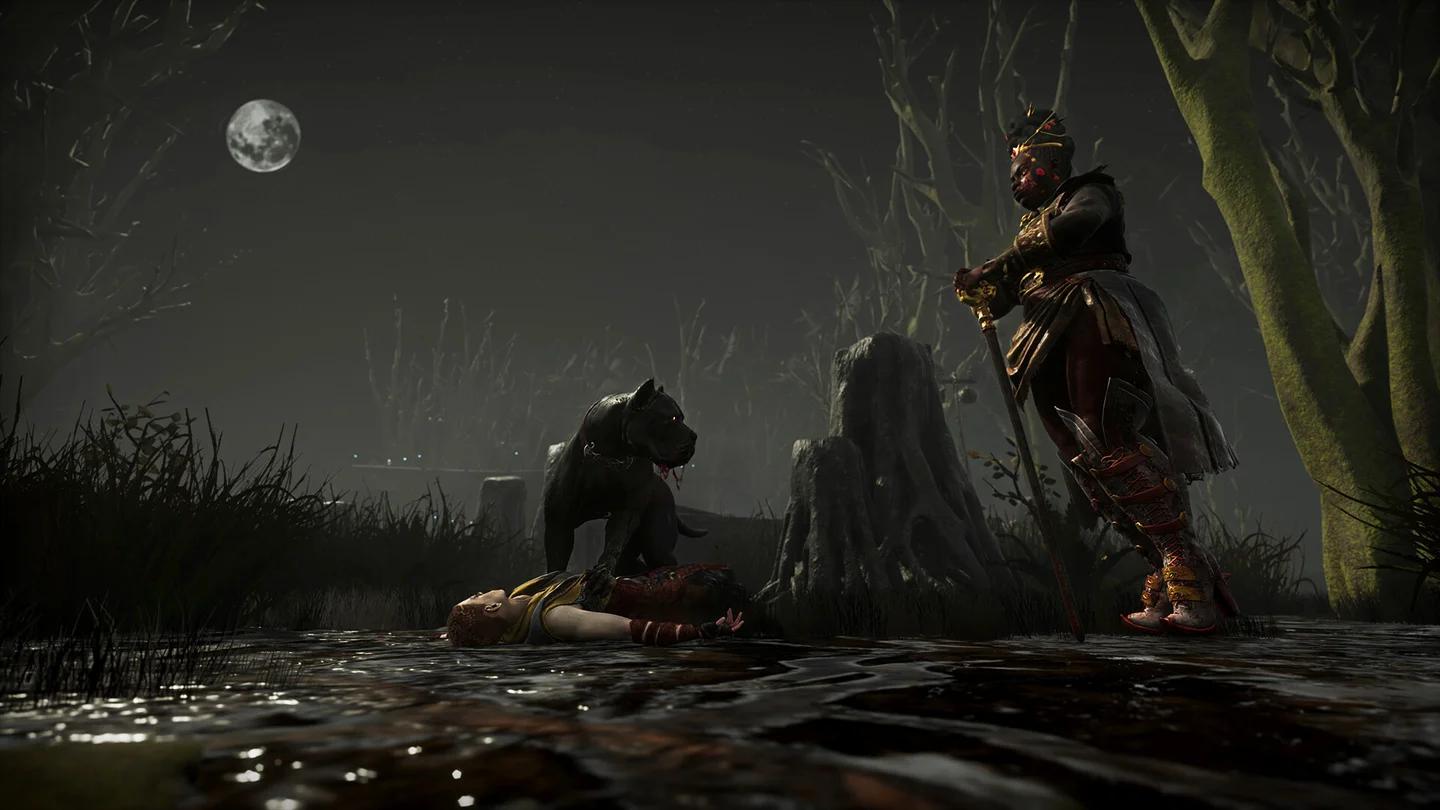
Follow Snug's revealed route
The Judgment uses Divine Light to injure Survivors and apply Heresy. Heretics face disruptive generator skill checks and can be sent to Exile when downed, empowering the Killer while they remain there. Plan around the response as well as the hit: Survivors can use Shrines to remove Heresy or free an exiled teammate.
Other B-tier powers offer distinct plans:
- The Hag: Set Phantasm Traps and teleport to triggered traps to defend selected areas.
- The Onryō: Use TV-based movement and Condemned pressure.
- The Singularity: Place Biopods, tag Survivors, and create Slipstream teleport pressure.
- The Oni: Collect Blood Orbs from injured Survivors to access his fast, heavy-hitting power state.
C tier favors a specific setup or specialty
The Trapper blocks paths and punishes loops with bear traps. The Clown changes chase routes with bottles that hinder Survivors or speed himself up. Both give you a concrete system to learn, but their C-tier placement reflects more situational pressure than the leading picks provide.
The Ghost Face stalks Survivors to expose them before committing to a chase, while The Cannibal threatens multiple nearby Survivors with a chainsaw sweep. Choose one because that particular approach appeals to you. Their strengths are narrower than an S-tier power's ability to bypass obstacles or rapidly cross the map.
Why do kill rates differ from the tier rankings?
The Lich leads the October match sample with a 58.27% kill rate despite sitting in A tier. The Nurse sits in S tier with 39.38%. A tier evaluates the pressure a toolkit offers; a kill rate describes recorded outcomes. Both help you compare Killers, but they answer different questions.
The figures below cover the same 28-day window, October 1 to October 29, 2026. The Shape and The Cenobite are included here as additional statistical comparisons alongside the tiered roster.
| Killer | Kill rate | Pick rate | Recorded matches |
|---|---|---|---|
| The Lich | 58.27% | 1.40% | 136 |
| The Judgment | 56.82% | 4.26% | 414 |
| The Onryō | 56.34% | 1.38% | 134 |
| The Hag | 54.17% | 0.68% | 66 |
| The Skull Merchant | 52.94% | 0.70% | 68 |
| The Shape | 52.48% | 2.80% | 272 |
| The Hillbilly | 52.31% | 3.01% | 292 |
| The Blight | 50.00% | 4.19% | 407 |
| The Ghoul | 48.72% | 4.83% | 469 |
| The Cenobite | 48.58% | 1.09% | 106 |
| The Slasher | 47.10% | 6.75% | 656 |
| The Spirit | 45.13% | 3.49% | 339 |
| The Nurse | 39.38% | 2.88% | 280 |
What do pick rate and kill distribution tell you?
The Pick Rate display shows how often a Killer appears in the sample. Jason leads with 6.75%, followed by The Mastermind at 5.74% across 558 matches. Their respective kill rates are 47.10% and 42.43%, illustrating the difference between popularity and recorded results.
The Kill Distribution display separates zero-kill through four-kill results. The Onryō, for example, recorded four kills in 37.31% of her matches while holding a 56.34% kill rate. The Lich recorded four kills in 36.76% of matches with a 58.27% kill rate. The percentage of Survivors killed and the percentage of trials ending in four kills measure different outcomes.
Which Killer should you pick next?
Choose The Blight if you want to learn environmental rush routes, The Nurse if obstacle-bypassing placement appeals to you, or The Hillbilly if you want chainsaw travel tied directly to a chase threat. These S-tier picks give you strong tools with a clear skill to practice.
For stealth-led approaches, consider The Wraith; for ranged aiming, consider The Huntress. Pick the power whose decisions interest you, then use our Dead by Daylight strategy guides to plan your next build.