
The Guardian is the Reclaimer built around one idea: controlling space. In Deep Rock Galactic: Rogue Core, this dwarf wades into the thick of a Corespawn swarm and pushes it back through sheer force, keeping teammates breathing room they would not otherwise have. The Seismic Gloves are the core tool here, and understanding exactly how to use both modes is what separates a Guardian who carries a run from one who just takes up a slot.
What does the Guardian actually do?
The Guardian's entire kit revolves around two things: crowd control and armor management. The Seismic Gloves give the Guardian 2 charges with a 20-second cooldown on each, and those charges split into two distinct firing modes accessed with left and right mouse buttons. This dual-mode setup is what makes the class interesting to play, even if it takes a few runs to understand when to use which mode.
The Armor Beacon class skill ties the team-support side of the kit together. Place it with [ABILITY] then [USE] and it drops a defensive dome with a 6-meter radius that restores armor up to 50% of maximum for every ally standing inside it. The dome lasts 15 seconds before it auto-destroys, and the cooldown sits at 120 seconds, so you are not spamming this. Use it when the team is getting chewed up between waves, not reactively mid-fight.
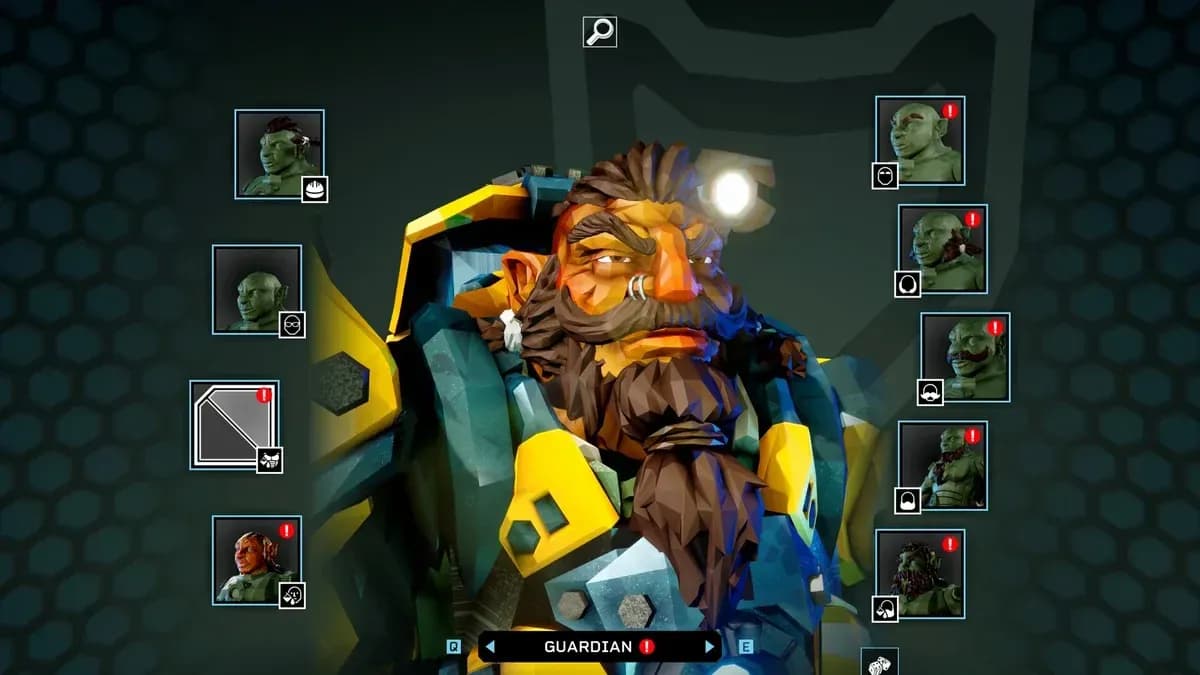
Armor Beacon placement UI
How do Concussive Barrage and Repulsion Field work?
Concussive Barrage (left mouse button)
Concussive Barrage fires 12 concussive munitions in a cone directly in front of you. Each projectile that connects stuns the enemy for 6 seconds and consumes 1 charge. The cone spread means you can catch multiple enemies in a single use, but the spread is not perfectly reliable at range. Where this ability genuinely shines is against shielded enemies and situations where you need targets to hold still so your team can land shots on weak spots. A 6-second stun is a long time in a fast-moving fight, and it pairs directly with Workbench upgrades that reward stun uptime.
Repulsion Field (right mouse button)
Repulsion Field creates a fear zone centered on the Guardian that lasts 4 seconds. Enemies caught in it are pushed back and kept at distance for the duration. The ability continues consuming charges automatically until you cancel it by pressing right mouse button again, so watch your charge count. This mode is the better choice for pure melee crowd control, keeping bugs from swarming a downed teammate during a revive or clearing space around an objective.
Repulsion Field zone range
Which Bio Booster deck should you run?
The Guardian has two Bio Booster decks: Protection and Devastation. They serve different playstyles, and picking the wrong one for how you actually play will make the class feel weaker than it is.
Protection deck breakdown
- Damage Reflection: Enemies attacking you receive +20 damage back. Pairs well with situations where you are intentionally drawing aggro.
- Daunting: Enemies within 6 meters move 10% slower. Stacks with Repulsion Field to extend the window you have to deal with a group.
- Defensive Stance: Reduces incoming damage from enemies in front of you by 4. Small number, but consistent.
- Sturdiness: Flat +20% armor bonus. Makes Armor Beacon more impactful since the restored 50% cap is calculated from a higher base.
Devastation deck breakdown
- Tremmoring: Damage has a 15% chance to stun for an additional 2 seconds. Adds stun uptime outside of Concussive Barrage.
- Reach: All area effects gain a 20% larger radius. Directly buffs Repulsion Field and any AoE weapons you are running.
- Explosive Shots: Direct damage weapons deal 25% of their damage in a 1.5-meter radius on hit. Turns single-target weapons into soft AoE tools.
- Aftermath: Area damage leaves a zone that deals 100% of the initial damage dealt over 6 seconds. Up to 4 Aftermath zones can be active simultaneously. This is the highest damage ceiling card in the deck.
For more on how to access and modify your Bio Booster cards mid-run, check out the guide on hacking Bio-Boosters to get class modifiers that actually fit your build.
What are the best Workbench upgrades for Guardian?
The Workbench gives you five upgrade options split between the two ability modes. None of them are universally mandatory, but some are significantly more useful than others depending on which mode you lean on.
Overclocked Stun Modules and Salvo Augmentor work together well if you are running Concussive Barrage as your primary tool. More projectiles hitting more targets means more stun uptime across a wider cone, and the extended stun duration gives your team longer windows to capitalize.
Pressure Waves is the sleeper pick. When Repulsion Field expires naturally (rather than being cancelled), every enemy in range gets stunned for 2 seconds. This turns what would otherwise be a pure displacement ability into a guaranteed stun setup, which feeds back into any stun-scaling cards you have from the Devastation deck.
How does Guardian fit into a team?
The Guardian's value to a squad is clearest when you look at what the class provides that others cannot: reliable melee crowd control and a team-wide armor recovery tool on a fixed cooldown. The Armor Beacon alone justifies bringing a Guardian on runs where the team is taking sustained damage between objectives.
That said, the class does have a narrower damage contribution compared to other Reclaimers, particularly when running the Protection deck. The Concussive Barrage stun is most useful when your teammates can follow up on it, so coordination matters. In a solo context, the Repulsion Field tends to be the more self-sufficient option since it creates space without requiring anyone else to act on the setup.
For a full breakdown of how Guardian slots into different four-player compositions, the best team composition guide covers role distribution and synergies across all five Reclaimers.
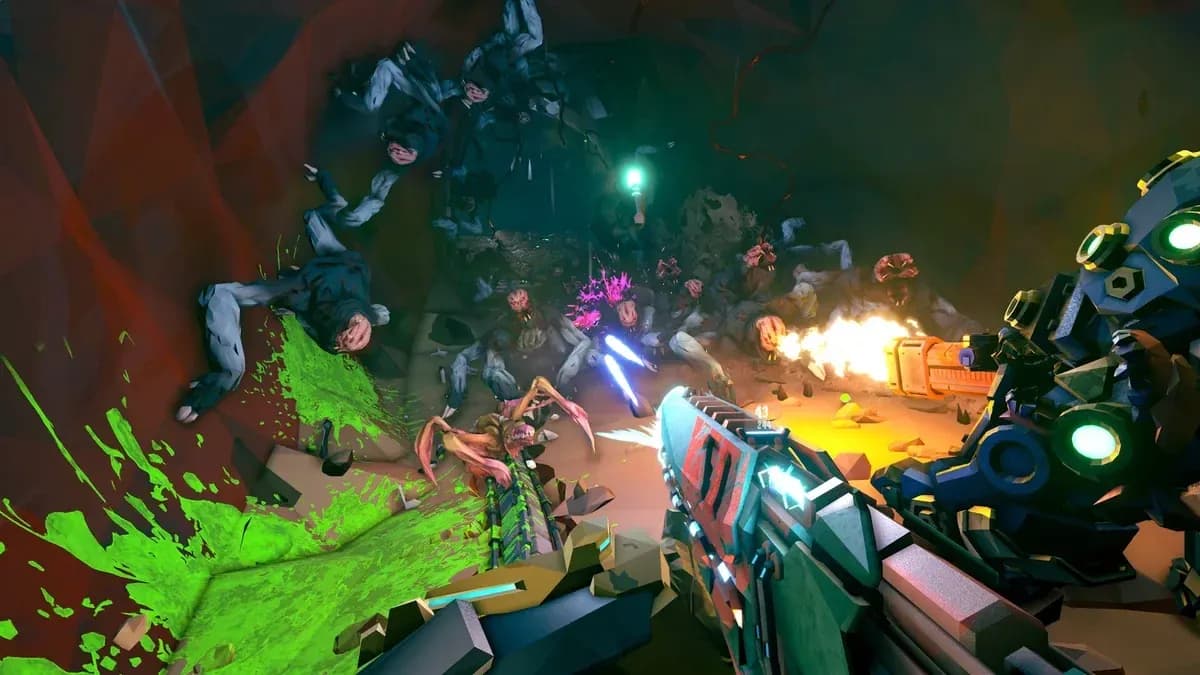
Guardian Seismic Gloves in combat
Quick reference: Guardian ability stats
The Guardian rewards players who think about positioning and ability timing rather than raw damage output. Running the Devastation deck with Aftermath and Pressure Waves gives you a higher ceiling than the class might first appear to have, and the Armor Beacon remains one of the most team-relevant skills in the game on longer, harder runs.
For everything else you need to get the most out of Rogue Core, the full Deep Rock Galactic: Rogue Core strategy guides collection covers every Reclaimer, upgrade system, and mission type.